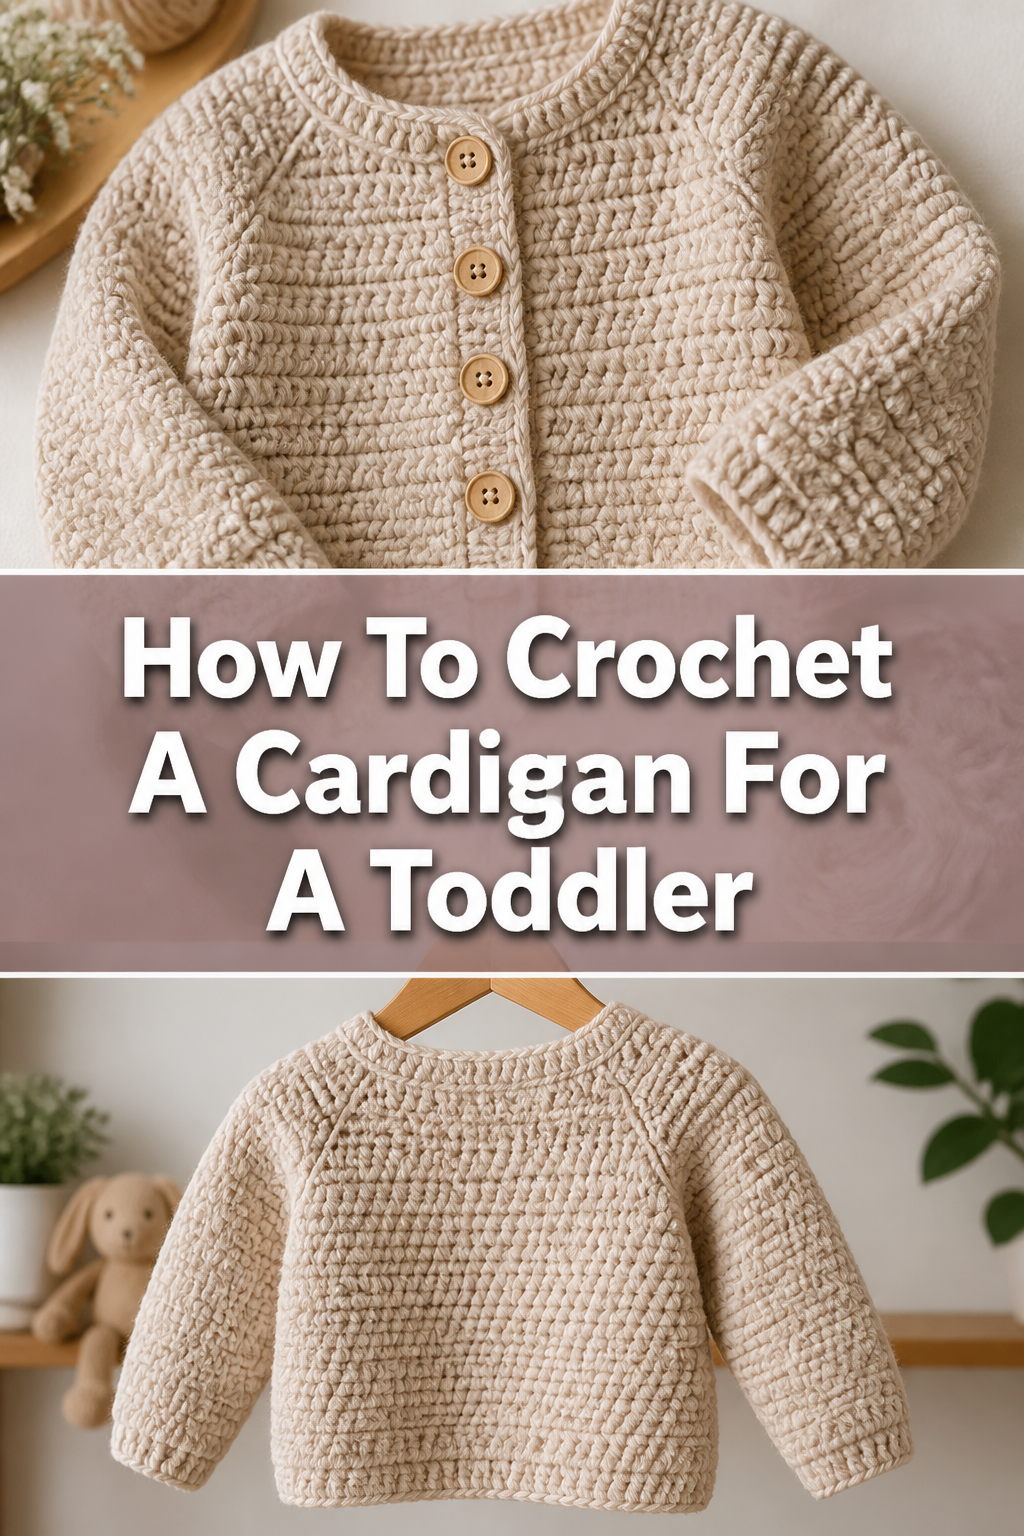
🧶 How To Crochet A Cardigan For A Toddler
Imagine wrapping a little one in a cozy, handmade cardigan, stitched with love and care. There’s a special satisfaction in creating something tangible and warm for a child you adore.
I remember the joy of finishing my first toddler cardigan, seeing it come to life from a ball of yarn.
This guide will walk you through each step, making the process straightforward and enjoyable, even if you’re relatively new to crochet.
Quick Overview
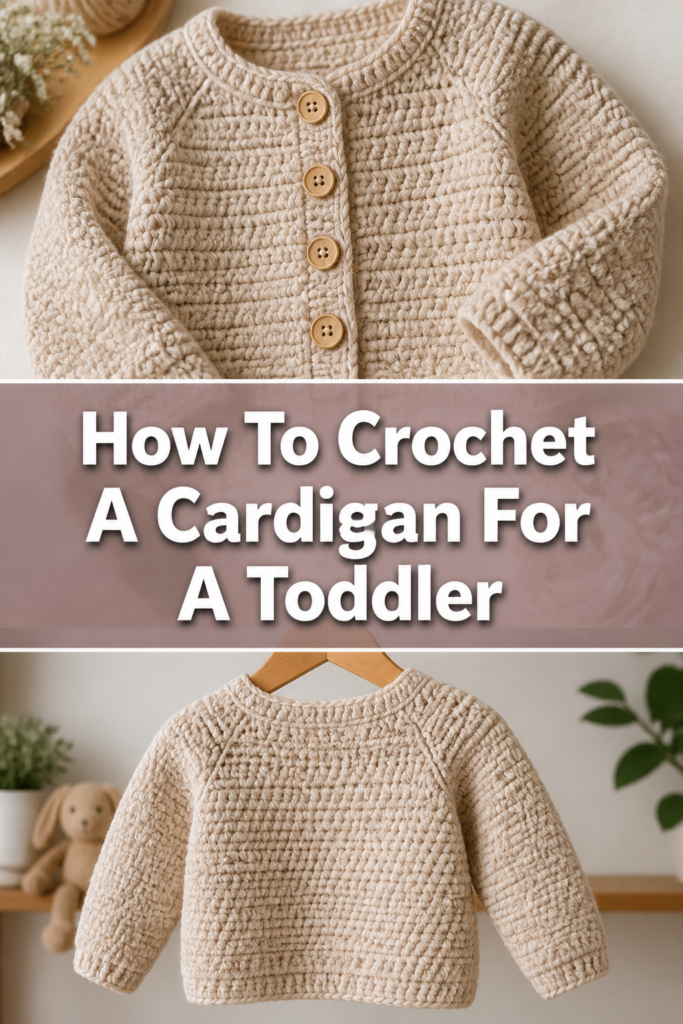
You’re about to embark on a delightful project, crafting a custom-fit cardigan for a toddler. This guide will take you from selecting your yarn to weaving in the final ends, resulting in a cherished garment.
- Time needed: 10-20 hours (spread over several days/weeks)
- Difficulty: Intermediate (Beginner-friendly with patience)
- What you’ll need: Yarn, crochet hook, measuring tape, scissors, yarn needle, buttons.
Step-by-Step Instructions
Step 1: Gather Your Essential Supplies
Before you begin, collecting all your materials ensures a smooth and uninterrupted crafting session. Having everything at hand prevents frustrating pauses later on.
The right yarn and hook are foundational to your project’s success. Choosing wisely impacts both the look and feel of the finished cardigan.
- Select your yarn. For toddlers, soft, washable yarns are best. Look for acrylic, merino wool, or cotton blends labeled “DK” (double knitting) or “light worsted.” You’ll need about 400-600 yards, depending on the size and yarn weight.
- Choose a crochet hook. The yarn label will suggest a hook size, typically between 4.0mm and 5.5mm for DK/light worsted yarn. Pick a size that feels comfortable in your hand.
- Acquire a measuring tape. This is crucial for accurate sizing and checking your gauge.
- Grab a pair of sharp scissors. You’ll need these for cutting yarn ends.
- Find a yarn needle (tapestry needle). Essential for weaving in ends and seaming your cardigan pieces together.
- Pick out 3-5 buttons. Choose buttons that are appropriate for a toddler – not too small (choking hazard) and easily fastened.
- Consider stitch markers. These are helpful for marking rows, stitches, and specific points, especially when counting or joining.
Pro Tip: Always check the yarn label for care instructions. A machine-washable yarn is a gift to any parent!
Step 2: Measure and Plan Your Cardigan
Accurate measurements are key to ensuring your cardigan fits the toddler perfectly. Even if you don’t have the child present, standard size charts are a great resource.
Planning involves deciding on the overall look, including length and sleeve style. This foresight helps avoid mid-project design changes.
- Consult a toddler size chart. Look up chest circumference, arm length, and desired cardigan length for the age you are making it for. This provides a baseline for your pattern.
- Decide on your desired fit. Do you want it snug or with room to grow? This will influence your starting chain and overall stitch count.
- Sketch a simple diagram. Visualizing the back, two front panels, and two sleeves can help you mentally prepare for the construction.
- Choose a basic stitch pattern. A simple half double crochet (HDC) or double crochet (DC) stitch creates a lovely texture and works up quickly.
Step 3: Create a Gauge Swatch
The gauge swatch is arguably the most critical step for achieving the correct size. Skipping it often leads to a cardigan that is too big or too small.
It’s a small investment of time that saves hours of potential re-doing. Your tension can vary from a pattern’s, making this step indispensable.
- Chain enough stitches to make a swatch approximately 6×6 inches. Add two more chains for your turning chain.
- Work in your chosen stitch pattern (e.g., HDC or DC) for about 6 inches. This creates a square of fabric.
- Fasten off and lay the swatch flat. Do not stretch it.
- Measure your gauge. Place a ruler over the swatch and count how many stitches you have in 4 inches and how many rows you have in 4 inches.
- Adjust your hook size if needed. If you have too many stitches in 4 inches, your gauge is too tight – go up a hook size. If you have too few stitches, your gauge is too loose – go down a hook size. Repeat until your swatch matches your desired gauge (often 16 HDC and 12 rows in 4 inches for DK yarn).
Pro Tip: Wash and block your swatch before measuring if you plan to block your finished cardigan. This gives the most accurate representation of the final fabric.
Step 4: Crochet the Back Panel
The back panel forms the foundation of your cardigan. It’s typically a simple rectangle, allowing you to get comfortable with your stitch pattern and gauge.
Focus on maintaining consistent tension throughout this section. This consistency will ensure your cardigan has an even appearance.
- Chain the number of stitches needed for the width of the back panel, based on your measurements and gauge. For example, if your toddler’s chest is 20 inches, and your gauge is 4 stitches per inch, you might chain 40 stitches for the back (half the chest circumference).
- Work in your chosen stitch pattern (HDC or DC) across the row.
- Turn your work and chain your turning chain (e.g., chain 2 for HDC, chain 3 for DC).
- Continue crocheting rows until your back panel reaches the desired length from the bottom hem to the shoulder.
- Fasten off, leaving a long tail for seaming later.
Step 5: Crochet the Front Panels
The front panels are where the cardigan starts to take shape. You’ll create two identical (or mirror image) pieces, each half the width of the back panel.
Remember to account for the button band or front opening when determining your starting chain. These panels will define the front closure.
- Chain the number of stitches for one front panel’s width. This will be approximately half the width of your back panel, plus a few extra stitches for the front edge/button band if you’re incorporating it directly.
- Work in your chosen stitch pattern, just like the back panel.
- Continue crocheting rows until the front panel matches the length of your back panel.
- Create two identical front panels. If you plan to add a separate button band later, ensure both panels are the same width.
- Fasten off, leaving long tails for seaming.
Pro Tip: Mark the “right side” of your work with a stitch marker if your stitch pattern has a distinct front and back. This helps with consistent seaming.
Step 6: Crochet the Sleeves
Sleeves add warmth and completeness to the cardigan. You’ll typically work these in the round or as a flat piece that is then seamed.
Consider starting with a cuff and then increasing stitches gradually for a comfortable fit around the arm. This creates a natural shape.
- Chain the number of stitches for the circumference of the toddler’s wrist, or slightly larger for a comfortable cuff. Join with a slip stitch to form a ring if working in the round.
- Work a few rows in a ribbing stitch (e.g., front post/back post HDC) for a stretchy cuff, or continue with your main stitch.
- Increase stitches evenly over subsequent rows to gradually widen the sleeve. You’ll typically increase 1-2 stitches every few rows until you reach the desired bicep circumference.
- Continue crocheting without increases until the sleeve reaches the desired length from the wrist to the shoulder.
- Make two identical sleeves.
- Fasten off, leaving long tails for seaming.
Step 7: Assemble the Cardigan Pieces
Now comes the exciting part: seeing your individual pieces come together to form a garment. Seaming can be done in various ways, so choose what feels most comfortable.
Take your time with seaming to ensure strong, invisible joins. A neat seam makes a huge difference in the final appearance.
- Lay out your back panel, front panels, and sleeves on a flat surface.
- Join the shoulder seams first. Place the front panels on top of the back panel, right sides facing. Using your yarn needle and a long yarn tail, seam the shoulders together using a whip stitch or mattress stitch.
- Attach the sleeves. Find the center of the top edge of each sleeve. Align this center with the shoulder seam. Seam the top of the sleeves to the armholes of the body of the cardigan.
- Seam the sides. Fold the cardigan in half, right sides together. Seam the side edges of the front and back panels, starting from the bottom hem up to the armpit. Continue seaming down the underside of each sleeve.
- Weave in any remaining starting or ending tails from individual panels, except for the long tails left for seaming.
Step 8: Add the Finishing Touches (Trim and Buttons)
A well-executed trim and thoughtfully placed buttons elevate the entire cardigan. This is where you can add a personal flair.
The button band needs to be sturdy enough to hold the buttons without stretching. Plan for buttonholes as you work the trim.
- Crochet a border around the entire opening of the cardigan (both front panels and the neckline). You can use a simple single crochet (SC) border, working 2-3 rows.
- Create buttonholes on one of the front bands during one of the trim rows. To make a buttonhole, chain 2-3 stitches, skip the same number of stitches, then continue crocheting. In the next row, work into the chain stitches.
- Space your buttonholes evenly. Hold a button up to your work to ensure the buttonhole is the correct size.
- Sew the buttons onto the opposite front band, aligning them perfectly with your buttonholes. Use strong thread and secure them firmly.
- Add any optional decorative elements, such as small appliques or embroidery.
Step 9: Final Weaving and Blocking
This final step is crucial for a professional finish. Weaving in ends neatly prevents unraveling and creates a tidy appearance.
Blocking helps to even out stitches, relax the fabric, and give your cardigan a polished shape. Don’t skip it if your yarn allows.
- Weave in all remaining loose yarn ends using your yarn needle. Thread the tail through several stitches on the wrong side of your work, changing direction a few times to secure it.
- Block your cardigan (if appropriate for your yarn type). Gently wet the cardigan, remove excess water, and lay it flat on a towel or blocking mats, shaping it to the desired dimensions. Allow it to air dry completely.
- Admire your beautiful, handmade toddler cardigan!
Common Mistakes to Avoid
Ignoring Gauge
Many crocheters, especially beginners, skip making a gauge swatch. This often leads to a finished item that is either too large or too small, despite following the pattern’s stitch count.
Always take the time to create and measure a gauge swatch. Adjust your hook size until your swatch matches the recommended gauge, ensuring your cardigan will be the correct size.
Inconsistent Tension
Starting a project with tight stitches and gradually loosening up (or vice versa) creates an uneven fabric. This can make the cardigan look lopsided or stretched in places.
Consciously try to maintain a consistent tension throughout your work. Taking short breaks can help prevent hand fatigue, which often leads to tension changes. Practice makes perfect.
Poor Seaming Techniques
Rushing through the seaming process can result in bulky, visible seams that detract from the overall look of the cardigan. Weak seams can also come apart with wear.
Invest time in learning a good seaming method like the mattress stitch or whip stitch for crochet. Use a yarn needle and match up your stitches carefully for strong, nearly invisible joins.
Forgetting Buttonholes
It’s easy to get caught up in the rhythm of crocheting the trim and forget to incorporate buttonholes as you go. Realizing this after the fact means unraveling or trying to create them retrospectively, which can look messy.
Plan your buttonhole placement before you start crocheting the button band. Mark their positions with stitch markers and integrate them into your trim rows as you work.
Troubleshooting
Cardigan is too big/small
If your finished pieces are significantly different from the expected dimensions, your gauge is likely off. Even a slight difference can compound over many rows and stitches.
The best solution is to re-check your gauge swatch. If it’s too loose, use a smaller hook. If it’s too tight, use a larger hook. Sometimes, frogging (unraveling) and restarting with the correct hook size is the most efficient path.
Edges are Wavy or Uneven
Wavy edges often occur when you’re adding too many stitches or not enough at the beginning or end of rows. Uneven edges can also be caused by inconsistent tension or missing turning chains.
Carefully count your stitches at the end of each row. Ensure you’re working into the correct stitch (often the top of the turning chain from the previous row) and consistently using your turning chain. Blocking can also help to even out minor inconsistencies.
Buttons Don’t Align with Buttonholes
Misaligned buttons and buttonholes can make the cardigan difficult to close and look untidy. This usually happens if the spacing wasn’t accurately measured.
Before sewing on buttons, lay the cardigan flat and use stitch markers or pins to mark the exact spots where each button should go, aligning them perfectly with the buttonholes. Adjust spacing on the button side as needed.
Key Takeaways
- Always make a gauge swatch to ensure your cardigan is the correct size.
- Choose soft, washable yarn suitable for a toddler’s delicate skin.
- Measure carefully and consult size charts for accurate dimensions.
- Maintain consistent tension throughout your crocheting for an even fabric.
- Take your time with seaming for a professional and durable finish.
- Don’t forget to plan and create buttonholes as you work the front trim.
- Weave in all ends neatly and consider blocking for a polished look.
Frequently Asked Questions
What is the best yarn for a toddler cardigan?
The best yarn is soft, non-irritating, and easy to care for. Acrylic or superwash merino wool are excellent choices because they are typically machine washable and gentle on sensitive skin. Look for DK or light worsted weight.
Can a beginner crochet a toddler cardigan?
Yes, absolutely! While it’s an intermediate project, a determined beginner can succeed. Start with a simple stitch like half double crochet, take your time, and don’t be afraid to unravel and redo sections if needed. The key is patience.
How do I choose the right size for a toddler?
Consult a standard toddler size chart, usually found online or in pattern books. Measure the child if possible, focusing on chest circumference, arm length, and desired overall length. When in doubt, it’s often better to make it slightly larger so they can grow into it.
How do I make the cardigan machine washable?
To make your cardigan machine washable, you must use yarn specifically labeled as “machine washable” or “superwash.” Always follow the care instructions on the yarn label for washing and drying to prevent shrinking or damage.
Our Top Recommended Finds
- Ergonomic Crochet Hook Set: A good set with comfortable handles reduces hand fatigue, especially on larger projects.
- Soft Acrylic DK Yarn: Affordable, comes in many colors, and is easy to wash, making it perfect for kid’s clothes.
- Blocking Mats with Grids: These help you shape your finished cardigan accurately and consistently during the blocking process.
Your Next Cozy Creation Awaits
You’ve just completed a wonderful journey, transforming yarn into a beautiful, practical garment. Each stitch you made was a step towards creating something truly special and unique.
This cardigan isn’t just a piece of clothing; it’s a testament to your skill and dedication. It will bring warmth and comfort to a little one, made with your own hands.
Now that you’ve mastered the toddler cardigan, consider exploring other crochet projects like baby blankets, hats, or even adult-sized garments. The possibilities are endless, and your crafting adventure is just beginning.