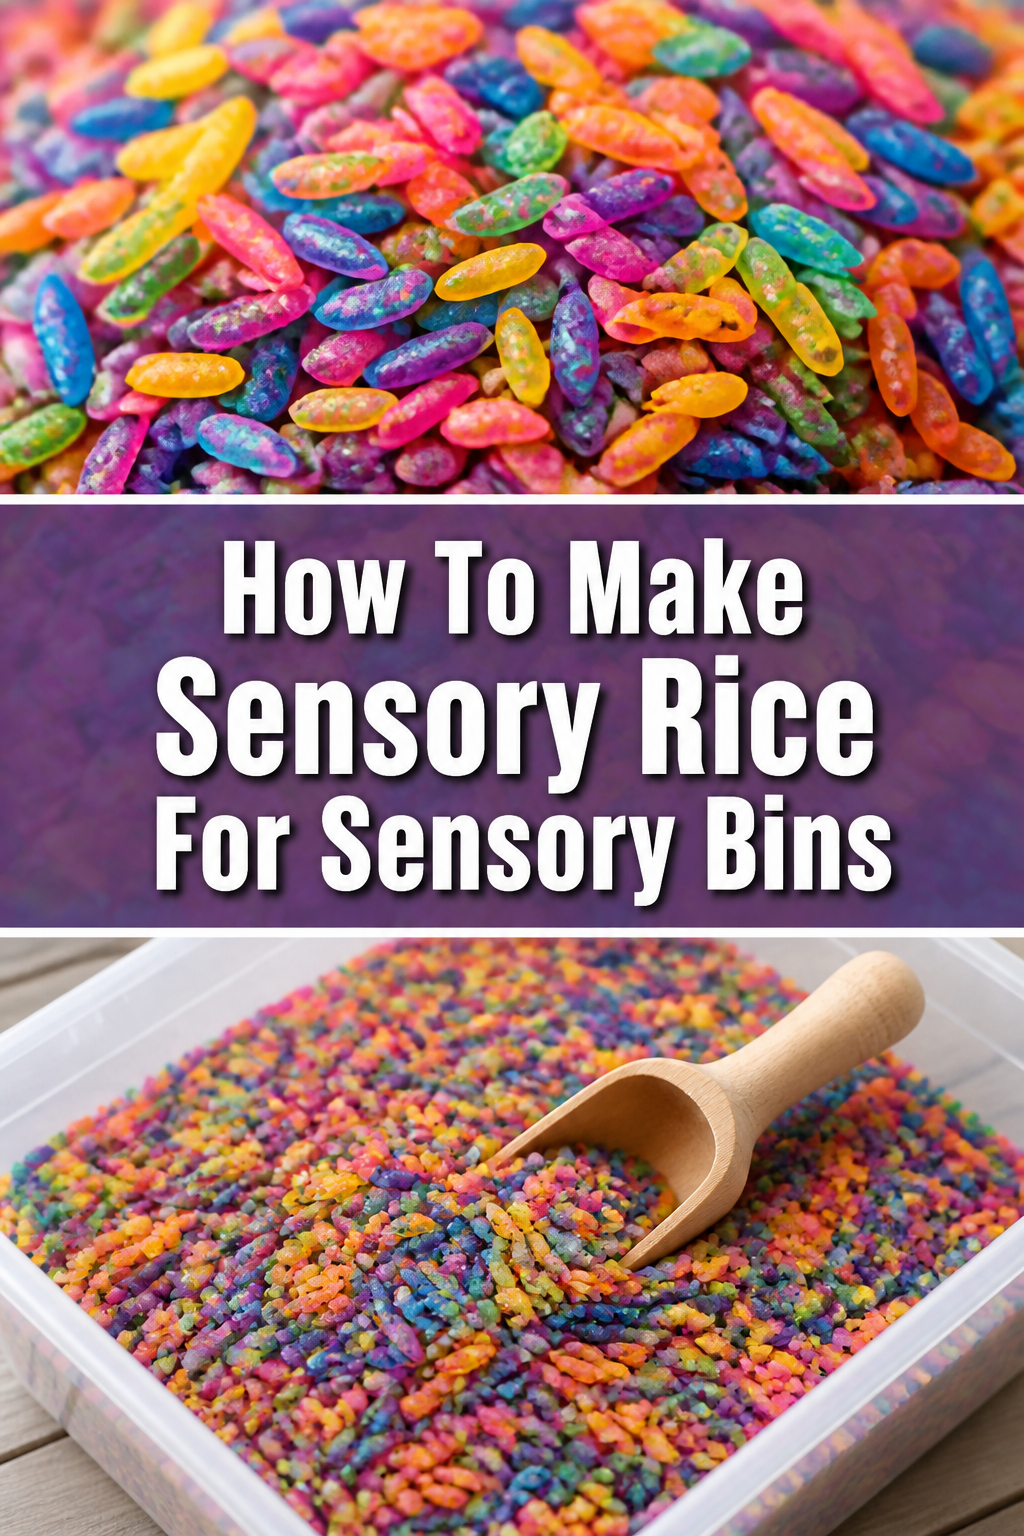
🌈 How To Make Sensory Rice For Sensory Bins
Learning to make sensory rice has truly transformed our playtime at home. It’s a simple, cost-effective way to unlock a world of tactile exploration for children. This guide shares my tried-and-true method, ensuring your sensory rice turns out vibrant and perfect every time.
You’ll discover just how easy it is to create a captivating sensory experience.
Quick Overview
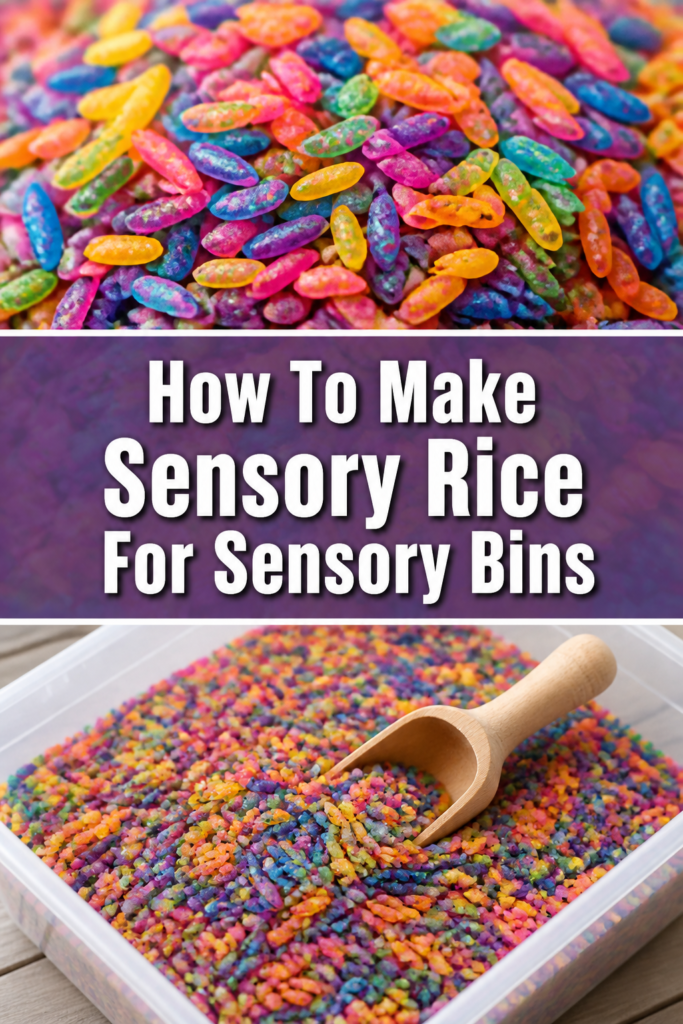
Making sensory rice is a delightful project that yields hours of engaging play. You’ll create colorful, inviting rice that stimulates touch, sight, and even sound.
It’s a fantastic foundation for any sensory bin theme.
- Time needed: 15 minutes active preparation, 1-2 hours drying time
- Difficulty: Beginner
- What you’ll need: Rice, liquid food coloring, white vinegar or rubbing alcohol, zip-top bags, baking sheets, parchment paper
Step-by-Step Instructions
Step 1: Gather Your Supplies
Before you begin, ensure all your materials are within reach. A well-organized workspace makes the process smoother and more enjoyable.
You’ll need basic kitchen items and a few specific craft supplies.
- Collect your chosen rice. White rice, like long-grain or jasmine, works best for vibrant colors.
- Grab liquid food coloring. Gel food coloring can also work, but liquid is often easier to mix evenly.
- Prepare your liquid agent: white vinegar or rubbing alcohol. This helps set the color and ensures quick drying.
- Find several large zip-top bags (gallon size is ideal for 2-3 cups of rice per bag).
- Locate baking sheets and parchment paper or wax paper for drying the rice.
Pro Tip: Using a dedicated set of measuring cups and spoons for craft projects can prevent food coloring from staining your kitchen utensils. Label them clearly if you plan to do this often.
Step 2: Measure Your Rice
Decide how much sensory rice you want to make for each color. It’s often best to work in smaller batches. This ensures even coloring and easier drying.
A good starting point is 2-3 cups of rice per color.
- Measure out 2-3 cups of dry white rice into one of your large zip-top bags.
- Repeat for each color you plan to make, using a separate bag for each batch.
- Seal the bags temporarily to prevent spills while you prepare the coloring.
Step 3: Prepare Your Coloring Solution
The key to vibrant, long-lasting color lies in the coloring solution. The liquid agent helps the color adhere to the rice grains. It also aids in quick evaporation.
You’ll create a concentrated color mixture.
- Pour 1-2 teaspoons of white vinegar or rubbing alcohol into a small bowl or cup.
- Add 10-20 drops of your chosen liquid food coloring to the liquid agent. The more drops, the more intense the color.
- Stir the mixture thoroughly until the color is fully dissolved and uniform.
- Adjust the color intensity as needed by adding more food coloring. Remember, it will look slightly lighter when dry.
Step 4: Add Color to the Rice
Now comes the fun part – transforming plain rice into a rainbow! This step requires a good shake to ensure every grain is coated.
Work quickly to distribute the color evenly.
- Open one of your zip-top bags containing the measured rice.
- Pour the prepared coloring solution directly over the rice in the bag.
- Seal the bag tightly, pressing out as much air as possible.
- Shake the bag vigorously for 2-3 minutes. Make sure to tumble the rice, ensuring all grains come into contact with the color.
- Massage the bag with your hands, especially in the corners, to break up any clumps and distribute the color.
Pro Tip: Double-bagging can prevent accidental leaks, especially when children are helping with the shaking. It adds an extra layer of protection.
Step 5: Check and Intensify Color (Optional)
After the initial shake, inspect your rice. You might find some grains are still white or the color isn’t as vibrant as you hoped. This is an easy fix.
You can always add more color if needed.
- Examine the rice through the bag. If you see white spots or the color is too light, add a few more drops of food coloring directly into the bag.
- Reseal the bag and shake again until the new color is thoroughly mixed.
- Continue this process until you achieve your desired color saturation.
Step 6: Prepare for Drying
Proper drying is crucial to prevent mold and ensure the rice is ready for play. A flat, open surface allows air to circulate around the grains.
Parchment paper makes cleanup a breeze.
- Line a baking sheet or a large tray with parchment paper or wax paper. This prevents the color from staining your surfaces.
- Spread the colored rice evenly onto the prepared sheet. Aim for a single layer, not a thick pile.
- Break up any clumps with your fingers or a spoon to ensure maximum surface area for drying.
- Repeat for each color, using separate sheets or ensuring distinct separation if using one large surface.
Step 7: Dry the Sensory Rice
Drying time can vary depending on humidity and how much liquid you used. Patience here ensures a perfect, non-sticky result.
Allow adequate time for complete drying.
- Leave the baking sheets in a well-ventilated area. A sunny spot near a window or a room with a fan works wonderfully.
- Stir the rice every 20-30 minutes during the first hour or two. This helps expose all sides of the grains to the air.
- Continue drying until the rice is completely dry to the touch and no longer feels damp or sticky. This usually takes 1-2 hours, but can be longer.
- Avoid drying in an oven, as this can cook the rice and alter its texture.
Pro Tip: If you’re in a humid environment, placing the rice near a dehumidifier or even an air conditioner can speed up the drying process significantly. Make sure it’s completely dry before storing.
Step 8: Store Your Sensory Rice
Once fully dry, your vibrant sensory rice is ready for storage or immediate play. Proper storage extends its life and keeps it fresh.
Airtight containers are your best friend.
- Transfer the completely dry sensory rice into airtight containers or sturdy zip-top bags.
- Label each container with the color and date of creation, if desired.
- Store the rice in a cool, dry place away from direct sunlight.
- Enjoy your beautiful, homemade sensory rice in various sensory bin setups.
Common Mistakes to Avoid
Using Too Much Liquid
Adding excessive amounts of vinegar or rubbing alcohol can saturate the rice, making it very difficult to dry completely. This leads to sticky rice that can clump together and potentially grow mold. Always stick to the recommended 1-2 teaspoons per 2-3 cups of rice, adjusting only slightly if necessary. The goal is just enough liquid to distribute the color, not to soak the rice.
Not Drying Thoroughly
This is perhaps the most common mistake and the biggest culprit for ruined sensory rice. If the rice feels even slightly damp when stored, it will likely develop mold or a musty smell. Always ensure the rice is completely dry to the touch, with no stickiness or coolness, before transferring it to an airtight container. Stirring frequently during drying helps prevent this issue.
Using the Wrong Type of Rice
While most white rice varieties work well, instant rice or brown rice can sometimes yield less desirable results. Instant rice can absorb too much liquid and become mushy, while brown rice has a natural color that can dull your vibrant dyes. Stick to long-grain white rice for the best and most consistent outcomes. Its smooth surface takes color beautifully.
Over-Handling Wet Rice
Once the liquid coloring is added, handle the rice primarily by shaking the sealed bag. Constantly touching the wet rice with bare hands can stain your skin and may transfer oils or dirt to the rice, affecting the color or cleanliness. Use a spoon or gloved hands if you need to break up clumps on the drying sheet.
Troubleshooting
Rice is Sticky or Clumpy
If your sensory rice feels sticky or forms hard clumps after drying, it likely means too much liquid was used, or it wasn’t dried thoroughly enough. The best solution is to spread it back out on a baking sheet. Stir it frequently and allow it to air dry for several more hours, or even overnight, in a well-ventilated area. If the stickiness persists, you might need to discard the batch, as residual moisture can lead to mold.
Color is Faded or Uneven
A faded or uneven color usually indicates either not enough food coloring was added initially, or the rice wasn’t shaken sufficiently to coat all grains. You can try to re-color it by placing the rice back into a zip-top bag. Add a few more drops of food coloring (without additional liquid agent, if possible) and shake vigorously again. Then, spread it out to dry completely once more.
Rice Has a Strong Vinegar/Alcohol Smell
A lingering smell from the white vinegar or rubbing alcohol is normal immediately after drying. However, it should dissipate significantly within a day or two. Ensure the rice is completely dry and has been aired out properly. If the smell is still very strong after 24-48 hours, try spreading the rice out again in a well-ventilated room for another day to allow it to fully off-gas.
Key Takeaways
- Choose the Right Rice: Long-grain white rice offers the best canvas for vibrant colors.
- Use a Liquid Agent: White vinegar or rubbing alcohol helps set the color and speeds drying.
- Shake Vigorously: Thorough shaking in a sealed bag ensures even color distribution.
- Dry Completely: Spread rice in a single layer on parchment paper and stir frequently until bone dry.
- Store Properly: Airtight containers in a cool, dry place will extend the life of your sensory rice.
- Experiment Safely: Always supervise young children during sensory play.
Frequently Asked Questions
Is sensory rice safe for toddlers?
Yes, sensory rice is generally safe for toddlers, but constant supervision is crucial. It is a choking hazard for very young children who still mouth objects. Always ensure playtime is supervised, and teach children not to put the rice in their mouths.
How long does homemade sensory rice last?
When made and stored properly in an airtight container in a cool, dry place, sensory rice can last for many months, often up to a year or even longer. The key is ensuring it’s completely dry before storage to prevent mold.
Can I use natural dyes instead of food coloring?
Yes, you can experiment with natural dyes like beet juice, turmeric, or spirulina powder for coloring. However, natural dyes may not yield colors as vibrant or long-lasting as food coloring, and the process can be a bit more involved. They also might have a natural scent.
What if I don’t have white vinegar or rubbing alcohol?
While vinegar or alcohol helps set the color and speed drying, you can technically make sensory rice with just food coloring and a tiny bit of water. However, the colors might not be as vibrant, and the drying time will be significantly longer. Use water very sparingly to avoid soaking the rice.
Our Top Recommended Finds
- Large Zip-Top Gallon Bags: Essential for shaking and mixing your rice without spills.
- Liquid Food Coloring Set: A variety pack allows for endless color combinations and vibrant creations.
- Clear Airtight Storage Bins: Perfect for storing your beautiful sensory rice and keeping it fresh for future play sessions.
Crafting Joy: Your Sensory Rice Adventure Awaits
Making sensory rice is more than just a craft; it’s an invitation to explore, create, and engage the senses. The simple act of transforming plain grains into a rainbow of colors is deeply satisfying. It provides countless opportunities for imaginative play and learning.
Don’t wait to bring this vibrant, tactile experience into your home. Gather your supplies today and embark on your own sensory rice adventure. Your children – and your inner child – will thank you for it.