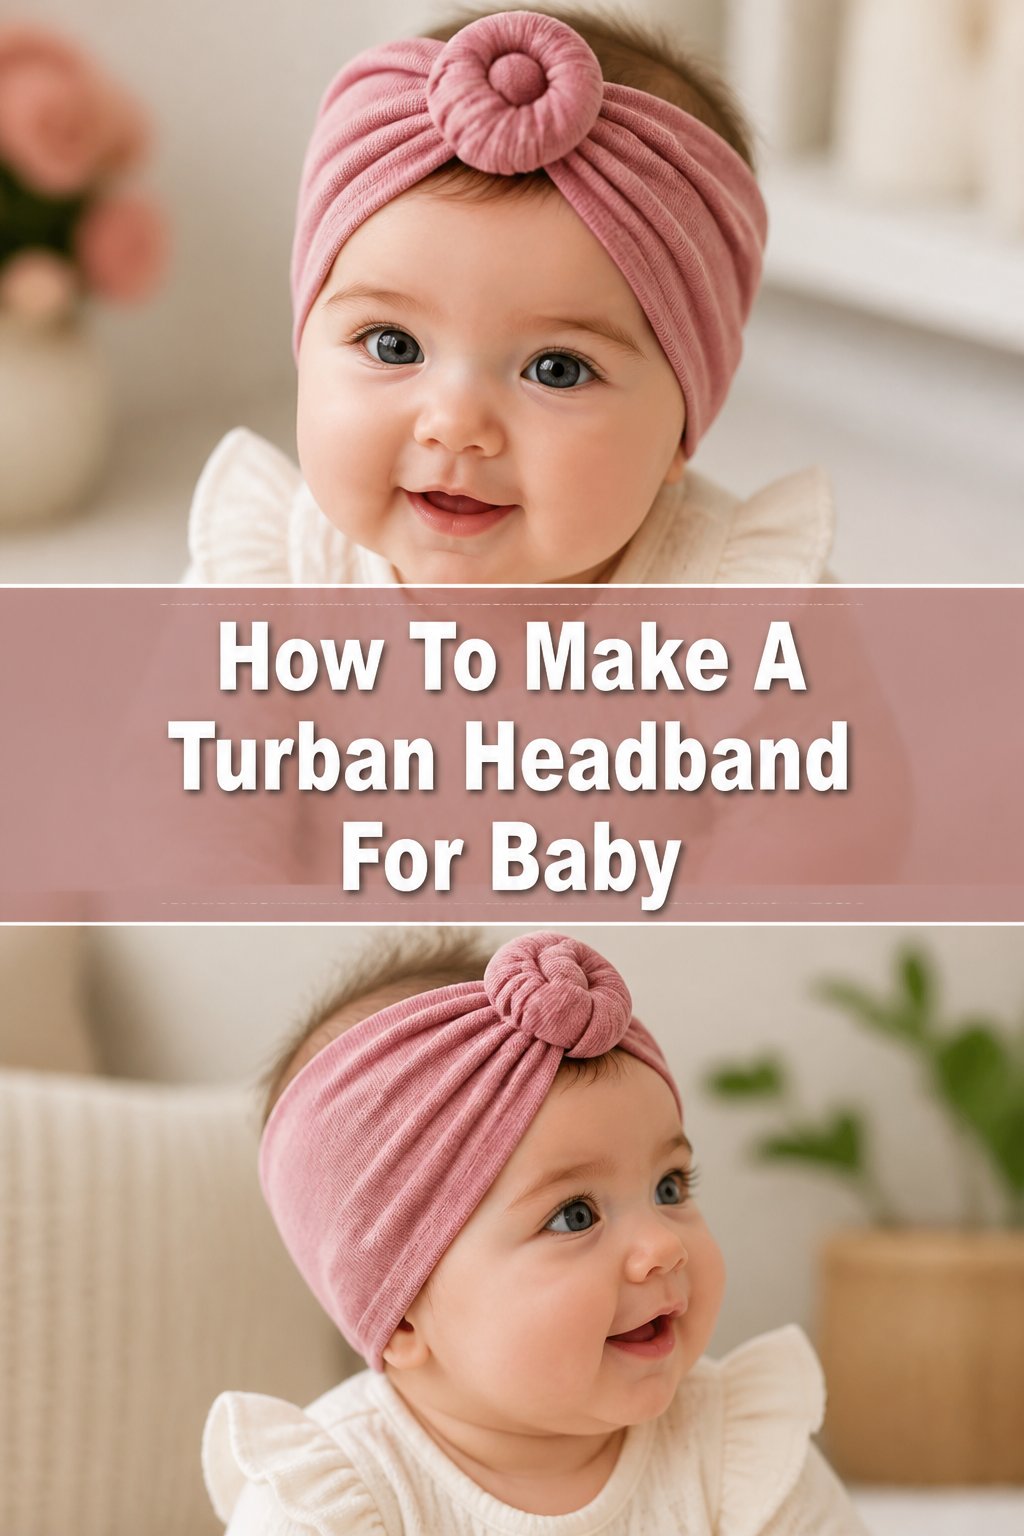
🎀 How To Make A Turban Headband For Baby
Creating something special for your baby brings such a unique joy. A handmade turban headband adds a touch of adorable charm to any outfit. I’ve personally loved seeing my little one wear headbands I’ve crafted, knowing they were made with care.
This guide will help you create a beautiful, soft, and perfectly fitting turban headband. You’ll gain the confidence to make many more in various colors.
Quick Overview
This project will walk you through crafting a delightful turban headband for your baby. You’ll learn how to choose the right fabric, cut precise pieces, and assemble them into a stylish accessory.
- Time needed: 1-2 hours
- Difficulty: Beginner
- What you’ll need: Stretchy knit fabric, thread, scissors, sewing machine (or needle), pins, measuring tape.
Step-by-Step Instructions
Step 1: Gather Your Materials
Before you begin, make sure you have all your supplies ready. Choosing the right fabric is important for comfort and fit. You will need a stretchy knit fabric like jersey knit, cotton lycra, or interlock knit.
These fabrics have good recovery and won’t feel too tight on a baby’s head. You also need matching thread, sharp fabric scissors or a rotary cutter with a mat, sewing pins, a measuring tape, and a sewing machine or hand-sewing needle.
Pro Tip: Always pre-wash and dry your fabric before cutting. This prevents any future shrinkage that could alter the headband’s fit after it’s made.
Step 2: Measure and Cut Fabric Strips
First, measure your baby’s head circumference. Use a soft measuring tape and wrap it gently around the widest part of their head, where the headband will sit. This measurement is crucial for a comfortable fit.
Next, you will cut two identical fabric strips. For each strip, the length should be your baby’s head circumference plus 1 inch (2.5 cm) for seam allowance. The width of each strip should be 4 inches (10 cm) for a finished width of about 1.5 inches (3.8 cm), plus 1 inch (2.5 cm) for seam allowance, making it 5 inches (12.5 cm) total. So, each strip will be (Head Circumference + 1 inch) x 5 inches.
Step 3: Prepare the Fabric Strips
Take one of your cut fabric strips. Fold it lengthwise, bringing the two long raw edges together. Press this fold gently with an iron.
Repeat this process for the second fabric strip. You now have two long, folded strips of fabric.
Step 4: Sew the Long Edges
With the fabric still folded lengthwise, pin the raw edges together on one of your strips. Use your sewing machine to sew along this raw edge, creating a tube. Use a 1/2 inch (1.25 cm) seam allowance.
Leave both ends of the tube open. Repeat this sewing step for the second fabric strip.
Pro Tip: When sewing knit fabrics, use a ballpoint needle in your sewing machine. This type of needle is designed to push through the fabric fibers instead of piercing them, preventing skipped stitches and damage to the knit. Also, use a stretch stitch or a narrow zigzag stitch to maintain the fabric’s elasticity.
Step 5: Turn and Press the Tubes
Once you have sewn both long edges, it’s time to turn the fabric tubes right side out. You can use a safety pin attached to one end and guide it through the tube, or simply push the fabric through itself. This will hide the seam inside.
After turning both tubes right side out, gently press them flat with an iron. Make sure the seam allowance is tucked neatly inside and the fabric lies smooth.
Step 6: Form the Turban Knot
This is where the magic happens and your headband starts to take shape. Lay your two fabric tubes flat on your work surface. Take one tube and place it horizontally.
Take the second tube and lay it vertically over the center of the first tube, forming a cross shape. Now, take the left end of the horizontal tube and loop it over the vertical tube, bringing it back towards the right.
Then, take the right end of the horizontal tube and loop it under the vertical tube, bringing it back towards the left. Gently adjust and pull the loops to create a neat, intertwined knot. This creates a simple yet elegant turban twist.
Pro Tip: Don’t be afraid to experiment with different twists or knots. You can create a more complex look by twisting the tubes multiple times before joining the ends. Pin the knot securely in place once you are happy with its appearance.
Step 7: Join the Ends
Once your turban knot is formed and pinned, you will now join the raw ends of your fabric strips to create a continuous loop. Bring the ends of the first fabric tube together, overlapping them slightly. The knot should be in the center.
Make sure the right sides of the fabric are facing each other where they meet. Pin these ends together, aligning the raw edges. Repeat this for the second fabric tube, bringing its ends together and pinning them.
Carefully sew these overlapping ends together with your sewing machine, using a 1/2 inch (1.25 cm) seam allowance. This will close the loop and secure the turban shape. Ensure all raw edges are enclosed.
Step 8: Finish and Refine
After sewing the ends, trim any excess fabric from the seam allowances. You can also use a serger if you have one, for a cleaner finish on the raw edges. This prevents fraying and gives a professional look.
Turn the headband right side out so all seams are hidden. Gently stretch the headband a few times to help it settle into its final shape. Admire your beautiful, handmade baby turban headband!
Common Mistakes to Avoid
Using Non-Stretchy Fabric
A common pitfall for beginners is choosing the wrong type of fabric. Using cotton broadcloth or other woven fabrics will result in a stiff headband that won’t stretch or conform to the baby’s head. This will be uncomfortable and could even be unsafe if it’s too tight.
Always opt for knit fabrics like jersey, cotton lycra, or interlock. These fabrics have the necessary stretch and recovery to provide a soft, comfortable, and safe fit for a baby.
Incorrect Measurements
Getting the measurements wrong can lead to a headband that is either too loose or too tight. A headband that is too loose will constantly fall off, while one that is too tight can leave marks and be uncomfortable for the baby. Always measure the baby’s head circumference accurately.
Remember to add the specified seam allowance to your length measurement to ensure the finished product is the correct size. Double-check your numbers before cutting.
Skipping Pre-Washing
It might seem like an extra step, but pre-washing your fabric is vital. Most fabrics, especially cotton knits, will shrink slightly during their first wash and dry cycle. If you don’t pre-wash, your perfectly sized headband might shrink after its first laundry cycle, becoming too small.
Pre-washing ensures that any shrinkage happens before you cut and sew, resulting in a headband that maintains its size after washing. This saves you from disappointment later on.
Rushing the Knot
The turban knot is the focal point of the headband, and rushing this step can lead to a messy or uneven appearance. If the twists are not carefully formed and aligned, the headband might look lopsided or less polished.
Take your time when forming the knot. Pin the twists securely in place before you start joining the ends. Practicing the knot with scrap fabric can also help you achieve a cleaner look.
Troubleshooting
Headband is Too Tight/Loose
If your finished headband feels too tight, it likely means you didn’t add enough ease or your seam allowance was too generous. For future projects, add an extra 1/2 inch to the length calculation or reduce your seam allowance slightly. If it’s too loose, you can carefully take in the seam where the ends are joined, or add a small piece of elastic to the back seam for a snugger fit.
Knot Looks Messy
A messy knot often happens when the fabric isn’t evenly pulled or pinned. Carefully undo the knot and re-form it, ensuring both tubes are twisted smoothly and symmetrically. Use more pins to hold each twist in place before you sew. Practice on scrap fabric to get a feel for the tension and placement.
Fabric Edges Fraying
Knit fabrics typically don’t fray as much as woven fabrics, but some can still unravel, especially if they are loosely knit. If you notice fraying, you can use a serger to finish the raw edges of your fabric strips before sewing. Alternatively, you can apply a small amount of “Fray Check” liquid sealant to the raw edges after cutting, before you begin sewing.
Key Takeaways
- Choosing a soft, stretchy knit fabric like jersey or cotton lycra is crucial for baby comfort and proper fit.
- Accurate measurement of the baby’s head circumference, plus correct seam allowances, ensures the headband is neither too tight nor too loose.
- Always pre-wash your fabric to prevent unexpected shrinkage after the headband is complete.
- Take your time forming the turban knot, pinning it securely to achieve a neat and symmetrical appearance.
- Using a ballpoint needle and a stretch stitch on your sewing machine will prevent skipped stitches and maintain fabric elasticity.
- Handmade items carry a special sentiment and allow for unique customization in colors and patterns.
Frequently Asked Questions
What’s the best fabric for a baby turban headband?
The best fabrics are soft, stretchy knits such as cotton jersey, cotton lycra, or interlock knit. These materials are comfortable against a baby’s delicate skin, offer good stretch for easy wear, and have excellent recovery to maintain their shape. Look for fabrics with at least 5% spandex for good stretch.
Can I make this without a sewing machine?
Yes, absolutely! You can hand-sew this turban headband using a basic needle and thread. A backstitch or a whipstitch would work well for joining the fabric edges. It might take a bit longer, but the result will be just as lovely and durable with careful stitching.
How do I choose the right size for different ages?
To ensure the perfect fit, always measure the specific baby’s head circumference. Babies grow quickly, and sizes vary. If you don’t have the baby’s measurement, you can look up standard head circumference charts for different age ranges as a general guide, but direct measurement is always best.
Is it safe for newborns?
When made correctly, a turban headband can be safe for newborns. Ensure the fabric is soft and breathable, and the headband is not too tight, as it should never leave marks on the baby’s head. Always supervise babies while they wear headbands and remove them during sleep.
Our Top Recommended Finds
- Soft Jersey Knit Fabric: This type of fabric offers excellent stretch and softness, making it ideal for delicate baby skin. It drapes beautifully and is easy to work with, even for beginners.
- Rotary Cutter & Mat Set: A rotary cutter provides precise, clean cuts on knit fabrics much faster than scissors. Paired with a self-healing mat, it makes cutting straight lines and accurate shapes effortless.
- Ballpoint Sewing Machine Needles: Essential for sewing knits, these needles have a rounded tip that pushes fabric fibers aside instead of piercing them. This prevents snags, runs, and skipped stitches, ensuring a smooth sewing experience.
Your Handmade Journey Continues
You’ve just created a beautiful, personalized turban headband for your little one. This project is more than just a craft; it’s a labor of love, adding a unique touch to your baby’s wardrobe. The satisfaction of making something with your own hands is truly rewarding.
Now that you’ve mastered the basic turban headband, consider experimenting with different colors, patterns, or even adding embellishments like small fabric flowers. You could create a whole collection to match every outfit. Don’t wait; gather your materials and start crafting today, bringing more handmade charm into your baby’s world!