✨ How To Divide A Room Ideas For Kids
I remember growing up, sharing a room with my sister often felt like a constant battle for personal space.
Creating distinct zones for kids can transform chaos into calm, giving everyone their own special corner.
This guide draws from years of helping families design functional, happy spaces, ensuring every child feels valued and comfortable in their shared or multifunctional room.
Quick Overview
Dividing a room for kids can feel like a big project, but it’s incredibly rewarding. You’ll create personalized zones that foster independence and harmony.
This guide will walk you through planning, choosing the right dividers, and setting up spaces that truly work for your children.
- Time needed: A few hours to a weekend, depending on your chosen method and room size.
- Difficulty: Beginner to Intermediate – most ideas are simple, some may require basic DIY skills.
- What you’ll need: Measuring tape, pencil, paper, basic tools (e.g., screwdriver, level), and your chosen dividing materials.
Step-by-Step Instructions
Step 1: Assess Your Space and Needs
Before moving anything, take a moment to really look at the room. Consider its size, shape, and existing features like windows, doors, and electrical outlets.
Measure the room accurately. Note down the dimensions of walls, the height of the ceiling, and the placement of any permanent fixtures.
Think about the children using the space. What are their ages, interests, and daily routines? Do they need quiet study areas, active play zones, or private sleeping quarters?
Pro Tip: Involve your kids from the very beginning. Ask them what they wish for in their “new” space. Their input can spark creative ideas and make them feel invested in the project.
Step 2: Define the Purpose of Each Zone
Clearly decide what each section of the room will be used for. Common zones include sleeping, studying, playing, and storage.
For siblings sharing, each might need their own sleep area and a dedicated space for personal items. You might also want a shared play zone or reading nook.
Consider the noise levels and activities associated with each zone. A quiet study area should ideally be separated from a boisterous play zone.
Step 3: Choose Your Dividing Method
This is where creativity comes into play. There are many ways to divide a room, ranging from simple and temporary to more permanent solutions.
Curtains or Fabric Panels: These are a soft, flexible, and affordable option. They can be hung from ceiling tracks or tension rods, offering privacy when needed and easily opened for an open feel.
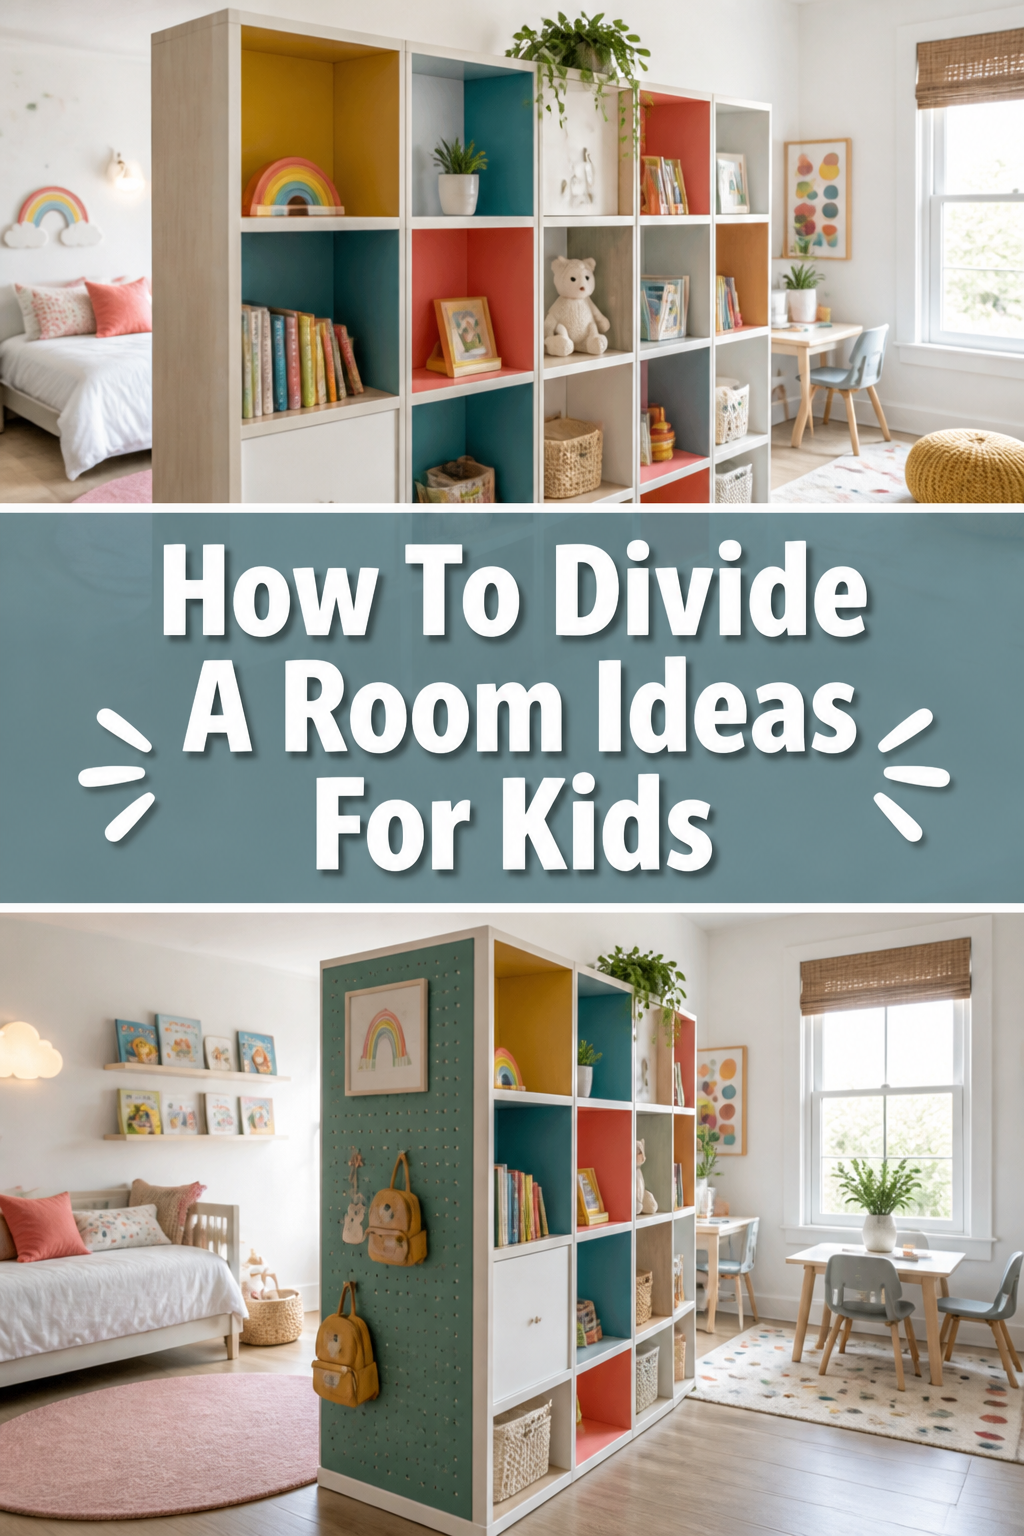
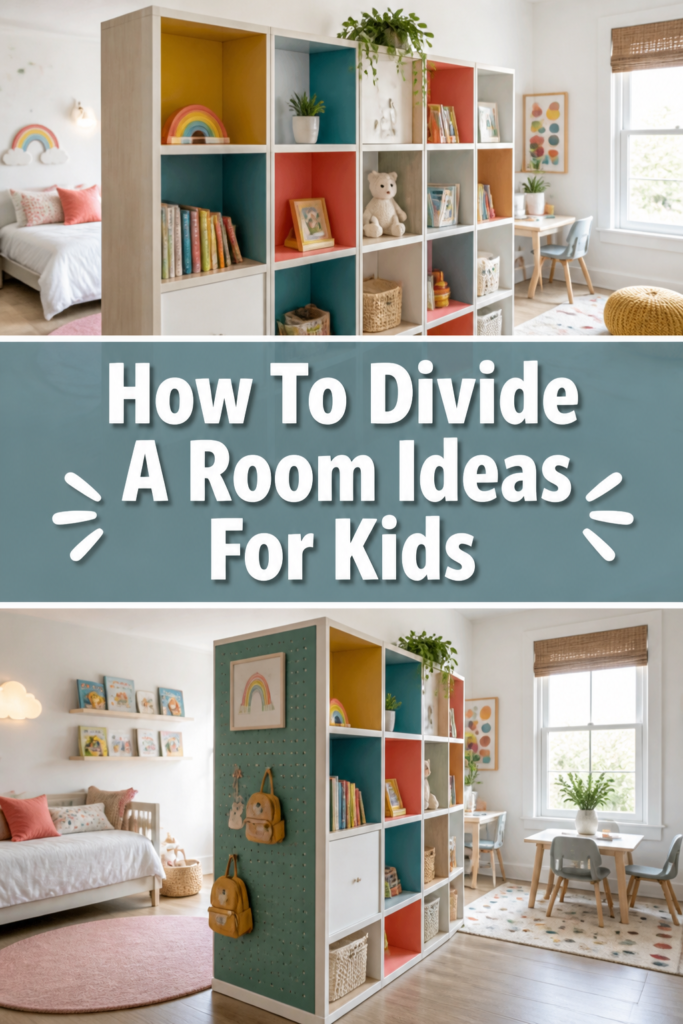
Shelving Units or Bookcases: A popular choice, as they provide both division and valuable storage. Choose open-backed units to allow light to pass through, or solid ones for more defined separation.
Folding Screens or Room Dividers: These portable solutions offer instant privacy and can be moved around easily. They come in various styles, from decorative to plain, and can be customized with paint or fabric.
Furniture Placement: Sometimes, simply arranging existing furniture strategically can create distinct zones. Place beds head-to-toe, or use a dresser as a natural barrier between areas.
Half-Walls or Partitions: For a more permanent solution, a low wall or a framed partition can offer substantial separation without completely closing off the space. These usually require some construction.
Area Rugs and Lighting: While not physical barriers, different rugs and lighting fixtures can visually define zones. A bright rug might mark a play area, while a softer light highlights a reading nook.
Step 4: Plan Your Layout
With your dividing method in mind, it’s time to sketch out your ideas. Draw a rough floor plan of the room, including windows and doors.
Use graph paper or an online room planner tool to experiment with different layouts. This helps visualize how the divider will fit and how traffic will flow.
Consider access to natural light. Try not to block windows completely with tall dividers. Think about pathways to doors and closets, ensuring they remain clear.
Step 5: Gather Your Materials
Once you’ve finalized your plan, make a detailed list of everything you’ll need. This includes the divider itself, as well as any tools or hardware for installation.
Purchase your chosen divider, whether it’s fabric, a shelving unit, or a folding screen. Don’t forget curtain rods, hooks, or anchor screws if needed.
Collect any decorative items for personalizing each zone. This might include paint, stickers, small rugs, or unique lighting elements.
Step 6: Prepare the Room
Before you start installing anything, clear out the room as much as possible. Remove furniture, toys, and clutter from the areas where you’ll be working.
Clean the walls, floors, and any surfaces where your divider will be placed. A clean slate makes the installation process smoother and more enjoyable.
If you’re painting or making any structural changes, complete those steps now before bringing in the divider.
Step 7: Install Your Divider
Follow the specific instructions for your chosen dividing method. Take your time and double-check measurements.
For curtains: Install curtain rods or tracks securely to the ceiling or wall. Hang your chosen fabric, ensuring it drapes nicely and offers the desired level of privacy.
For shelving units: Assemble the unit according to manufacturer instructions. If it’s tall and freestanding, always secure it to a wall or the floor with anti-tip anchors for safety, especially in a kid’s room.
For folding screens: Simply unfold and position them. Ensure they are stable and won’t easily tip over during play.
For half-walls: This requires more advanced DIY skills. Frame out the wall, cover with drywall or paneling, and finish with paint. Ensure it’s structurally sound and safe.
Step 8: Personalize Each Zone
This is the fun part where the kids can truly make their space their own. Allow them to choose colors, themes, and decorations for their individual zones.
Add personal touches like posters, photos, or artwork. Use different colored bedding or throw pillows to distinguish sleeping areas.
Incorporate appropriate storage for each zone. Bins for toys in the play area, a small desk and shelves for books in the study zone.
Step 9: Test and Adjust
Once everything is in place, spend some time observing how the new layout works. Have your kids try out their new spaces.
Check for functionality, safety, and comfort. Are pathways clear? Is the divider stable? Does each child feel like they have enough space?
Don’t be afraid to make small adjustments. Move a chair, adjust a curtain, or add a lamp if needed. The goal is to create a space that truly enhances their daily lives.
Common Mistakes to Avoid
Blocking Natural Light
One common pitfall is placing a divider in a way that completely blocks natural light from reaching one or both sections of the room. This can make a space feel dark and gloomy, impacting mood and energy levels.
Instead, opt for translucent materials like sheer curtains or open-backed shelving units. Position your divider strategically to allow light to flow, or consider adding mirrors to reflect light into darker corners.
Ignoring Safety
In a kid’s room, safety is paramount. Overlooking potential hazards with your room divider can lead to accidents. Unstable furniture, sharp edges, or trip hazards are serious concerns.
Always secure tall shelving units to the wall with anti-tip kits. Ensure any fabric dividers are flame-retardant and that all materials are non-toxic. Regularly check for loose parts or instability, especially with younger children around.
Not Involving the Kids
Skipping your children’s input in the design process can lead to resistance and dissatisfaction. If they don’t feel a connection to their new space, they might not respect the boundaries you’ve created.
Involve them from the planning stages. Let them choose colors, themes, or even help with simple tasks like decorating. This fosters a sense of ownership and excitement for their newly divided room.
Over-Dividing Small Spaces
While the goal is division, too many barriers in a small room can make it feel cramped and claustrophobic. This can limit movement and make the room less functional overall.
For smaller rooms, consider visual dividers like area rugs, different wall colors, or low furniture rather than tall, solid barriers. Focus on creating a sense of distinctness without sacrificing openness and light.
Troubleshooting
Divider Feels Unstable
If your chosen room divider, especially a tall shelf or screen, feels wobbly, it poses a safety risk. This is particularly concerning in a child’s room where climbing or leaning might occur.
Ensure all screws and fasteners are tightened. For shelving units, use wall anchor kits to secure them directly to wall studs. For folding screens, consider placing heavy items at the base or adding small, discreet weights to improve stability.
Kids Still Bicker Over Space
Even with a divided room, siblings might still argue about boundaries or shared items. The physical division doesn’t always solve underlying conflicts immediately.
Re-evaluate the rules for each zone and discuss them with your children. Clearly define what belongs where and what activities are allowed in each area. Consider creating a small, designated “shared zone” for toys or activities that are meant for both, reinforcing the idea of cooperation.
Room Feels Dark/Cramped After Dividing
Sometimes, dividing a room can unintentionally reduce the amount of light or make the space feel smaller than before. This can make the room less inviting.
Introduce additional lighting sources, such as floor lamps, desk lamps, or string lights in each zone. Use lighter paint colors on walls and ceilings to brighten the space. Incorporate mirrors to reflect light and create an illusion of more space. If possible, use translucent or open dividers that allow light to filter through.
Key Takeaways
- Plan thoroughly: Measure your space and define each zone’s purpose before you begin.
- Prioritize safety: Secure all dividers, especially tall furniture, to prevent accidents.
- Involve your children: Let them contribute to the design to foster ownership and excitement.
- Choose flexible solutions: Opt for versatile dividers that can adapt as your children grow.
- Maximize natural light: Avoid blocking windows and use reflective surfaces to keep the room bright.
- Personalize each space: Allow children to decorate their zones to reflect their individual personalities.
Frequently Asked Questions
How do I divide a room without drilling holes?
There are several excellent options if you want to avoid drilling. Tension rods can hold curtains or fabric panels securely between two walls. Freestanding cube storage units or bookcases provide division without wall attachment. Folding screens are completely portable and require no installation. Even clever furniture arrangement can create distinct zones without any hardware.
What’s the best way to divide a room for different age groups?
Consider the specific needs of each child. For a toddler and a pre-teen, you might need a more solid barrier to reduce noise and provide privacy for the older child, while ensuring the younger child’s area is safe. A solid shelving unit or a half-wall can work well. For children closer in age, a fabric divider or furniture arrangement might suffice, allowing for more interaction when desired.
Can I divide a room temporarily?
Absolutely! Many room division ideas are designed for temporary use. Curtains on tension rods, freestanding folding screens, and even large pieces of furniture like wardrobes or dressers can be used to create temporary zones. These options are perfect for renters or for families whose needs might change frequently.
How much does it cost to divide a room?
The cost varies widely depending on your chosen method and materials. Using existing furniture or repurposing old curtains can cost next to nothing. Tension rods and fabric panels are very affordable, typically under $100. New shelving units or decorative folding screens can range from $100 to $500. More permanent solutions like building a half-wall will involve material and potential labor costs, running into hundreds or even thousands of dollars.
Our Top Recommended Finds
- Adjustable Tension Rods: Perfect for hanging curtains or lightweight fabric panels without drilling. They offer quick, temporary, and damage-free division.
- Freestanding Cube Storage Units: These versatile units act as both a room divider and abundant storage for toys, books, and clothes. Choose open-backed designs for light flow.
- Decorative Folding Screens: An instant, no-fuss solution for privacy or creating a visual barrier. They come in many styles and can be folded away when not needed.
Transforming Spaces, Inspiring Kids
Dividing a room for your children is more than just creating physical barriers. It’s about designing a space where each child feels seen, respected, and has a personal haven to grow and thrive.
By thoughtfully planning and implementing these ideas, you’ll foster independence and reduce sibling squabbles, making home life a little more harmonious.
Ready to embark on this exciting project? Start by assessing your room’s needs today and watch as your kids’ faces light up with their new, personalized zones!