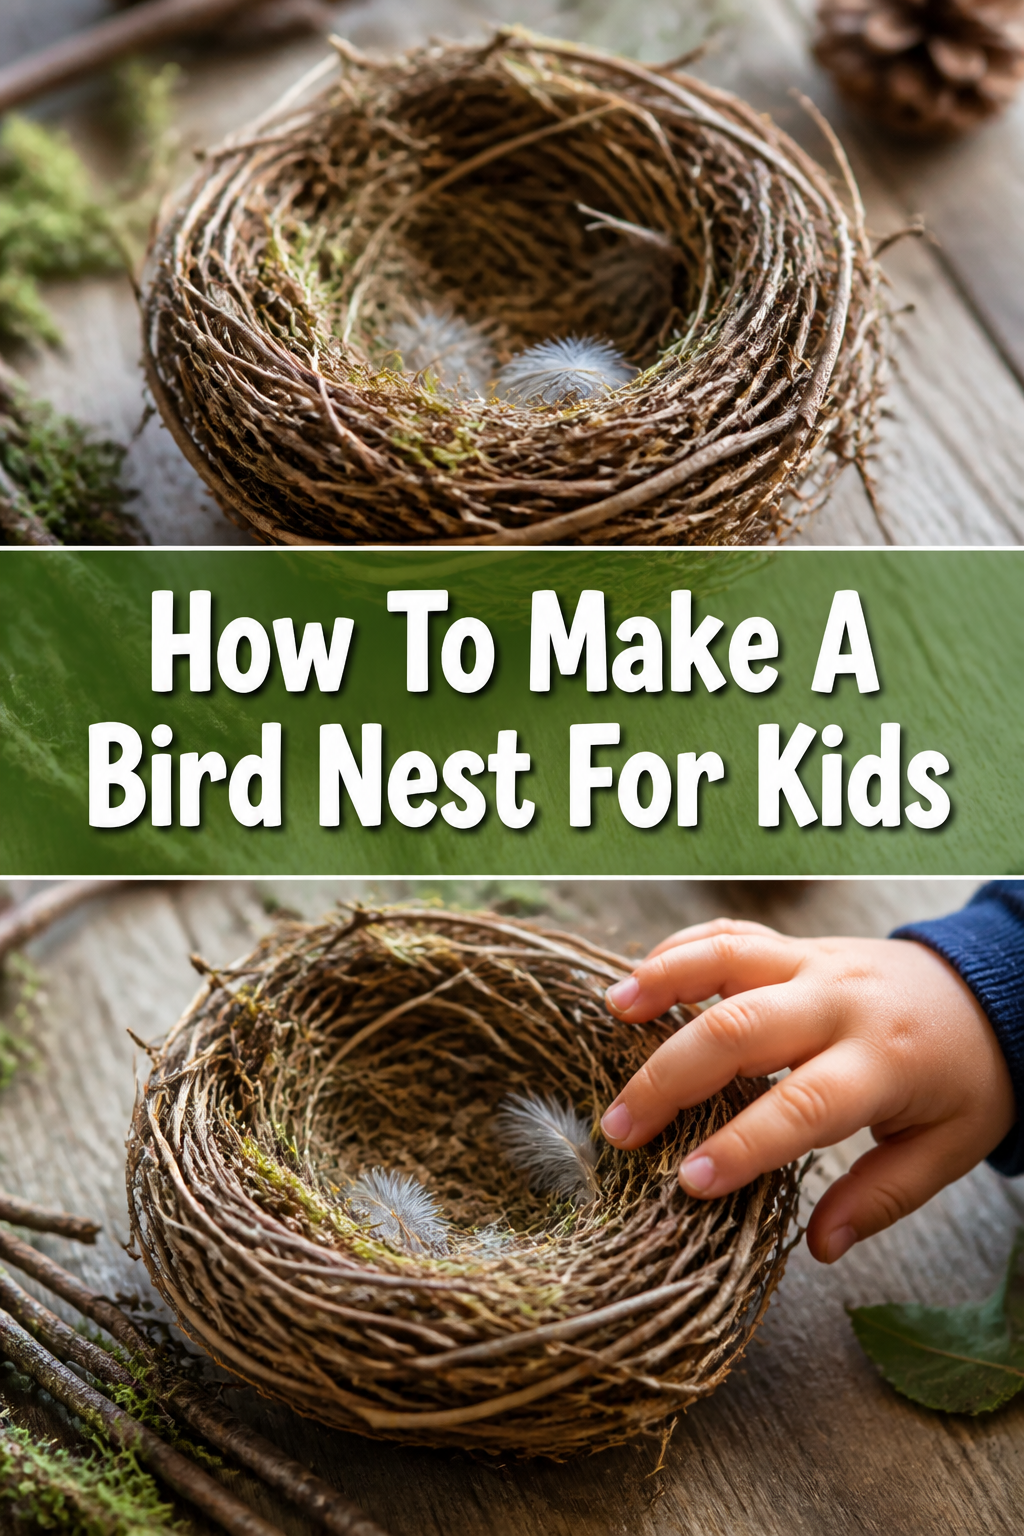
🐦 How To Make A Bird Nest For Kids
Imagine the joy of watching a little bird build its home. It’s truly a magical sight.
Creating a bird nest with your child is a wonderful way to connect with nature. It teaches them about wildlife and gives them a meaningful project.
I’ve spent countless afternoons with my own children, gathering twigs and leaves, learning firsthand what makes a sturdy, inviting nest. This guide shares those practical lessons.
Quick Overview
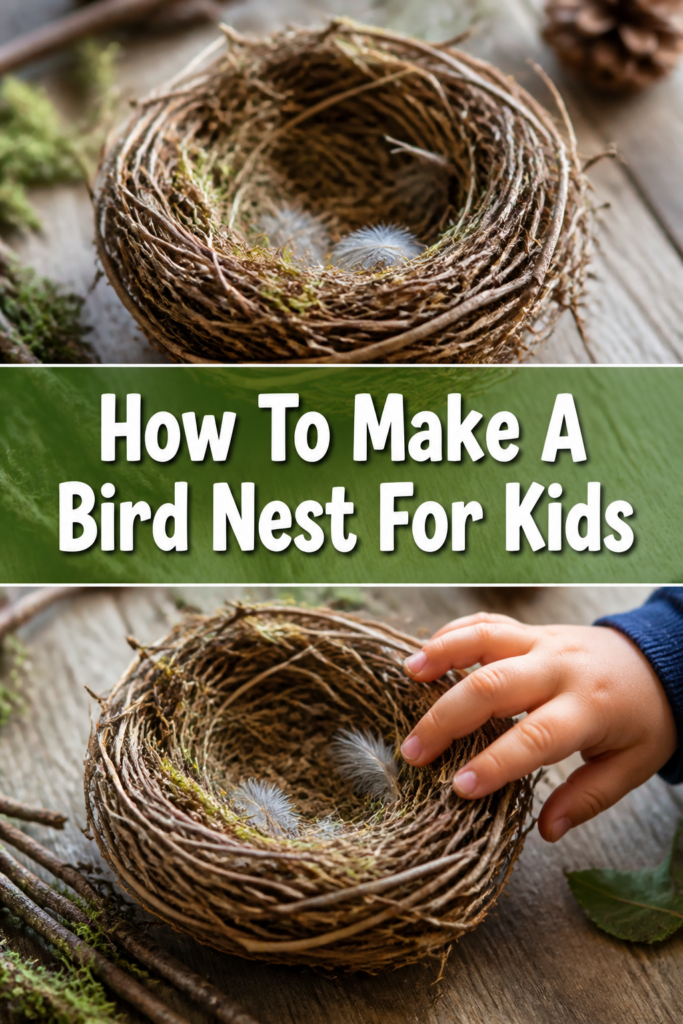
This project will lead you and your child through creating a safe and cozy nest, perfect for display or for inviting feathered friends into your garden. You’ll learn about natural materials and basic construction.
- Time needed: 1-2 hours (plus drying time for mud)
- Difficulty: Beginner
- What you’ll need: Twigs, leaves, grass, natural string, mud, a small bowl or basket, scissors.
Step-by-Step Instructions
Step 1: Gather Your Nesting Materials
Start by heading outdoors to collect a variety of natural items. Look for things birds might use themselves. This is a great treasure hunt for kids.
Collect small twigs, soft grasses, dried leaves, moss, and even some mud. Aim for a mix of flexible and sturdy items.
Seek out natural string or jute twine if you want extra reinforcement. Just make sure it’s untreated and biodegradable.
Pro Tip: Encourage your child to find materials of different textures and sizes. This helps them understand the diversity birds use. Think about what feels soft for a lining and what feels strong for a structure.
Step 2: Prepare Your Workstation and Base
Find a clear, flat surface to work on, perhaps outdoors or covered with newspaper. This project can get a little messy, which is part of the fun.
Place your small bowl or basket upside down. This will serve as your initial mold for the nest’s shape. A rounded container works best.
Ensure the bowl is stable and won’t wobble as you build around it. You can place a small weight inside if needed.
Step 3: Begin Building the Nest’s Foundation
Take some longer, more flexible twigs and start to weave them around the base of your upside-down bowl. Think of it like building a small fence.
Intertwine the twigs, pushing them into the natural gaps created by other twigs. This creates a loose, circular foundation.
Use your natural string or twine to tie some of the initial twigs together if they are struggling to hold their shape. This adds immediate stability.
Step 4: Construct the Nest Walls
Gradually build up the sides of the nest, continuing to weave and interlock twigs and grasses. You want to create a cup shape.
Push materials inwards as you build upwards, following the curve of your bowl mold. This will give the nest its characteristic rounded shape.
Add thicker twigs at intervals to provide structural support. These act like the “ribs” of the nest.
Step 5: Incorporate Mud for Strength
Birds often use mud as a natural cement to hold their nests together. You can do the same to strengthen your creation.
Mix a small amount of dirt with water to create a thick, sticky mud. It should be firm enough to hold its shape but still spreadable.
Apply thin layers of mud to the inside and outside of the woven structure. Gently press it into the gaps between the twigs and grasses. This helps bind everything together.
Step 6: Create a Soft, Cozy Interior
Once the main structure is taking shape, it’s time to make the inside inviting. Birds line their nests with soft materials for their eggs and chicks.
Line the interior of your nest with soft grasses, moss, dried leaves, or even a few feathers if you find them. Press these gently against the mud-coated walls.
Ensure the lining is smooth and covers any sharp twig ends. The goal is to make it as comfortable as possible.
Step 7: Refine the Shape and Sturdiness
Carefully remove the nest from the upside-down bowl mold. Now you can see its true shape and make adjustments.
Gently reshape any uneven edges or flatten the bottom slightly if it’s too rounded. You want a stable base for the nest to sit on.
Check for any weak spots or areas where materials are loose. Add more mud or twine to reinforce these sections.
Pro Tip: Hold the nest gently in your hands and give it a slight shake. If anything feels loose or falls out, it needs more reinforcement. Think like a bird trying to survive a windy day!
Step 8: Allow the Nest to Dry
The mud you’ve used needs time to harden and properly bind the materials. This is a crucial step for durability.
Place the finished nest in a sunny, dry spot outdoors. This will help the mud dry and cure thoroughly.
Allow it to dry for at least 24-48 hours, or longer if the weather is humid. The nest should feel firm and solid when completely dry.
Step 9: Choose the Perfect Spot (Optional for Display)
If your goal is to offer the nest to actual birds, placement is key. If it’s for display, pick a place where it can be admired.
Select a sheltered location in your garden, away from strong winds and direct sun. Ideally, it should be in a tree or dense shrub.
Ensure the spot is high enough to deter ground predators like cats. Birds prefer a sense of security.
Step 10: Secure Your Nest
If you’re placing the nest outdoors, you’ll need to make sure it’s firmly attached and won’t fall.
Use natural twine or wire (if carefully concealed) to secure the nest to a branch or a sturdy support. Loop it around the nest and the branch.
Check that the nest is level and stable. A wobbly nest won’t attract birds and could be dangerous for any potential occupants.
Common Mistakes to Avoid
Using Unsafe Materials
It’s tempting to use colorful yarn or shiny tinsel, but these can be harmful to birds. Synthetic materials don’t break down and can get tangled around birds’ legs or wings, causing injury. Stick to natural, untreated items like twigs, leaves, and plain cotton string.
Making It Too Shallow or Too Deep
A nest that’s too shallow won’t protect eggs or chicks from falling out or predators. One that’s too deep might make it hard for parent birds to feed their young or escape quickly. Aim for a depth that allows a bird to sit comfortably with its head just visible above the rim. About 3-4 inches deep is usually good for small birds.
Placing It in a Dangerous Spot
Putting a nest where it’s exposed to harsh weather or predators will likely mean it won’t be used. Avoid placing it in direct, scorching sunlight, or in areas with strong, constant winds. Keep it away from accessible fences or low branches where cats or squirrels can easily reach it.
Not Making It Sturdy Enough
A flimsy nest won’t withstand wind, rain, or the movements of a bird family. If your nest falls apart easily, birds won’t trust it. Use plenty of mud, tightly woven twigs, and secure any loose ends with natural twine to ensure it’s robust and durable.
Troubleshooting
Nest Falls Apart Easily
If your nest isn’t holding its shape, it’s likely due to insufficient binding materials or weak weaving. Go back and reinforce the structure.
Add more mud: Ensure the mud is well-mixed and pressed firmly into all the gaps. Let it dry completely.
Strengthen with twine: Use natural jute twine to tie key structural twigs together, especially around the rim and base.
Weave tighter: Practice interlocking the twigs and grasses more closely. Each piece should support its neighbors.
Birds Don’t Use the Nest
It can be disappointing if birds don’t adopt your creation, but there are often clear reasons. Patience is also key.
Check the location: Is it too exposed to wind, sun, or predators? Try moving it to a more sheltered, higher spot.
Consider human scent: Birds have a strong sense of smell. Minimize handling the nest once it’s placed.
Review the design: Is it a suitable size and depth for local birds? Does it look natural? Sometimes, birds prefer their own construction.
Materials Are Hard to Find
If you live in an urban area or during certain seasons, finding natural materials can be a challenge.
Explore local parks: Many parks have fallen twigs and leaves that are perfect for nesting. Always check park rules before collecting.
Get creative with household items: Untreated cotton balls, dryer lint (from natural fibers only), or small bits of uncolored yarn can be offered in a suet cage for birds to collect themselves.
Grow native plants: Planting native grasses and shrubs in your garden will naturally provide nesting materials and attract birds.
Key Takeaways
- Always choose natural, untreated materials for bird nests to ensure safety.
- A sturdy, well-bound structure is essential for the nest’s longevity and bird safety.
- Proper placement away from predators and harsh weather significantly increases the chance of use.
- Making a nest is a fantastic hands-on learning experience for children about nature.
- Patience is vital; attracting birds to a new nest can take time, or they may simply prefer building their own.
- Enjoy the process and the connection it fosters with the natural world around you.
Frequently Asked Questions
What kind of birds will use this nest?
Your handmade nest is most likely to appeal to smaller, generalist birds that are adaptable. Think of species like wrens, finches, or sparrows. Larger birds typically build more elaborate or specific nests.
Can I put eggs in the nest to encourage birds?
No, it’s best not to put anything in the nest, especially eggs. Birds are very sensitive to human scent and may abandon a nest if they detect it or if it appears tampered with. Let nature take its course.
How often should I check on the nest once it’s placed?
Once the nest is placed, it’s best to observe it from a distance. Frequent checking can disturb birds and deter them from using it. If birds start using it, keep your distance to avoid stressing them.
What if predators are a problem in my garden?
If you have issues with cats, squirrels, or other predators, consider installing baffles on poles if the nest is mounted on one. Choose dense, thorny bushes for placement, and ensure the nest is high enough to be out of easy reach.
Our Top Recommended Finds
- Kid-Friendly Gardening Gloves: Protect little hands while foraging for twigs and mud. They make the experience more comfortable.
- Natural Jute Twine: A strong, biodegradable string perfect for reinforcing nests without harming wildlife. It’s a versatile crafting tool.
- Beginner Bird Watching Guide: Helps identify the birds that might visit your garden and use your nest, enhancing the learning experience.
Embrace Nature’s Little Builders
Creating a bird nest is more than just a craft project; it’s an invitation to nature. It teaches patience, observation, and respect for wildlife.
As you and your child embark on this adventure, remember the true reward is the journey and the connection you build with the natural world.
So, gather your materials and start building your very own backyard bird sanctuary today. Who knows what feathered friends might come to visit?