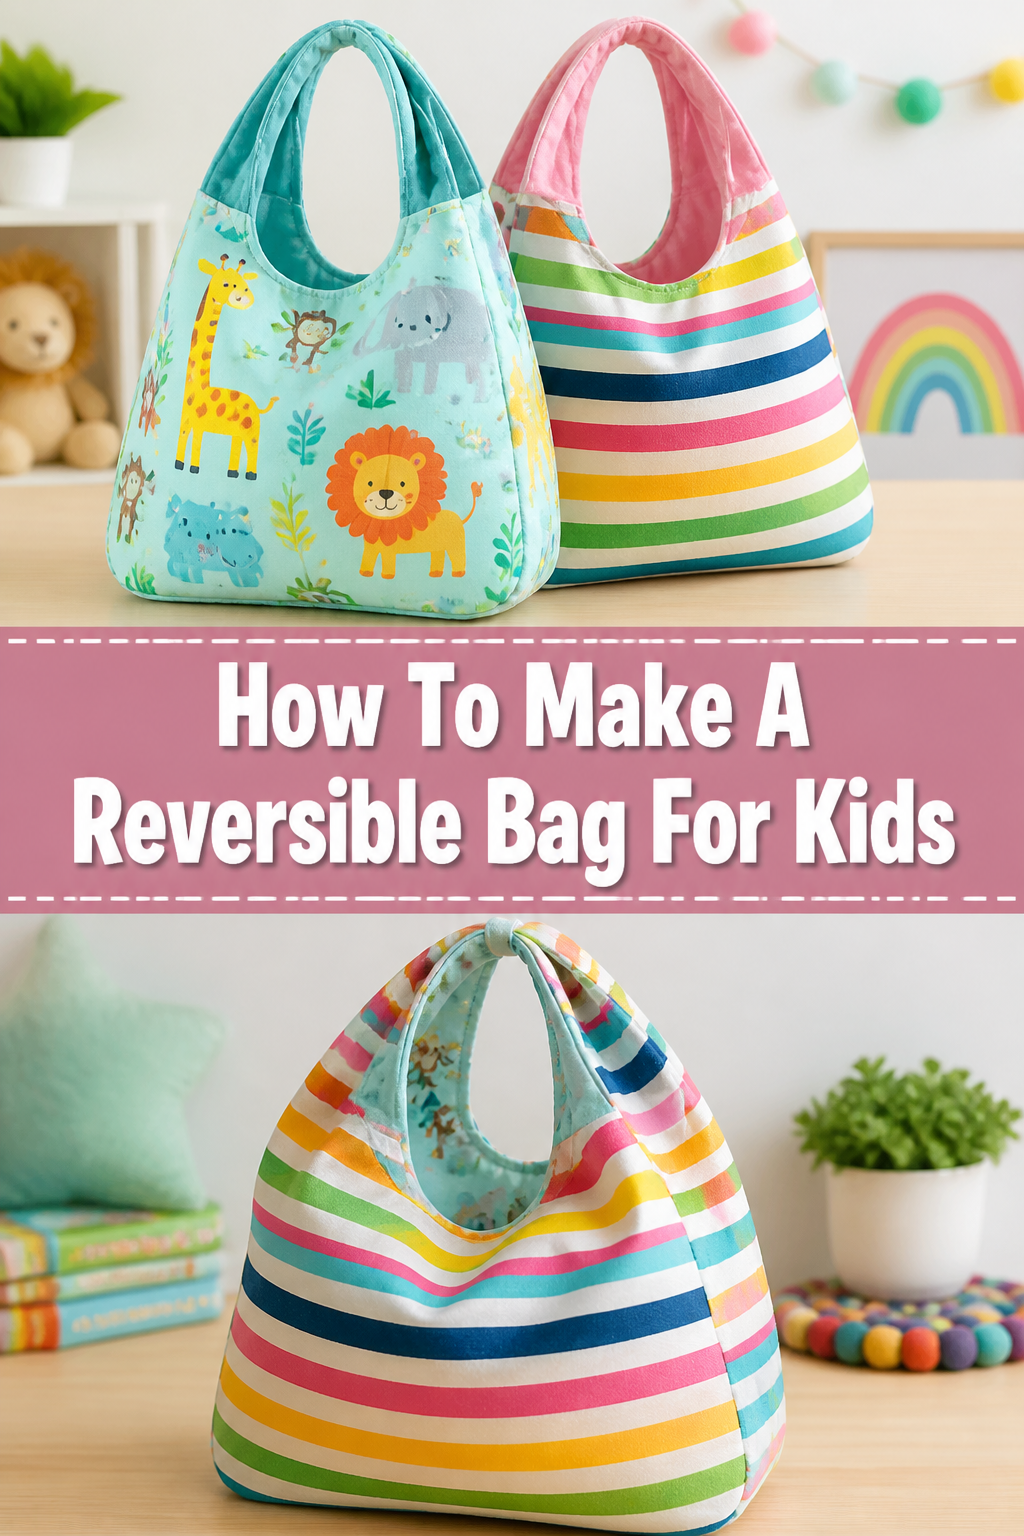
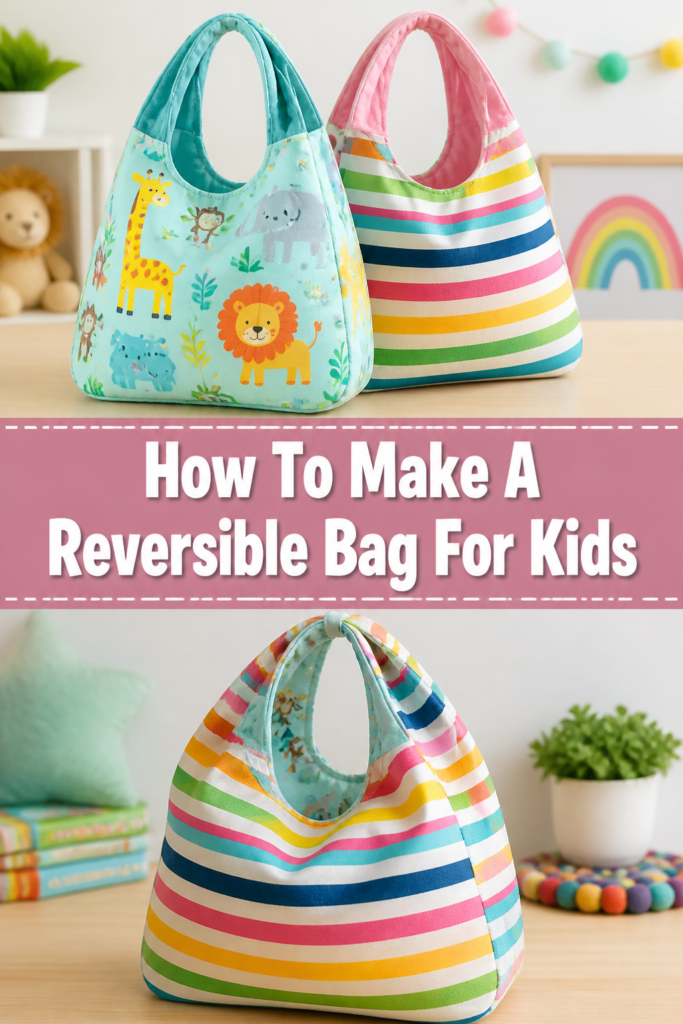
👜 How To Make A Reversible Bag For Kids
Making a special gift for a child is incredibly rewarding. There’s a unique joy in seeing their face light up when they receive something handmade just for them. I’ve personally crafted several of these reversible bags for my nieces and nephews, and they quickly become their go-to accessory for carrying treasures. This guide shares all my practical tips and tricks, ensuring your project is a success from start to finish.
Quick Overview
You’re about to create a versatile, two-in-one bag perfect for little adventurers. This project is fantastic for developing basic sewing skills while making something truly useful. It’s a wonderful way to use up fabric scraps and add a personal touch to a child’s everyday items.
- Time needed: 2-4 hours (depending on experience level)
- Difficulty: Beginner
- What you’ll need: Two contrasting fabrics, iron-on interfacing, strap material, basic sewing supplies.
Step-by-Step Instructions
Step 1: Gather Your Materials
Before you begin, ensure you have everything laid out. This prevents interruptions and keeps your workflow smooth. Having the right tools makes all the difference in a pleasant sewing experience.
You will need two pieces of main fabric, each measuring 14 inches by 14 inches. Choose fun, kid-friendly prints that complement each other. These will form the outer and inner layers of your bag.
Next, you’ll need two pieces of iron-on medium-weight interfacing, also 14 inches by 14 inches. Interfacing adds structure and durability to your bag. If you skip this, your bag might feel too flimsy.
For the straps, prepare two pieces of fabric, each 3 inches by 20 inches. Alternatively, you can use pre-made cotton webbing, cutting two pieces, each 20 inches long. Match the strap material to one of your main fabrics or choose a neutral solid.
Gather your basic sewing kit. This includes a sewing machine, coordinating thread, fabric scissors or a rotary cutter, a cutting mat, pins or fabric clips, an iron, and an ironing board. A seam ripper is also a good idea, just in case.
Pro Tip: Pre-wash and press your fabrics before cutting. This prevents any future shrinkage or distortion after the bag is completed, ensuring your finished product looks great for longer.
Step 2: Prepare Your Fabric Pieces
Now it’s time to get your fabrics ready for sewing. Accuracy in cutting is crucial for a well-made bag. Take your time with this step.
First, lay out one of your main fabric pieces, wrong side up, on your ironing board. Carefully place one piece of iron-on interfacing, adhesive side down, on top of the fabric.
Press the interfacing according to the manufacturer’s instructions. Usually, this involves a warm iron and steam, holding it in place for a few seconds over each section. Ensure it’s fully fused to the fabric.
Repeat this process for the second main fabric piece and its corresponding interfacing. You now have two sturdy, interfaced fabric squares. These will become the main body of your bag.
Step 3: Construct the Outer Bag
With your fabrics prepared, let’s start building the first side of your reversible bag. This will be the “outer” layer for one of its looks.
Take one of your interfaced main fabric pieces. Fold it in half, right sides together, so it now measures 14 inches by 7 inches. The fold will be the bottom of your bag.
Pin along the two raw side edges. You’ll be sewing these edges to form the bag shape. Ensure your pins are perpendicular to the seam line for easy removal as you sew.
Sew down both pinned side edges using a 1/2 inch seam allowance. Backstitch at the beginning and end of each seam to secure the stitches. This reinforces the stress points of the bag.
Press your seams open. This creates a flatter, neater finish and helps the bag lie correctly. After pressing, turn the bag right side out. This is your outer bag.
Step 4: Construct the Inner Lining Bag
Next, we’ll create the second side of your reversible bag, which will serve as the inner lining. The steps are very similar to the outer bag.
Take your second interfaced main fabric piece. Fold it in half, right sides together, just as you did before. It should also measure 14 inches by 7 inches.
Pin along the two raw side edges. Remember to place your pins carefully.
Sew down both pinned side edges using a 1/2 inch seam allowance, just like the outer bag. Backstitch at the beginning and end of each seam.
DO NOT press these seams open yet, and DO NOT turn this bag right side out. This inner bag will remain wrong side out for a crucial step later.
Pro Tip: When sewing the inner lining, mark a 3-4 inch opening on one of the side seams. Leave this section unsewn. This gap is essential for turning the bag right side out later. Forgetting this is a common beginner mistake!
Step 5: Prepare the Straps
Now let’s get the handles ready for your bag. Strong, comfortable straps are key for a functional kids’ bag.
If you are using pre-made webbing, skip this step. Simply cut your two 20-inch pieces and proceed to Step 6.
If you are making fabric straps, take one of your 3-inch by 20-inch fabric pieces. Fold it in half lengthwise, wrong sides together, and press firmly. This creates a crisp center crease.
Open the fabric. Now, fold each long raw edge towards the center crease you just made. Press again. This encloses the raw edges.
Finally, fold the strap in half again along the original center crease. This will enclose all raw edges, creating a clean 3/4 inch wide strap. Press one last time.
Stitch along both long edges of the strap, very close to the edge (about 1/8 inch). This secures the folds and gives the strap a professional finish. Repeat for the second strap.
Step 6: Attach Straps to Outer Bag
It’s time to add the straps to the outer bag. Proper placement here ensures the bag is balanced and comfortable to carry.
Take your outer bag, which should be right side out. Lay it flat with the side seams aligned.
Measure 2 inches in from each side seam along the top edge of the bag. Mark these points with a fabric pen or pins. These marks indicate where your strap ends will be attached.
Place one end of a strap at one of your 2-inch marks. The raw edge of the strap should align with the raw top edge of the bag. The strap should loop towards the center of the bag. Pin it in place.
Repeat for the other end of the same strap, attaching it to the other 2-inch mark on the same side of the bag. Ensure the strap is not twisted.
Attach the second strap to the other side of the bag in the same manner. You should now have two straps securely pinned to the top edge of your outer bag, looping inwards.
Baste the straps in place with a 1/4 inch seam allowance. This temporary stitching holds them while you join the inner and outer bags.
Step 7: Join Inner and Outer Bags
This is where your reversible bag truly starts to come together. We’ll be nesting one bag inside the other.
Place the outer bag (which is right side out, with straps attached) inside the inner lining bag (which is still wrong side out). The right sides of both bags should now be facing each other.
Align the top raw edges of both bags perfectly. The side seams of the outer bag should ideally match up with the side seams of the inner bag. This creates a neat finish.
Pin all around the top raw edges, securing both layers together. Pay special attention to the areas where the straps are attached, ensuring they are firmly caught between the layers.
Double-check that your straps are tucked safely inside the bag and not caught in the top seam. They should be completely hidden between the two fabric layers.
Step 8: Sew and Turn
Now we’ll sew the top edge and then prepare to turn the bag right side out through that opening you left.
Sew around the entire top raw edge of the bag using a 1/2 inch seam allowance. Stitch slowly and carefully, especially over the strap areas where the fabric is thicker.
Remember that unsewn gap you left in the inner lining’s side seam? That’s your turning point.
Once the top seam is sewn, reach into the bag through that unsewn opening in the lining. Carefully pull the outer bag, straps, and all, through this opening.
This action will turn the entire bag right side out. Take your time, gently coaxing all corners and seams to emerge cleanly. Use a point turner or a blunt object to gently push out the corners.
Step 9: Close the Opening and Finish
The final steps involve closing that turning gap and giving your bag a polished look. You’re almost there!
With the bag now right side out, you’ll see the opening in the lining’s side seam. Press the raw edges of this opening inwards by 1/2 inch, so they align with the sewn seam.
You can stitch this opening closed by hand using a ladder stitch for an invisible finish. This is often preferred for a neater look.
Alternatively, you can machine stitch the opening closed very close to the edge. This is quicker and perfectly acceptable, especially for a kids’ bag where durability might be prioritized over invisible stitching.
Once the opening is closed, push the lining down into the outer bag. Smooth everything out, ensuring the lining sits neatly inside.
Press the top edge of the bag firmly. This creates a crisp, professional finish and helps the bag hold its shape. You might choose to topstitch around the top edge of the bag, about 1/8 inch from the fold. This adds an extra decorative touch and helps the top edge lie flat.
Congratulations! Your reversible bag for kids is complete. It’s ready for adventures, snacks, or favorite toys.
Common Mistakes to Avoid
Forgetting to Pre-Wash Fabric
Many new sewers skip pre-washing their fabric, especially when excited to start a project. However, fabrics can shrink differently when washed, leading to a distorted or ill-fitting finished bag. Always wash and dry your fabrics as you would the finished garment to prevent any surprises later.
Uneven Seam Allowances
Inconsistent seam allowances can make your bag look lopsided or prevent pieces from fitting together correctly. Strive for a consistent 1/2 inch seam allowance throughout. Use the guides on your sewing machine’s needle plate as a reference, and practice sewing straight lines on scrap fabric if needed.
Forgetting the Turning Opening
This is a classic beginner’s mistake! If you sew all seams completely, you’ll have no way to turn your bag right side out. Always remember to leave a 3-4 inch opening in the side seam of the lining bag. This small gap is crucial for success.
Twisted Straps
It’s easy to get straps twisted when pinning them to the bag. Before basting or sewing, always double-check that your straps are perfectly flat and untwisted. A twisted strap is difficult to fix once sewn in place and can be uncomfortable for the child.
Troubleshooting
Bag Doesn’t Lie Flat After Turning
If your bag seems lumpy or doesn’t sit smoothly after turning, it’s often due to unclipped corners or unpressed seams. First, ensure you’ve trimmed the bulk from the corners before turning. Then, use a point turner to gently push out all corners fully. Finally, give the entire bag, especially all seams, a good, thorough press with an iron. Pressing is a sewer’s best friend.
Straps Appear Twisted or Uneven
A twisted strap usually means it was pinned incorrectly. If you’ve only basted the straps, you can carefully unpick the basting stitches and re-pin them, ensuring they are flat and untwisted. If the main seam is already sewn, you might need to unpick that section, correct the strap, and re-sew. Always check for twists before the final stitch.
The Turning Opening is Visible After Closing
If your hand-stitched opening is noticeable, it might be that your stitches were too large or not pulled tight enough. For a neater finish, use smaller stitches and pull them snugly. If machine stitching, ensure you are sewing very close to the folded edge. Practice the ladder stitch on a scrap of fabric if you want to perfect that invisible finish.
Key Takeaways
- Precision Matters: Accurate cutting and consistent seam allowances lead to a professional-looking finished bag.
- Pressing is Essential: Don’t underestimate the power of your iron. Pressing at each stage creates crisp seams and a polished appearance.
- The Turning Gap is Key: Always remember to leave an unsewn section in your lining for turning the bag right side out.
- Double-Check Straps: Before sewing, ensure your straps are flat, untwisted, and securely pinned in place.
- Enjoy the Process: Sewing should be fun! Embrace any mistakes as learning opportunities and celebrate your handmade creation.
Frequently Asked Questions
What type of fabric is best for a kids’ reversible bag?
Quilting cotton is an excellent choice. It’s durable, easy to work with, comes in a vast array of kid-friendly prints, and is machine washable. Avoid very stretchy or slippery fabrics for your first project.
Can I make this bag without a sewing machine?
Yes, absolutely! While a sewing machine speeds up the process, you can hand-stitch this bag. Use a strong backstitch for all seams to ensure durability. It will take longer but is entirely feasible.
How can I adjust the size of the bag?
To make a larger or smaller bag, simply adjust your initial fabric square dimensions. Remember to keep the bag shape a square or rectangle for easy construction. Adjust strap length accordingly for comfort.
Is the interfacing really necessary?
While technically optional, interfacing is highly recommended. It adds structure, body, and durability to the bag, making it more substantial and able to withstand regular use by a child. Without it, the bag might feel too floppy.
Our Top Recommended Finds
- Rotary Cutter and Self-Healing Mat: These tools make cutting fabric incredibly fast and precise, especially for straight lines.
- Fabric Clips: A great alternative to pins, especially for thicker fabrics or when you want to avoid pin marks. They hold layers securely.
- Good Quality Quilting Cotton: Investing in decent fabric ensures your bag will look good and last longer. Look for sales at your local fabric store.
Craft a Custom Creation Today
You’ve now got all the knowledge and steps to create a charming, practical reversible bag for the special child in your life. This project is not just about sewing; it’s about crafting a memory and a cherished item. The beauty of a reversible bag is its versatility, offering two distinct looks in one fun package.
Ready to explore more kid-friendly sewing projects? Consider making a matching pencil case or a small drawstring pouch for tiny treasures. The skills you’ve gained here are transferable to countless other creative endeavors. Don’t wait—gather your fabrics and start sewing your unique bag today!