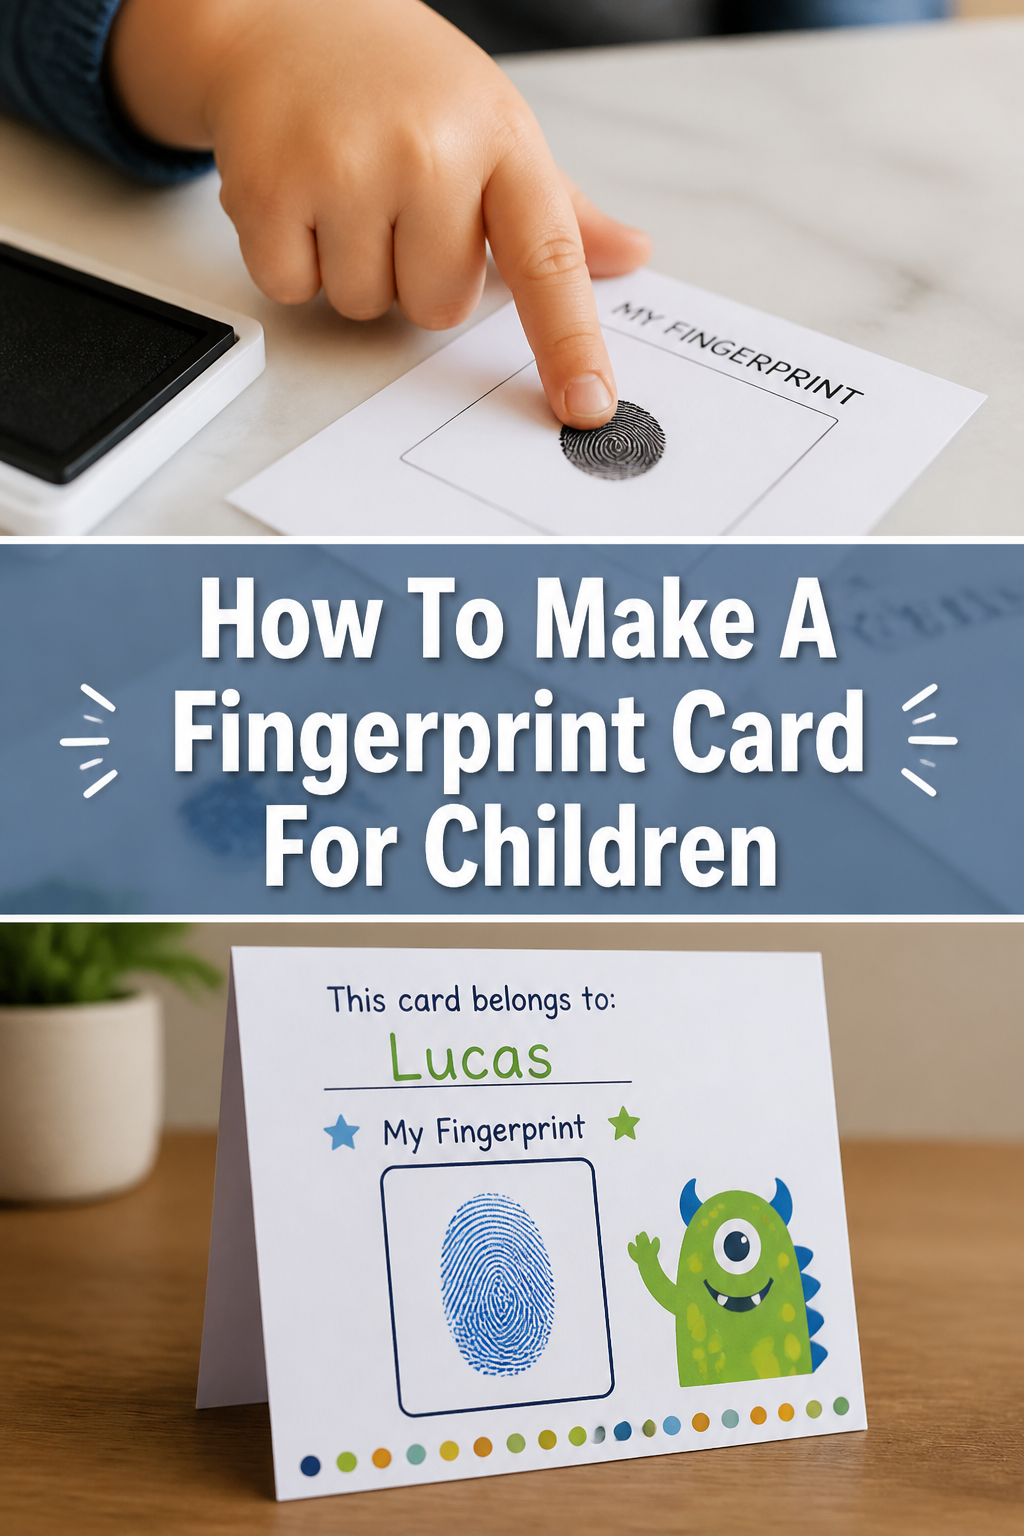
🖐️ How To Make A Fingerprint Card For Children
Creating a fingerprint card for your child is a simple yet incredibly important step for their safety.
It provides a vital identification tool, offering peace of mind in an unpredictable world.
Having personally guided many parents through this process, I know it’s a practical and straightforward task that every family can accomplish.
Quick Overview
This guide will walk you through creating a clear, lasting record of your child’s unique fingerprints.
You’ll learn how to capture each print effectively, ensuring a valuable resource for identification purposes.
- Time needed: 30-60 minutes (allows for breaks and child cooperation)
- Difficulty: Beginner
- What you’ll need: Fingerprint ink pad, white cardstock, wet wipes, magnifying glass, a cooperative child
Step-by-Step Instructions
Step 1: Gather Your Supplies
Collect all necessary items before you begin. This prevents interruptions and keeps the process smooth.
You will need a non-toxic, washable ink pad, several sheets of sturdy white cardstock (or official fingerprint cards), and plenty of wet wipes for clean-up.
A magnifying glass can be helpful for reviewing prints, and a pen for recording details.
Pro Tip: Invest in an inkless fingerprint kit for an even cleaner experience. These kits use special paper that reacts with a clear solution on your child’s fingers, leaving no mess.
Step 2: Prepare Your Workspace
Choose a clean, well-lit area where you and your child can sit comfortably.
Cover your table with newspaper or a plastic tablecloth to protect surfaces from accidental ink smudges.
Ensure the cardstock is on a firm, flat surface, ready for printing.
Step 3: Explain to Your Child
Talk to your child about what you’re doing in a calm, positive way.
Frame it as a special activity, like making a unique drawing or playing a game.
Explain that you’re making a “secret code” of their fingers, emphasizing it’s for their safety and a fun way to see their unique patterns.
Step 4: Practice Makes Perfect
Practice the rolling technique on a piece of scrap paper first, both with your own finger and then gently with your child’s.
This helps them understand the sensation and reduces anxiety when it’s time for the actual card.
It also gives you a feel for the right amount of ink and pressure.
Pro Tip: If your child is very young or squirmy, consider having another adult present to help hold their hand gently and keep them engaged. Distractions like a favorite toy or song can also be effective.
Step 5: Ink the First Finger
Begin with the right thumb. Gently hold your child’s hand, ensuring their fingers are relaxed.
Carefully roll the pad of the thumb from one edge to the other over the ink pad.
Aim for an even, thin coating of ink, avoiding excessive saturation which can lead to smudges.
Step 6: Roll the Fingerprint
Place the inked thumb onto the designated box on the fingerprint card.
Roll the thumb smoothly from the “nail edge to nail edge” or “heel to tip” across the card.
Apply consistent, gentle pressure throughout the roll to capture the entire print without smudging.
The goal is to get a clear impression of all the ridges and patterns.
Step 7: Clean Up and Repeat
Immediately after each print, use a wet wipe to clean the child’s finger thoroughly.
This prevents ink transfer to other fingers or surfaces.
Proceed to the next finger, repeating the inking and rolling process for all ten fingers, following the sequence on the card (usually right thumb to pinky, then left thumb to pinky).
Step 8: Complete Palm Prints and Signatures
Capture palm prints if your card includes this section. Gently ink the entire palm and press it firmly onto the card.
Have your child sign their name if they are old enough, or print their name clearly if they cannot.
Fill in all other identifying information such as name, date of birth, height, weight, hair color, and eye color.
Step 9: Review and Store
Examine each fingerprint using a magnifying glass to ensure clarity and completeness.
Look for distinct ridge patterns and minimal smudging.
If a print is unclear, you may be able to redo it on a fresh card or an unused section if available.
Allow the ink to dry completely before storing the card in a protective sleeve or envelope.
Keep it in a secure, accessible location known to trusted family members, such as a home safe or a fireproof box.
Common Mistakes to Avoid
Too Much Ink
Applying too much ink is a common error that leads to smudged, unreadable prints.
Excess ink fills in the delicate ridge patterns, making them appear as a solid black blob rather than distinct lines.
Instead, aim for a thin, even layer of ink by gently rolling the finger across the pad, ensuring the entire pad is covered but not saturated.
Not Enough Ink
Conversely, using too little ink results in faint or incomplete prints, where only parts of the ridge patterns are visible.
These prints lack the necessary detail for effective identification.
Ensure the finger is thoroughly coated with ink by rolling it completely from nail edge to nail edge on the ink pad before transferring to the card.
Pressing Too Hard or Soft
Applying incorrect pressure during the rolling process can distort the fingerprint.
Pressing too hard can flatten the ridges and widen the lines, while pressing too softly may only capture a partial or faint impression.
The key is consistent, gentle pressure, allowing the natural contours of the finger to transfer accurately onto the card.
Rushing the Process
Attempting to complete the fingerprinting quickly often leads to frustration for both the parent and child, resulting in poor quality prints.
Children can sense urgency and become less cooperative.
Allocate ample time, keep the atmosphere light, and be prepared to take breaks or try again later if your child becomes restless.
Troubleshooting
Smudged Prints
If you find your prints are consistently smudged, the most likely culprit is too much ink or an incorrect rolling technique.
Try using less ink, ensuring only a thin film covers the finger, and practice the smooth, consistent “nail edge to nail edge” roll on scrap paper.
Also, ensure the cardstock is on a very firm, flat surface to prevent movement during the roll.
Faint or Incomplete Prints
Faint prints usually indicate insufficient ink or not enough pressure during the roll.
Make sure the entire pad of the finger is evenly coated with ink, and apply gentle but firm pressure as you roll.
Ensure your child’s fingers are clean and dry before inking, as oils or moisture can interfere with ink transfer.
Child Won’t Cooperate
If your child is resistant, don’t force it. Take a break and try again later when they are in a better mood.
Turn it into a game, offering a small reward for each successful print.
Explain the “why” in simple terms, focusing on safety and making it an adventure.
Sometimes, simply having them watch you fingerprint your own hand first can make them more willing.
Key Takeaways
- Preparation is paramount for a smooth fingerprinting session.
- Gentle, consistent rolling from nail edge to nail edge yields the clearest prints.
- Make the experience positive and fun to ensure your child’s cooperation.
- Practice on scrap paper first to perfect your technique.
- Store the completed fingerprint card securely but accessibly.
- Update fingerprint cards every 1-2 years as your child grows.
Frequently Asked Questions
What kind of ink pad should I use?
Always opt for a non-toxic, washable ink pad specifically designed for fingerprints or children’s crafts.
These inks are safe for skin contact and easily clean up with soap and water or wet wipes, preventing stains.
Black ink typically provides the best contrast for clear prints.
How often should I update the card?
It’s recommended to update your child’s fingerprint card every one to two years, especially during periods of rapid growth.
Children’s fingerprints, height, weight, and other identifying features change as they grow, so regular updates ensure the information remains current and useful.
Where should I store the fingerprint card?
Store the completed fingerprint card in a secure, fireproof, and easily accessible location within your home, such as a home safe or a designated emergency binder.
Inform another trusted adult or family member about its location in case of an emergency.
Avoid storing it in a place that could be easily lost or damaged, like a wallet or purse.
Is this legally recognized for identification?
While a personal fingerprint card is an excellent tool for private identification and can be invaluable to law enforcement, it is generally not considered a legally recognized form of identification on its own.
Official legal identification typically requires prints taken by trained professionals at a police department or authorized agency.
However, your card can significantly aid in identification efforts if your child ever goes missing.
Our Top Recommended Finds
- Washable Fingerprint Ink Pad: Look for a non-toxic, quick-drying black ink pad. It ensures clear prints and easy cleanup.
- High-Quality White Cardstock: Choose thick, smooth cardstock (at least 65-80 lb) that won’t absorb too much ink or bleed. This provides a durable surface for clear impressions.
- Child ID Kit: Many kits include pre-formatted cards, ink strips, and space for photos and vital statistics, simplifying the entire process.
Empowering Your Family’s Safety Today
Taking the time to create a fingerprint card for your child is a proactive step that speaks volumes about your commitment to their safety.
It’s a small effort with potentially profound benefits, offering a tangible layer of security and peace of mind.
Don’t delay this important task; gather your supplies and make those precious prints today.
Consider also preparing an emergency contact list and discussing a family communication plan to further enhance your family’s preparedness.