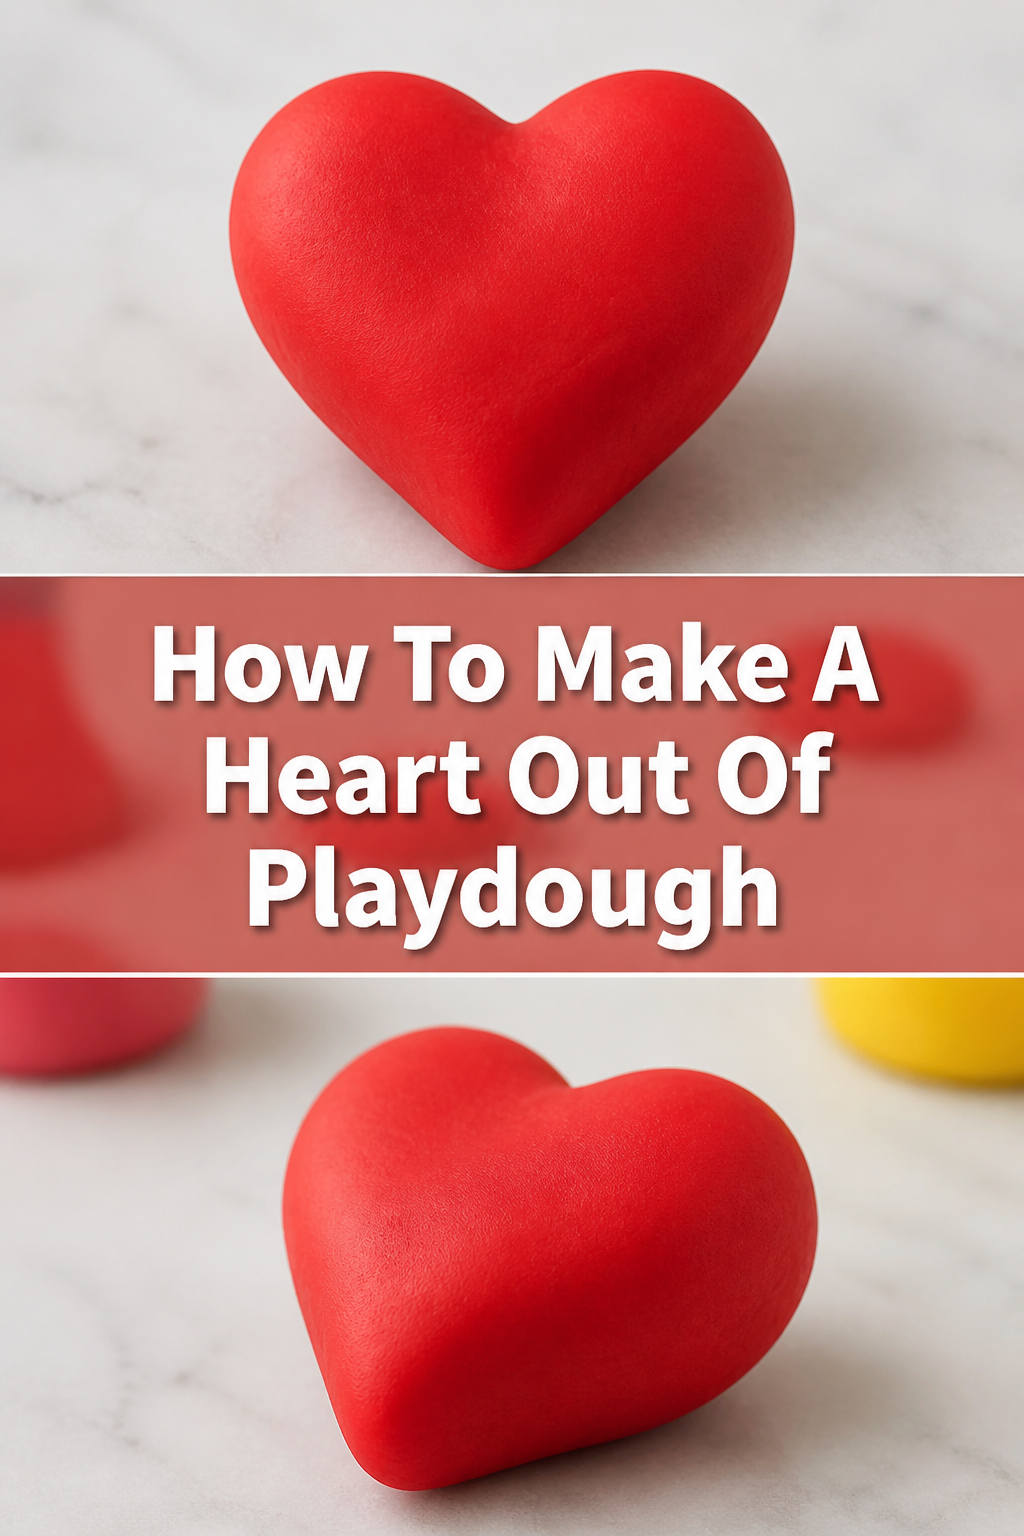
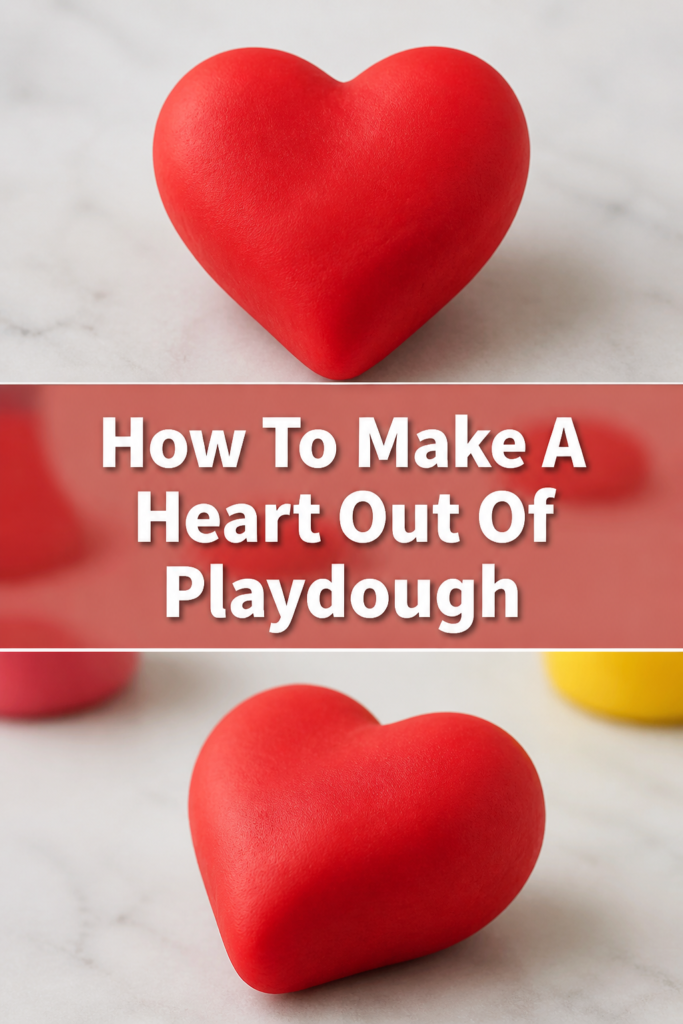
❤️ How To Make A Heart Out Of Playdough
There’s a special joy in creating something with your hands, especially when it’s as simple and satisfying as playdough. I’ve spent countless hours shaping colorful dough, and a heart is always a favorite, symbolizing affection and creativity. This guide shares the easiest way to craft a perfect playdough heart, drawing from years of hands-on fun.
You’ll discover how simple it is to mold a charming heart, perfect for gifting or just for the sheer delight of making. Get ready to transform a lump of dough into a symbol of love and imagination.
Quick Overview
Crafting a playdough heart is a delightful activity, resulting in a sweet, tangible symbol. You’ll learn the fundamental techniques to shape, refine, and present your creation.
- Time needed: 5-10 minutes
- Difficulty: Beginner
- What you’ll need: Playdough (any color), a clean, flat surface
Step-by-Step Instructions
Step 1: Choose Your Playdough and Prepare Your Surface
The first step is selecting your favorite playdough color. Red or pink are classic choices for a heart, but any color works beautifully. Ensure your workspace is clean, dry, and smooth to prevent sticking.
Pick a vibrant color that inspires you.
Clear a flat, non-porous surface like a table or a cutting board.
Pro Tip: Cold playdough is harder to work with. Gently warm it in your hands for a minute or two to make it more pliable and easier to shape.
Step 2: Knead and Soften the Playdough
Take a golf-ball sized piece of playdough and begin to knead it. This process makes the dough softer and more flexible. Consistent kneading prevents cracks and ensures a smooth finish.
Roll the playdough between your palms.
Press and fold it repeatedly for about 30 seconds.
Step 3: Roll a Smooth Ball
Once the playdough is soft, roll it into a perfectly smooth sphere. This ball will be the foundation of your heart shape. A well-formed ball ensures a symmetrical starting point.
Form the kneaded playdough into a compact ball.
Smooth out any seams or cracks on its surface.
Step 4: Create a Teardrop Shape
From the smooth ball, you will now shape a teardrop. This is a crucial step for the heart’s distinct form. The teardrop will provide the pointed bottom of your heart.
Gently pinch one side of the ball.
Roll and elongate this pinched end into a point, leaving the other side round.
Ensure the teardrop is roughly symmetrical.
Pro Tip: Don’t make the point too thin or it might break. Aim for a gradual taper.
Step 5: Flatten the Teardrop
Carefully flatten your teardrop shape. This step helps create a more defined heart and prepares it for the final shaping. Flatten it just enough so it’s not too thick but still retains its form.
Place the teardrop flat on your surface.
Press down gently with your palm or a flat object.
Avoid pressing too hard, which could distort the shape.
Step 6: Indent the Top for the Heart’s Curve
Now, it’s time to create the iconic top curve of the heart. This is where your teardrop transforms into a recognizable heart shape. Use your finger or a dull tool for precision.
Locate the rounded, wider end of your flattened teardrop.
Press your thumb or a finger gently into the center of this rounded top.
Create a small, shallow indentation.
Pro Tip: For a sharper crease, you can use the edge of a plastic knife or a crafting tool.
Step 7: Refine the Shape and Smooth Edges
With the basic heart shape formed, take a moment to refine its curves and edges. Smooth out any fingerprints or rough spots. This step adds a professional and polished look to your playdough heart.
Pinch and adjust the sides to perfect the curves.
Gently run your finger along the edges to smooth them.
Ensure the point at the bottom is neat and defined.
Step 8: Add Details (Optional)
If you wish, you can now add small decorative details to your heart. This could be anything from a small pattern to combining colors. Personalizing your heart makes it even more special.
Press tiny beads or glitter into the surface.
Use a small tool to engrave initials or a simple design.
Combine two playdough colors by twisting them before shaping for a marbled effect.
Common Mistakes to Avoid
Not Kneading Enough
Skipping the kneading step leads to stiff, crumbly playdough. This makes it difficult to shape smoothly, resulting in a heart with cracks and an uneven texture. Always take a minute or two to warm and soften your dough before you begin any shaping. Proper kneading ensures pliability and a flawless finish.
Making it Too Thin
While flattening is part of the process, making your heart too thin can cause it to lose its shape easily. It might tear or become flimsy, making it hard to handle or display. Aim for a thickness that feels substantial but not bulky, allowing it to hold its form without being overly fragile.
Rushing the Shaping Process
Creating a beautiful playdough heart takes a little patience. Rushing through the steps, especially the refining stages, often results in a lopsided or crude shape. Take your time with each curve and indentation, allowing yourself to adjust and perfect the form as you go. Enjoy the process of creation.
Uneven Indentation at the Top
The indentation at the top of the heart is key to its classic look. If this is uneven or off-center, the entire heart will appear asymmetrical. Pay close attention when pressing down, ensuring your finger or tool is centered and applies even pressure to create a balanced curve.
Troubleshooting
Playdough is Too Sticky
If your playdough feels too sticky, it might be due to warmth or humidity. It can also happen if it’s new and very soft. Try placing it in the refrigerator for 5-10 minutes to firm it up slightly. You can also lightly dust your hands and work surface with a tiny bit of flour or cornstarch to reduce stickiness, but use sparingly.
Heart Shape is Collapsing
A collapsing heart often indicates the playdough is too soft or too warm. It could also mean it’s too thin in certain areas. Try gently reshaping it, ensuring the base is firm and the sides have enough support. If it continues to collapse, let the playdough cool down a bit or add a tiny amount of flour and knead it in to increase its firmness.
Edges Are Rough or Cracked
Rough or cracked edges usually stem from insufficient kneading or dry playdough. If the dough is dry, add a few drops of water and knead it in until it becomes smooth again. If it’s just rough from shaping, gently smooth the edges with a wet fingertip, using very light pressure, to create a seamless finish.
Key Takeaways
- Always knead your playdough until it’s soft and pliable before you start shaping.
- Begin with a smooth ball, then transform it into a teardrop shape for the foundation.
- Flatten gently to create a stable base, but avoid making the heart too thin.
- Indent the top carefully and symmetrically to achieve the classic heart curve.
- Refine edges and curves with your fingers for a polished, finished look.
- Patience is key; take your time to enjoy the creative process and perfect your heart.
Frequently Asked Questions
Can I use homemade playdough for this?
Absolutely, homemade playdough works wonderfully for making hearts. Just ensure it has a good consistency – not too sticky and not too dry. If it’s too crumbly, add a few drops of water; if too sticky, a little more flour can help.
How do I make a very small heart?
To make a tiny heart, simply start with a much smaller piece of playdough. Use your fingertips and smaller tools for precision. The same steps apply, just on a miniature scale.
What if my playdough is too dry?
If your playdough feels dry and crumbly, add a few drops of water at a time. Knead the playdough thoroughly after each addition until it regains its soft, pliable texture. Be careful not to add too much water at once.
Can I make a heart with multiple colors?
Yes, you can! For a marbled effect, gently twist two or more colors of playdough together a few times before kneading and shaping. For distinct sections of color, you can shape different colored pieces and then carefully press them together to form the heart.
Our Top Recommended Finds
- Classic Play-Doh 4-Pack: Essential for vibrant creations, offering a variety of colors to start your collection.
- Small Rolling Pin and Sculpting Tools Set: These tools help flatten dough evenly and add intricate details to your heart.
- Non-Stick Silicone Mat: Provides an ideal surface for working with playdough, preventing sticking and making cleanup a breeze.
Embrace Your Inner Artist Today
Creating with playdough is more than just an activity; it’s an opportunity to express yourself and relax. A simple heart can be the start of countless other imaginative projects. Think about shaping other symbols or even creating mini-scenes.
Why not grab some playdough right now and give it a try? Share your creations with loved ones, or simply enjoy the tactile satisfaction of bringing a colorful idea to life. The possibilities are endless, and the joy is immediate.