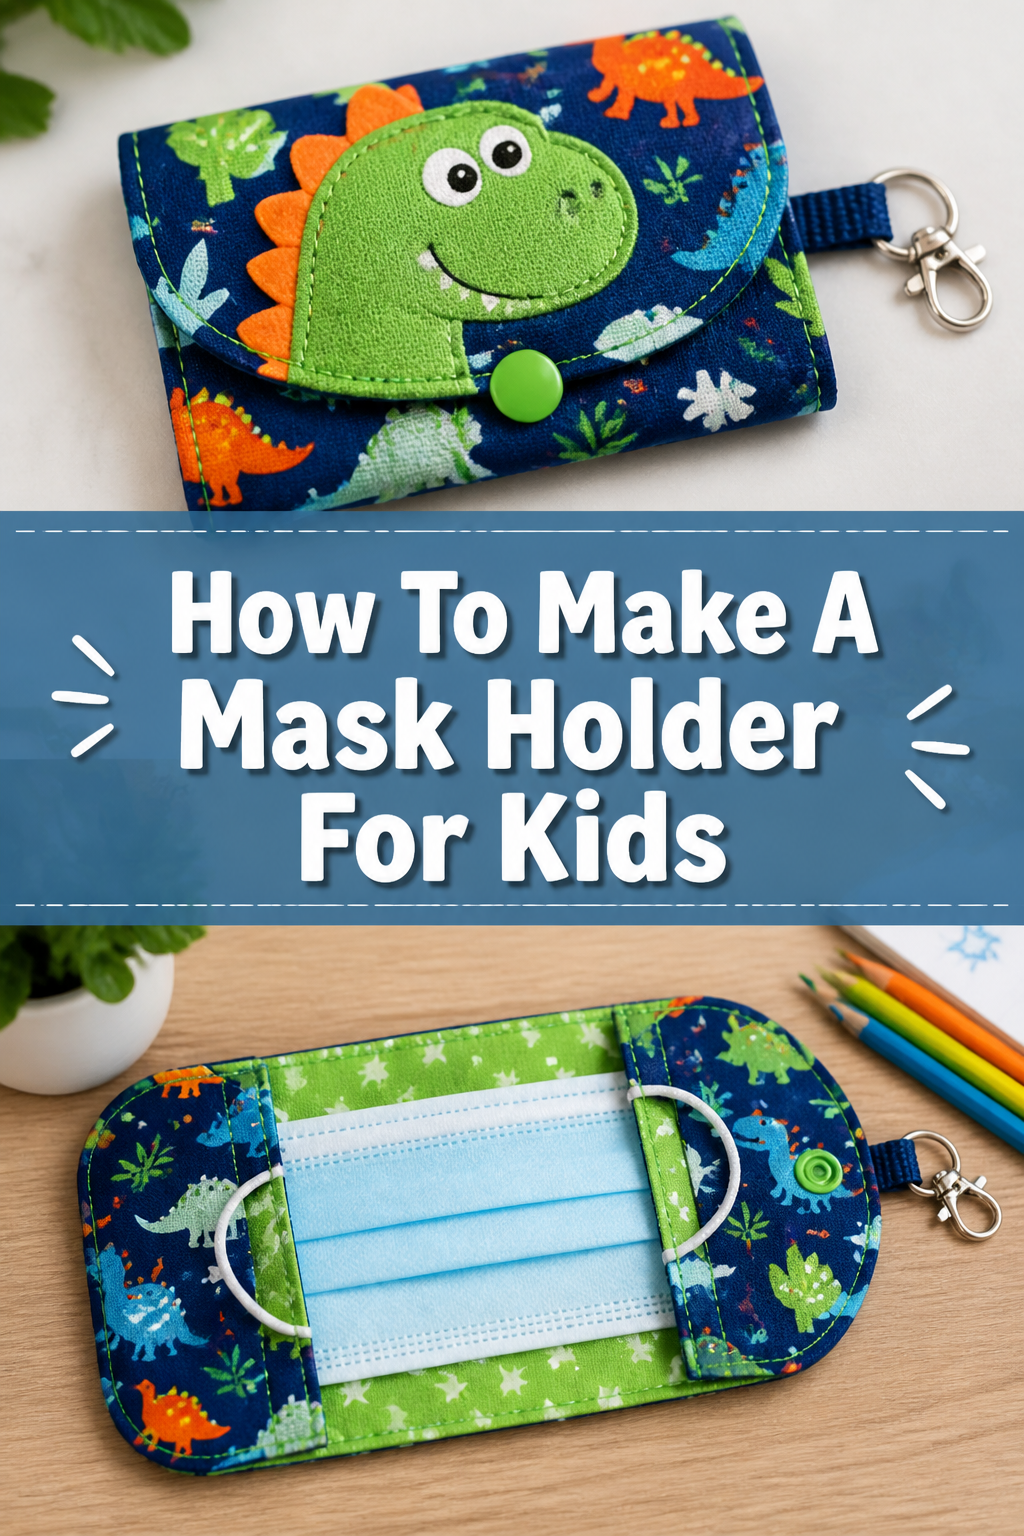
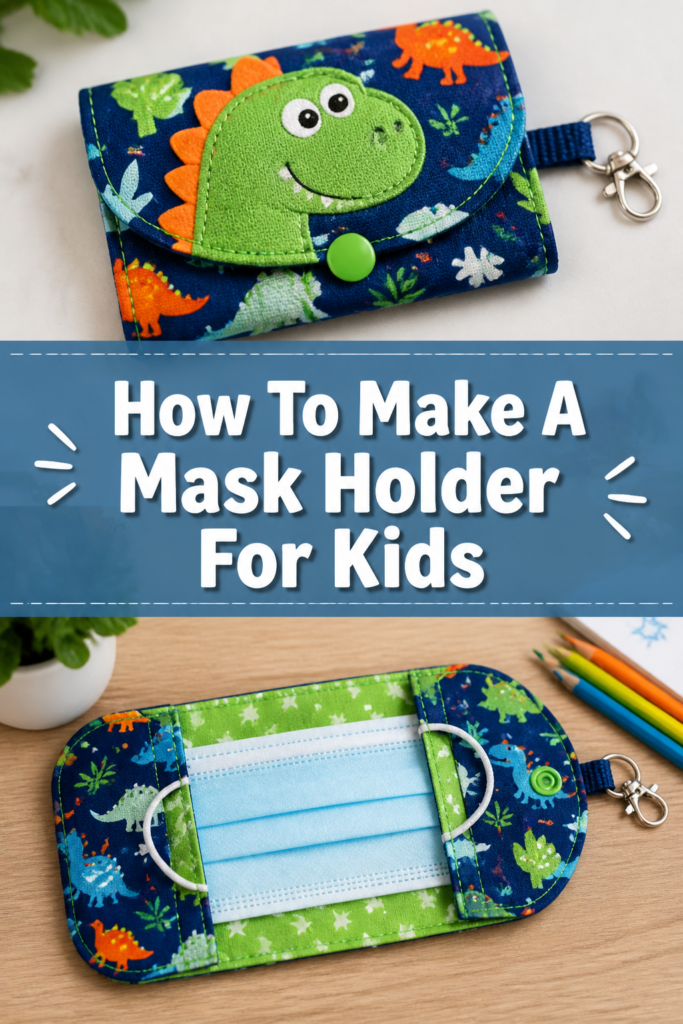
🧵 How To Make A Mask Holder For Kids
Kids are always on the go, and keeping track of their masks can be a real challenge.
I remember countless times my child would misplace their mask, leading to last-minute searches and a lot of frustration.
That’s why I started making these simple mask holders, and I’m excited to share my easy, practical method with you.
Quick Overview
This guide will walk you through creating a fun and functional mask holder that your child will love to use.
It’s a fantastic way to keep masks clean, accessible, and less likely to get lost, all while encouraging a bit of crafting creativity.
- Time needed: 45-90 minutes (depending on complexity and drying time)
- Difficulty: Beginner
- What you’ll need: Fabric scraps, ribbon or cord, a snap or button, basic sewing supplies, and optional embellishments.
Step-by-Step Instructions
Step 1: Gather Your Materials
Before you begin, lay out all your necessary items. Having everything ready makes the crafting process smoother and more enjoyable.
You’ll need two pieces of fabric, each measuring about 6×10 inches. Cotton is a great choice for its durability and ease of sewing.
Choose fun patterns or colors that your child will adore. This adds a personal touch to their mask holder.
Pro Tip: Pre-wash and iron your fabric. This prevents shrinkage later and gives you a crisp surface to work with, making cutting and sewing much easier.
Step 2: Prepare the Fabric Pieces
Place your two fabric pieces right sides together. This means the patterned or ‘pretty’ sides should be facing each other.
Pin the edges together to keep them from shifting while you sew. Use pins sparingly but strategically along all four sides.
Ensure the edges are perfectly aligned for a neat finish. This precision helps achieve a professional-looking result.
Step 3: Stitch the Fabric Together
Using your sewing machine or needle and thread, sew around the perimeter of your pinned fabric pieces.
Leave a small opening, about 2-3 inches wide, on one of the longer sides. This gap is crucial for turning the fabric right side out later.
Use a straight stitch and a seam allowance of about a quarter inch. Reinforce the stitches at the beginning and end of your sewing, and at both sides of the opening, to prevent unraveling.
Step 4: Trim and Clip Corners
Once your fabric is sewn, carefully trim the excess fabric around the seam allowance. This reduces bulk, especially at the corners.
Clip the corners diagonally, close to the stitching but without cutting through it. This step helps create sharp, crisp corners when you turn the fabric.
Be gentle and precise with your cuts. A clean trim makes a big difference in the final shape.
Step 5: Turn and Press
Reach into the opening you left and carefully pull the fabric right side out. Take your time to push out all the corners fully.
A blunt tool, like a chopstick or a knitting needle, can help gently push out the corners without damaging the fabric.
Once turned, press the entire piece with an iron. Pay special attention to the edges and the opening, folding the raw edges of the opening inward to match the seam line.
Pro Tip: Use a pressing cloth if your fabric is delicate or you’re unsure about direct iron heat. This protects your fabric from scorching.
Step 6: Topstitch the Edges
Now, topstitch all the way around the perimeter of your fabric piece, about an eighth of an inch from the edge.
This step serves two purposes: it closes the opening you used for turning, and it gives the mask holder a neat, finished look.
Topstitching also adds a bit of structure and durability to the edges. Choose a thread color that matches or contrasts nicely with your fabric.
Step 7: Attach the Hanging Loop
Cut a piece of ribbon or cord about 8-10 inches long. This will be the loop for hanging the mask holder.
Fold the fabric piece in half lengthwise, so it now measures roughly 3×10 inches. Decide which end will be the top.
Tuck the ends of your ribbon or cord inside the top folded end, about half an inch in. Pin them securely in place, forming a loop that extends outside.
Step 8: Secure the Loop and Create the Pouch
Sew across the folded top end where you’ve inserted the ribbon, reinforcing the stitch several times to ensure the loop is firmly attached.
Now, fold the bottom part of the fabric upwards, creating a pouch. The exact height depends on the size of the masks your child uses, but typically 4-5 inches is sufficient.
Pin the sides of this folded pouch in place. Make sure the side edges align perfectly.
Step 9: Stitch the Pouch Sides
Sew down both sides of the pouch, from the fold up to the top edge of the pouch opening.
Use a straight stitch and reinforce the beginning and end of your seams. This creates the pocket where the mask will sit.
Double-check that your stitches are strong and secure. This part of the holder will see a lot of use.
Step 10: Add a Closure
The final touch is adding a closure to keep the mask securely inside. A snap, Velcro, or a button with a buttonhole works well.
For a snap, attach one half to the flap of the pouch and the other half to the main body of the pouch, ensuring they align perfectly when closed.
If using Velcro, sew a small piece to the inside of the flap and a corresponding piece to the pouch body. Buttons add a charming, classic look.
Pro Tip: For younger children, a magnetic snap or a simple piece of Velcro can be easier to manage than a button. Test the closure for ease of use before declaring it finished.
Common Mistakes to Avoid
Not Pre-Washing Fabric
Skipping the pre-wash step can lead to disappointment later. Fabrics, especially cotton, can shrink when washed for the first time.
If you don’t pre-wash, your finished mask holder might warp or shrink unevenly after its first cleaning.
Always wash and dry your fabric using the same method you’ll use for the finished product. This ensures the holder maintains its shape and size.
Leaving Too Small an Opening
Many beginners make the mistake of leaving too tiny an opening when sewing the fabric pieces together. This makes turning the fabric right side out incredibly difficult.
Struggling to turn can stretch seams or even tear the fabric, especially at the corners.
Aim for an opening of at least 2-3 inches. It’s much easier to stitch a slightly larger opening closed than to wrestle with a cramped one.
Forgetting to Reinforce Stitches
At the beginning and end of each seam, it’s vital to reinforce your stitches. This means sewing a few stitches forward, then backward, then forward again.
Without reinforcement, the stitches at the ends of your seams are prone to unraveling, especially on an item that will be opened and closed frequently.
Taking this extra second ensures the durability of your mask holder, making it last through many uses.
Troubleshooting
Wobbly Stitches
If your stitches are not straight or look uneven, it often points to a few common issues. You might be pulling the fabric as you sew, or your machine’s tension might be off.
Practice on scrap fabric first to get a feel for the machine speed and guiding the fabric gently. Check your machine’s manual for tension adjustments.
Ensuring your fabric is well-pressed and using pins effectively also helps maintain straight lines.
Corners Not Sharp Enough
Dull or rounded corners after turning the fabric usually mean you didn’t trim or clip them enough before turning.
Go back and carefully trim the seam allowance around the corners more closely. Then, clip diagonally across the corner, almost to the stitch line.
When turning, use a pointy but blunt tool to gently push the fabric out from the inside. Avoid anything sharp that could poke through.
Closure Not Holding Securely
If your chosen closure isn’t staying shut, it might be improperly installed or not strong enough for active use. For snaps, ensure both parts are firmly attached and aligned.
If using Velcro, confirm you’ve used enough surface area and sewn it securely on all sides. Sometimes, a larger or stronger closure is needed.
Consider the weight of the mask and how often the holder will be opened. You might need to upgrade to a stronger snap or a longer strip of Velcro.
Key Takeaways
- Always pre-wash and iron your fabric for the best results.
- Leave a generous opening when sewing to make turning the fabric easier.
- Reinforce your stitches at the beginning and end of each seam for durability.
- Trim and clip corners precisely to achieve sharp, professional-looking edges.
- Choose a closure that is easy for your child to use and holds securely.
- Personalize the holder with fun fabrics and embellishments to encourage use.
Frequently Asked Questions
Can I make this without a sewing machine?
Absolutely! This project is very hand-sewing friendly. You’ll need a good quality needle, strong thread, and a thimble for comfort. Hand-sewing might take a little longer, but the process is the same, and the result is just as charming.
What if my child prefers a different closure?
The closure is entirely customizable! If a snap isn’t ideal, consider magnetic snaps for ease of use, a toggle and loop for a rustic look, or even a zipper for maximum security. Just ensure it’s child-friendly and securely attached.
How do I clean the mask holder?
Since it’s made from fabric, you can typically machine wash it on a gentle cycle with similar colors. Air drying is usually best to prevent shrinkage and maintain shape. Always check your fabric’s care instructions if you’re unsure.
Can I add pockets or dividers inside?
Yes, you can certainly customize the interior! Before sewing the pouch sides, you could add an extra piece of fabric stitched down the middle to create two smaller compartments. This is great for separating clean and used masks or adding a spot for a small hand sanitizer.
Our Top Recommended Finds
- Assorted Cotton Fabric Scraps: Perfect for a variety of patterns and colors, offering plenty of creative options without buying large bolts of fabric.
- Snap Fastener Kit: Provides a range of snap sizes and the necessary tools for easy, secure attachment, ensuring a lasting closure.
- Fabric Scissors: Sharp, comfortable scissors specifically for fabric make cutting precise and effortless, which is key for neat edges.
Craft a Handy Holder Today
Creating a mask holder for your child is a simple project that yields a practical and much-appreciated item.
It’s a wonderful way to teach them about responsibility while adding a personal touch to their daily essentials.
Gather your materials, choose a fun fabric, and enjoy the satisfaction of making something useful with your own hands.