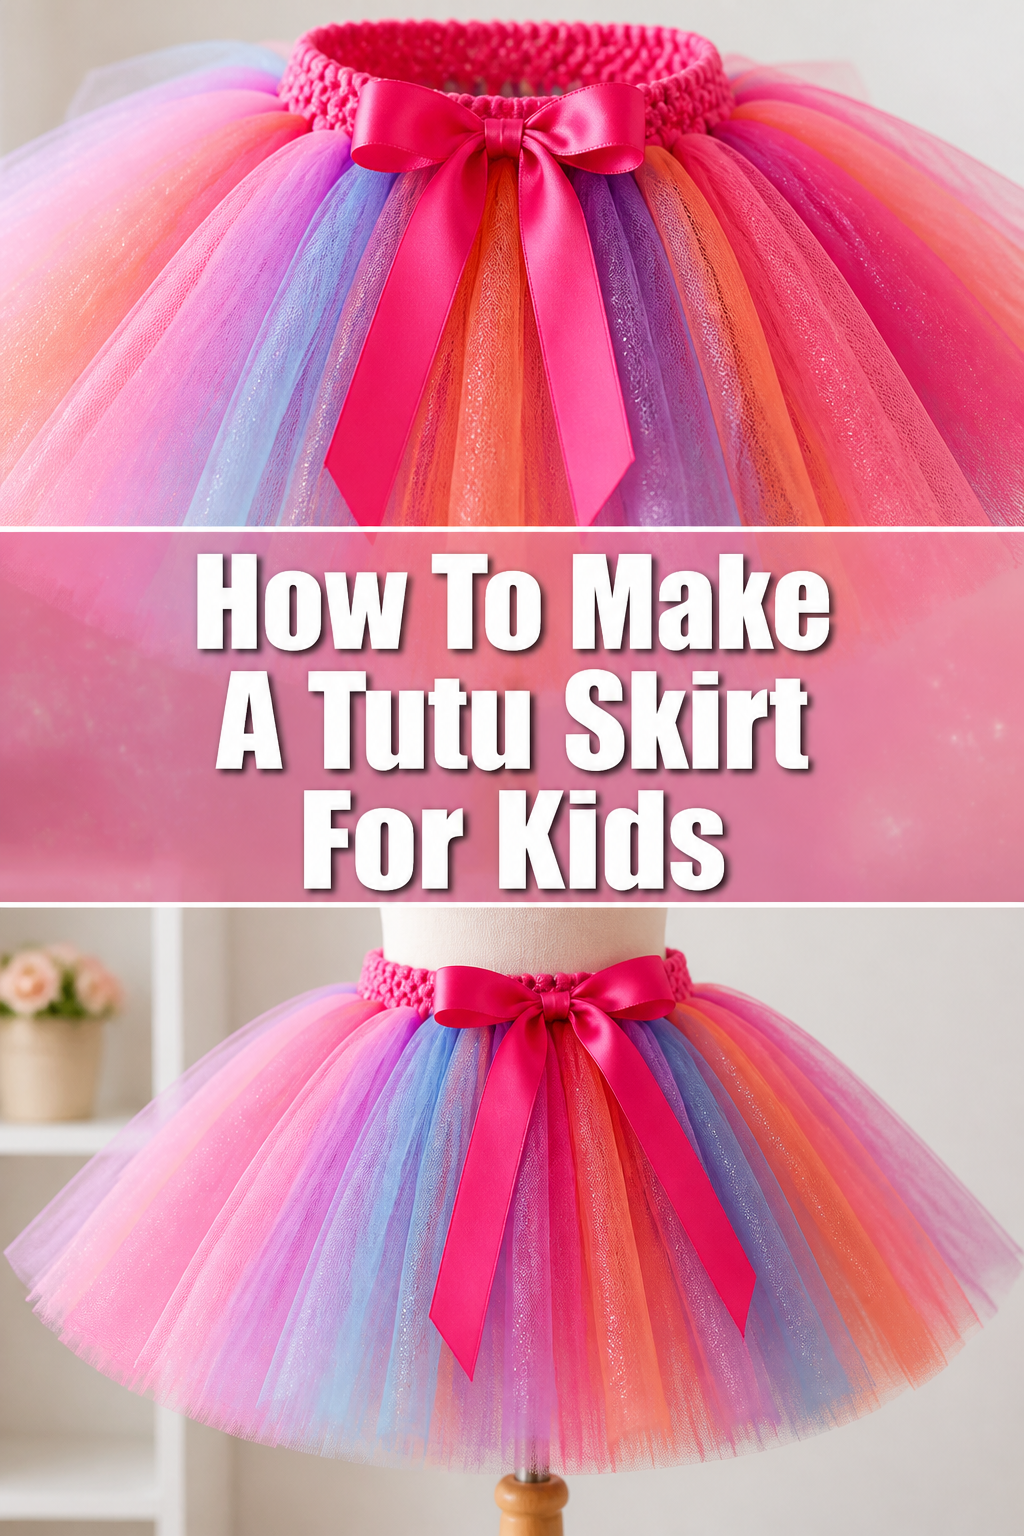
🎀 How To Make A Tutu Skirt For Kids
Imagine the pure delight on a child’s face when they twirl in a beautiful, handmade tutu. This simple craft brings so much joy.
I remember the first tiny tutu I crafted for my niece, the process was so much fun. This guide will help you create that same magic, step-by-step.
You’ll discover just how easy and rewarding it is to make a custom tutu skirt.
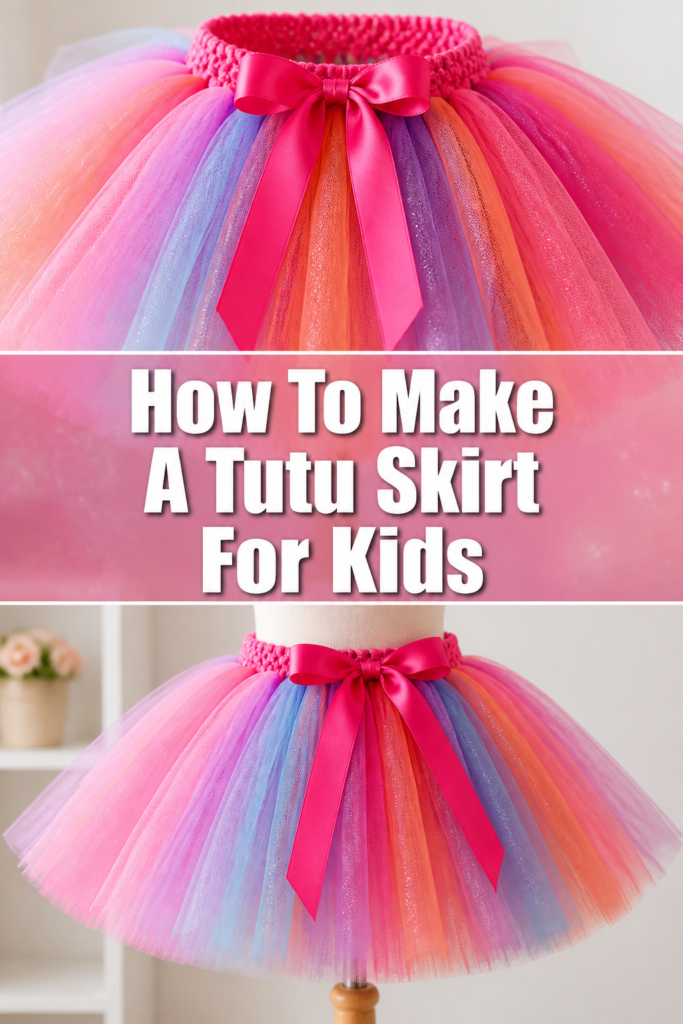
Quick Overview
This project is a delightful way to create something special for a child in your life. You’ll finish with a charming, no-sew tutu skirt.
- Time needed: 1-2 hours
- Difficulty: Beginner
- What you’ll need: Tulle fabric, non-roll elastic, sharp scissors, measuring tape.
Step-by-Step Instructions
Step 1: Gather Your Materials
Before you begin, ensure you have all your supplies ready. This makes the crafting process smooth and enjoyable.
You will need several rolls of tulle, typically 6-inch wide rolls work best for convenience. The number of rolls depends on the desired fullness and skirt length.
Choose soft, fine tulle for comfort against a child’s skin. You’ll also need a length of non-roll elastic, about 1-inch wide, for the waistband.
Sharp fabric scissors are essential for clean cuts, and a measuring tape or ruler will ensure accuracy. Consider a cutting mat and rotary cutter for even faster, straighter cuts if you have them.
Step 2: Measure and Cut the Elastic Waistband
The waistband is the foundation of your tutu. It needs to be comfortable and secure.
Measure the child’s waist where the tutu will sit. Subtract 1 to 2 inches from this measurement to ensure a snug fit that won’t slip.
Cut the non-roll elastic to this determined length. Overlap the ends by about half an inch.
Secure the overlapped ends firmly by tying a strong knot with scrap yarn or a temporary stitch. You can also use a safety pin for a temporary hold, but a knot is more secure for the next steps.
Pro Tip: Always double-check your waist measurement. It’s better to cut the elastic slightly longer and trim later than to have it too short.
Step 3: Prepare Your Tulle Strips
The length of your tulle strips determines the length of the tutu. Decide how long you want the skirt to be from the waist down.
Multiply this desired length by two. This is because each strip will be folded in half.
For example, if you want a 10-inch long tutu, you’ll cut your tulle strips 20 inches long. The width of your tulle rolls (usually 6 inches) is perfect as is.
Cut dozens of these strips. The more strips you cut, the fuller your tutu will be. For a very full tutu, aim for 50-100 strips, depending on the child’s waist size.
Pro Tip: To speed up cutting, fold your tulle roll several times before cutting. Just ensure your folds are even to avoid uneven strips.
Step 4: Form the Elastic Waistband Loop
Take your cut elastic piece from Step 2. You should have already temporarily secured the ends.
Now, you need to permanently join the ends to form a closed loop. The most common method is to hand-sew the overlapped ends together using a strong needle and thread.
Use a whip stitch or a strong backstitch to create a durable seam. Ensure the seam lies flat and is secure.
Alternatively, if you prefer no-sew, you can use a strong fabric glue or a hot glue gun sparingly on the overlapped section. Let it dry completely before proceeding.
Step 5: Attach Tulle Strips to the Elastic
This is where the tutu really starts to take shape. You’ll be using a simple lark’s head knot.
Hold one tulle strip, folding it exactly in half lengthwise. This creates a loop at one end.
Place the looped end underneath the elastic waistband. The loop should be pointing upwards, past the elastic.
Bring the two loose ends of the tulle strip up and through the loop you just created. Ensure they pass completely through.
Pull the loose ends gently but firmly to tighten the knot around the elastic. Don’t pull too hard, or you might stretch the elastic unevenly.
Pro Tip: Keep your knots consistent in tightness and placement. This ensures an even and professional-looking waistband.
Step 6: Continue Adding Tulle Strips
Repeat the knotting process from Step 5 for all your prepared tulle strips. This is the most time-consuming part, but it’s also very meditative.
Slide each new knot snugly next to the previous one. Try to avoid leaving gaps between the strips.
If you are using multiple colors, alternate them in a pattern or randomly for a playful look. Consider how you want the colors to appear before you start knotting.
Distribute the knots evenly around the entire elastic waistband. This ensures the tutu has balanced fullness all the way around.
Step 7: Check Fullness and Adjust
Once all your tulle strips are knotted onto the elastic, it’s time to assess the tutu’s volume.
Hold the tutu up and gently shake it. Look for any sparse areas or sections that seem less full.
If you desire more fullness, simply add more tulle strips into the gaps. You can gently push existing knots aside to make room for new ones.
Fluff the tulle with your fingers, separating the layers. This helps the tutu achieve its maximum volume and bounce.
Step 8: Trim and Finish
The final step is to give your tutu a polished look. Even with careful cutting, some strips might appear longer than others.
Lay the tutu flat on a table or hang it up. Gently comb through the tulle with your fingers.
Trim any noticeably longer strips with your sharp scissors to create an even hemline. You can go for a perfectly straight hem or a slightly rounded, playful one.
For an extra touch, add embellishments like satin ribbons tied in bows, small fabric flowers, or even glitter glue to some of the tulle strips. Ensure any additions are securely attached and safe for children.
Common Mistakes to Avoid
Using Too Little Tulle
A common pitfall is underestimating the amount of tulle needed for a truly full and fluffy tutu. If you skimp on tulle, the skirt will look sparse and thin, losing that classic voluminous tutu shape. Always err on the side of having too much tulle; you can always add more, but it’s harder to make a thin tutu look robust after it’s assembled.
Incorrect Elastic Measurement
Measuring the elastic too long will result in a tutu that constantly slips down, while too short will make it uncomfortably tight and leave red marks. Always measure the child’s actual waist and subtract a small amount (1-2 inches) for a snug, yet comfortable, fit. Test the loop around the child before adding all the tulle if possible.
Uneven Tulle Strips
If your tulle strips are not cut to a consistent length, the finished tutu will have an uneven and messy hemline. This detracts from the overall polished look. Take your time during the cutting phase, using a ruler or a cutting mat for precision, or folding the tulle carefully to ensure consistent lengths.
Tying Knots Too Loosely or Tightly
Knots tied too loosely will cause tulle strips to fall off the elastic over time, especially with active play. Conversely, tying them too tightly can stretch and distort the elastic, making the waistband uncomfortable or causing it to roll. Aim for a firm but gentle pull when securing each knot, ensuring it’s snug against the elastic without deforming it.
Troubleshooting
Tutu Looks Sparse/Flat
If your finished tutu isn’t as full and fluffy as you’d hoped, don’t worry. This is a common issue easily fixed. The most straightforward solution is to add more tulle strips. Gently push existing knots along the elastic to create space, then tie in additional strips until you achieve the desired volume. Also, ensure you’ve thoroughly fluffed and separated all the tulle layers.
Tulle Strips Falling Off
If individual tulle strips are coming loose from the waistband, it’s usually because the knots weren’t tied securely enough. Carefully re-tie any loose strips, making sure to pull the lark’s head knot firmly, but not excessively, tight around the elastic. A small dab of fabric glue on the knot can also provide extra security if needed, just be sure it’s child-safe and dries clear.
Elastic Rolls or Twists
An elastic waistband that rolls or twists can be uncomfortable for the child and make the tutu sit awkwardly. This often happens if the elastic is too narrow or if the knots aren’t evenly spaced, creating uneven tension. Using a wider, non-roll elastic (like 1-inch wide) from the start can prevent this. If it’s already rolling, try gently adjusting the tulle knots to redistribute the tension, or consider adding a thin fabric casing around the elastic if you’re comfortable with basic sewing.
Key Takeaways
- Accurate waist measurement is crucial for a comfortable fit.
- Cutting consistent tulle strip lengths ensures an even, professional look.
- Using plenty of tulle is key to achieving a full and fluffy tutu.
- The lark’s head knot is simple and effective for attaching tulle to elastic.
- Evenly distributing tulle strips around the waistband creates balanced fullness.
- Finishing touches like trimming and embellishments personalize your creation.
Frequently Asked Questions
How much tulle do I need for a child’s tutu?
The amount of tulle varies based on the child’s waist size and the desired fullness. For a standard toddler-sized tutu (18-20 inch waist, 8-10 inch length), you’ll typically need 50-75 yards of 6-inch wide tulle. For a very full tutu, or for an older child, you might need 100 yards or more. It’s always better to have a little extra.
Can I use different types of fabric instead of tulle?
While other soft fabrics like chiffon or organza could technically be used, tulle is ideal for tutus because of its lightweight, airy texture and ability to hold volume without fraying. Other fabrics may not give the same classic fluffy look and might require hemming. Tulle’s stiffness and sheer quality are what make it perfect for this project.
How do I clean a handmade tutu?
To clean a tulle tutu, always hand wash it gently in cool water with a mild detergent. Avoid machine washing or harsh scrubbing, as this can damage the delicate tulle. After washing, gently squeeze out excess water, then hang the tutu to air dry. Do not put it in a dryer, as the heat can melt or distort the tulle.
How can I make the tutu extra special?
There are many ways to personalize a tutu. You can incorporate multiple colors of tulle in a pattern or randomly. Add satin ribbons woven through the knots or tied in bows around the waistband. Small silk flowers, iron-on patches, or even fabric glitter can be glued onto selected tulle strips for extra sparkle. Just ensure any embellishments are securely attached and child-safe.
Our Top Recommended Finds
- Rotary Cutter and Self-Healing Mat: Essential for quick, precise, and straight cuts of multiple tulle layers, saving significant time and effort.
- Non-Roll Elastic (1-inch wide): Ensures the waistband stays flat and comfortable, preventing twisting and increasing the tutu’s durability.
- Tulle Fabric Rolls (6-inch wide): Pre-cut rolls are incredibly convenient, eliminating the need to cut wide fabric into strips, making the project much faster.
Ready to Create More Magic?
You’ve just crafted a beautiful, personalized tutu skirt, a testament to your creativity and care. This simple project opens up a world of possibilities for custom, handmade gifts.
Why stop here? Consider making matching hair bows or a wand to complete the outfit. You could even explore different color combinations or embellishments for future tutus.
Share your creation with us and inspire others! Go ahead, gather your supplies, and start making memories today.