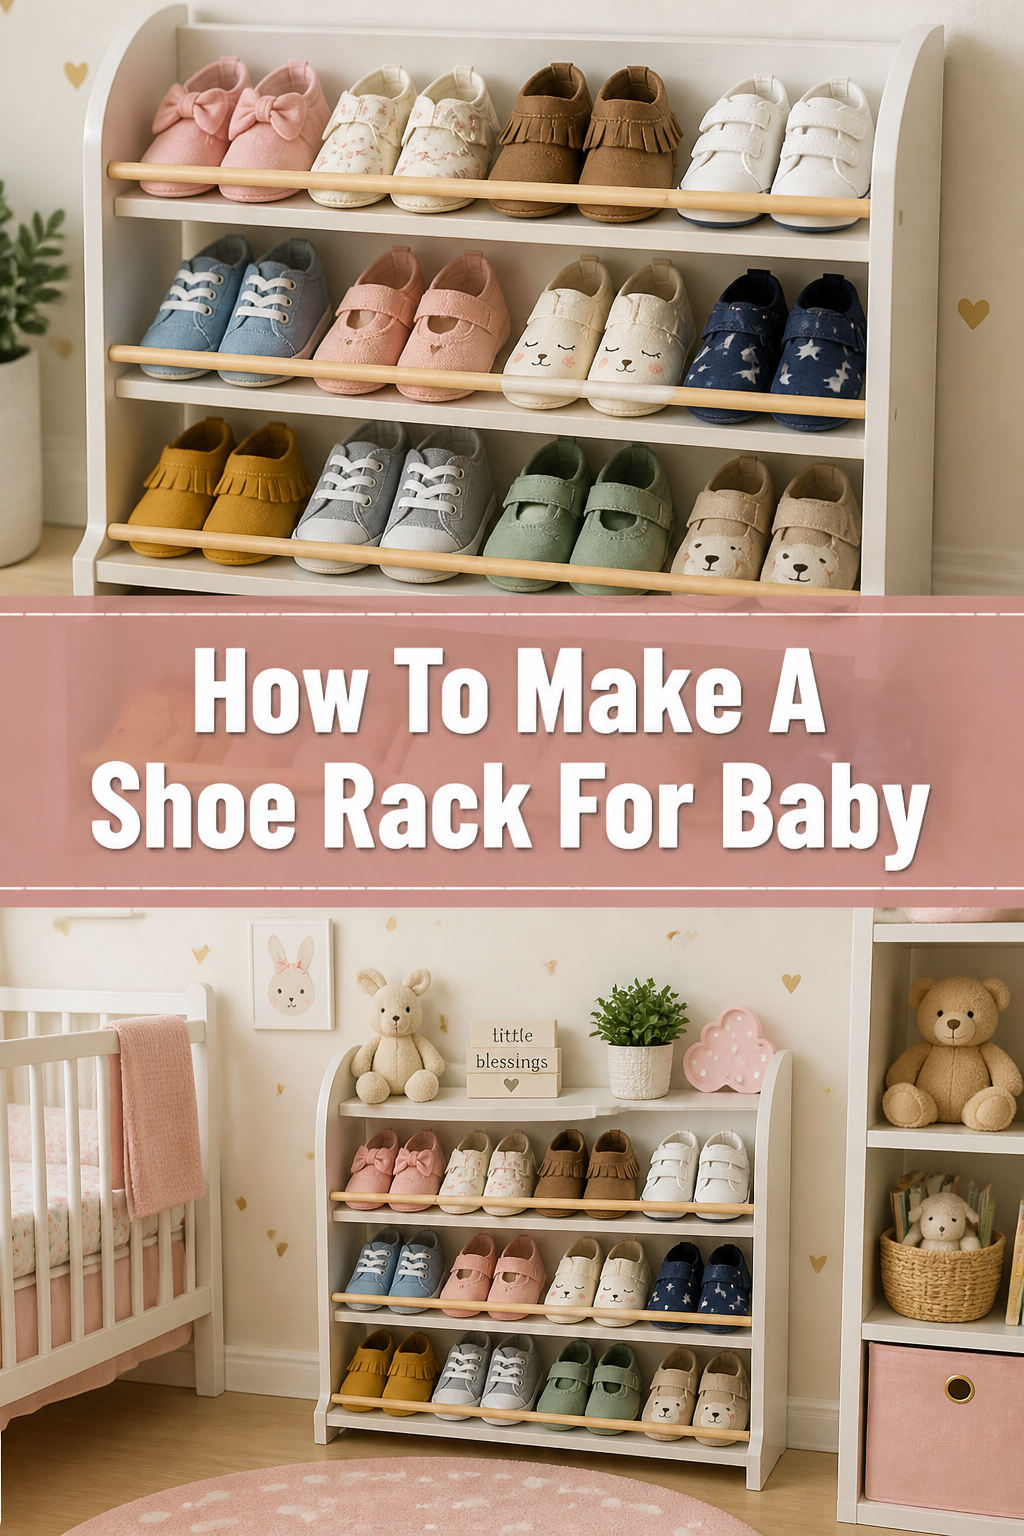
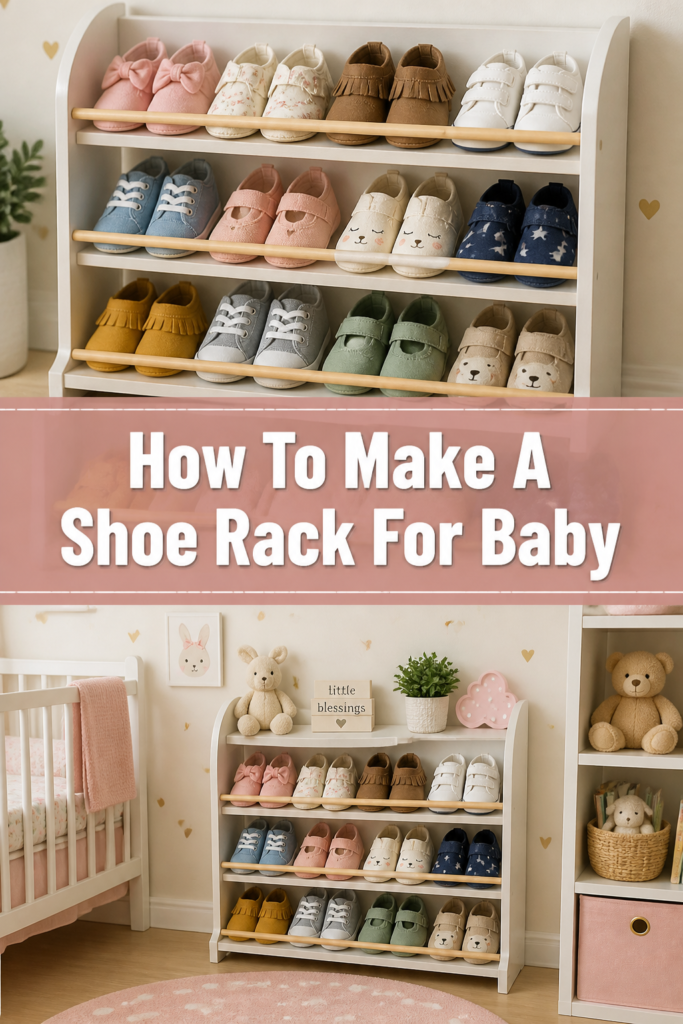
👶 How To Make A Shoe Rack For Baby
Piles of tiny baby shoes can quickly take over any entryway or nursery floor. Keeping them organized feels like an endless battle, especially when you’re already juggling so much as a parent.
I remember tripping over a rogue pair of soft booties one too many times before deciding enough was enough. Building a simple, safe shoe rack made all the difference, bringing a calm sense of order to the chaos.
This guide will walk you through creating your own functional and charming baby shoe rack, transforming clutter into a neat, accessible display. You’ll gain a practical storage solution and the satisfaction of a DIY project well done.
Quick Overview
You’re about to embark on a rewarding project that will bring order to your baby’s footwear collection. This guide will help you construct a sturdy, safe, and adorable shoe rack perfect for those tiny shoes.
The finished rack will not only organize but also add a personalized touch to your nursery or mudroom. It’s a project designed with both functionality and safety in mind.
- Time needed: 3-5 hours (including drying time for finishes)
- Difficulty: Beginner
- What you’ll need: Wood boards, measuring tape, saw, drill, screws, sandpaper, paint/sealant.
Step-by-Step Instructions
Step 1: Plan Your Design and Measurements
Begin by envisioning the size and style of your baby shoe rack. Consider the space it will occupy and how many pairs of shoes you need to store. A good starting point is a two or three-tier design.
Measure the length and height you want the rack to be. Remember that baby shoes are small, so shelves don’t need to be very deep. Roughly 4-6 inches deep is usually sufficient.
Sketch out your design, noting down all the dimensions for your cuts. This blueprint will be invaluable as you move forward.
Pro Tip: Measure the largest pair of baby shoes you own, then add an inch or two for clearance on your shelf height. This ensures future growth won’t render your rack obsolete too quickly.
Step 2: Gather Your Materials and Tools
Collect all the necessary wood, hardware, and tools before you begin. This prevents interruptions and makes the process much smoother. For wood, pine or poplar are excellent choices as they are easy to work with and readily available.
Ensure your saw blades are sharp and your drill bits are appropriate for your screws. Having everything ready means you can maintain your focus on safety and precision.
Check your safety gear, including safety glasses and gloves, before starting any cutting or drilling. Your well-being is always the top priority.
Step 3: Measure and Cut Your Wood Pieces
Carefully measure each piece of wood according to your design plan from Step 1. Double-check every measurement before making a cut. “Measure twice, cut once” is a golden rule in woodworking.
Using a miter saw or a hand saw, cut the wood pieces. You will need:
- Two side pieces (for the height)
- Two top/bottom pieces (for the width)
- Several shelf pieces (for the width and depth)
Ensure all cuts are straight and clean. Any rough edges will be addressed in the next step.
Step 4: Sand All Surfaces Smooth
After cutting, it’s crucial to sand every single piece of wood thoroughly. Start with a medium-grit sandpaper (around 120-grit) to remove any saw marks or rough spots.
Follow up with a finer-grit sandpaper (around 220-grit) to achieve a smooth finish. This step is vital for safety, as babies will inevitably touch the rack, and splinters are a definite no-go.
Pay special attention to edges and corners, rounding them slightly for an even safer feel. Run your hand over each piece to ensure there are no sharp points or rough patches remaining.
Step 5: Assemble the Frame
Begin by assembling the main frame of the shoe rack. Take one side piece and one top piece. Apply a small amount of wood glue to the end of the top piece where it will meet the side piece.
Carefully align the edges and pre-drill pilot holes. Pilot holes prevent the wood from splitting when you insert screws. Use two screws per joint for a strong connection.
Repeat this process for the other top and bottom pieces, connecting them to the side pieces to form a sturdy rectangular frame. Ensure the frame is square before tightening all screws.
Pro Tip: Use a speed square or a carpenter’s square to check that all your corners are at perfect 90-degree angles as you assemble. This ensures a balanced and stable rack.
Step 6: Attach the Shelves
Now it’s time to install the shelves within your assembled frame. Mark the desired height for each shelf on the inside of the side pieces. Use a measuring tape and pencil for accuracy.
Apply wood glue to the ends of a shelf piece. Position the shelf precisely on your marked lines. Pre-drill pilot holes through the side pieces into the ends of the shelf.
Secure each shelf with two screws on each side. Repeat this process for all remaining shelves. Make sure they are level and firmly attached.
Step 7: Finish and Decorate Your Rack
Once the rack is fully assembled, it’s time to apply a finish. For a baby’s room, choose a child-safe, non-toxic paint or sealant. Water-based acrylic paints are often a good choice.
Apply an even coat of your chosen finish, following the manufacturer’s instructions. You might need two coats for full coverage, lightly sanding with fine-grit sandpaper between coats for a super smooth result.
Consider adding decorative touches like stencils, hand-painted designs, or even small, child-safe knobs for hanging tiny accessories. Let the finish dry completely in a well-ventilated area before moving the rack into the nursery.
Step 8: Secure the Rack to the Wall (Crucial for Safety)
This step is absolutely vital for any furniture in a baby’s room. Even a small shoe rack can tip over if a curious baby pulls on it. Locate wall studs using a stud finder where you plan to place the rack.
Attach anti-tip furniture straps or L-brackets to the top back of your shoe rack. Then, securely fasten these straps or brackets to the wall studs. This prevents the rack from accidental tipping.
Always double-check that the rack is firmly anchored and cannot be pulled forward. Your baby’s safety should always be the highest priority.
Common Mistakes to Avoid
Not Sanding Properly
Many DIYers rush the sanding process, thinking it’s less important than the cuts or assembly. However, inadequate sanding leaves rough patches and splinters, which are very dangerous for little hands. Always use multiple grits of sandpaper and ensure every surface is silky smooth to the touch.
Ignoring Safety Features
It’s easy to get caught up in the aesthetics and forget crucial safety measures. Failing to round edges, use child-safe finishes, or, most importantly, anchor the rack to the wall can lead to serious accidents. Prioritize safety from design to final placement; it’s non-negotiable for baby furniture.
Rushing the Assembly
Taking shortcuts during assembly, like skipping pilot holes or using too few screws, can compromise the rack’s structural integrity. A wobbly or weak rack won’t last long and poses a tipping hazard. Take your time, ensure all joints are tight, and use wood glue in addition to screws for maximum durability.
Troubleshooting
Wobbly Rack
If your assembled rack feels unstable, first check all screw connections. Ensure they are tightened securely. Sometimes, a joint might not be perfectly square, causing a slight lean. Disassemble the wobbly joint, re-square it using a carpenter’s square, and re-screw with wood glue for added strength.
Splinters Appearing
Even after sanding, small splinters can sometimes emerge, especially if the wood gets wet or experiences wear. If you notice any, re-sand the affected area thoroughly with fine-grit sandpaper (220-grit or higher) until smooth. Apply another thin coat of child-safe sealant to protect the wood surface.
Paint Chipping
Chipping paint often results from inadequate surface preparation or using the wrong type of paint. Ensure the wood is clean, dry, and lightly sanded before painting. If chipping occurs, sand down the chipped areas, clean the surface, and reapply a fresh coat of high-quality, child-safe primer followed by your chosen paint.
Key Takeaways
- Careful planning and accurate measurements are the foundation of a successful project.
- Thorough sanding is crucial for baby safety, preventing splinters and creating a smooth finish.
- Always use child-safe, non-toxic paints and sealants for any baby furniture.
- Anchoring the shoe rack to the wall is an essential safety step to prevent tipping.
- Take your time with assembly, ensuring all joints are strong and square for durability.
- Even a beginner can create a functional and charming piece of furniture with patience and precision.
Frequently Asked Questions
What’s the best type of wood to use for a baby shoe rack?
Pine or poplar are excellent choices for a baby shoe rack. They are affordable, readily available, and easy to work with, even for beginner woodworkers. Both types of wood also take paint and stain well, allowing for various finishing options.
How high should the shelves be spaced for baby shoes?
For baby shoes, a shelf spacing of about 4-6 inches (10-15 cm) is usually ideal. This provides enough clearance for most tiny shoes and boots without wasting vertical space. You can adjust this based on the specific sizes of your baby’s footwear.
Is it safe to paint furniture for a baby’s room?
Yes, it is safe to paint furniture for a baby’s room, provided you use child-safe, non-toxic paints and sealants. Look for products labeled “Zero VOC” (Volatile Organic Compounds) or “Child Safe” to ensure they meet safety standards. Allow ample drying and curing time in a well-ventilated area before placing it in the nursery.
How can I make the shoe rack more portable?
To make your baby shoe rack more portable, consider adding child-safe, lockable caster wheels to the bottom. This allows you to easily move the rack for cleaning or rearranging. Ensure the wheels can be locked securely to prevent accidental movement when stationary.
Our Top Recommended Finds
- Electric Orbital Sander: Makes quick work of sanding, ensuring a super smooth, splinter-free finish with minimal effort.
- Child-Safe Zero VOC Paint: Essential for safety, these paints ensure no harmful fumes or chemicals are released, perfect for nursery furniture.
- Stud Finder: A must-have tool for securely anchoring your shoe rack to the wall, preventing tip-overs and ensuring your baby’s safety.
Your Little One’s Tidy Corner Awaits
You’ve just taken the first step towards a more organized and charming nursery. Building this baby shoe rack is more than just a DIY project; it’s a small act of love for your little one, creating a dedicated space for their tiny treasures.
Imagine the satisfaction of seeing those adorable shoes neatly lined up, no longer scattered across the floor. This project is a testament to your creativity and care.
Don’t put it off any longer. Gather your materials, clear your workspace, and start building today. Your baby’s tidy corner is just a few steps away, ready to welcome those precious little feet.