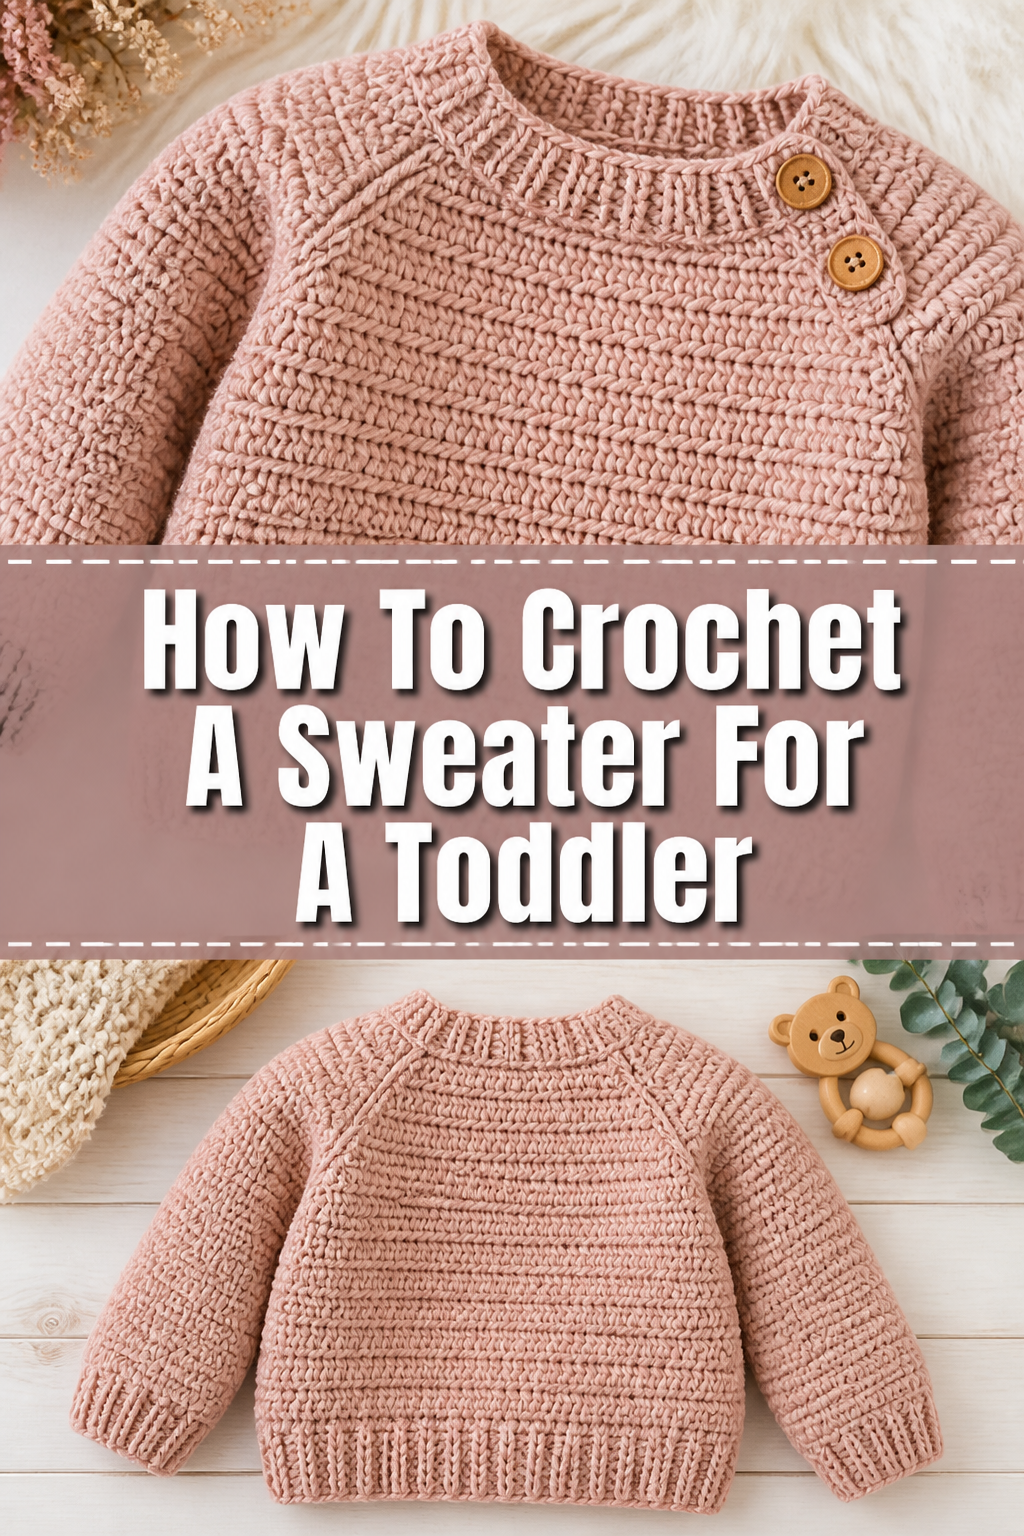
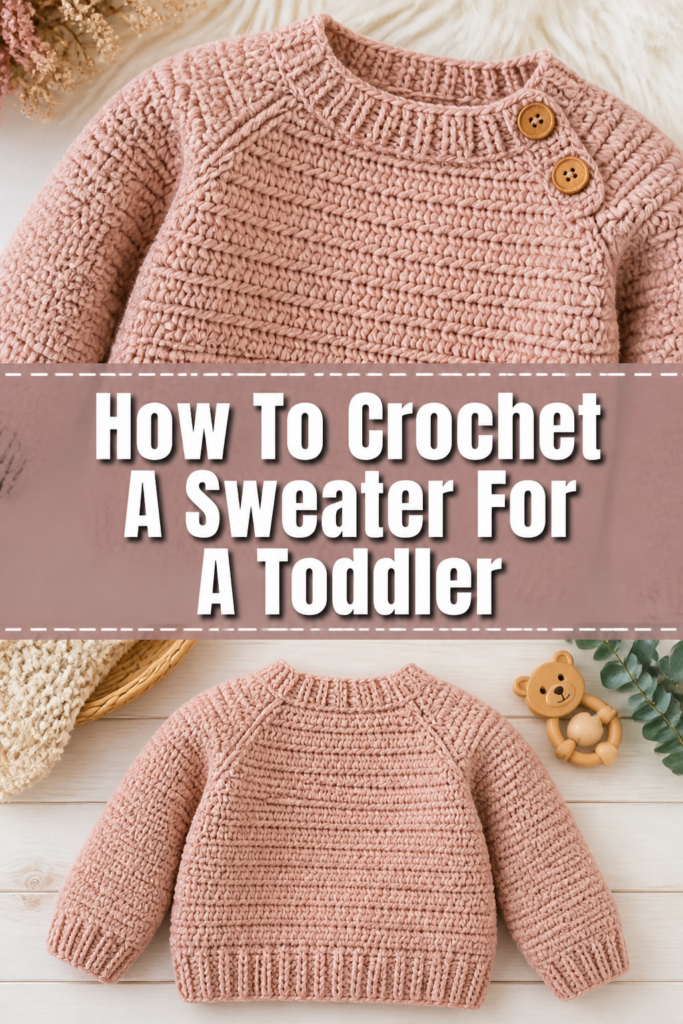
🧶 How To Crochet A Sweater For A Toddler
There’s something incredibly special about creating a handmade garment for a little one.
I’ve experienced the sheer joy of seeing a toddler beam while wearing a cozy sweater I crocheted just for them.
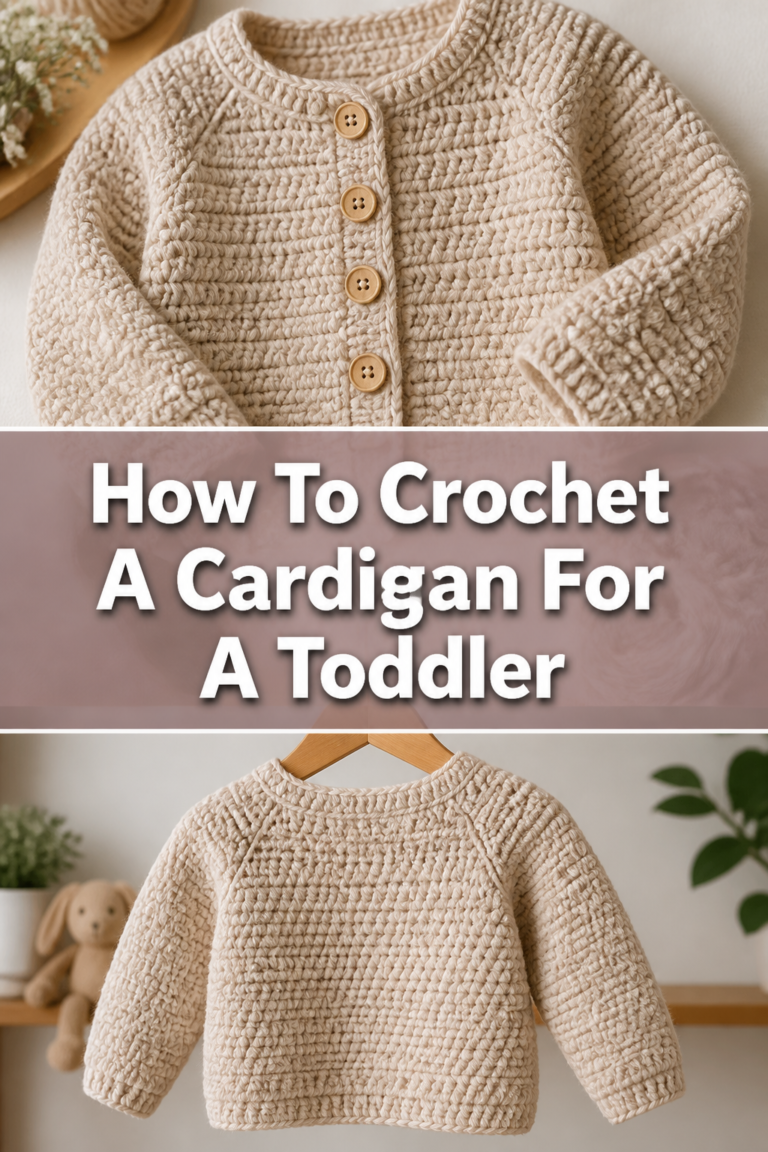
This guide will walk you through every stitch, helping you create a cherished, warm sweater with confidence.
Quick Overview
You’re about to embark on a delightful project, resulting in a unique, handcrafted sweater perfect for a toddler.
This journey involves mastering a few basic stitches and assembling pieces into a wearable garment.
- Time needed: 15-25 hours (spread over several days or weeks)
- Difficulty: Intermediate
- What you’ll need: Yarn, crochet hook, scissors, tapestry needle, measuring tape, stitch markers
Step-by-Step Instructions
Step 1: Gather Your Supplies & Choose a Pattern
Before you begin, gather all necessary materials. Selecting the right yarn and a clear pattern is crucial for success.
A good pattern will specify yarn weight, hook size, and detailed instructions for each piece.
- Select a toddler sweater pattern from a reputable source. Look for designs suitable for intermediate crocheters.
- Choose yarn appropriate for a toddler. Opt for soft, washable fibers like acrylic, cotton blends, or superwash merino wool.
- Ensure you have enough yarn. Patterns usually indicate the required yardage for different sizes.
- Gather your crochet hook (matching pattern’s recommendation), scissors, a tapestry needle for weaving in ends, a measuring tape, and several stitch markers.
Pro Tip: Always buy an extra skein of yarn if you’re unsure. Dye lots can vary, and you don’t want to run out mid-project.
Step 2: Master the Gauge Swatch
The gauge swatch is your most important ally in achieving the correct sweater size.
It helps you match the pattern’s specified stitch and row count per inch.
- Chain more stitches than your pattern’s gauge swatch width (e.g., if the pattern says 4 stitches per inch, chain about 25 stitches for a 4-inch swatch).
- Crochet in the specified stitch (often single crochet, half double crochet, or double crochet) for about 4-6 inches in height.
- Measure your swatch after blocking (washing and shaping). Count stitches and rows within a 4×4 inch square.
- Adjust your hook size if your gauge is off. If you have too many stitches per inch, go up a hook size. If you have too few, go down a hook size.
- Repeat the swatch process until your gauge matches the pattern exactly.
Pro Tip: Blocking your gauge swatch is essential. Yarn behaves differently after washing, and this gives you the most accurate measurement.
Step 3: Crochet the Back Panel
The back panel is often the largest and most straightforward piece of the sweater.
It provides a good opportunity to get comfortable with the pattern’s main stitch.
- Follow your pattern’s instructions for the starting chain of the back panel.
- Work in the specified stitch and turn at the end of each row, as instructed.
- Pay close attention to stitch counts at the end of each row, especially in the beginning, to ensure straight edges.
- Continue crocheting until the panel reaches the specified length before any armhole shaping.
- Shape the armholes and neckline according to the pattern. This usually involves decreasing stitches at specific points.
Step 4: Create the Front Panels
Depending on the sweater design, you might crochet one front panel or two separate panels for a cardigan style.
Front panels often include shaping for the neckline and armholes, mirroring the back.
- Start the front panel(s) with the correct number of foundation chains as per your pattern.
- Crochet until the armhole shaping begins, matching the length of the back panel.
- Shape the armholes and neckline. Front necklines are typically deeper than back necklines.
- Follow the pattern closely for any button band or placket details if it’s a cardigan.
- Use stitch markers to denote shaping points or the center front if needed.
Pro Tip: Crocheting two identical front panels (for a cardigan) simultaneously, row by row, can help ensure they are the same size and shape.
Step 5: Craft the Sleeves
Sleeves are often worked in the round or as flat panels that are later seamed.
They typically involve increasing stitches gradually to create a wider arm opening.
- Begin the sleeve with the specified number of stitches or chains for the cuff.
- Work in the round or in rows, depending on the pattern.
- Increase stitches evenly over designated rows to create the sleeve’s taper.
- Continue until the sleeve reaches the desired length before the sleeve cap shaping.
- Shape the sleeve cap by decreasing stitches to fit into the armhole opening.
- Make two identical sleeves, paying close attention to stitch counts and shaping for symmetry.
Step 6: Assemble the Sweater Pieces
Once all your panels and sleeves are crocheted, it’s time to bring them together.
Seaming is a critical step that gives your sweater its structure and finished look.
- Lay out your back and front panels right sides together.
- Seam the shoulder seams first. You can use a slip stitch, single crochet, or a mattress stitch with a tapestry needle.
- Attach the sleeves. Center the top of each sleeve to the shoulder seam.
- Seam the sleeve to the armhole opening, ensuring an even distribution of stitches.
- Fold the sweater in half, right sides together, matching side seams and sleeve seams.
- Seam the side seams and the underarm seams, creating a continuous line.
Pro Tip: Use stitch markers to align your pieces perfectly before seaming. This prevents puckering or uneven joins.
Step 7: Add Finishing Touches
Finishing touches like collars, cuffs, and bottom ribbing add polish and comfort to your sweater.
These details often use a different stitch pattern or technique, like working in the round.
- Crochet a collar around the neckline opening. This might involve picking up stitches and working in rounds or rows.
- Add cuffs to the sleeve openings. Often, this is a ribbing pattern worked directly onto the sleeve edge or made separately and sewn on.
- Work a bottom ribbing along the lower edge of the sweater for a neat finish.
- Follow your pattern’s specific instructions for any buttonholes, buttons, or other embellishments.
Step 8: Weave in Ends & Block
The final steps ensure your sweater is tidy, professionally finished, and perfectly sized.
Weaving in ends prevents unraveling, and blocking sets your stitches.
- Thread each loose yarn end onto your tapestry needle.
- Weave the ends securely into the fabric, going in different directions for a few stitches to prevent them from popping out.
- Trim any excess yarn close to the fabric.
- Block your finished sweater. This can involve wet blocking (soaking and pinning to shape) or steam blocking (using steam to relax and shape).
- Allow the sweater to dry completely in its pinned shape.
Common Mistakes to Avoid
Skipping the Gauge Swatch
Many crocheters are tempted to skip the gauge swatch, but this is a critical error. Without it, your sweater’s dimensions will likely be incorrect.
You could end up with a sweater that’s too big, too small, or has an odd drape, wasting all your hard work. Always make and block your swatch.
Incorrect Seaming
Poor seaming can ruin the look and fit of an otherwise perfectly crocheted sweater. Gaps, bulky seams, or uneven joins detract from the finished garment.
Take your time with seaming. Use stitch markers to align pieces, choose a suitable seaming method (like the mattress stitch for invisible seams), and work carefully.
Choosing the Wrong Yarn Weight
Using a yarn weight different from what the pattern recommends will significantly alter your gauge, even if you adjust your hook. This impacts the fabric’s drape and thickness.
Stick to the yarn weight specified in the pattern. If substituting, ensure the new yarn has a similar fiber content and weight category (e.g., worsted weight for worsted weight).
Ignoring Pattern Instructions
Even experienced crocheters can make mistakes by not reading the pattern thoroughly. Details like stitch counts, specific decreases, or turning chains are vital.
Read each section of the pattern before you start crocheting it. Highlight important numbers and check them off as you go. Don’t assume; always refer back to the instructions.
Troubleshooting
Sweater is too big/small
If your finished sweater is not the right size, the most common culprit is an incorrect gauge. This means your stitches or rows per inch didn’t match the pattern.
If you’re still working, re-check your gauge swatch and adjust your hook size. If the sweater is already finished, you might need to frog (unravel) and restart, or accept the size difference and consider it a learning experience.
Edges are uneven
Uneven edges typically occur when you’re not consistent with your turning chains or where you insert your hook at the start/end of rows.
Ensure your turning chain height matches the stitch you’re working (e.g., chain 1 for single crochet, chain 2 for half double crochet, chain 3 for double crochet). Always place your first stitch in the correct spot and your last stitch in the top of the turning chain from the previous row.
Stitches look messy/loose
Messy or loose stitches often point to inconsistent tension or using too large a hook for your chosen yarn.
Practice maintaining an even tension by wrapping the yarn consistently around your fingers. If stitches are consistently loose, try going down a hook size. Blocking can also help even out minor inconsistencies.
Key Takeaways
- Always create and block a gauge swatch to ensure correct sizing.
- Choose soft, washable yarn suitable for a toddler’s delicate skin.
- Read your crochet pattern thoroughly before starting each section.
- Use stitch markers generously to keep track of rows, stitches, and shaping.
- Take your time with seaming to achieve a professional and tidy finish.
- Weave in all ends securely to prevent unraveling and give a clean look.
- Block your finished sweater to set stitches, even out fabric, and achieve final dimensions.
Frequently Asked Questions
Can a beginner crochet a toddler sweater?
While a toddler sweater is often labeled “intermediate,” an ambitious beginner with a few basic stitches under their belt can definitely succeed. Start with a very simple pattern, perhaps one with minimal shaping, and be prepared to learn as you go. Patience is your best tool.
What’s the best yarn for toddlers?
The best yarns for toddlers are soft, non-irritating, and easy to care for. Acrylic is popular for its washability and affordability. Cotton blends are breathable, and superwash merino wool offers warmth without being itchy, plus it’s machine washable. Avoid yarns that require handwashing or are prone to pilling.
How do I wash a handmade crochet sweater?
Always follow the yarn’s care instructions. For most toddler-friendly yarns like acrylic or superwash wool, machine wash on a gentle cycle with cold water. Lay flat to dry to prevent stretching or distorting the garment’s shape. Never put a handmade sweater in a hot dryer unless explicitly stated on the yarn label.
How long does it really take to crochet a toddler sweater?
The time varies greatly depending on your skill level, the pattern’s complexity, the yarn weight (thicker yarn works up faster), and how much time you dedicate each day. An average estimate for an intermediate crocheter is 15-25 hours of actual crocheting time, often spread out over several days or weeks.
Our Top Recommended Finds
- Ergonomic Crochet Hook Set: Comfortable handles reduce hand fatigue, making long crocheting sessions more enjoyable.
- Superwash Merino Wool Yarn: Soft, warm, and machine washable, perfect for active toddlers and busy parents.
- Locking Stitch Markers: Essential for marking stitch counts, shaping points, and keeping track of pieces during assembly.
Ready to Craft a Cozy Keepsake?
Creating a crocheted sweater for a toddler is more than just a craft project; it’s an act of love.
Each stitch you make weaves in warmth and care, resulting in a unique garment that will be cherished.
Now that you have the steps, the tips, and the confidence, pick up your hook and yarn today.
Imagine the smiles and snuggles this sweater will bring. Perhaps your next project could be a matching hat or a small blanket!