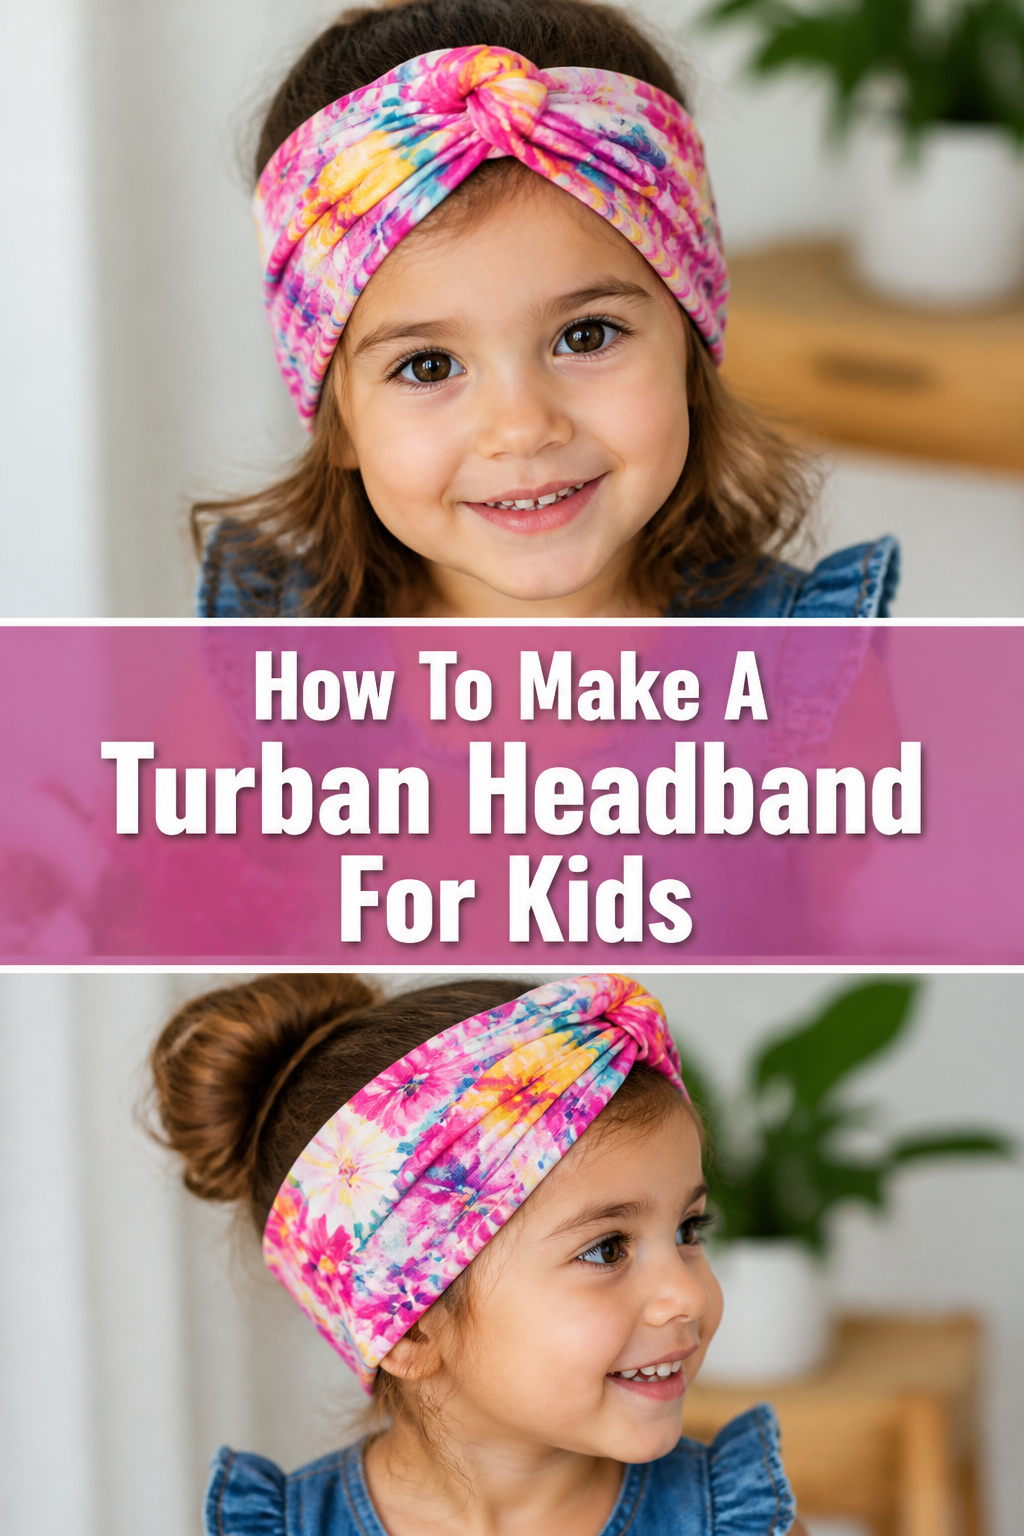
🧵 How To Make A Turban Headband For Kids
Creating something special for your child is always rewarding, especially when it’s both stylish and comfortable.
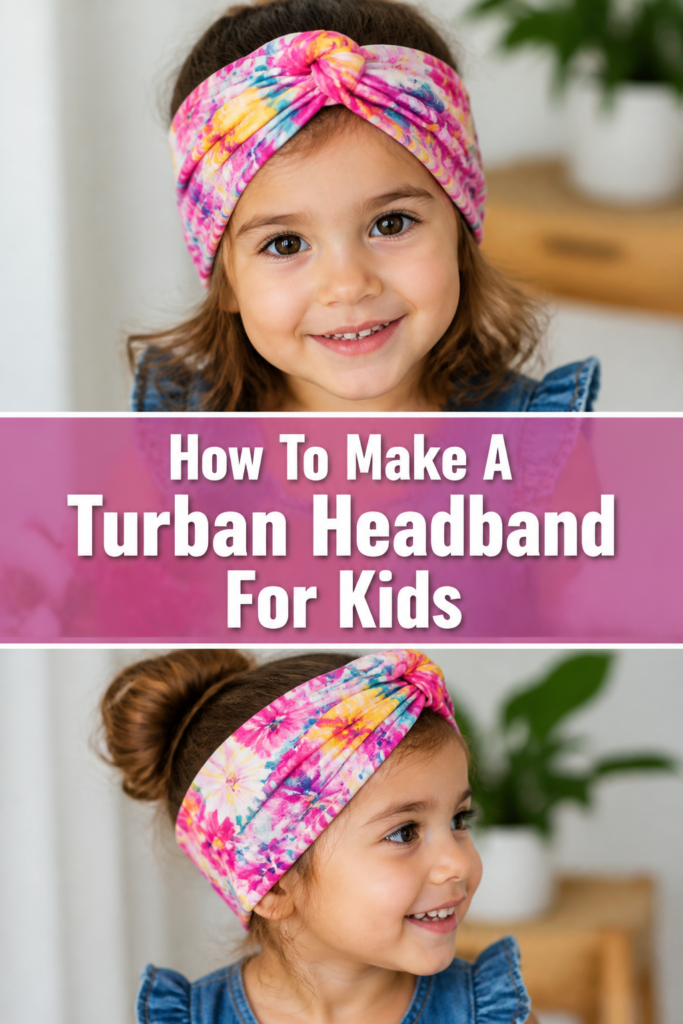
A DIY turban headband is a fantastic project, offering a touch of bohemian flair that kids adore.
I’ve made these for countless little heads, from my own nieces to their playdate pals, perfecting the method to be super simple and fun for any crafter.
Quick Overview
You’re about to embark on a delightful crafting journey to create a charming turban headband, perfectly sized for a child’s head. This guide will walk you through each stitch and fold, ensuring a beautiful result.
- Time needed: 1-2 hours
- Difficulty: Beginner
- What you’ll need: Soft fabric, elastic, basic sewing supplies
Step-by-Step Instructions
Step 1: Gather Your Materials
Before you begin, lay out all your necessary items. Having everything within reach makes the process smooth and enjoyable.
You will need a soft, stretchy fabric like jersey knit, cotton lycra, or even an old t-shirt. This ensures comfort and a good fit for active kids.
Grab your sewing machine (or needle and thread), fabric scissors, pins, a measuring tape, and a small piece of elastic.
Pro Tip: Pre-wash and dry your fabric before cutting. This prevents any shrinkage after the headband is made, ensuring it retains its intended size.
Step 2: Measure and Cut Your Fabric
Accurate measurements are key for a well-fitting headband. Measure your child’s head circumference where the headband will sit, typically around the forehead.
For the main headband strip, cut a rectangle of fabric. Its length should be the head circumference minus 2 inches (to account for stretch and seam allowance), and its width should be 4-5 inches.
For the turban twist pieces, cut two smaller rectangles. Each should be about 10-12 inches long and 3-4 inches wide. These will form the decorative knot.
Step 3: Prepare the Main Headband Strip
Take your large main headband rectangle. Fold it in half lengthwise, right sides together.
Pin along the raw edge to hold it securely. This creates a long tube shape.
Stitch along this pinned edge, using a 1/4 inch seam allowance. If using a sewing machine, a stretch stitch or a narrow zigzag stitch works best for knit fabrics.
Step 4: Turn the Main Strip Right Side Out
Once stitched, it’s time to turn the fabric tube. This can sometimes be a bit fiddly, especially with narrow pieces.
Attach a safety pin to one end of the fabric tube. Thread the safety pin through the inside of the tube, pushing it until it emerges from the other end.
Gently pull the fabric through until the right side is facing out. Press the seam flat with an iron for a crisp finish.
Step 5: Create the Turban Twist Pieces
Now, repeat the previous two steps for your two smaller turban twist rectangles.
Fold each small rectangle in half lengthwise, right sides together, and pin the raw edge. Stitch each one, leaving the ends open.
Turn both of these smaller tubes right side out. You will now have three fabric tubes in total.
Pro Tip: For very small pieces, a turning tool or even a chopstick can be immensely helpful for turning tubes right side out without frustration.
Step 6: Assemble the Turban Twist
Lay the two smaller tubes flat. Overlap them in the middle to form an “X” shape. The center of the “X” is where your twist will form.
Carefully twist one tube over the other, then bring the ends around. Imagine tying a loose, simple knot, but keep the tubes flat.
Adjust the twist until it looks pleasing and symmetrical. This will be the focal point of your headband.
Step 7: Attach the Twist to the Main Headband
Take your main headband strip and find its center. Lay the twisted piece flat on top of the main strip, aligning the center of the twist with the center of the main strip.
Gather the raw ends of the twisted pieces and bring them around to the underside of the main headband. Pin them securely to the main strip.
Hand stitch or machine stitch these raw ends to the main strip, ensuring they are firmly attached and hidden. This creates the illusion of a seamless turban knot.
Step 8: Form the Headband Loop with Elastic
Now, it’s time to create the final loop. Take your main headband strip with the attached turban twist. You have two raw ends of the main strip.
Cut a piece of elastic about 2-3 inches long. This will add stretch and comfort.
Insert one end of the elastic into one raw end of the main headband strip (about 1/2 inch in) and stitch it securely. Repeat with the other end of the elastic and the remaining raw end of the main strip, ensuring the strip isn’t twisted.
Pro Tip: Use a strong zigzag stitch when attaching the elastic. This allows the seam to stretch without breaking, which is crucial for a durable headband.
Step 9: Finish the Headband Edges
To give your headband a clean, professional finish, carefully trim any excess fabric around the elastic joins.
You can then fold the raw edges of the main headband strip over the elastic and stitch them down. This encloses the elastic completely, making it comfortable against the skin and invisible.
Alternatively, you can fold the raw ends inward and stitch them together, sandwiching the elastic inside. This creates a neat, enclosed seam.
Step 10: Final Adjustments and Try-On
Give your new turban headband a gentle stretch to ensure all seams are secure. Check for any loose threads and trim them away.
Have your child try on their new accessory! Adjust the fit if needed. The elastic should provide enough give for comfort without being too tight.
Celebrate your crafting success! Your child now has a unique, handmade turban headband.
Common Mistakes to Avoid
Cutting Fabric Incorrectly
Many beginners rush through measuring and cutting. Incorrect measurements lead to a headband that is either too tight or too loose, making it uncomfortable for a child.
Always measure twice and cut once. Remember to account for seam allowances and the stretch of your fabric. This precision saves time and frustration in the long run.
Using Non-Stretchy Fabric
Attempting to make a turban headband from woven cotton or other non-stretchy fabrics is a common pitfall. These fabrics lack the necessary give to comfortably fit around a child’s head.
Stick to knit fabrics like jersey, interlock, or cotton lycra. Their natural stretch is essential for a snug yet comfortable fit that stays in place during play.
Uneven Stitching or Seams
Especially with knit fabrics, uneven stitching can cause puckering or weak seams that unravel quickly. This compromises both the look and durability of your headband.
Take your time with stitching, use the correct needle (ballpoint or stretch needle), and adjust your machine settings for knit fabric. Practicing on scraps helps build confidence.
Troubleshooting
Headband is Too Tight/Too Loose
If the headband feels uncomfortable or slips off, the initial length measurement might be off or the elastic too short/long. This is a common issue with custom sizing.
For a tight headband, you can carefully unpick the elastic connection and replace it with a slightly longer piece. If it’s too loose, shorten the elastic or take in a small amount of fabric at the back seam.
Turban Twist Looks Uneven
Sometimes the decorative twist can look lopsided or not sit flat. This usually happens during the initial twisting and attaching phase.
Gently unpick the stitches holding the twist to the main band. Re-form the “X” and twist, taking care to ensure symmetry before re-pinning and stitching. A little patience here makes a big difference.
Key Takeaways
- Always pre-wash your fabric to prevent future shrinkage and ensure a consistent fit.
- Accurate head measurements are crucial for a comfortable and well-fitting headband.
- Use stretchy knit fabrics like jersey or cotton lycra for the best results.
- Take your time with each sewing step, especially when turning tubes and forming the twist.
- The elastic insert provides essential comfort and flexibility for a child’s active wear.
- Don’t be afraid to adjust or unpick stitches if something doesn’t look right; practice makes perfect.
Frequently Asked Questions
Can I make this headband without a sewing machine?
Yes, absolutely! While a sewing machine speeds up the process, you can hand-sew this turban headband. Use a strong backstitch for all seams to ensure durability, especially where the elastic is attached. It might take a bit longer, but the result will be just as lovely.
What type of elastic works best for this project?
For a comfortable and durable headband, opt for a soft, braided elastic or swimwear elastic. A width of 1/2 inch to 3/4 inch is ideal. Avoid stiff or very thin elastic, as it can dig into the skin or lose its stretch quickly.
How do I choose the right fabric print for a child?
Choosing fabric is the fun part! Consider your child’s favorite colors, animals, or characters. Bright, playful prints often work well. Look for fabrics that are soft to the touch and won’t irritate sensitive skin, as the headband will be worn for extended periods.
Is this headband machine washable?
Generally, yes! Since you’re using soft, stretchy fabrics, the finished turban headband should be machine washable. Always follow the care instructions for your specific fabric. Washing on a gentle cycle with cold water and air drying will help maintain its shape and elasticity over time.
Our Top Recommended Finds
- Soft Jersey Knit Fabric: Perfect for comfort and stretch, available in countless colors and patterns.
- Ballpoint Sewing Needles: Essential for sewing knit fabrics without damaging the fibers.
- Good Quality Fabric Scissors: Sharp scissors make precise cutting much easier and more enjoyable.
Your Next Creative Adventure Awaits
You’ve just crafted a beautiful, custom turban headband, a testament to your creativity and care. This project is a wonderful starting point for many more handmade accessories.
Consider experimenting with different fabric textures or adding embellishments like small fabric flowers or beads (for older children, ensuring they are securely attached). You could even try making matching headbands for dolls or siblings!
Don’t let your crafting journey end here. Pick out a new fabric today and start planning your next unique creation. The joy of making something with your own hands is truly unmatched.