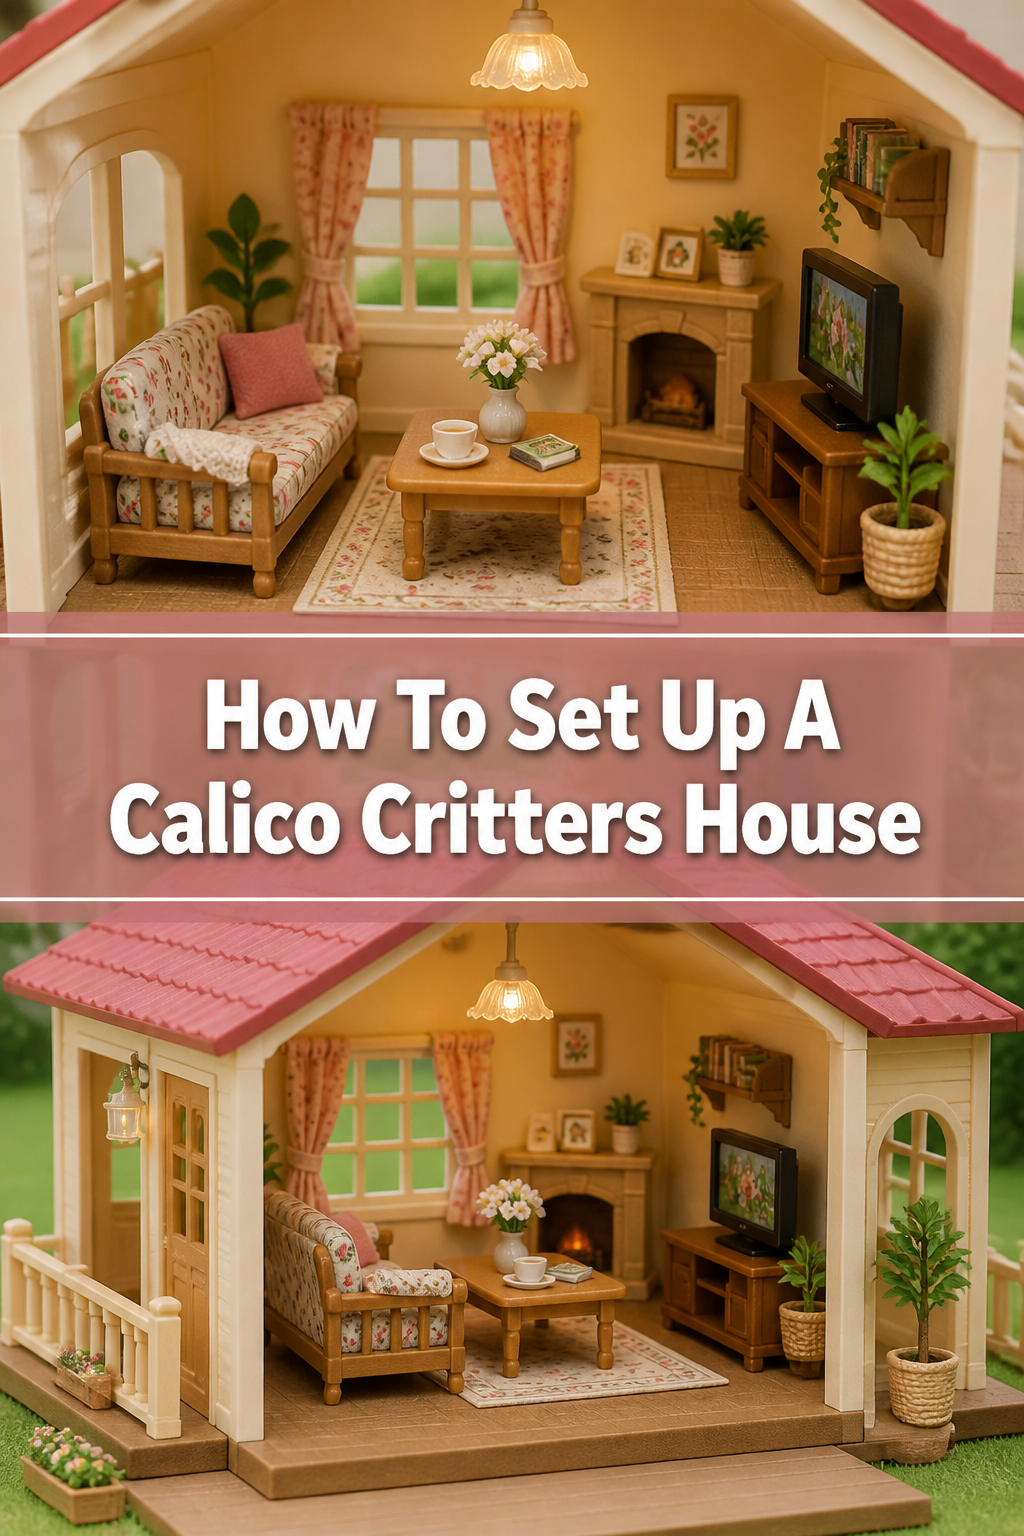
🏡 How To Set Up A Calico Critters House
Bringing a new Calico Critters house home is an exciting moment, full of miniature possibilities.
It’s a chance to build a charming world for your tiny animal families.
Having arranged countless miniature scenes, I’ll guide you through making your Critters’ new home perfect from the start.
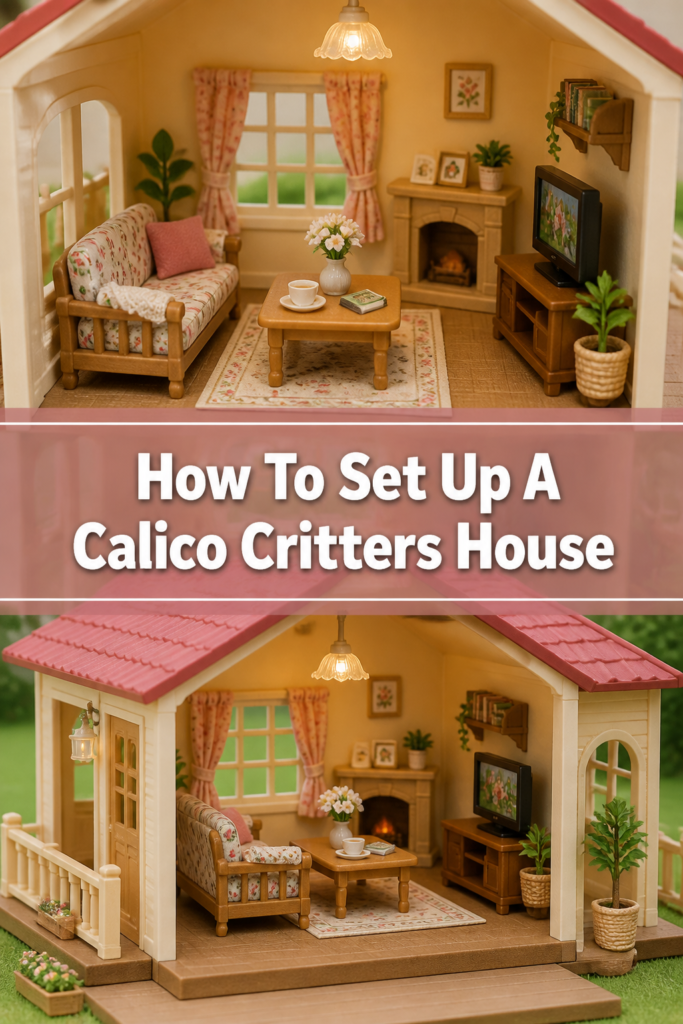
Quick Overview
This guide will walk you through unboxing, assembling, and decorating your Calico Critters house, ensuring it’s ready for imaginative play.
- Time needed: 30-60 minutes (depending on house size and detail)
- Difficulty: Beginner
- What you’ll need: Your new Calico Critters house, any furniture sets, and your critter families.
Step-by-Step Instructions
Step 1: Unpack Your New House
Carefully open the packaging for your Calico Critters house. Take your time to avoid damaging any delicate parts.
Lay out all the pieces on a clean, flat surface. This helps you see everything clearly and ensures nothing is missing.
Double-check the instruction manual against the laid-out components. Make sure every wall, floor, and roof piece is present.
Pro Tip: Keep the original box for storage if you plan to move the house or store it away temporarily. It’s custom-fit and protects the pieces well.
Step 2: Review the Instruction Manual
Before you begin assembly, take a few minutes to read through the entire instruction manual. Familiarize yourself with the diagrams.
Understanding the steps ahead will make the building process much smoother. Look for any specific tips or warnings.
Calico Critters houses are generally straightforward to assemble, but each model can have unique features.
Step 3: Assemble the Base and Walls
Begin by identifying the base of the house. This is usually the largest, flat piece that forms the ground floor.
Carefully attach the first set of walls to the base. They often snap or slide into place.
Work methodically, ensuring each wall piece is securely connected before moving to the next. Gentle pressure is usually all that’s needed.
Step 4: Add Floors and Additional Levels
Once the ground floor walls are stable, place the next floor piece on top. This creates the base for the second level.
Continue adding walls for the upper floors, following the instructions. Many houses have multiple stories.
Ensure each floor is level and all connections are firm. This prevents the house from becoming wobbly.
Step 5: Attach the Roof and Architectural Details
The roof pieces are typically the last major structural components. They often snap onto the top walls.
Some houses include chimneys, balconies, or other decorative elements. Attach these according to the manual.
These details add character and completeness to your Critters’ new home. Take care with smaller, more fragile parts.
Step 6: Place Doors and Windows
Many Calico Critters houses come with separate doors and windows. These usually snap into designated openings.
Push them gently until they click into place. Make sure they open and close smoothly if they are designed to.
Properly installed doors and windows complete the exterior and allow for interactive play.
Step 7: Arrange Furniture and Accessories
Now comes the fun part: furnishing your Critters’ home. Unpack any furniture sets you have.
Decide which rooms will be the living room, kitchen, bedroom, and bathroom. Place larger furniture pieces first.
Then add smaller accessories like lamps, rugs, and tiny dishes. Personalize each space.
Pro Tip: Think about a story as you furnish. Who lives here? What do they like to do? This makes the decorating process more engaging.
Step 8: Introduce Your Calico Critters Families
Finally, bring your beloved Calico Critters families into their new abode. Place them in different rooms.
Imagine them enjoying their new surroundings, cooking in the kitchen, or relaxing in the living room.
This step truly brings the house to life and marks the beginning of countless adventures.
Common Mistakes to Avoid
Rushing the Assembly
Trying to put the house together too quickly can lead to bent tabs, broken pieces, or an unstable structure. Calico Critters houses are designed for careful, gentle assembly.
Always take your time. Read the instructions fully before starting and connect each piece firmly but without excessive force. Patience ensures a sturdy and lasting home.
Forcing Connections
If a piece isn’t fitting, it’s likely not aligned correctly or is the wrong part for that step. Forcing it can permanently damage the plastic tabs or slots.
Instead, gently pull the piece away, re-examine the instructions, and try again with the correct orientation or part. Connections should usually snap or slide into place with minimal effort.
Overlooking Small Details
Small decorative pieces like railings, flower boxes, or tiny lamps often add significant charm. Forgetting to attach them can make the house feel incomplete.
Refer to the manual’s diagrams to ensure all accessory pieces are installed. These details truly bring the miniature world to life and enhance the overall aesthetic.
Cluttering Rooms
It’s tempting to put all your furniture and accessories into one house, but too much can make rooms feel cramped and difficult for Critters to “move” around.
Curate your furniture thoughtfully. Choose pieces that fit the scale and leave enough open space for play. Less can often be more in miniature decorating.
Troubleshooting
Wobbly Walls or Floors
If your house feels unstable after assembly, it usually means some connections aren’t fully secured. A wobbly structure can frustrate play and lead to collapse.
Go back through the assembly steps, checking each wall and floor connection point. Gently push or press until you hear or feel a secure click. Ensure all tabs are fully inserted into their slots.
Doors or Windows Don’t Open/Close
When doors or windows stick or won’t operate correctly, they might not be installed properly in their frames. Misalignment is a common cause.
Carefully remove the problematic door or window. Check its orientation and reinsert it, ensuring it sits flush within its opening. Sometimes, a tiny bit of debris might be in the track; clear it if present.
Missing a Piece
Discovering a missing piece can be disappointing, especially after you’ve started building. This can halt your assembly entirely.
First, thoroughly re-check the packaging, including any small bags or nooks in the box. If it’s genuinely missing, contact the manufacturer’s customer service. They often have replacement parts available.
Key Takeaways
- Always begin by carefully unpacking and checking all components against the instruction manual.
- Read the entire instruction manual before starting assembly to understand the process.
- Assemble the house gently and methodically, ensuring each connection is secure but not forced.
- Take your time with furnishing and decorating to create inviting and personalized spaces for your Critters.
- Introduce your Calico Critters families last to fully enjoy their new, beautifully set-up home.
- Avoid rushing or forcing pieces to prevent damage and ensure a sturdy structure.
Frequently Asked Questions
Are Calico Critters houses difficult to assemble?
No, Calico Critters houses are generally designed for easy, snap-together assembly. They don’t require tools or glue, making them accessible even for younger builders with some adult supervision.
Can I customize my Calico Critters house?
Absolutely! Customization is a big part of the fun. You can mix and match furniture sets, add miniature decorations, or even craft your own tiny accessories to personalize the interior and exterior of the house.
How do I clean my Calico Critters house?
To clean your Calico Critters house, simply wipe it down with a soft, damp cloth. Avoid harsh chemicals or abrasive cleaners, as these can damage the plastic or paint. For dust, a soft brush or a can of compressed air works well.
Are Calico Critters houses compatible with other miniature brands?
While Calico Critters houses and furniture are designed specifically for their own line, many collectors find that some miniature items from other brands (especially 1:12 scale) can be compatible. It’s best to check sizes before purchasing.
Our Top Recommended Finds
- Calico Critters Family: Essential for bringing your house to life and sparking imaginative play.
- Calico Critters Furniture Sets: Themed sets like a kitchen, bedroom, or living room instantly furnish a space.
- Miniature Accessory Packs: Tiny items like food, dishes, or gardening tools add incredible detail and realism.
Crafting Your Critters’ Cozy Corner
Setting up a Calico Critters house is more than just assembly; it’s about creating a magical space for imaginative adventures.
Each wall you snap into place and every tiny piece of furniture you arrange builds a world of stories.
Don’t wait! Gather your Critters and their new home today and begin building the charming miniature world you’ve envisioned.