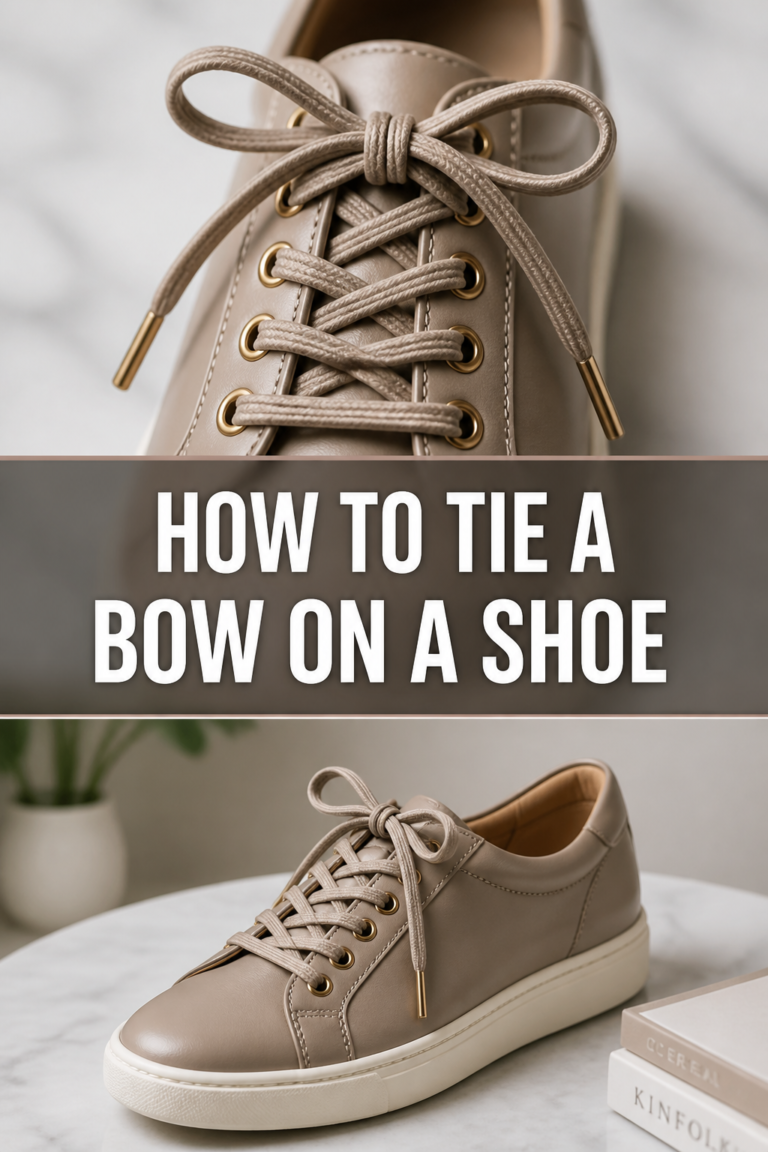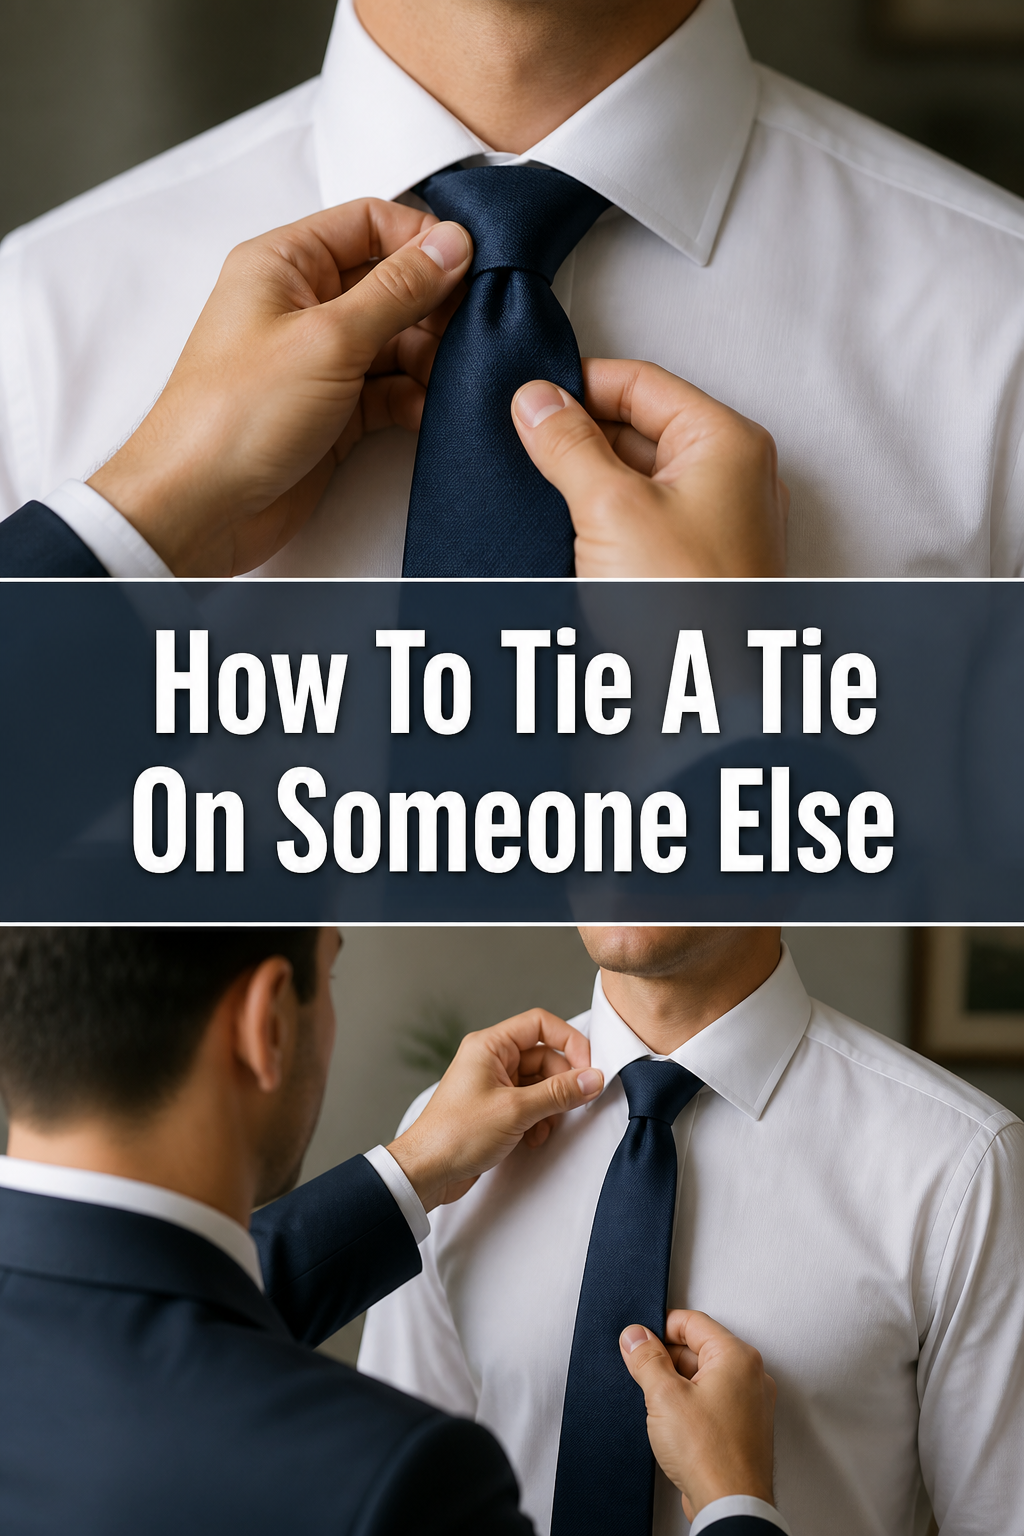
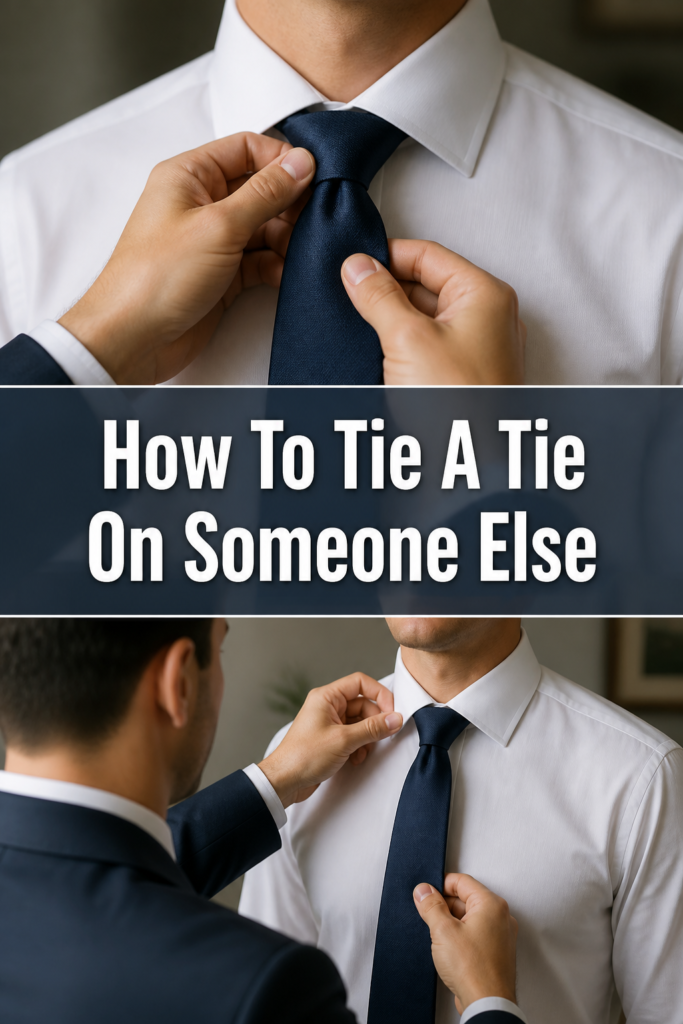
👔 How To Tie A Tie On Someone Else
I remember the first time I had to tie a tie on someone else. It was for my younger brother’s school play, and I was completely lost. His tie ended up looking more like a crumpled scarf than a proper knot.
After much practice, and a few frantic YouTube searches, I finally mastered the art. Now, I find it quite satisfying to help others look their best, and you will too. This guide shares all the practical tips I’ve learned to make the process smooth and successful for you.
Quick Overview
Tying a tie for another person is a thoughtful gesture that perfects their look. You’ll guide the fabric, shape the knot, and ensure a comfortable fit, adding a touch of elegance to their ensemble.
- Time needed: 5-10 minutes (after initial practice)
- Difficulty: Intermediate
- What you’ll need: A necktie, a shirt with a collar, and the person wearing it
Step-by-Step Instructions
Step 1: Prepare the Collar and Position
Begin by having the person stand comfortably in front of you. Ensure their shirt collar is popped up, standing straight around their neck. This gives you clear access to the neckband area.
Make sure the top button of their shirt is fastened. This provides the correct foundation for the tie and ensures the knot will sit snugly. A fastened button prevents the tie from feeling too loose later on.
You should both be facing each other. This direct eye contact and proximity allow for easier communication and precise adjustments. It also helps you gauge the tie’s appearance from their perspective.
Pro Tip: Ask the person to relax their shoulders. A tense posture can make their neck feel shorter, making it harder to properly position and tighten the tie.
Step 2: Drape and Determine Length
Place the tie around their neck, with the wider, ‘active’ end on their right side. The narrow, ‘passive’ end should be on their left. This setup is crucial for most standard knots.
Adjust the length of the wide end. For a standard Four-in-Hand knot, the tip of the wide end should initially hang significantly lower than the narrow end. Aim for the wide end to reach roughly to their belt buckle area.
The narrow end should sit a bit higher, perhaps around their chest or solar plexus. This initial length ratio is vital for ensuring the tie finishes at the correct length, typically reaching the belt buckle. You will be doing most of the work with the wider end.
Consider the person’s height and torso length. Taller individuals may need the wide end to start even lower to compensate. Shorter individuals might need less initial length difference.
Step 3: Cross the Wide End Over
Take the wide end of the tie and cross it horizontally over the narrow end. This creates the first foundational layer of your knot. Ensure the wide end lies flat across the narrow end, without twisting.
This action forms a horizontal band across their throat, with the wide end now positioned on their left. The narrow end remains stationary underneath. Hold this intersection point gently with one hand.
Your non-dominant hand can lightly hold the narrow end in place. This prevents it from shifting as you manipulate the wide end. Precision here makes the rest of the knot much easier.
Step 4: Wrap the Wide End Around
Now, bring the wide end underneath the narrow end. Guide it horizontally from left to right. This action wraps the wide end fully around the narrow end, forming a full loop.
The wide end will now be back on the right side of their neck. It should be positioned behind the narrow end, completing a full circle around it. Keep the fabric smooth and flat.
Maintain a light grip on the nascent knot at the collarbone. This ensures the structure doesn’t unravel as you move the wide end. Smooth movements prevent creases.
Step 5: Bring the Wide End Up Through the Neck Loop
Take the wide end and bring it up through the neck loop. This loop is the opening created by the tie resting against their collar. Guide the wide end upwards from underneath.
It should emerge from the top of the neck loop, pointing towards their chin. This step forms the core of the knot, creating the space for the final pass-through. Keep the fabric untwisted.
Gently pull the wide end through the neck loop, ensuring it doesn’t snag on their shirt collar. A smooth pull prevents unnecessary friction and keeps the fabric looking neat.
Step 6: Pass the Wide End Down Through the Front Loop
Now, take the wide end and thread it downwards through the front loop you just created. This loop is the one formed when you wrapped the wide end around the narrow end in Step 4. Guide the wide end through this opening.
This action locks the knot into place. The wide end should emerge from the bottom of the knot, hanging downwards. Ensure it passes cleanly through the loop, without catching any fabric.
Pull the wide end all the way through, allowing it to hang freely. The knot will start to take its final shape. At this point, you should have a recognizable tie knot forming.
Pro Tip: As you pull the wide end through, use your thumb and forefinger to gently pinch the knot at the top. This helps to maintain its shape and prevent it from becoming too loose.
Step 7: Tighten, Adjust, and Finish
Gently pull down on the wide end while simultaneously sliding the knot upwards towards their collar. Use your other hand to support the knot and guide it into place. The goal is a snug fit.
Adjust the knot so it sits squarely in the center of their collar. It should be firm but not overly tight, allowing comfortable breathing. A well-tied knot should fill the space between the collar points.
Create a dimple just below the knot. Pinch the fabric on either side of the wide end, just beneath the knot, to form a small, elegant crease. This adds a touch of sophistication.
Finally, lower their shirt collar. Ensure the tie knot is perfectly centered and sits neatly between the collar points. Check the overall length; the tip of the wide end should ideally touch the top of their belt buckle. Tuck the narrow end into the keeper loop on the back of the wide end.
Common Mistakes to Avoid
Uneven Starting Lengths
A common pitfall is not setting the initial lengths correctly. If the wide end starts too short, the finished tie will be too short, or the narrow end will be visible below the wide end. Conversely, if it starts too long, the tie will hang past their belt. Always re-drape and adjust the initial lengths if you notice a significant discrepancy early on.
Twisted Fabric
Throughout the tying process, it’s easy for the tie fabric to twist, especially the wide end. A twisted tie results in a messy, unprofessional-looking knot and an uneven drape. Pay close attention to keeping the fabric flat and untwisted as you make each pass. Smooth out any wrinkles or twists before proceeding to the next step.
Over-Tightening or Under-Tightening the Knot
An overly tight knot can be uncomfortable, restricting breathing and making the person feel choked. An under-tightened knot, however, looks sloppy and will slouch away from the collar. Aim for a snug fit that allows two fingers to comfortably slide between the knot and their neck. The knot should sit firmly against the collar, but not pinch.
Forgetting the Dimple
Many beginners overlook the dimple, that small, elegant crease just below the knot. Without it, the tie can look flat and lifeless. While not strictly functional, a dimple adds a touch of bespoke tailoring and shows attention to detail. Practice creating it by gently pinching the fabric as you pull the knot tight.
Troubleshooting
Tie is Too Short/Too Long
If the finished tie is too short or too long, the initial length setup was likely off. There’s no quick fix other than to untie it completely and start over. Pay extra attention during Step 2 to adjust the wide end’s starting position. Remember, it’s easier to adjust the starting length than to correct the finished length.
Knot Sits Crooked
A crooked knot often happens if the initial cross or subsequent wraps were not perfectly centered. It can also occur if you pulled one side of the tie harder than the other when tightening. To fix this, gently loosen the knot slightly, then carefully re-center it by pulling evenly on both sides of the tie while sliding it up. Ensure the narrow end is also straight underneath.
Tie Feels Too Tight or Too Loose
If the tie feels too tight, gently slide the knot downwards a fraction, then loosen the fabric within the knot itself by gently pulling the wide end up slightly. If it’s too loose, pull down on the wide end while simultaneously pushing the knot upwards towards the collar. Ensure the top shirt button is fastened for a secure foundation.
Key Takeaways
- Preparation is paramount: Ensure the collar is up and the top button is fastened before starting.
- Master the initial length: Correctly setting the wide end’s starting length prevents a tie that’s too short or long.
- Keep fabric flat: Avoid twists and wrinkles by smoothing the tie at each stage for a clean, professional look.
- Gentle and deliberate movements: Avoid rushing; precise handling results in a better-looking and more comfortable knot.
- Aim for snug, not tight: The knot should sit firmly against the collar without restricting the wearer’s comfort.
- Don’t forget the dimple: This small detail significantly elevates the tie’s overall appearance.
Frequently Asked Questions
Which knot is easiest to tie on someone else?
The Four-in-Hand knot, as described in this guide, is generally considered the easiest and most versatile. It’s relatively simple to learn and produces a neat, asymmetrical knot that suits most collar types. Its simplicity makes it ideal when you’re tying a tie for another person.
How do I make sure the tie is the right length?
A properly tied tie should have its tip reaching the top of the wearer’s belt buckle. To achieve this, pay close attention to the initial length in Step 2. If the person is taller or shorter than average, you’ll need to adjust the starting length of the wide end more dramatically. Practice will help you gauge this by eye.
Can I tie a tie on myself using these steps?
While the fundamental knot mechanics are the same, tying a tie on yourself involves reversing the perspective. You’d typically start with the wide end on your left (your right from your own perspective) and perform the movements looking in a mirror. However, understanding the steps from this guide will certainly help you adapt.
What if the person moves a lot during the process?
Politely ask the person to remain as still as possible. Explain that their movement can cause the tie to twist or the knot to become uneven. If they tend to fidget, a gentle reminder or a brief pause can help them settle. Good communication is key to a smooth process.
Our Top Recommended Finds
- Quality Silk Tie: A good quality tie with a proper interlining drapes better and holds its shape, making it easier to tie.
- Tie Clip/Bar: This accessory helps keep the tie neatly against the shirt, preventing it from swinging, especially useful for active individuals.
- Collar Stays: For shirts with removable collar stays, quality metal ones ensure the collar points stay crisp and flat, framing the tie perfectly.
Mastering the Art of the Perfect Knot
Tying a tie for someone else is a skill that blends practical technique with a touch of personal care. It’s about more than just fashion; it’s about helping someone present their best self to the world. Each loop and pull you make adds to their confidence and polished appearance.
Don’t be discouraged if your first few attempts aren’t flawless. Like any skill, practice makes perfect. The more you tie, the more intuitive the movements become, and the more natural your adjustments will feel. Take these steps and try them out today.