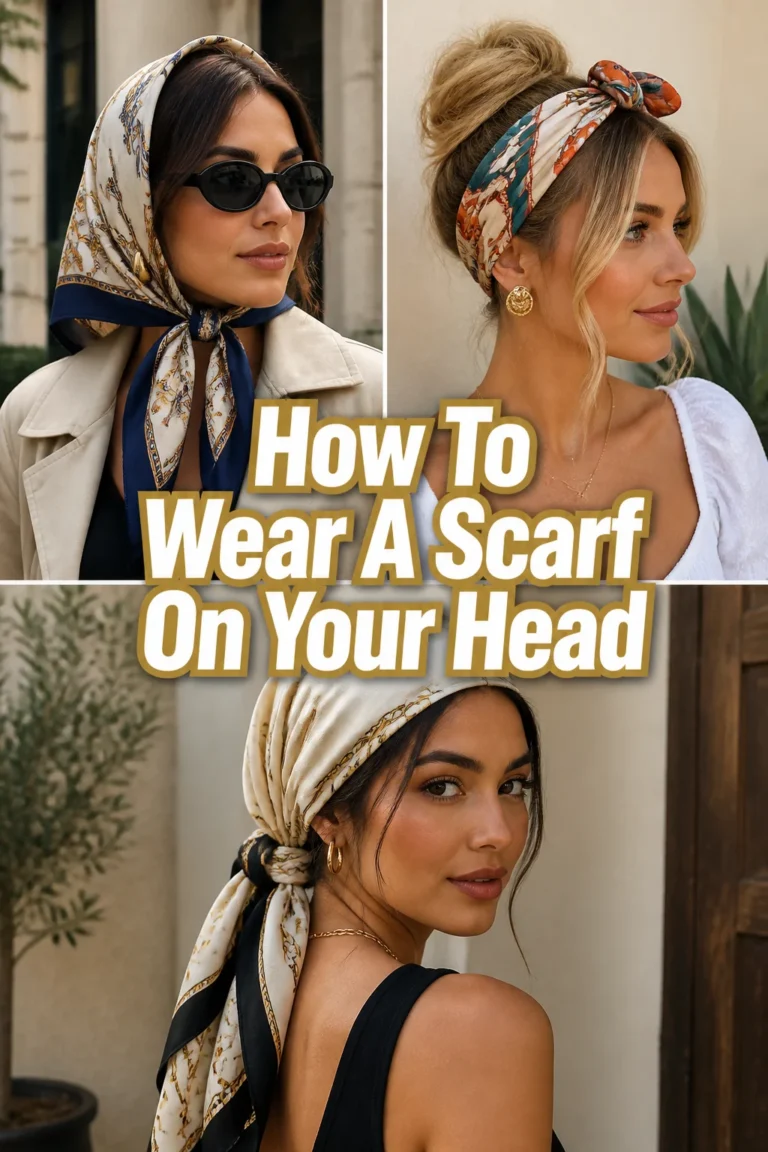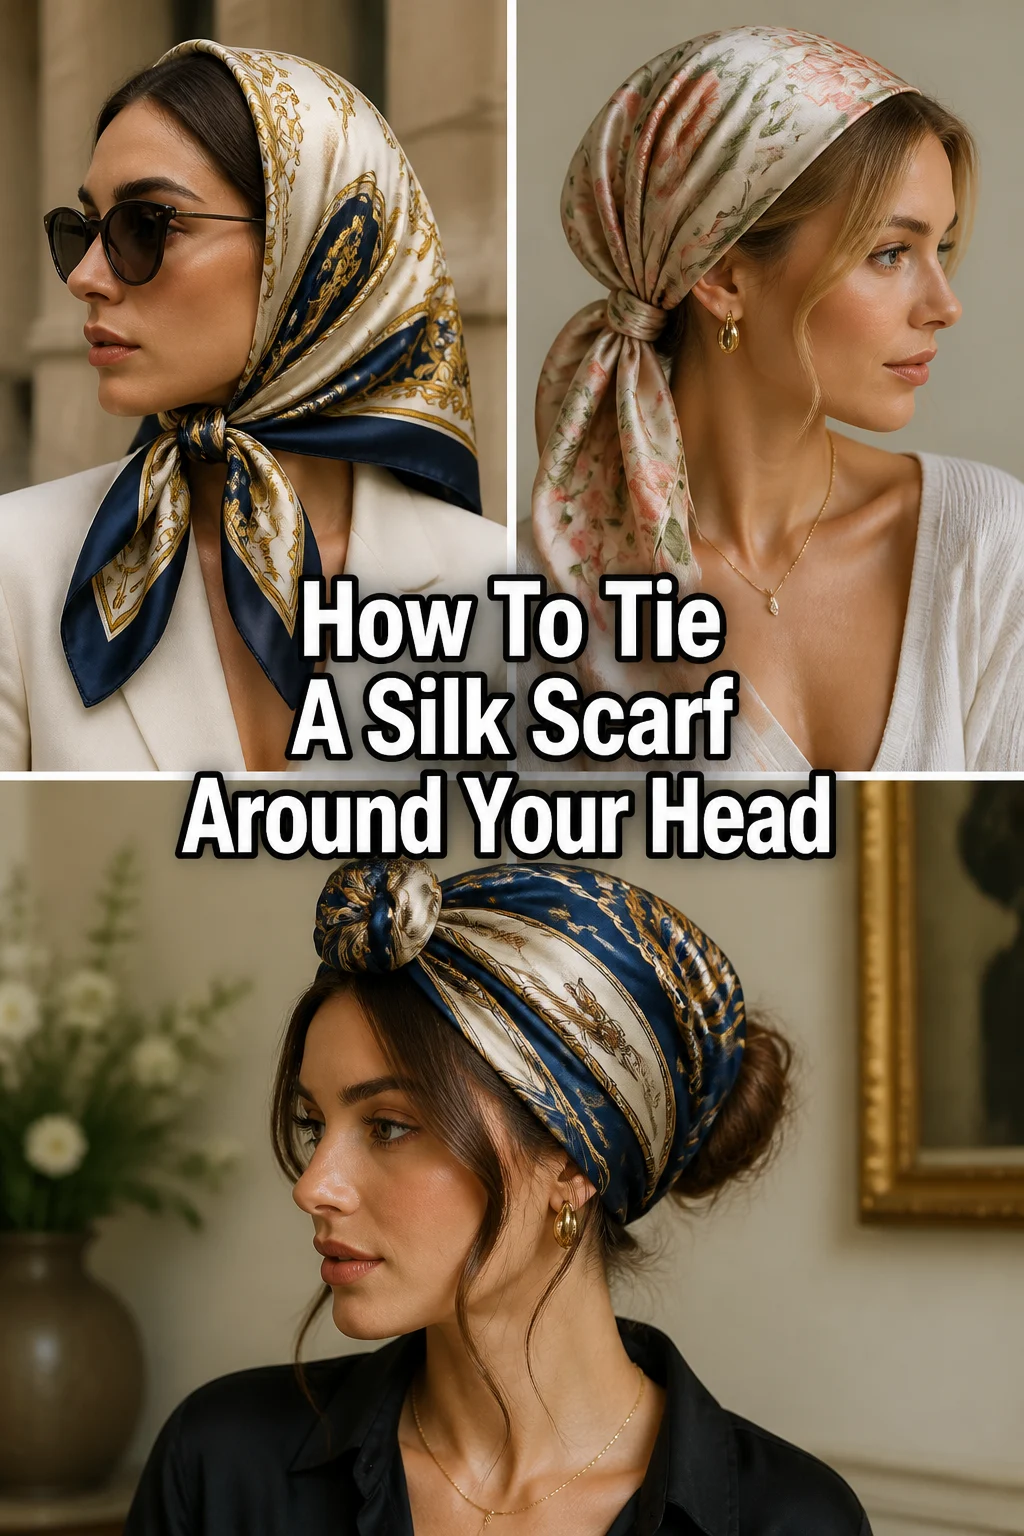
🧣 How To Tie A Silk Scarf Around Your Head
There’s a timeless allure to a silk scarf, especially when elegantly draped around your head.
It’s a versatile accessory that instantly elevates any outfit, offering both style and practicality.
Having experimented with countless fabrics and folds, I’ve discovered the simple techniques that make this look effortlessly chic and secure.

Quick Overview
This guide will walk you through creating a classic, comfortable headscarf style that stays put.
- Time needed: 5-10 minutes
- Difficulty: Beginner
- What you’ll need: One square silk scarf (preferably 35×35 inches or larger), a brush or comb, optional hair ties or pins.
Step-by-Step Instructions
Step 1: Prepare Your Hair
Start with your hair brushed and free of tangles. This ensures a smooth foundation for your scarf.
You can leave your hair down, tie it into a low ponytail, or gather it into a bun, depending on your desired look.
Pro Tip: For extra grip, a small amount of dry shampoo or texturizing spray at the roots can help prevent the scarf from slipping, especially on very smooth hair.
Step 2: Fold Your Scarf
Lay your square silk scarf flat on a clean surface. Fold it diagonally in half to create a large triangle.
Then, take the pointed tip of the triangle and fold it towards the long, folded edge. Continue folding the scarf in 2-3 inch increments until it forms a long, rectangular band.
The width of this band will determine how much of your head the scarf covers.
Step 3: Position the Scarf
Hold the folded scarf band by its ends. Position the middle of the band at the nape of your neck, just at the hairline.
Ensure the scarf is centered and lies flat against your skin for comfort.
Step 4: Bring Ends Forward
Carefully bring both ends of the scarf up and over your ears, towards the top of your head.
The scarf should frame your face, coming together at your forehead or slightly above it.
Keep the tension firm but not uncomfortably tight.
Step 5: Tie a Knot
Bring the two ends together at the front of your head. Tie them into a simple, secure knot.
You can opt for a single knot for a looser look or a double knot for extra security.
Ensure the knot feels snug against your head without pulling too tightly.
Step 6: Adjust and Style the Knot
Once the knot is tied, you have several styling options. You can leave the ends flowing freely over the top of your head for a relaxed vibe.
Alternatively, you can tie a second knot to create a small, neat bow.
For a sleeker finish, tuck the remaining ends of the scarf underneath the main band, concealing them completely.
Pro Tip: Experiment with the placement of your knot. Tying it slightly off-center can add an interesting, asymmetrical touch to your style.
Step 7: Secure and Refine
Gently adjust the scarf around your head to ensure it’s comfortable and evenly distributed. Check for any loose strands of hair.
Use bobby pins if needed to secure the scarf to your hair, especially around the ears or at the nape of the neck.
A few well-placed pins can make all the difference in keeping your scarf in place throughout the day.
Common Mistakes to Avoid
Using the Wrong Scarf Size
Attempting this style with a scarf that is too small (e.g., a neckerchief) will result in insufficient fabric to tie securely or create the desired aesthetic. It will feel flimsy and likely slip.
Always choose a square silk scarf that is at least 35×35 inches, or even larger, for ample material and a graceful drape.
Tying Too Loosely or Too Tightly
A scarf tied too loosely will inevitably slide off your head, requiring constant readjustment and becoming a nuisance. It won’t hold its shape.
Conversely, tying it too tightly can cause discomfort, headaches, and leave marks on your skin. Aim for a firm yet comfortable tension.
Skipping Hair Preparation
Applying a scarf over unbrushed or tangled hair can lead to bumps and an uneven, uncomfortable fit. It also makes the scarf more prone to shifting.
Always take a moment to brush your hair smooth, and consider a light texturizing product for added grip if your hair is particularly slick.
Ignoring the Nape of the Neck
If the scarf isn’t properly positioned at the nape of the neck from the start, it will ride up as you bring the ends forward. This creates an awkward gap and an unstable foundation.
Ensure the scarf is centered and snug at the nape before pulling the ends over your head to maintain a consistent line.
Troubleshooting
Scarf Keeps Slipping Back
This is a common issue, often due to very smooth hair or insufficient tension. Your scarf might not have enough grip.
Try applying a small amount of dry shampoo or hairspray to your roots before positioning the scarf. You can also use discreet bobby pins to anchor the scarf to your hair behind your ears and at the nape.
It Feels Too Tight or Causes Headaches
If you’re experiencing discomfort, the scarf is likely tied with too much force. This can happen if you pull too hard when forming the initial knot.
Untie the scarf and re-tie it, focusing on maintaining a firm but gentle tension. Ensure the fabric lies flat and isn’t bunched up excessively anywhere.
The Knot Looks Bulky or Messy
A bulky knot can occur if the scarf isn’t folded neatly or if you’re using a very thick fabric. Messiness often comes from rushing the final tucks.
Ensure your scarf is folded into a smooth, even band before you begin. When tying the knot, flatten the fabric as you go, and carefully tuck any loose ends completely under the main band for a polished finish.
Key Takeaways
- Always start with a large square silk scarf (35×35 inches minimum) for optimal coverage and drape.
- Properly fold your scarf into a smooth, even band to ensure a neat appearance and secure fit.
- Position the scarf at the nape of your neck first, ensuring it is centered and flat before bringing the ends forward.
- Aim for a firm yet comfortable tension when tying the knot, avoiding both excessive looseness and tightness.
- Utilize bobby pins strategically to anchor the scarf, especially if you have very smooth hair or are active.
- Experiment with knot placement and how you finish the ends to personalize your headscarf style.
Frequently Asked Questions
Can I use a rectangular scarf for this style?
While some rectangular scarves can work for certain headscarf styles, this specific method is optimized for a square scarf. A square allows for the precise diagonal fold into a triangle, which then creates the ideal band width and length for tying around the head.
Will a silk scarf damage my hair?
Quite the opposite! Silk is renowned for being gentle on hair. Its smooth surface reduces friction, which can help prevent breakage, tangles, and frizz, unlike coarser fabrics. It can even help retain your hair’s natural moisture.
How do I prevent the scarf from slipping on short hair?
For short hair, grip is key. Use a small amount of texturizing spray or dry shampoo on your hair before tying the scarf. Additionally, use several bobby pins to secure the scarf to your hair at various points, such as behind the ears and at the nape of the neck.
What’s the best way to clean a silk scarf?
Most silk scarves require delicate care. Hand washing in cool water with a mild silk-friendly detergent is often recommended, followed by air drying away from direct sunlight. Always check the care label on your specific scarf for precise instructions to maintain its quality.
Our Top Recommended Finds
- Large Square Silk Scarf: Look for 100% mulberry silk, at least 35×35 inches, for luxurious feel and versatile styling.
- Hair Grip Spray: A lightweight texturizing spray or dry shampoo can provide essential friction for the scarf to stay put.
- Discreet Bobby Pins: Choose pins that match your hair color to provide invisible extra security when needed.
Embrace Your Inner Style Icon
Tying a silk scarf around your head is more than just a functional act; it’s a statement of personal style and confidence.
With these simple steps, you’re now equipped to transform a beautiful piece of fabric into an elegant accessory.
Don’t hesitate to experiment with different scarf colors, patterns, and the various ways you can finish the knot.
Go ahead, tie that scarf today and let your unique style shine through!