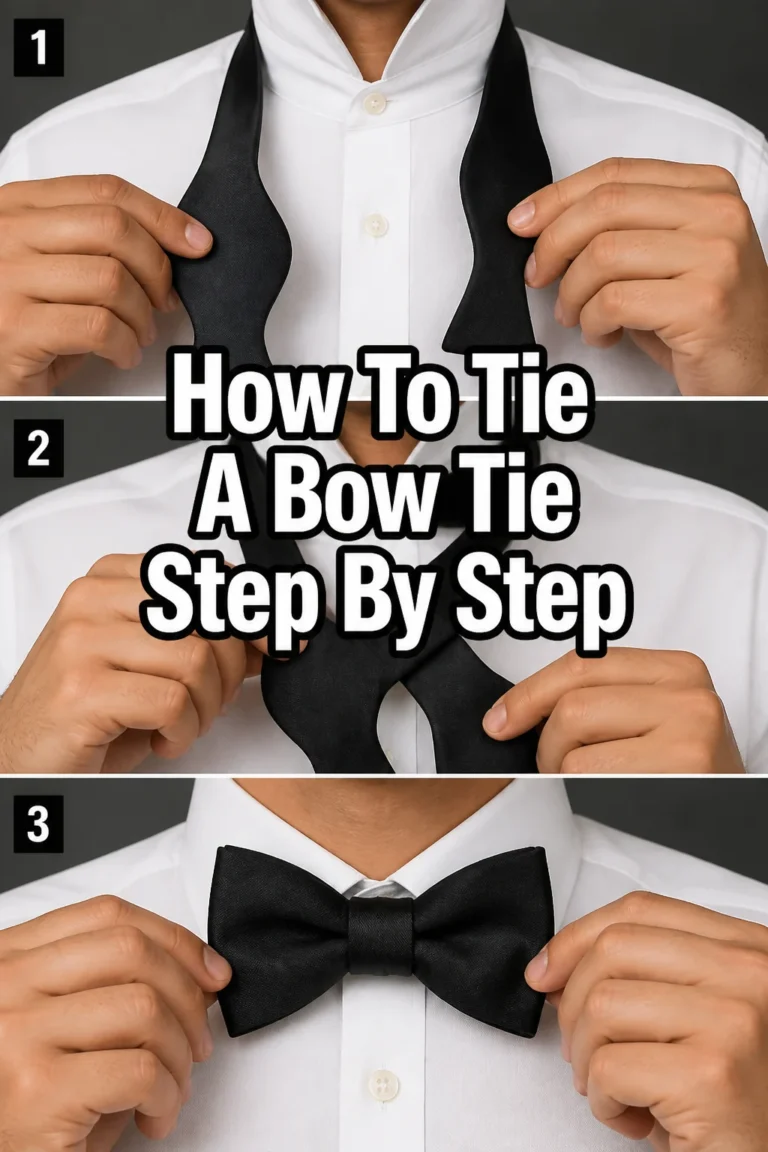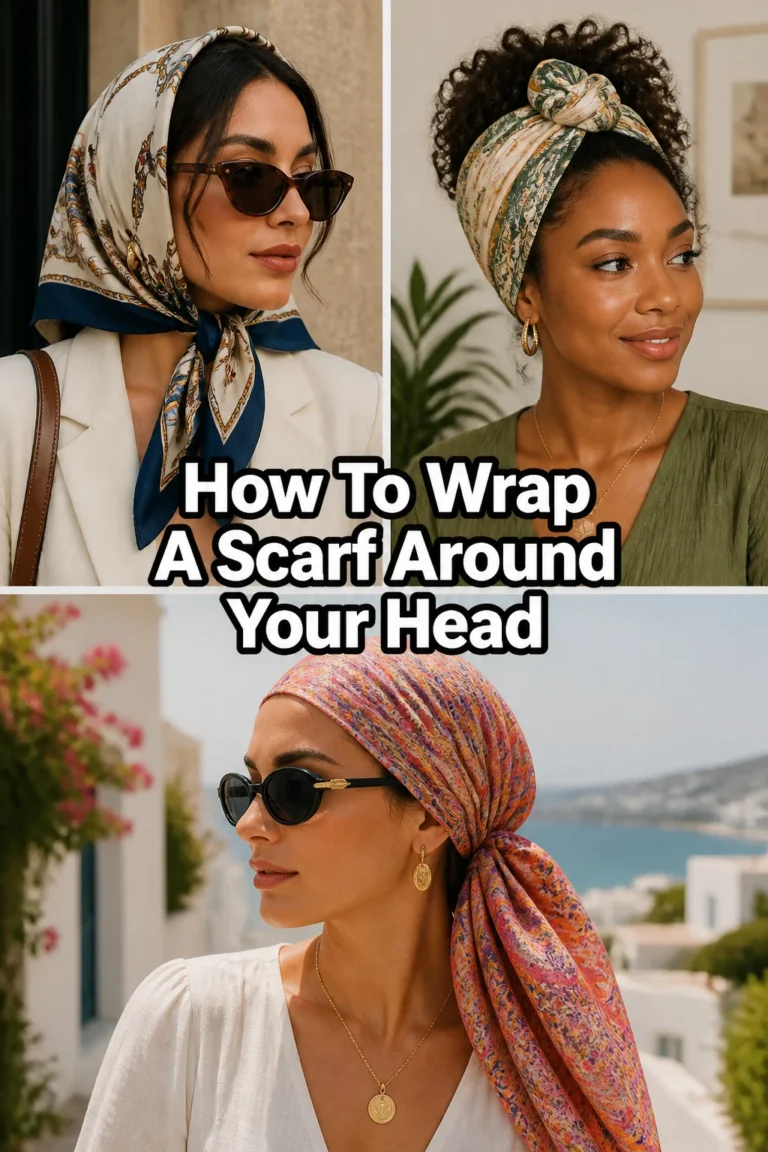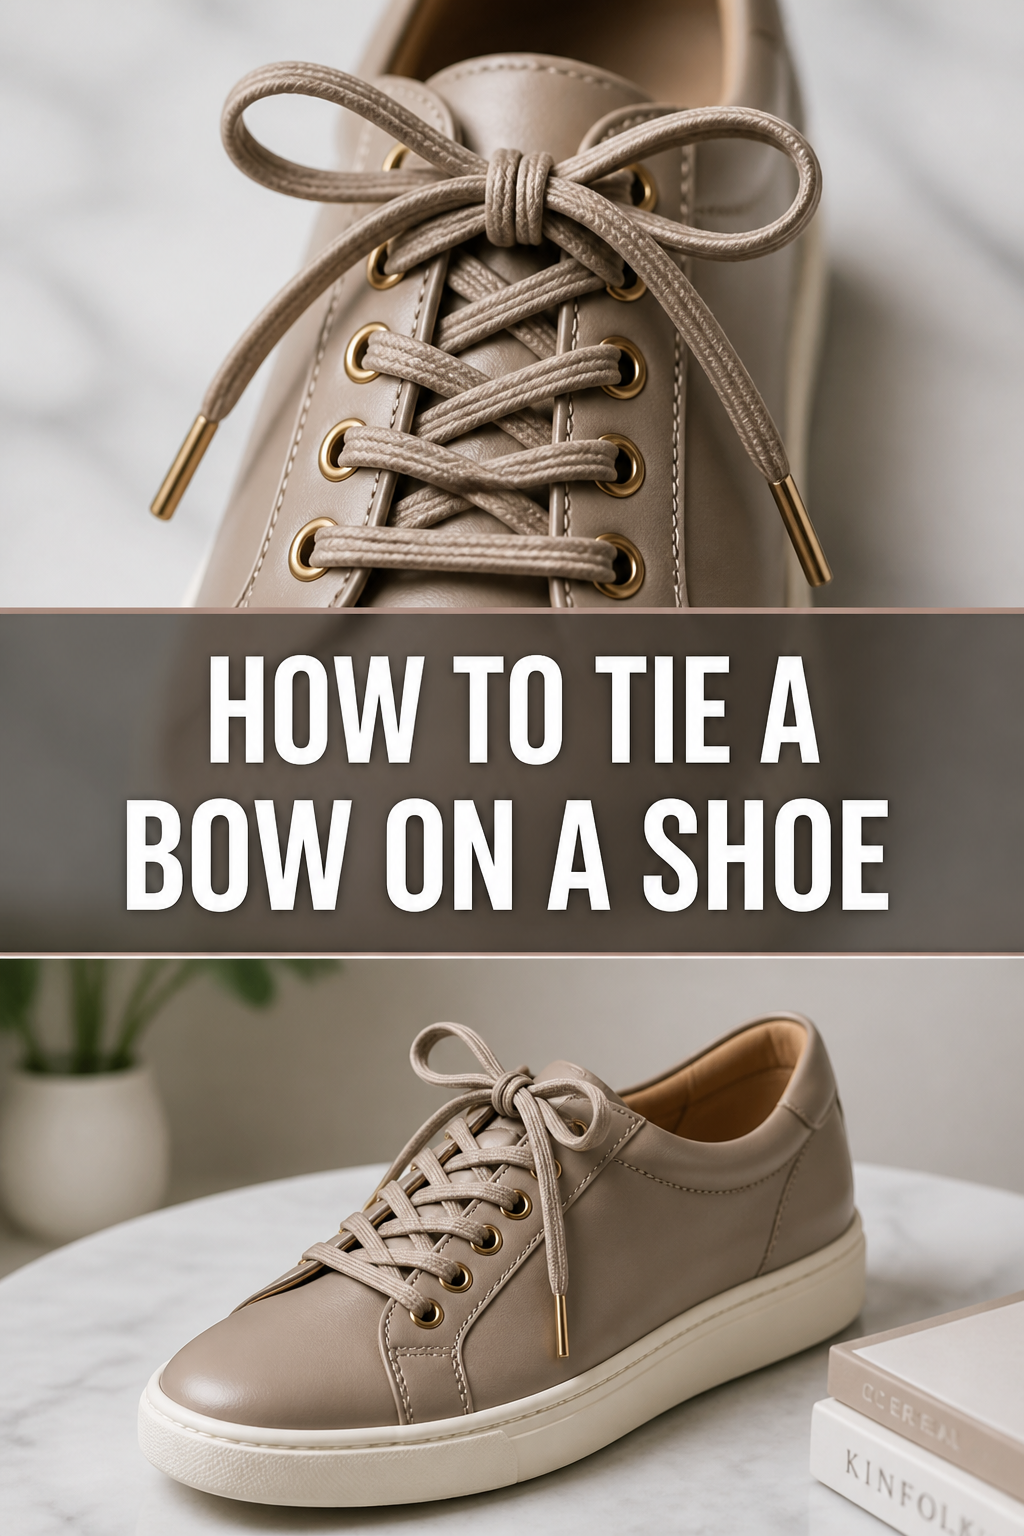
👟 How To Tie A Bow On A Shoe
Tying your shoes is one of the first skills many of us learn as children, yet it remains something we often do on autopilot without thinking about the mechanics.
I spent years struggling with laces that came undone mid-walk until I realized I was using a “granny knot” instead of a secure reef knot.
This guide draws on my experience as a marathon runner and footwear enthusiast to ensure your bows are both beautiful and functional every time you step out.
Quick Overview
Before we dive into the mechanics, here is a quick snapshot of what you can expect from this process.
- Time needed: 30 to 60 seconds
- Difficulty: Beginner
- What you’ll need: A pair of laced shoes and a flat surface to rest your foot.
Step-by-Step Instructions
Step 1: Check Your Lace Alignment
Pull both ends of the laces upward to ensure they are of equal length before you begin the knot.
If one side is significantly longer than the other, your finished bow will look lopsided and may come undone more easily.
Adjust the laces by pulling them through the eyelets until the tips, known as aglets, meet perfectly at the top.
Pro Tip: Keeping your laces even from the start prevents the frustration of having one “tail” that is too short to loop at the end.
Step 2: Create the Foundation Knot
Cross the left lace over the right lace to form an “X” shape near the tongue of the shoe.
Tuck the top lace under the bottom lace and pull it through the triangular opening you created.
Pull both ends firmly toward the sides of the shoe to create a snug base that holds the shoe against your foot.
This base knot is the most important part of the process because it determines how tight the shoe feels during the day.
Step 3: Form the First Loop
Bend one of the laces (usually the right one for right-handed people) back on itself to create a loop.
Hold this loop firmly between your thumb and forefinger, making sure the “tail” of the lace is pointing toward the toe of the shoe.
The loop should be about two inches long, providing enough surface area to work with without being so large that it becomes floppy.
Step 4: Wrap the Second Lace
Grasp the remaining straight lace with your other hand and wrap it around the base of the loop you are holding.
Move the lace over the top of the loop and then around the back, circling toward your body.
Pay close attention to the direction of the wrap, as this determines whether your bow sits horizontally or vertically.
Pro Tip: If you wrap the lace “over and around” in a specific direction, your knot will be a “square knot,” which is significantly stronger than a standard knot.
Step 5: Create the Second Loop
Identify the small gap that has formed between the wrapped lace and the base of the first loop.
Push the middle section of the wrapping lace through this gap using your index finger.
You are not pulling the entire end of the lace through, but rather a folded section that will become your second loop.
Step 6: Pull and Secure the Bow
Grip both loops—the original one and the new one you just pushed through—and pull them away from each other.
Apply even tension to both sides to tighten the central knot while keeping the loops and tails balanced.
If the loops are too large, you can gently pull on the tails to shrink them to your desired size.
Step 7: The Double Knot Finish
Cross the two finished loops over each other just like you did with the individual laces in Step 2.
Tuck one loop under the other and pull tight to create a “double knot” that provides extra security.
This is especially helpful for synthetic or round laces, which tend to be more slippery than flat cotton laces.
Pro Tip: Double knots are essential for athletes or hikers who cannot afford to have their laces trip them up in the middle of an activity.
Common Mistakes to Avoid
The Vertical Granny Knot
One of the most frequent errors is creating a knot that sits vertically across the shoe rather than horizontally. This happens when the direction of the wrap in Step 4 does not “balance” the initial cross in Step 2.
A vertical bow is physically weaker and will naturally work itself loose as you walk. To fix this, try wrapping the lace in the opposite direction around the loop to create a balanced square knot.
Uneven Loop and Tail Lengths
When one loop is massive and the other is tiny, the tension in the knot becomes uneven. This lack of symmetry often leads to the shorter side slipping out of the knot entirely.
Always take a second to adjust the tails and loops before you do the final pull. A symmetrical bow distributes pressure evenly across the top of your foot, preventing “lace bite” or discomfort.
Insufficient Tension on the Base Knot
If you don’t pull the very first cross-knot tight enough, the entire shoe will feel loose regardless of how pretty the bow looks. The base knot is what actually secures the shoe to your foot.
Make sure the base is snug against the shoe’s tongue before you start making loops. If the base is loose, your heel will slip, which can cause blisters over long periods of walking.
Troubleshooting
Laces Keep Coming Undone
If your laces come undone every twenty minutes, the material of the lace is likely the culprit. Round, polyester laces have very little friction and slide against themselves easily.
You can solve this by switching to flat cotton laces or by using the “double loop” method. Alternatively, try dampening the laces slightly before tying them, which can sometimes provide just enough grip to set the knot.
The Loops Are Too Small To Grip
This usually happens when the laces are too short for the shoe or if you have used too many eyelets. You can gain more lace length by skipping the very top set of eyelets on your shoes.
Another trick is to make the initial base knot tighter, which pulls more of the lace through the eyelets and leaves more “slack” for the bow. If all else fails, it might be time to purchase a longer pair of laces.
Pressure Points on Top of the Foot
Sometimes a perfectly tied bow can still feel painful if it sits directly over a sensitive bone in your foot. You can alleviate this by changing your lacing pattern to a “window lacing” style that skips the area where you feel pressure.
Once you have skipped the sensitive area, you can resume the standard tying method at the top. This keeps the shoe secure while removing the direct downward force on the painful spot.
Key Takeaways
- Always start with even lace lengths to ensure a symmetrical and secure final bow.
- The direction you wrap the lace determines if you have a strong horizontal knot or a weak vertical one.
- A tight base knot is the foundation for foot stability and prevents heel slippage.
- Double knots are the best defense against slippery synthetic laces or active movement.
- Adjusting loop and tail size at the end provides both aesthetic appeal and functional balance.
- If a knot feels painful, the issue might be the lacing pattern rather than the bow itself.
Frequently Asked Questions
Why does my shoe bow always sit crooked?
A crooked or vertical bow is the result of a “Granny Knot.” This happens when you tie both stages of the knot in the same direction. To fix it, simply reverse the direction you wrap the lace around the loop in the middle of the process.
Are flat laces better than round laces for staying tied?
Yes, flat laces generally stay tied much better than round laces. The flat surface area creates more friction between the layers of the knot, preventing them from sliding apart. Round laces are often preferred for their look, but they require a much tighter pull or a double knot to remain secure.
What is the “Bunny Ears” method?
The “Bunny Ears” method involves making two loops right away and then tying them together in a simple knot. While it is often taught to children because it is easy to visualize, it is generally considered less secure and more prone to coming undone than the standard wrap-around method. It also tends to use more lace, leaving shorter tails.
How long should my shoelaces be?
The ideal length depends on the number of eyelets in your shoe. For a standard sneaker with 5 to 6 eyelets, 45-inch laces are usually perfect. If you have boots with 8 or more eyelets, you may need laces that are 63 inches or longer to ensure you have enough room to tie a proper bow.
Our Top Recommended Finds
- Premium Flat Cotton Laces: These provide the maximum amount of friction and are the least likely to come undone during the day. They are an excellent upgrade for any dress shoe or sneaker.
- Lace Anchors: If you prefer the “slip-on” look without a visible bow, these small plastic clips hold the tension of the laces inside the shoe. They eliminate the need for tying bows entirely while keeping the shoe snug.
- Beeswax Lace Conditioner: Applying a small amount of beeswax to round or synthetic laces can give them the “bite” they need to stay tied. It is a great hack for high-end dress shoes with slippery laces.
Master Your Footwear Every Day
Now that you have mastered the art of the perfect bow, you can walk with the confidence that your shoes will stay secure. Experimenting with different lacing tensions can change the entire feel of your favorite pair of sneakers.
If you found this guide helpful, you might also enjoy learning about different lacing patterns for wide feet or how to clean different shoe materials. Take a moment today to re-tie your shoes using these steps and feel the difference in stability and comfort.
Small changes in how you handle your gear can lead to a much more comfortable experience throughout your busy day.