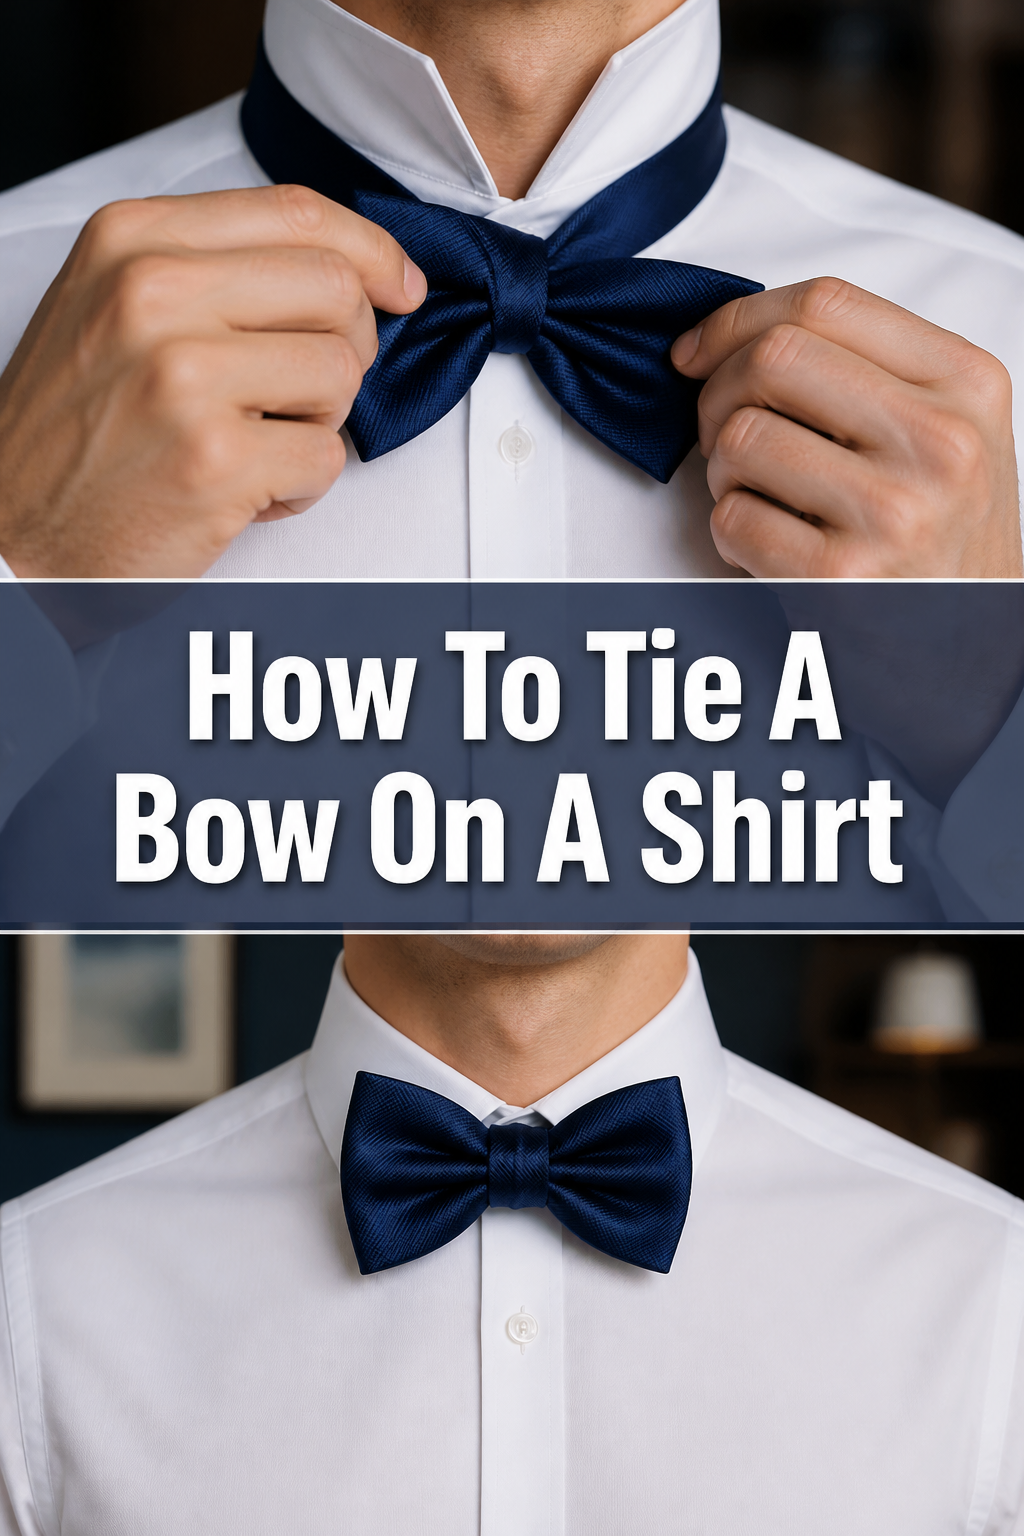
🎀 How To Tie A Bow On A Shirt
Learning to tie a perfect bow on a shirt adds a touch of elegance to any outfit.
I remember struggling with my first silk blouse, wanting that neat, symmetrical finish.
This guide shares the precise techniques I’ve refined over years to achieve just that, helping you master this stylish detail with ease.
Quick Overview
This guide will walk you through creating a beautiful, symmetrical bow on your shirt, transforming a simple garment into a statement piece. You’ll gain confidence in styling your blouses and dresses with this classic embellishment.
- Time needed: 5-10 minutes (after initial practice)
- Difficulty: Beginner
- What you’ll need: A shirt with tie-front details or a separate ribbon
Step-by-Step Instructions
Step 1: Prepare Your Shirt and Fabric
Begin by laying your shirt flat or wearing it comfortably. Ensure the fabric you’ll be tying into a bow is smooth and free of wrinkles.
If using a separate ribbon, center it behind your shirt collar or at the desired bow position.
Make sure both ends of the tie fabric or ribbon hang evenly on either side.
Step 2: Cross the Ends
Take the right end of the fabric and cross it over the left end. This forms the initial knot that will secure your bow.
Hold the intersection point firmly with one hand to prevent it from loosening.
Step 3: Loop One End Underneath
Bring the end you just crossed (the right end, now on the left) underneath the other end.
Pull it up through the loop you created by crossing the fabrics. This completes the first part of your knot.
Pro Tip: Keep this first pull firm but not overly tight. You want a secure base, but enough slack to form the bow loops without distortion.
Step 4: Form the First Loop
Take one of the hanging ends and fold it back on itself to create a loop. This will be the first “ear” of your bow.
The size of this loop dictates the final size of your bow, so aim for your desired dimension.
Hold this loop between your thumb and forefinger at its base.
Step 5: Bring the Other End Over and Around
With the other hanging end, bring it over the top of the loop you just formed.
Then, wrap it around the back of that first loop.
This action sets up the second loop and begins to secure the bow shape.
Step 6: Create the Second Loop
As you bring the second end around, push a small section of it through the opening behind the first loop.
This forms your second loop, mirroring the first one.
It’s crucial that this second loop emerges from the opposite side of the central knot.
Pro Tip: Ensure both loops are roughly the same size at this stage. Visual symmetry here will lead to a more balanced final bow.
Step 7: Pull the Loops Gently
Hold both loops firmly between your fingers.
Gently pull them away from the center knot in opposite directions.
This action tightens the bow and brings its shape into focus.
Step 8: Adjust and Refine
Once the bow is snug, begin to adjust its shape. Tug on the loops and the hanging tails to fine-tune the symmetry.
Ensure both loops are even in size and the tails hang neatly.
Smooth out any wrinkles in the fabric of the loops and tails.
Step 9: Secure the Bow (Optional)
For a bow that needs to stay perfect all day, consider a small, clear safety pin. Place it discreetly through the back of the knot.
This prevents the bow from unraveling, especially with slippery fabrics like silk or satin.
Alternatively, a tiny dab of fabric glue can hold particularly stubborn bows in place for a special occasion.
Common Mistakes to Avoid
Tying Too Tightly Initially
Many people pull the first knot extremely tight, thinking it will make the bow more secure. This often results in a lumpy, stiff bow that’s difficult to adjust.
A too-tight initial knot can also wrinkle delicate fabric, making the final bow appear messy.
Aim for a snug but pliable first knot, allowing room for the loops to form gracefully.
Uneven Loop Sizes
One of the most common issues is creating loops of different sizes. This leads to a lopsided bow that lacks balance and visual appeal.
It can make the shirt look untidy or hastily put together.
Pay close attention when forming each loop, visually comparing them to ensure they are as close in size as possible before tightening.
Forgetting to Smooth the Fabric
Rushing the process and not smoothing the fabric at each step can result in a crumpled, messy bow. Wrinkles within the loops or tails detract from the bow’s elegance.
This is especially true for fabrics that crease easily.
Take a moment to gently smooth out the fabric before and after each major step to ensure a crisp, clean finish.
Ignoring the Tails
The hanging tails of the bow are just as important as the loops. If they are uneven in length or badly angled, the entire bow can look off-balance.
Sometimes, one tail might be significantly shorter or twisted, ruining the overall aesthetic.
Always adjust the tails to be symmetrical and hang gracefully, either straight down or at a slight diagonal, depending on your preference.
Troubleshooting
My Bow Is Lopsided
A lopsided bow usually means your loops were not of equal size when you started to tighten. Gently loosen the knot by pulling on the tails and the center of the loops.
Carefully readjust each loop, visually comparing their sizes until they appear balanced.
Then, pull the loops again to re-tighten, ensuring even pressure on both sides.
The Bow Keeps Untying
If your bow consistently comes undone, the initial knot might not be secure enough, or the fabric is particularly slippery. For a more secure knot, try doubling the initial cross-over before pulling through.
Alternatively, a small, clear hair elastic wrapped around the base of the knot before forming the loops can add extra grip.
Consider the optional safety pin mentioned earlier for persistent issues.
The Fabric Is Too Stiff/Slippery
Stiff fabrics can be hard to manipulate into soft loops, while slippery ones struggle to hold their shape. For stiff fabrics, work the material gently between your fingers to soften it slightly before tying.
For slippery fabrics, ensure your initial knot is very firm (but not too tight) and consider using a small piece of double-sided fabric tape discreetly placed at the back of the loops to help them stay put.
Practicing with a different, easier fabric first can also build confidence.
Key Takeaways
- Always start with smooth, unwrinkled fabric for a clean bow.
- Ensure your initial knot is snug but not overly tight to allow for adjustments.
- Focus on creating two equally sized loops for a symmetrical and balanced look.
- Gently pull on the loops to tighten, then refine the shape and tail placement.
- Don’t hesitate to loosen and readjust as many times as needed until the bow is perfect.
- Consider using a small safety pin or fabric tape for extra security, especially on delicate materials.
Frequently Asked Questions
Can I tie a bow with any type of shirt?
You can tie a bow on any shirt that has suitable fabric ties or a placket that allows a ribbon to be woven through. Shirts designed with a pussy-bow collar or long ties are ideal. You can also add a separate ribbon to a plain collared shirt for a similar effect.
How do I make my bow look fuller?
To achieve a fuller bow, start by making your initial loops slightly larger. When tightening, gently push the fabric of the loops towards the center knot, “fluffing” them out. You can also use a stiffer ribbon or fabric that holds its shape better, or even layer two thin ribbons for added volume.
What’s the best way to keep the bow from wrinkling?
Preventing wrinkles starts with using unwrinkled fabric. After tying, avoid crushing the bow against other garments or in a tight space. For storage, you can lightly stuff the loops with tissue paper to help them maintain their shape. A light spritz of fabric starch before tying can also help the fabric hold its form.
How do I make sure the tails are the same length?
The trick to even tails lies in your initial setup. After crossing the ends and forming the first knot, ensure the two remaining hanging ends are equal in length before you start forming the loops. If one looks slightly longer, adjust it at this early stage. You can also trim the tails very carefully after the bow is tied and perfectly adjusted.
Our Top Recommended Finds
- Silk or Satin Ribbons: These luxurious materials drape beautifully and add an elegant touch to any shirt. They are perfect for practicing and creating stunning bows.
- Fabric Starch Spray: A light application can give softer fabrics more body, making them easier to tie and helping the bow hold its crisp shape throughout the day.
- Small, Clear Safety Pins: Essential for securing your bow discreetly, especially if you’re concerned about it coming undone or shifting on delicate fabrics.
Embrace Your Inner Stylist
Mastering the art of tying a bow on a shirt is a small skill with a big impact on your personal style. It’s about more than just a knot; it’s about adding polish and personality to your look.
Don’t be afraid to experiment with different fabrics, ribbon widths, and bow sizes. Each attempt refines your technique and builds your confidence.
Take what you’ve learned today and transform your wardrobe. Your next perfectly tied bow is just a few steps away, ready to elevate your everyday elegance.