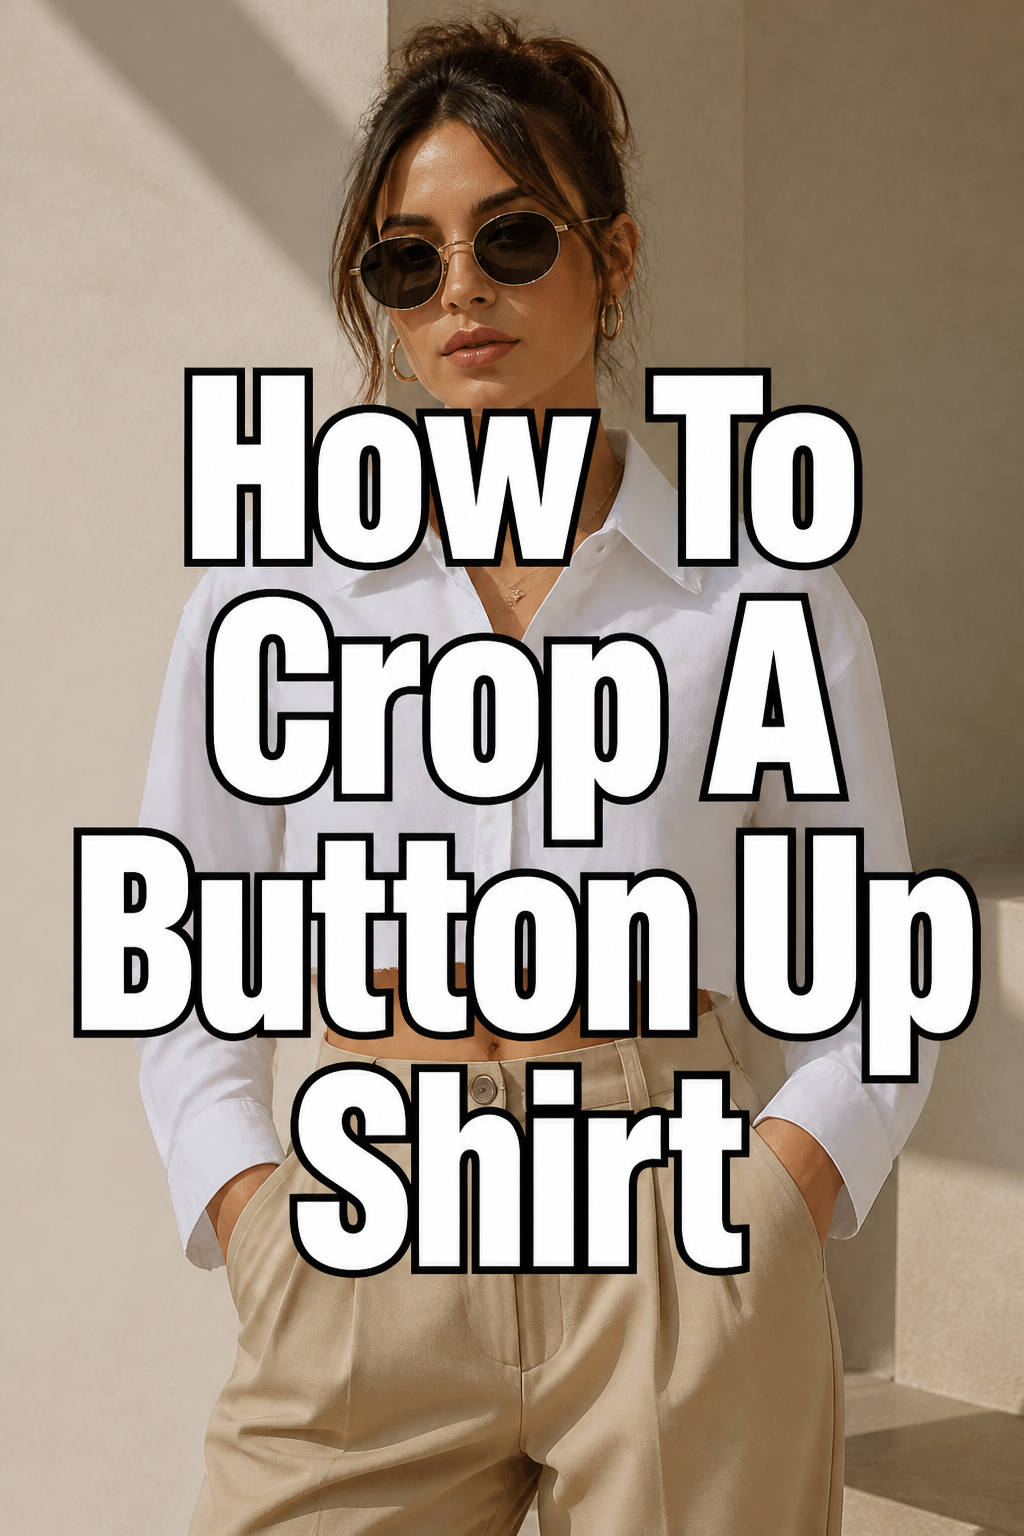
👕 How To Crop A Button Up Shirt
Transforming an ordinary button-up shirt into a stylish cropped piece is incredibly satisfying. It’s a fantastic way to refresh your wardrobe without buying new clothes. I’ve personally experimented with countless shirts, turning them into unique, custom-fit items. This guide shares my tried-and-true method for a perfect crop every time.
Quick Overview
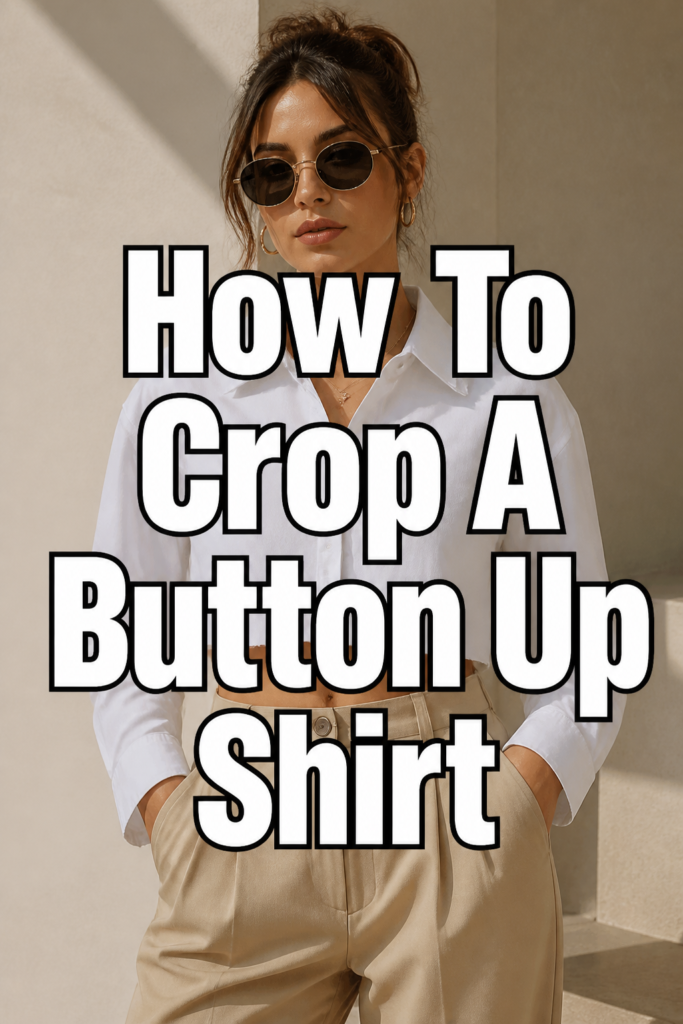
Cropping a button-up shirt allows you to customize its length, creating a modern, flattering silhouette that perfectly suits your style. You’ll learn how to accurately measure, cut, and hem your shirt for a professional finish.
- Time needed: 45-90 minutes (depending on sewing experience)
- Difficulty: Beginner
- What you’ll need: Button-up shirt, sharp fabric scissors, fabric chalk or washable marker, ruler or measuring tape, sewing machine (or needle and thread), iron, pins.
Step-by-Step Instructions
Step 1: Gather Your Supplies
Before you begin, lay out all your necessary tools. Having everything within reach makes the process smoother and more efficient. Ensure your fabric scissors are sharp; dull scissors can fray the fabric and lead to uneven cuts.
A good quality ruler or measuring tape is essential for accuracy. Fabric chalk or a washable marker will allow you to make clear marks without permanently damaging your shirt.
Step 2: Try On and Mark Your Desired Length
Put on the button-up shirt you intend to crop. Stand in front of a mirror and decide exactly where you want the new hemline to fall. Consider how you’ll wear the shirt – tucked, untucked, or layered.
Use a fabric chalk or washable marker to make a light, horizontal line across the shirt at your desired finished length. It’s always better to mark a little longer than you think you want, as you can always cut more off later. Make sure the mark is even all the way around your body.
Pro Tip: Wear the type of bottoms you’d typically pair with a cropped shirt when marking. This helps visualize the final look and ensures the crop length is perfect for your outfits.
Step 3: Measure and Plan Your Hem
Take off the shirt and lay it flat on a clean, hard surface, smoothing out any wrinkles. Using your ruler, measure from your initial marked line downwards. This measurement will be for your hem allowance.
For most standard hems, you’ll need at least 1 inch (2.5 cm) of fabric below your marked finished line. If you plan a wider hem or a double-fold hem, you might need 1.5 to 2 inches (4-5 cm). Mark a second, parallel line representing your cutting line, adding this hem allowance below your desired finished length.
Step 4: Prepare for Cutting
Once both your finished length line and your cutting line are clearly marked, carefully pin the front and back of the shirt together. Align the side seams perfectly to ensure an even cut. This step prevents the fabric from shifting while you’re cutting.
Double-check your measurements one last time. It’s crucial to be confident in your marks before moving to the next stage. A few extra seconds here can save you from regret later.
Step 5: Make the Cut
Using your sharp fabric scissors, carefully cut along your lower, second marked line (the cutting line). Take your time and make a steady, smooth cut across the entire width of the shirt. Avoid jagged or uneven edges, as these will be more difficult to hem neatly.
Work slowly, keeping the fabric flat and taut. If your scissors are struggling, they might not be sharp enough, or you might be cutting too quickly. A clean, straight cut is the foundation for a professional-looking hem.
Step 6: Prepare the Hem
Now it’s time to create the hem. Fold the raw edge of the fabric up towards the inside of the shirt by about 1/4 inch (0.6 cm). Press this fold firmly with a hot iron. This first fold creates a clean edge and prevents fraying.
Next, fold the fabric up again, this time by your chosen hem allowance (e.g., 1 inch or 2.5 cm). This will enclose the raw edge completely. Press this second fold with your iron, ensuring it’s crisp and even all the way around.
Pro Tip: Use plenty of pins to hold the hem in place after pressing. Place pins perpendicular to the hem line, about every inch or two, to keep everything secure while you sew.
Step 7: Sew the Hem
With your hem pinned and pressed, it’s time to sew. If using a sewing machine, select a straight stitch and a thread color that matches your shirt or creates a subtle contrast. Start sewing close to the folded edge, about 1/8 inch (0.3 cm) from the top fold.
Backstitch at the beginning and end of your seam to secure the stitches. Sew slowly and steadily, removing pins as you go. If you’re hand-sewing, use a slip stitch or a blind hem stitch for an invisible finish. This step takes practice, so don’t be discouraged if it’s not perfect on your first try.
Step 8: Final Press and Finish
Once your hem is sewn, remove any remaining pins. Give the new hem a final, thorough press with your iron, using steam if appropriate for your fabric. This helps to set the stitches and give the hem a crisp, professional appearance.
Trim any loose threads. Try on your newly cropped button-up shirt and admire your handiwork. You’ve successfully transformed a basic item into a custom piece.
Common Mistakes to Avoid
Cutting Too Short Initially
A common pitfall is marking and cutting the shirt too short right from the start. Remember, you can always cut more fabric off, but you can’t add it back on. Always err on the side of caution and mark your initial desired length a little longer than you think you want. You can then trim it down precisely after the first cut.
Uneven Cut
Rushing the cutting process or using dull scissors often leads to an uneven hemline. This can be challenging to correct later and might result in a lopsided shirt. Take your time, ensure the shirt is laid perfectly flat, and use sharp fabric scissors for a clean, straight cut. Pinning the layers together also helps prevent shifting.
Skipping the Hem or Using the Wrong Hem Type
Simply cutting the shirt and leaving a raw edge might work for some very casual, non-fraying fabrics, but it generally looks unfinished and can unravel quickly. Skipping the hem often leads to fraying and a messy appearance. Similarly, using an inappropriate hem for the fabric type can also detract from the finished look. A simple double-fold hem is versatile and neat for most button-up shirt fabrics.
Troubleshooting
Hem Looks Wavy or Puckered
If your hem appears wavy or puckered, it’s often due to stretching the fabric while sewing or not pressing the folds firmly enough. To fix this, carefully unpick the stitches in the affected area. Re-press the hem folds with plenty of steam, ensuring the fabric isn’t stretched. Use more pins to hold it securely before re-sewing. Slowing down your sewing speed can also help.
Shirt Feels Lopsided After Cutting
A lopsided feel indicates an uneven cut. This usually happens if the shirt wasn’t laid perfectly flat or if the side seams weren’t aligned before cutting. To correct it, lay the shirt flat again, aligning seams and shoulders. Identify the longer side and carefully trim it down to match the shorter side. You might need to re-measure and re-mark your hem allowance before re-hemming.
Fabric Frays Excessively
Excessive fraying, especially before hemming, can be frustrating. This often occurs with loosely woven fabrics or if your initial cut wasn’t clean. If you’re experiencing heavy fraying, consider applying a small amount of fray check liquid to the raw edge before folding and hemming. Alternatively, a serger or an overcast stitch on your sewing machine can finish the raw edge before folding for the hem, preventing further fraying.
Key Takeaways
- Always mark your desired length slightly longer than you initially intend.
- Use sharp fabric scissors for a clean, even cut to prevent fraying and unevenness.
- Pressing your hem folds with an iron is crucial for a crisp, professional finish.
- Pin the hem securely before sewing to prevent fabric shifting and ensure straight stitches.
- A double-fold hem is a reliable and neat method for most woven fabrics.
- Take your time at each step; patience leads to better results.
Frequently Asked Questions
Can I crop a button-up shirt without sewing?
Yes, you can. For a no-sew option, you can use fabric glue or fusible web tape to create a hem. Simply follow the folding and pressing steps, then apply the adhesive instead of sewing. This method works best for lighter fabrics and provides a clean, if less durable, finish.
What’s the best type of button-up shirt to crop?
Woven fabrics like cotton, linen, chambray, or rayon blends are ideal. They hold their shape well and are easy to cut and hem. Avoid very stretchy knits unless you have experience working with them, as they can be challenging to hem neatly without puckering.
How short should I crop it?
The ideal length depends on your personal style and how you plan to wear the shirt. A good starting point is usually just above your belly button for a true crop, or at the top of your hip bones for a slightly longer, waist-skimming length. Always try it on and mark it to your preference.
Can I undo a crop if I cut it too short?
Unfortunately, once fabric is cut, it cannot be reattached. This is why it’s so important to cut conservatively. If you find it’s too short, you might consider adding a contrasting fabric band to the bottom to extend the length, but this would be a more advanced sewing project.
Our Top Recommended Finds
- Fiskars Fabric Scissors: Known for their sharpness and ergonomic design, making precise cuts easier and reducing hand fatigue.
- Dritz Disappearing Ink Fabric Marker: Perfect for marking your cut lines as the ink vanishes over time or with water, leaving no trace.
- Oliso Smart Iron with iTouch Technology: An excellent iron that automatically lifts and lowers, preventing scorches and making pressing hems much more efficient.
Craft Your Perfect Style Today
You now have all the knowledge and steps to confidently crop your own button-up shirts. This simple alteration opens up a world of styling possibilities, allowing you to create custom pieces that perfectly fit your vision. Don’t let those old, ill-fitting shirts gather dust in your closet.
Take the plunge, grab a shirt, and start transforming your wardrobe. Experiment with different lengths and fabrics to find what works best for you. Your unique style is waiting to be expressed, one perfectly cropped shirt at a time.