👚 How To Tie Shirts That Are Too Big
I used to drown in oversized shirts, feeling shapeless and uncomfortable. Learning a few simple tying tricks completely transformed my wardrobe, making every big tee feel stylish.
This guide shares the practical methods I’ve perfected to make any baggy top look fantastic. You don’t need to be a stylist to achieve a flattering fit.
Get ready to reclaim your favorite oversized pieces and wear them with confidence.
Quick Overview
Transforming your big shirts into stylish, fitted tops is easier than you think. You will learn versatile tying techniques that work for various styles and occasions. This guide helps you achieve a polished look without any sewing or cutting.
- Time needed: 5-10 minutes per shirt
- Difficulty: Beginner
- What you’ll need: An oversized shirt, hair tie or rubber band (optional)
Step-by-Step Instructions
Making an oversized shirt fit just right involves a few simple, strategic moves. Each method offers a unique look, allowing you to customize your style. Experiment with these techniques to find your favorites.
Step 1: Choose Your Tying Spot
Decide where you want the knot to sit on your body. This choice affects the overall silhouette and how much of your waist or hips are emphasized. Common spots include the front center, side, or even the back.
- Consider the shirt’s length and your body shape.
- Visualize the final look before you start gathering.
Pro Tip: A front-center tie often creates a casual, relaxed vibe, while a side tie can be more chic and asymmetrical.
Step 2: Gather the Fabric
Collect the excess material from your chosen tying spot. Pinch the fabric firmly between your fingers. Ensure you gather enough material to create a substantial knot without pulling too tightly.
- Start by gently pulling the fabric away from your body.
- Adjust the amount of fabric until it feels comfortable and looks balanced.
Step 3: Twist for Structure (Optional but Recommended)
Twisting the gathered fabric before tying can help create a neater, more defined knot. This step also prevents the fabric from unraveling or becoming too loose. A slight twist helps the knot hold its shape better.
- Rotate the gathered section several times in one direction.
- Maintain a firm grip on the twisted fabric.
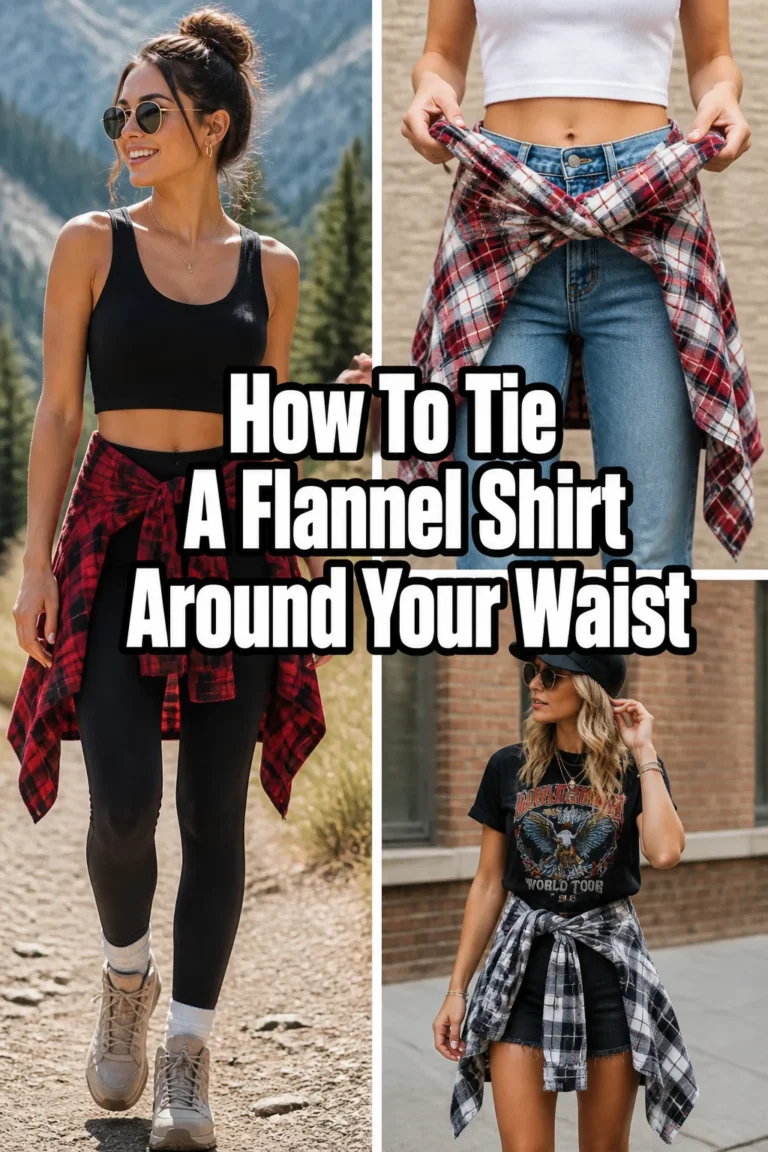
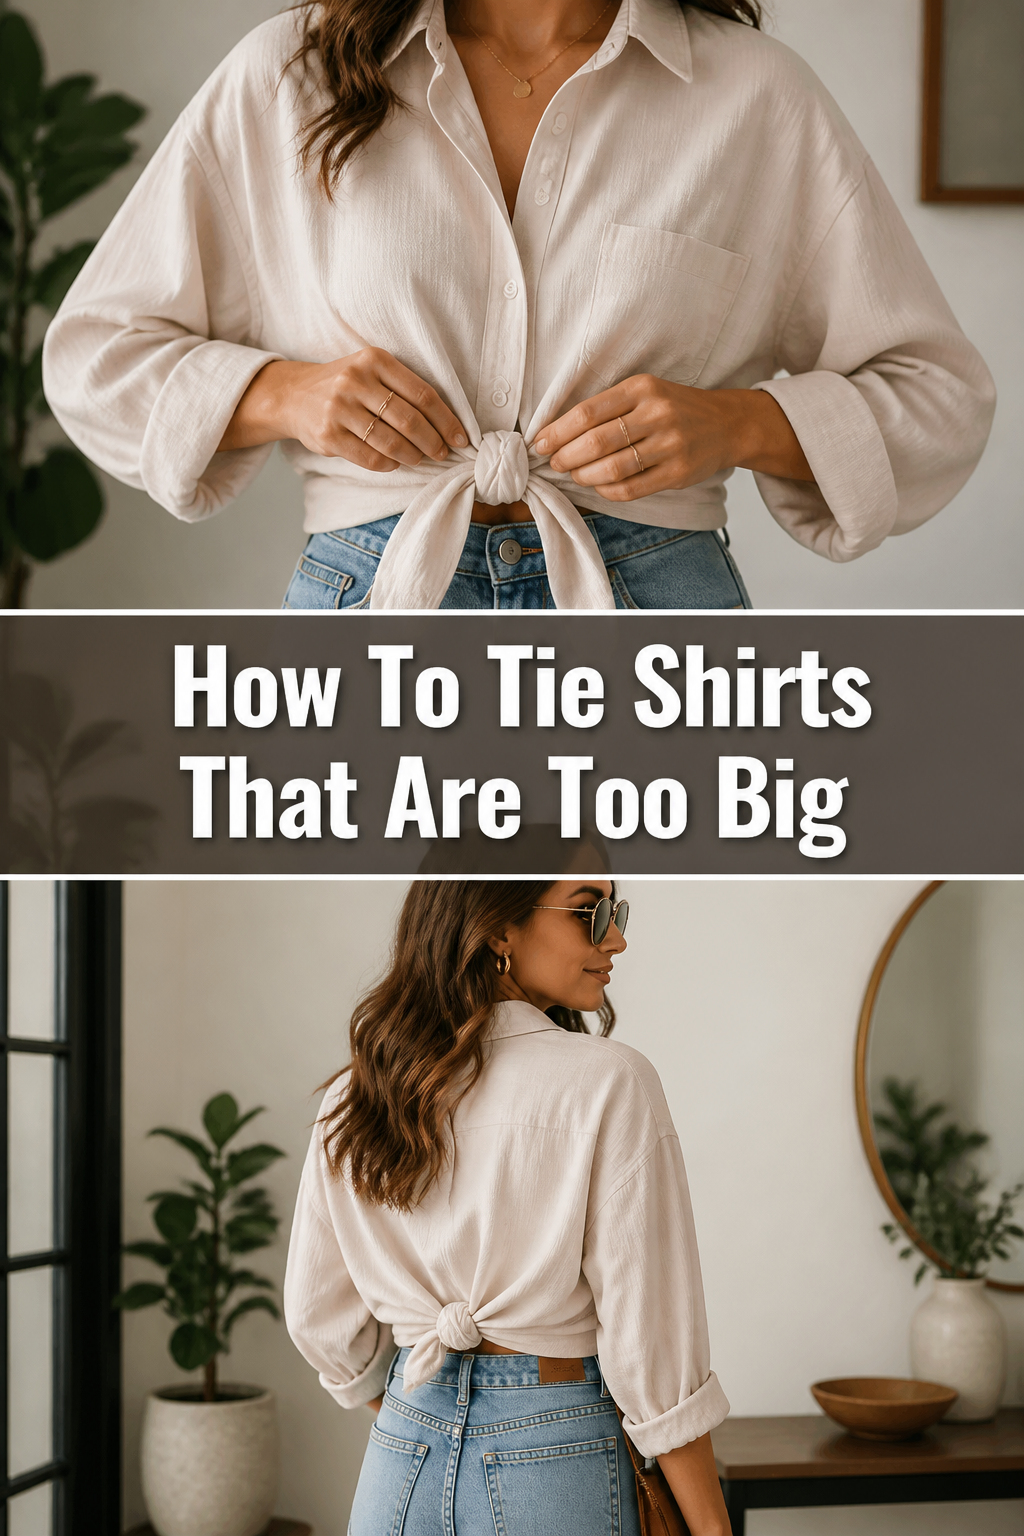
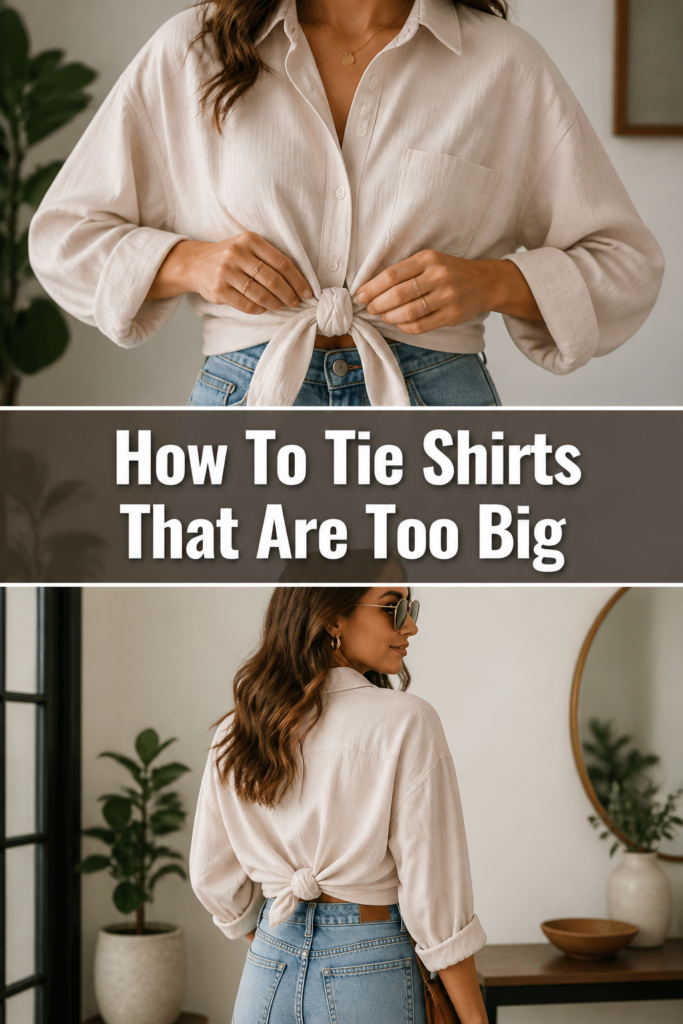
Step 4: The Basic Front Knot
This is the simplest and most common method. It works well for most casual shirts and creates a relaxed, slightly cropped effect. The basic front knot is perfect for pairing with high-waisted bottoms.
- Form a simple overhand knot with the twisted fabric.
- Pull the ends through and tighten gently.
- Adjust the knot’s position and tightness for comfort.
Step 5: The Side Knot
A side knot offers an asymmetrical and stylish look. It can draw attention to your waist while allowing the other side of the shirt to drape naturally. This method often feels a bit more elevated than a simple front tie.
- Gather the fabric from one side of your shirt.
- Twist the gathered section, then tie a basic knot.
- Position the knot slightly off-center for visual interest.
Step 6: The Cropped Knot (Using a Hair Tie)
For a truly cropped look without a bulky knot, use a small hair tie or rubber band. This method is great for thinner fabrics or when you want a very clean finish. It keeps the knot discreetly tucked away.
- Gather the desired amount of fabric.
- Secure it tightly with a small hair tie or rubber band.
- Tuck the secured “tail” of fabric up and under the shirt’s hem.
Pro Tip: Using a hair tie that matches your shirt color or is clear will make it practically invisible.
Step 7: The Back Tuck Knot
This technique helps cinch in the waist from behind, creating a more tailored front appearance. It’s ideal for shirts that are very long or when you want a smooth front without a visible knot. The back tuck knot works well with skirts or high-waisted pants.
- Reach behind you and gather excess fabric from the lower back.
- Pull the gathered fabric forward and tie a small knot.
- Tuck the knot securely under the shirt’s hem or into your waistband.
Step 8: The Double Knot for Security
If your shirt fabric is slippery or the knot keeps coming undone, a double knot provides extra security. This is particularly useful for active wear or when you want the tie to stay put all day. It adds a bit more bulk but ensures durability.
- Tie your initial knot as usual.
- Repeat the knotting process, pulling the ends through again.
- Ensure both knots are snug but not overly tight.
Step 9: Adjust and Refine
After tying, take a moment to adjust the shirt. Smooth out any wrinkles and ensure the knot sits comfortably and looks balanced. A well-placed knot can significantly enhance your outfit.
- Check the overall drape of the shirt.
- Gently pull on the edges of the knot to shape it.
- Ensure the shirt doesn’t feel too tight or restrictive.
Common Mistakes to Avoid
Tying an oversized shirt seems simple, but a few common errors can detract from your look. Knowing what to avoid will help you achieve a polished, stylish outcome every time. Pay attention to these details for the best results.
Tying Too Tight
Pulling your knot too tightly can create an awkward bulge and make the shirt feel uncomfortable. It can also cause the fabric around the knot to pucker unnaturally. Aim for a snug but relaxed tie that allows the fabric to drape gracefully. A gentle pull is usually enough to secure the knot while maintaining a flattering shape.
Using the Wrong Fabric Amount
Gathering too much or too little fabric can ruin the intended effect. Too much fabric creates a bulky, messy knot, while too little might not hold its shape or provide enough structure. Experiment with different amounts until you find what looks proportionate to your shirt and body. The goal is a balanced knot that complements the shirt’s overall fit.
Placing the Knot Incorrectly
The placement of your knot significantly impacts your silhouette. Tying it too high can make your torso look shorter, while too low might obscure your waist. Consider where your natural waistline is and how the knot will interact with your chosen bottoms. A well-placed knot enhances your body shape and creates a harmonious outfit.
Forgetting to Secure Loose Ends
After tying, sometimes loose ends or tails of fabric can hang out, making the look appear unfinished. Always take a moment to tuck in any stray pieces. For knots, ensure the ends are neatly integrated or trimmed if necessary. If using a hair tie, make sure the secured fabric is completely hidden under the hem.
Troubleshooting
Even with the best intentions, you might encounter a few hiccups when tying your oversized shirts. Don’t worry, most issues have simple fixes. Here are common problems and how to solve them quickly.
Knot Keeps Coming Undone
If your knot repeatedly loosens or unties, the fabric might be too silky or the initial tie wasn’t firm enough. Try a double knot for extra security. For very slippery materials, a small, clear hair tie hidden beneath the knot can provide excellent grip. You can also slightly dampen the fabric before tying to increase friction.
Knot Looks Too Bulky
A bulky knot often results from gathering too much fabric or using a very thick material. To fix this, untie and re-gather less fabric for a smaller knot. If the fabric itself is the issue, consider using the hair tie method (Step 6) to create a cleaner, less visible cinch. A softer, more pliable fabric will naturally create a less bulky knot.
Shirt Still Looks Baggy After Tying
If the shirt still feels shapeless, you might not be gathering enough fabric, or the tie isn’t positioned optimally. Try pulling more fabric from the sides and back into your knot. Experiment with different knot placements, perhaps higher on the waist for more definition. The back tuck knot (Step 7) is also excellent for pulling in significant excess from the entire shirt.
Key Takeaways
- Tying an oversized shirt transforms its fit and elevates your style.
- Experiment with knot placement (front, side, back) to find your most flattering look.
- Twisting the fabric before tying helps create a neater, more secure knot.
- Hair ties offer a discreet way to cinch a shirt for a clean, cropped finish.
- Always adjust and refine your tie for comfort and a polished appearance.
- Avoid tying too tightly or gathering too much fabric to prevent bulkiness.
Frequently Asked Questions
Got more questions about tying your oversized shirts? Here are some common inquiries and their practical answers. These tips will help you perfect your shirt-tying game.
Can I tie any type of oversized shirt?
Most oversized shirts can be tied, but some fabrics work better than others. Cotton, linen, and softer blends are ideal as they drape well and hold a knot effectively. Stiffer fabrics like heavy denim or very thick flannel might create a bulkier knot, but the hair tie method can still be effective.
Does tying a shirt damage the fabric?
Generally, tying a shirt does not cause damage, especially if done gently. However, repeatedly tying very tightly in the same spot, particularly on delicate fabrics, could potentially stretch or weaken the fibers over time. Use a gentle hand and vary your tying spots to minimize any potential stress on the material.
How do I make the knot stay put all day?
For knots that tend to unravel, try a double knot for extra security. If you’re using a hair tie, ensure it’s tight enough to hold the fabric firmly. You can also use a small safety pin to discreetly secure the knot to the inside of the shirt, preventing it from shifting throughout the day.
What kind of bottoms pair best with a tied shirt?
Tied shirts, especially those with a cropped effect, pair wonderfully with high-waisted bottoms. Think high-rise jeans, skirts, or shorts. This combination creates a balanced silhouette, highlighting your waist. They also look great over dresses or with flowy midi skirts for a bohemian touch.
Your New Look Awaits: Tie It Up!
You now have the tools to transform any oversized shirt into a stylish, well-fitting piece. No more feeling lost in baggy fabric. These simple techniques open up a world of new outfit possibilities.
Start experimenting with different knots and placements today. Discover how effortlessly you can elevate your everyday style. Your wardrobe is full of potential, just waiting to be tied into shape.