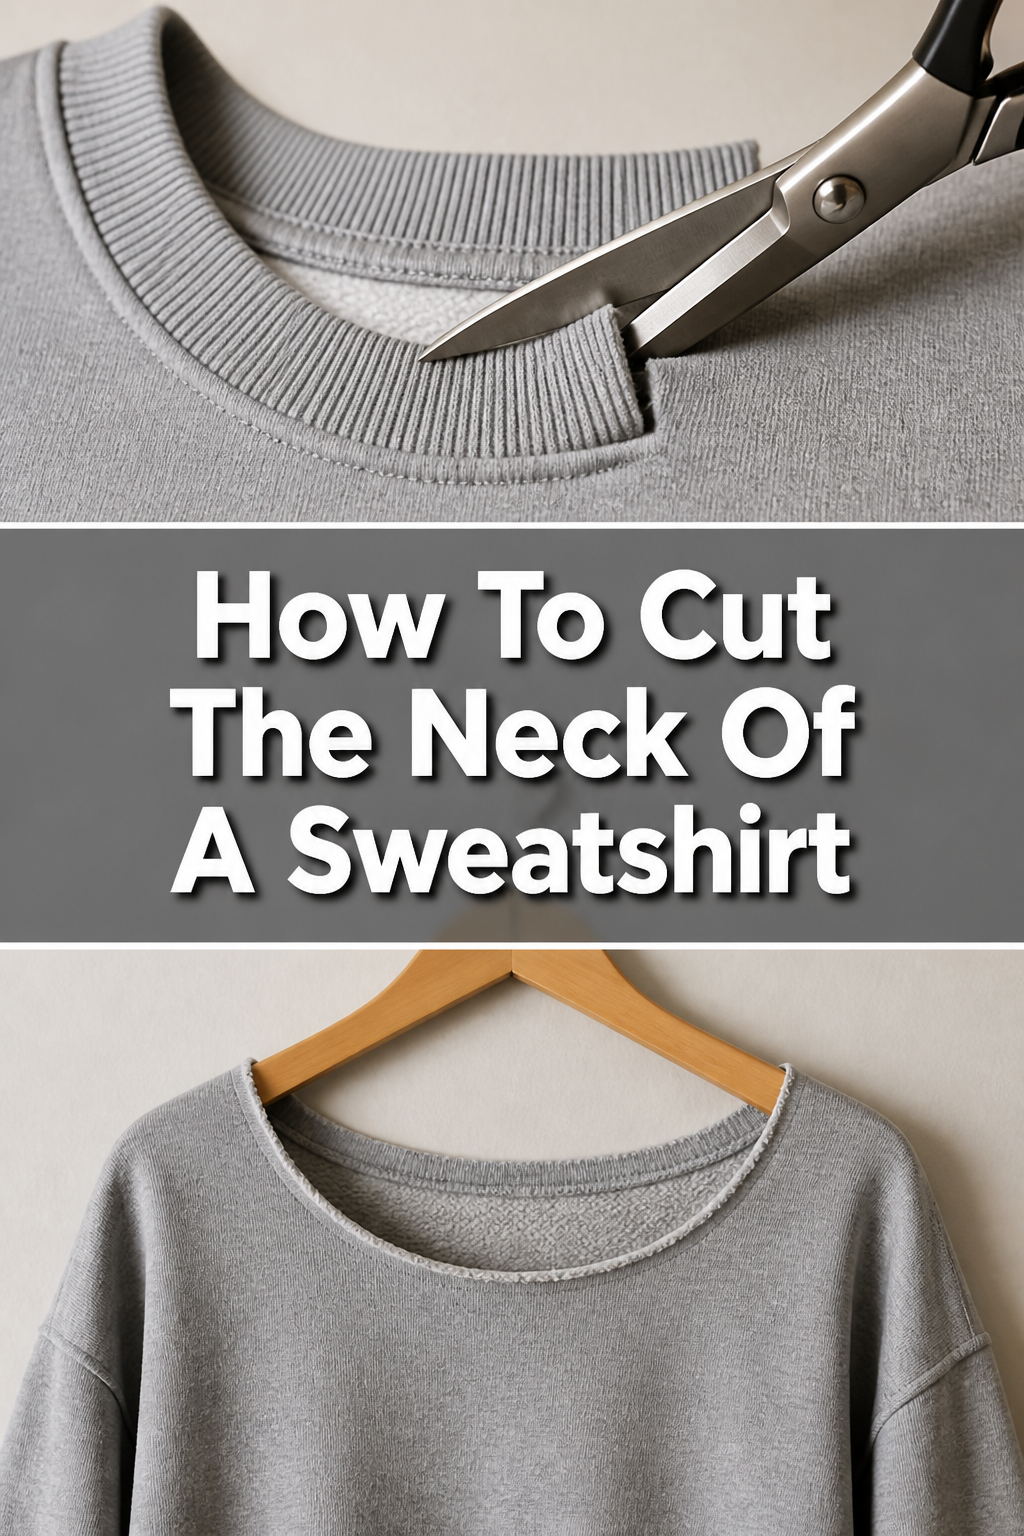
✂️ How To Cut The Neck Of A Sweatshirt
I remember wanting a more relaxed fit for an old band sweatshirt. The neckline always felt too constricting, especially on warmer days. This guide comes from personal trial and error, ensuring you get the perfect, comfortable result.
You can transform a basic crew neck into a stylish, custom piece with just a few tools.
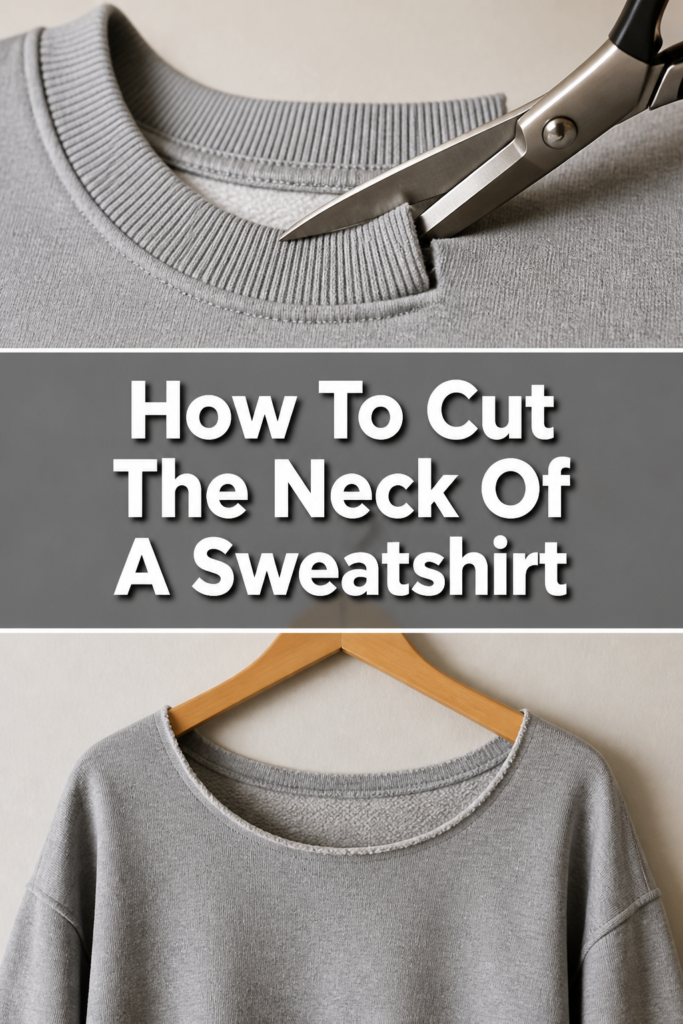
Quick Overview
This guide will walk you through the process of altering a sweatshirt’s neckline. You’ll learn how to create a wider, more comfortable opening, giving your garment a fresh, personalized look.
- Time needed: 45-75 minutes
- Difficulty: Beginner
- What you’ll need: Sharp fabric scissors, fabric chalk or marker, measuring tape, seam ripper (optional), iron (optional).
Step-by-Step Instructions
Step 1: Gather Your Tools
Collect all the necessary items before you begin. Having everything at hand prevents interruptions and ensures a smoother process. This includes your chosen sweatshirt, sharp fabric scissors, and marking tools.
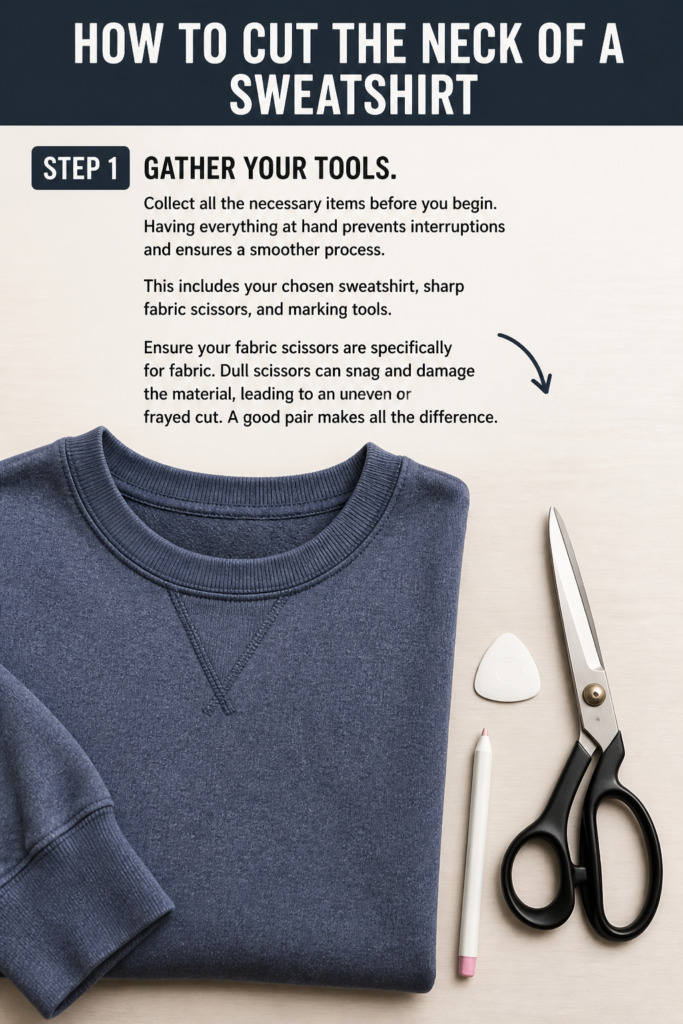
Ensure your fabric scissors are specifically for fabric. Dull scissors can snag and damage the material, leading to an uneven or frayed cut. A good pair makes all the difference.
Step 2: Try On and Plan Your Cut
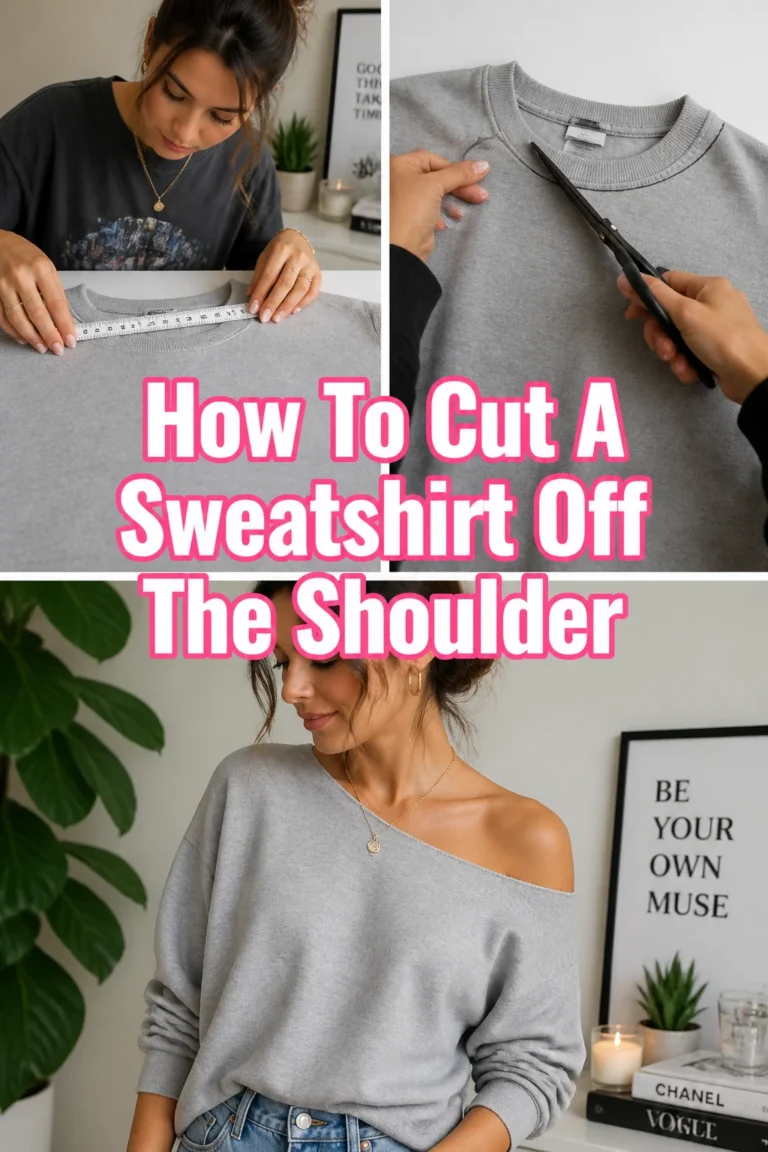
Wear the sweatshirt you intend to modify. Stand in front of a mirror and visualize the new neckline. Decide how wide and deep you want it to be.
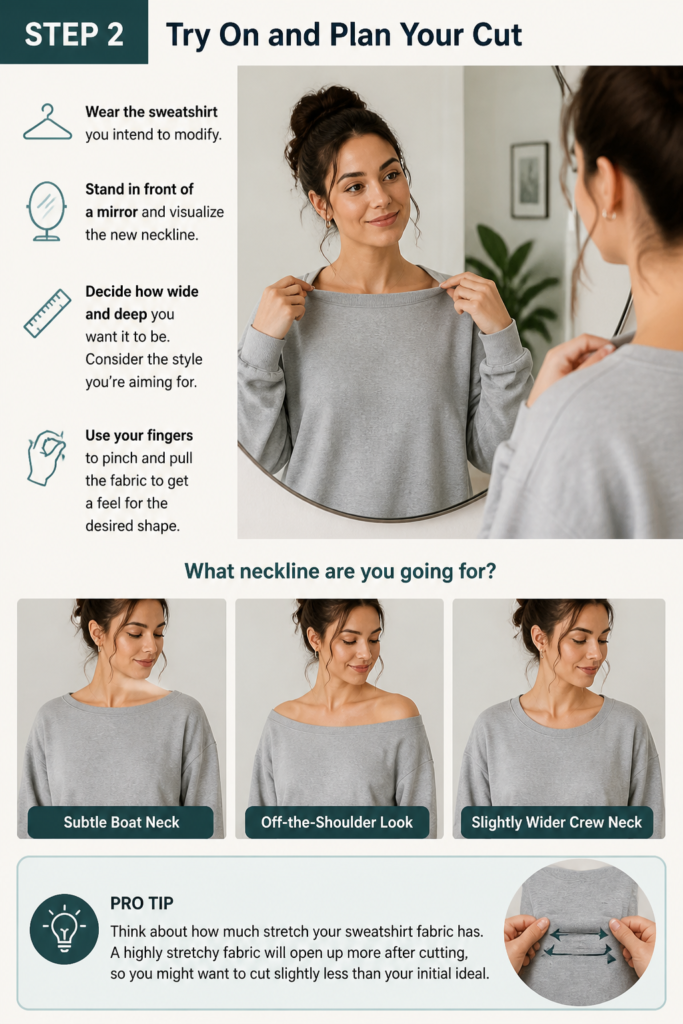
Consider the style you’re aiming for. Do you want a subtle boat neck, an off-the-shoulder look, or just a slightly wider crew neck? Use your fingers to pinch and pull the fabric to get a feel for the desired shape.
Pro Tip: Think about how much stretch your sweatshirt fabric has. A highly stretchy fabric will open up more after cutting, so you might want to cut slightly less than your initial ideal.
Step 3: Mark Your Cut Line
Lay the sweatshirt flat on a clean, hard surface. Smooth out any wrinkles or bumps, especially around the neck area. This ensures an accurate marking.
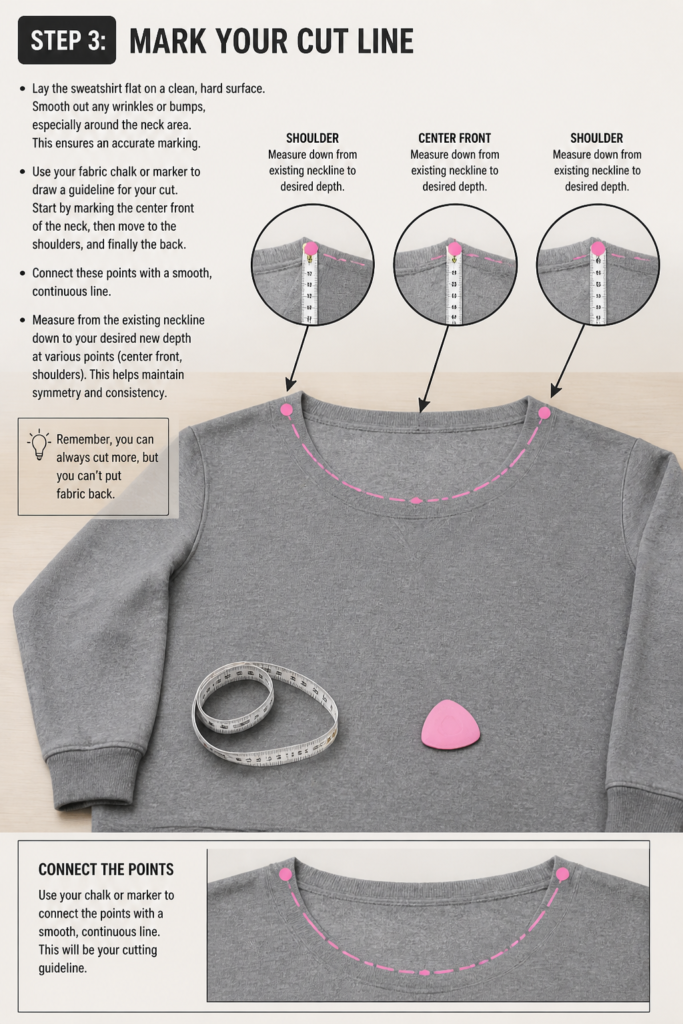
Use your fabric chalk or marker to draw a guideline for your cut. Start by marking the center front of the neck, then move to the shoulders, and finally the back. Connect these points with a smooth, continuous line.
Measure from the existing neckline down to your desired new depth at various points (center front, shoulders). This helps maintain symmetry and consistency. Remember, you can always cut more, but you can’t put fabric back.
Step 4: Prepare the Sweatshirt
Turn the sweatshirt inside out. This isn’t strictly necessary for all cuts, but it can help if you want to trace along existing seams more easily or if your fabric marker bleeds slightly. It also ensures you’re cutting a clean, flat surface.
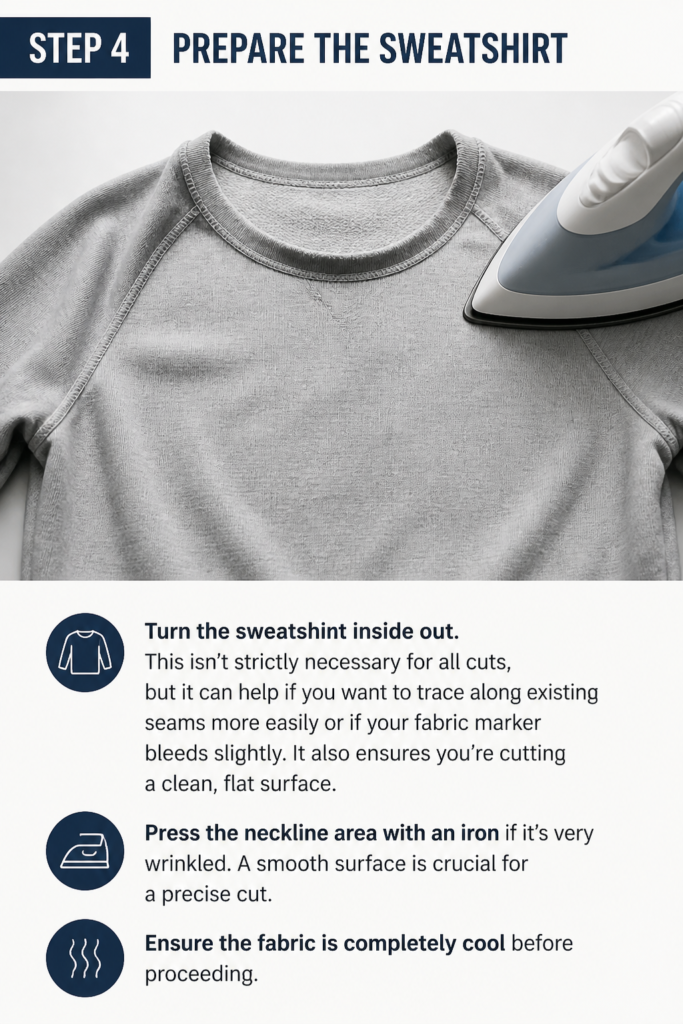
Press the neckline area with an iron if it’s very wrinkled. A smooth surface is crucial for a precise cut. Ensure the fabric is completely cool before proceeding.
Step 5: Carefully Cut the Front Neckline
Begin by cutting the front of the neckline. Use your sharp fabric scissors and follow the chalk line you drew. Take slow, steady strokes rather than long, sweeping cuts.
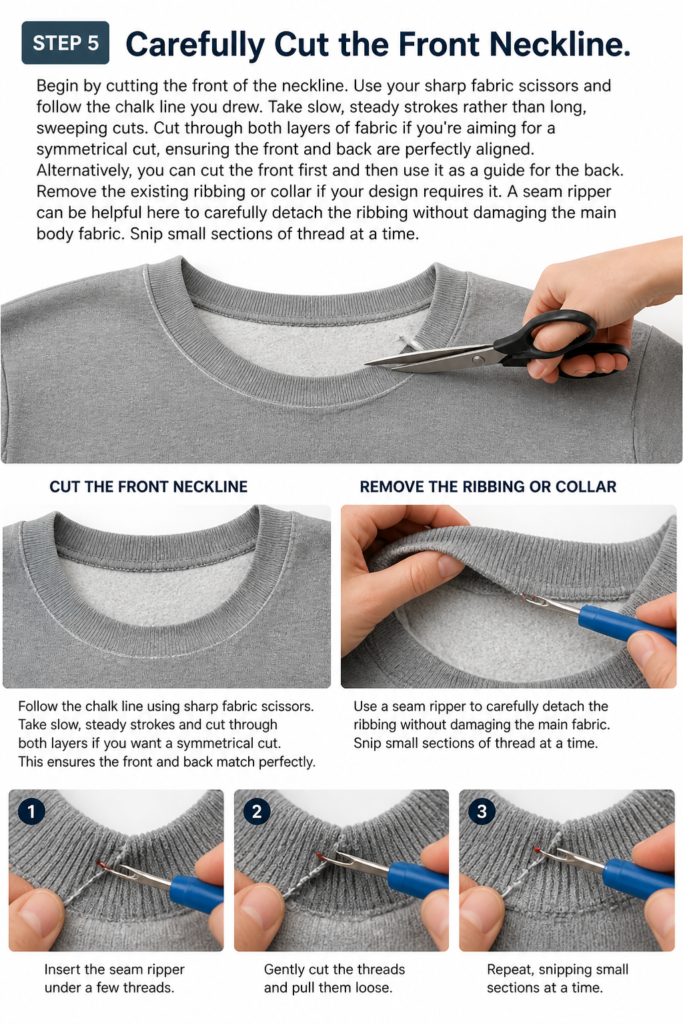
Cut through both layers of fabric if you’re aiming for a symmetrical cut, ensuring the front and back are perfectly aligned. Alternatively, you can cut the front first and then use it as a guide for the back.
Remove the existing ribbing or collar if your design requires it. A seam ripper can be helpful here to carefully detach the ribbing without damaging the main body fabric. Snip small sections of thread at a time.
Step 6: Cut the Back Neckline
Align the front and back of the sweatshirt carefully. If you cut the front and back separately, make sure the shoulders are perfectly stacked. Use the front neckline as a guide for the back if you want a matching or slightly higher back.
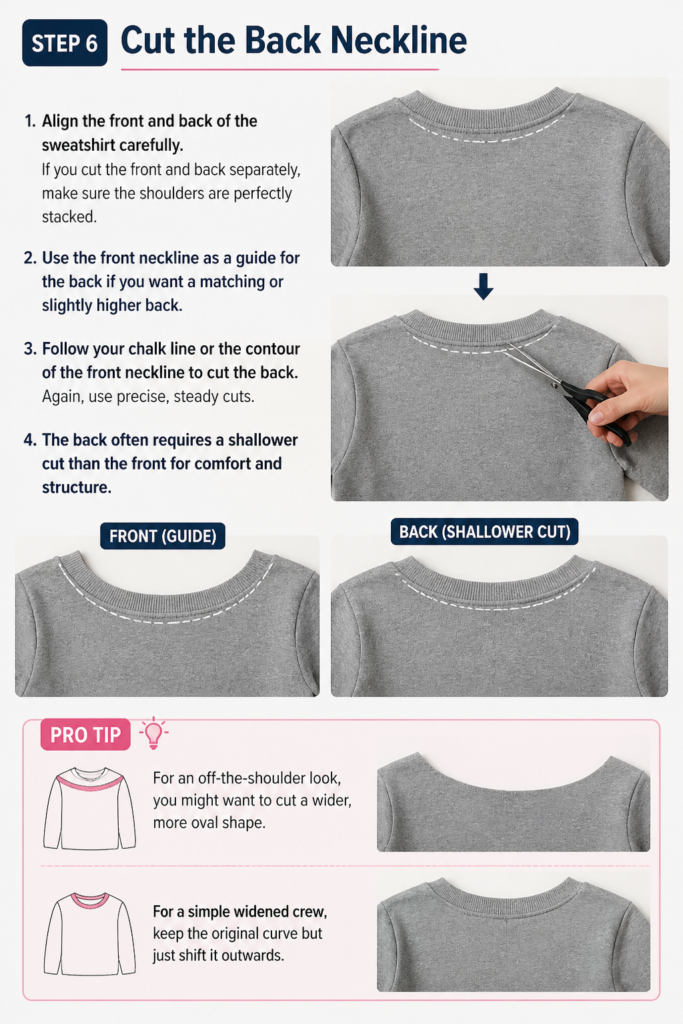
Follow your chalk line or the contour of the front neckline to cut the back. Again, use precise, steady cuts. The back often requires a shallower cut than the front for comfort and structure.
Pro Tip: For an off-the-shoulder look, you might want to cut a wider, more oval shape. For a simple widened crew, keep the original curve but just shift it outwards.
Step 7: Finish the Raw Edge (Optional but Recommended)
Consider how you want the raw edge to look. Sweatshirt fabric, especially fleece or French terry, can fray over time. Leaving it raw gives a casual, distressed look, but it might not be durable.
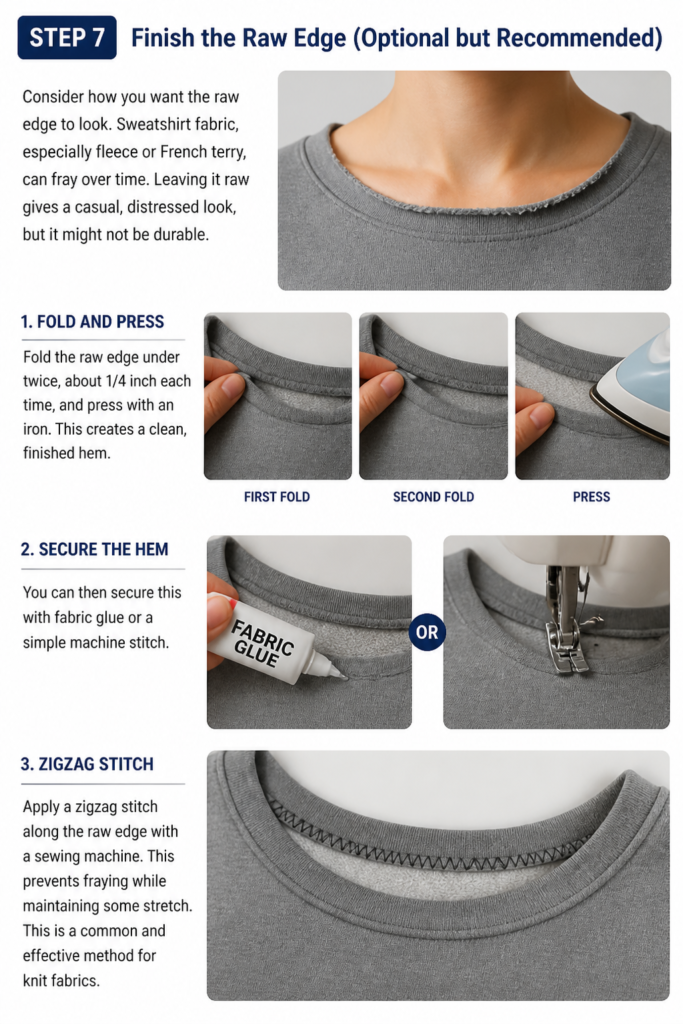
Fold the raw edge under twice, about 1/4 inch each time, and press with an iron. This creates a clean, finished hem. You can then secure this with fabric glue or a simple machine stitch.
Apply a zigzag stitch along the raw edge with a sewing machine. This prevents fraying while maintaining some stretch. This is a common and effective method for knit fabrics.
Step 8: Try On and Adjust
Put on your newly cut sweatshirt. Check the fit and feel. Does it sit comfortably? Is the opening wide enough? Does it hang correctly?
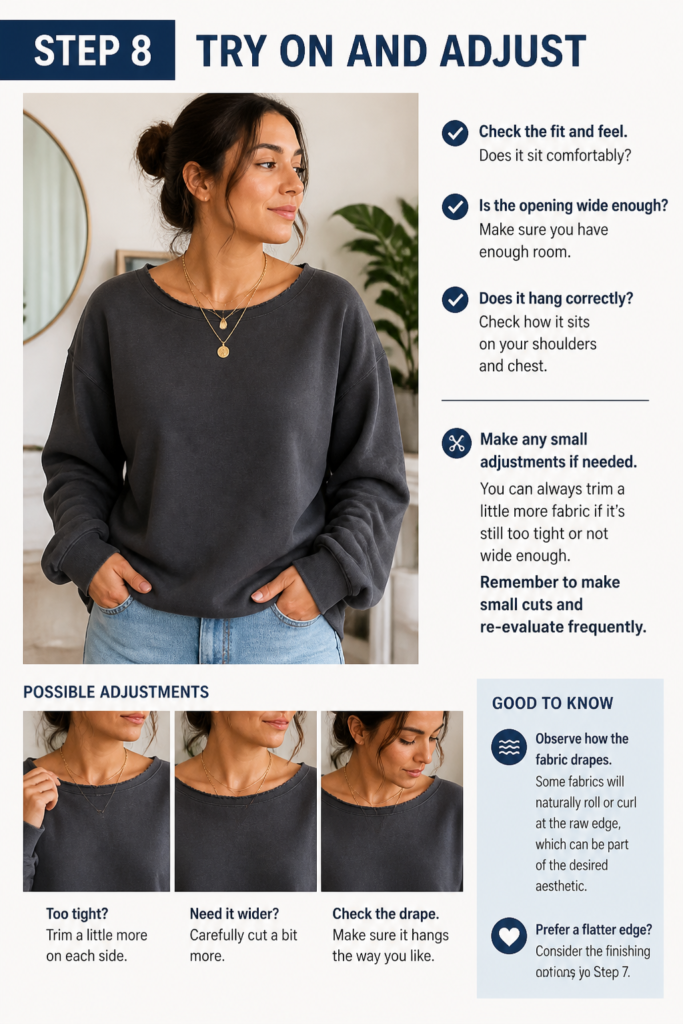
Make any small adjustments if needed. You can always trim a little more fabric if it’s still too tight or not wide enough. Remember to make small cuts and re-evaluate frequently.
Observe how the fabric drapes. Some fabrics will naturally roll or curl at the raw edge, which can be part of the desired aesthetic. If you prefer a flatter edge, consider the finishing options in Step 7.
Common Mistakes to Avoid
Cutting Too Much at Once
Many people get excited and cut a large section right away. This often leads to an uneven or overly wide neckline that can’t be fixed. Always start with smaller cuts and gradually remove more fabric until you reach your desired shape. It’s better to make several small adjustments than one irreversible mistake.
Using Dull Scissors
Dull scissors will chew through fabric instead of cutting cleanly. This results in jagged, frayed edges that are difficult to work with and look unprofessional. Invest in a good pair of sharp fabric scissors and reserve them only for fabric to maintain their edge. This simple tool choice significantly impacts the quality of your finish.
Not Planning the Back Neckline
Focusing solely on the front can lead to an unbalanced look. If the back neckline is left too high, it can pull awkwardly or create a strange silhouette. Always consider the back’s depth and shape in relation to the front for a harmonious and comfortable fit. A slightly shallower curve is usually best for the back.
Ignoring Fabric Stretch and Fraying
Different sweatshirt fabrics have varying degrees of stretch and propensity to fray. Cutting a stretchy fabric too wide can make it sag. Not finishing a highly fraying fabric will lead to rapid deterioration. Understand your fabric type and plan your cut and finish accordingly to ensure longevity and desired appearance.
Troubleshooting
Neckline is Uneven
If your neckline looks lopsided after cutting, don’t despair. Lay the sweatshirt flat again, smoothing out any wrinkles. Fold it in half, aligning the shoulder seams perfectly. Use your fabric chalk to mark the higher side, then carefully trim the lower side to match. Make small, incremental cuts until it’s symmetrical.
Edges are Fraying Excessively
If your raw edge is fraying more than you’d like, you still have options. You can apply a thin line of fabric glue (like Fray Check) along the inside of the raw edge to seal it. Alternatively, you can carefully fold the edge under and secure it with a quick hand stitch or a sewing machine zigzag stitch, even if it’s small.
Neckline is Too Wide/Saggy
A neckline that’s too wide or saggy can be tricky to fix, but not impossible. For a slightly saggy neck, you can try gathering the fabric slightly at the shoulder seams from the inside and securing it with a few stitches. For a very wide opening, you might need to add a decorative band or ribbon along the edge to draw it in, or embrace the off-the-shoulder look.
Key Takeaways
- Preparation is Key: Gather all your tools and plan your cut thoroughly before making any snips.
- Measure Twice, Cut Once: Always mark your lines and double-check your measurements to avoid irreversible mistakes.
- Use Sharp Tools: Sharp fabric scissors are essential for clean, professional-looking cuts and prevent fabric damage.
- Consider the Back: Don’t forget to plan and cut the back neckline to ensure a balanced and comfortable fit.
- Finish the Edges: Decide on a finishing method (raw, folded, stitched) based on your desired look and fabric type to prevent fraying.
- Try On and Adjust: Always try on your sweatshirt after the initial cut to make any necessary small adjustments for the perfect fit.
Frequently Asked Questions
Can I cut the neck of any sweatshirt?
Most sweatshirts made from knit fabrics like fleece or French terry can have their necks cut. However, fabrics with very loose weaves might fray excessively. Always consider the fabric type and its stretch before you start cutting.
Will the raw edge fray a lot if I don’t sew it?
It depends on the fabric. Some sweatshirt materials, especially those with a high cotton content and a tighter knit, will only fray minimally or curl slightly, creating a desired casual look. Others, particularly loosely woven or older fabrics, might fray significantly. Using fabric glue (like Fray Check) can help mitigate fraying on raw edges.
How do I make an off-the-shoulder neckline?
For an off-the-shoulder look, you’ll want to cut a wider, more elongated oval shape that extends further down the shoulder line. When marking, ensure your line goes past the original shoulder seam and dips lower in both the front and back, but not so low that it exposes too much. Try it on frequently during the marking process.
What if I accidentally cut it too short or crooked?
If you cut it too short or crooked, small adjustments are possible for crookedness (trimming to even it out). If it’s too short or wide, you might need to embrace the new look or consider adding a decorative band of fabric, ribbon, or lace to the edge to extend it or draw it in slightly. Sometimes, a “mistake” can lead to a unique design.
Our Top Recommended Finds
- Sharp Fabric Scissors: A dedicated pair ensures clean cuts and prevents fabric damage. Look for brands known for quality blades.
- Fabric Chalk or Marker: Essential for drawing clear, temporary lines that won’t permanently stain your fabric. Tailor’s chalk is a classic choice.
- Seam Ripper: Extremely useful for carefully removing existing ribbing or correcting small cutting errors without damaging the main fabric.
Transform Your Style Today
Ready to give that old sweatshirt a new lease on life? Customizing your clothing is a fantastic way to express your personal style. It’s a rewarding project that combines creativity with practicality.
Don’t let a tight neckline hold you back from comfort and fashion. Grab your tools, follow these steps, and create a custom piece you’ll love to wear. Your perfect, personalized sweatshirt is just a few cuts away.