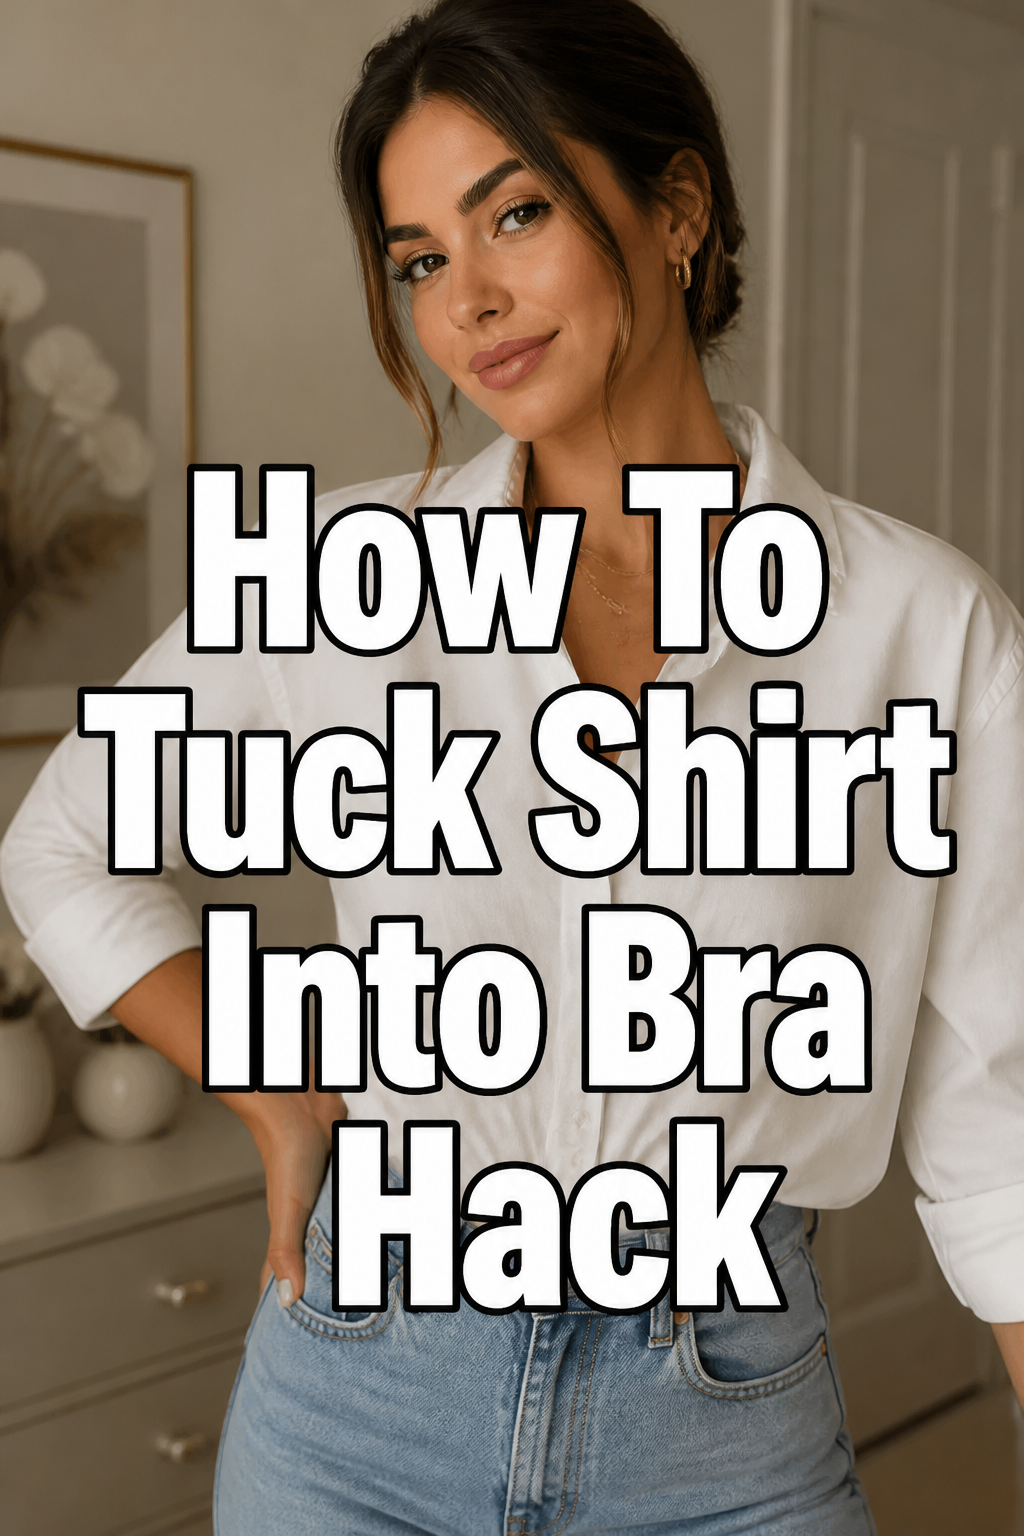
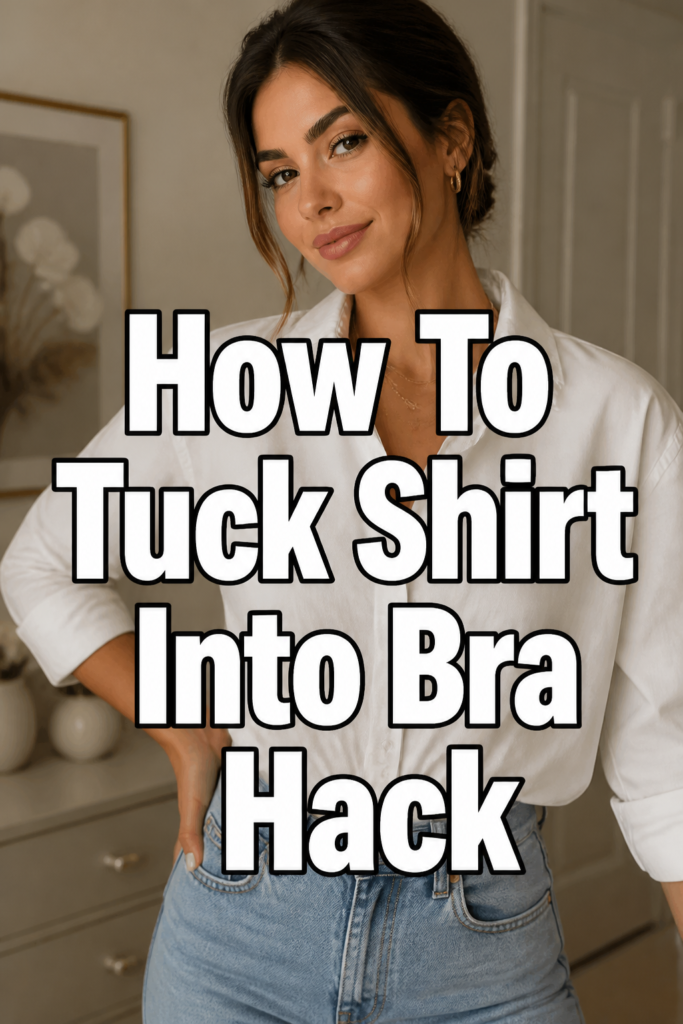
👚 How To Tuck Shirt Into Bra Hack
Ever struggle with an oversized shirt looking sloppy, or a blouse that just won’t stay put for that perfectly tailored look?
This simple bra tuck hack is a game-changer, transforming your outfits in mere moments.
I’ve personally used this trick countless times to refine my silhouette, and it consistently delivers a polished finish without any fuss or special tools.
Quick Overview
This guide will show you how to easily tuck your shirt into your bra for a neat, tailored appearance.
- Time needed: 2-5 minutes
- Difficulty: Beginner
- What you’ll need: A shirt, a bra (preferably a comfortable, well-fitting one), and a mirror.
Step-by-Step Instructions
Step 1: Choose Your Shirt Wisely
Select a shirt that has some length but isn’t overly bulky. Thinner fabrics like cotton blends, silk, or rayon work best for this hack.
Avoid very thick sweaters or stiff denim shirts, as they can create uncomfortable bulk under your bra.
Step 2: Put On Your Bra First
Wear your preferred bra before attempting the tuck. A well-fitting bra is crucial for comfort and a smooth outcome.
Sports bras, bralettes, or traditional underwire bras can all work, but ensure it offers good support and isn’t too loose.
Pro Tip: A bra with a wider band offers more surface area for tucking, providing a more secure hold and smoother finish. Seamless bras are also excellent for preventing unwanted lines.
Step 3: Put On Your Shirt
Slide into your chosen shirt as you normally would. Do not tuck it into your pants or skirt yet.
Let it hang loosely over your bra and waistband. This initial drape gives you a good starting point.
Step 4: Gather the Excess Fabric
Stand in front of a mirror and begin to gather the bottom hem of your shirt. You’ll focus on the front and sides first.
Pinch the excess fabric at the waist, pulling it downwards and slightly inwards towards your body.
Step 5: Start the Front Tuck
Take the gathered fabric from the front of your shirt. Gently lift the front portion of your bra.
Carefully tuck the shirt’s hem upwards and underneath the bottom band of your bra. Ensure the fabric lies flat against your skin, under the bra band.
Pro Tip: Start with a small section in the very center front. This allows you to build out the tuck evenly and avoid lopsided results.
Step 6: Work Your Way Around the Sides
Move to the sides of your shirt. Continue gathering the excess fabric and tucking it securely under your bra band.
Distribute the fabric evenly as you go, ensuring there are no obvious bulges or bunches. The goal is a smooth, continuous line.
Step 7: Check the Back (Optional)
Assess the back of your shirt. For a full 360-degree tuck, you can carefully reach behind and tuck any remaining fabric under your bra band.
However, many people find a front and side tuck sufficient, letting the back hang naturally or doing a partial tuck if wearing high-waisted bottoms.
Step 8: Adjust and Smooth
Gently pull your shirt up slightly around the tucked areas. This creates a soft blouson effect, making the tuck look natural.
Smooth out any wrinkles or bumps from the outside of your shirt. Ensure the bra band feels comfortable and isn’t digging in from the tucked fabric.
Pro Tip: Do a few small movements, like bending and stretching, to test the security and comfort of your tuck. Adjust any areas that feel too tight or too loose.
Common Mistakes to Avoid
Tucking Too Much Fabric
Problem: Over-tucking can lead to excessive bulk under your bra, creating an uncomfortable feeling and an unflattering lumpy appearance.
Solution: Focus on tucking just enough fabric to achieve your desired length and shape. If your shirt is truly voluminous, consider tying a knot at the back or side instead of a full bra tuck.
Using the Wrong Bra Type
Problem: A flimsy or ill-fitting bra won’t provide the necessary structure to hold the shirt in place, causing it to come untucked or sag.
Solution: Opt for a well-structured bra with a firm band. A sports bra or a bra with a wider band works exceptionally well. Avoid very thin bralettes or sticky bras, as they lack the support needed.
Uneven Distribution of Fabric
Problem: If you tuck the fabric unevenly, your shirt might look lopsided or create visible bumps and creases under your clothes.
Solution: Take your time and distribute the fabric smoothly as you tuck. Work section by section, starting from the front and moving to the sides, ensuring an even layer of fabric under the bra band.
Forgetting to “Blouse” the Shirt
Problem: Tucking too tightly can make your shirt look stiff and unnatural, losing the casual chic vibe this hack usually provides.
Solution: Once tucked, gently pull a small amount of fabric up and over the bra line. This creates a soft, subtle blouson effect, giving the shirt a more relaxed and stylish drape.
Troubleshooting
The Shirt Keeps Coming Untucked
Issue: Your shirt fabric might be too slippery, or your bra band isn’t providing enough grip.
Solution: Try a bra with a silicone grip on the band, common in strapless styles, or a sports bra with a tighter, more substantial band. You can also experiment with different shirt fabrics; sometimes a slightly textured material holds better.
The Tuck Feels Uncomfortable or Bulky
Issue: Too much fabric or the wrong bra choice can lead to discomfort.
Solution: First, check if you’ve tucked too much fabric. Remove some and re-tuck more sparingly. If the issue persists, switch to a bra with a wider, softer band. Also, ensure your bra isn’t already too tight, as adding fabric will only exacerbate the issue.
Visible Lines or Bumps Under Clothing
Issue: The tucked fabric is showing through your outer layers, or creating an uneven silhouette.
Solution: This often happens with thin or clingy outer layers. Ensure the tucked fabric is spread as flat and smoothly as possible. Opt for a seamless bra to minimize lines. Sometimes, choosing a slightly thicker outer garment or a more structured shirt fabric can help conceal any minor imperfections.
Key Takeaways
- Choose lighter, less bulky shirt fabrics for the best results.
- A well-fitting, supportive bra with a good band is essential for security and comfort.
- Tuck fabric evenly, starting from the front and moving to the sides.
- Avoid over-tucking to prevent bulk and discomfort.
- Always “blouse” the shirt slightly after tucking for a natural, soft drape.
- Practice makes perfect; experiment with different shirts and bras.
Frequently Asked Questions
Does this hack work with all shirt types?
While it’s most effective with lighter, flowy fabrics like cotton blends, rayon, or silk, you can experiment with slightly heavier materials. Very thick sweaters or stiff button-downs are generally not ideal as they create too much bulk.
Can I do this with any type of bra?
A bra with a sturdy, wider band offers the best grip and support. Sports bras, bralettes with substantial bands, and traditional underwire bras all work well. Avoid flimsy or very narrow-banded bras, as they won’t hold the fabric securely.
Will this damage my bra or shirt?
No, when done correctly, this hack shouldn’t damage your bra or shirt. The key is to distribute the fabric evenly and not stuff an excessive amount, which could stretch your bra band over time. Always be gentle when tucking.
Is this hack comfortable for all-day wear?
Yes, for most people, it’s very comfortable. The trick is to ensure you haven’t tucked too much fabric, which could feel bulky or restrictive. Adjust the tuck until it feels secure but not tight, allowing you to move freely throughout the day.
Our Top Recommended Finds
- Seamless Sports Bras: Offer excellent support and a smooth base for tucking.
- High-Waisted Bottoms: Complement the tucked look by creating a clean waistline.
- Fabric Styling Tape: Useful for securing tricky fabrics or preventing slippage if needed, though often not necessary for this hack.
Embrace Your Refined Style
This simple bra tuck hack is more than just a quick fix; it’s a styling secret that can elevate your entire wardrobe.
It brings structure and polish to even the most relaxed garments, giving you that effortlessly put-together look.
Don’t let another oversized top or untucked blouse diminish your confidence. Try this hack today and discover the transformative power of a perfectly tailored silhouette.