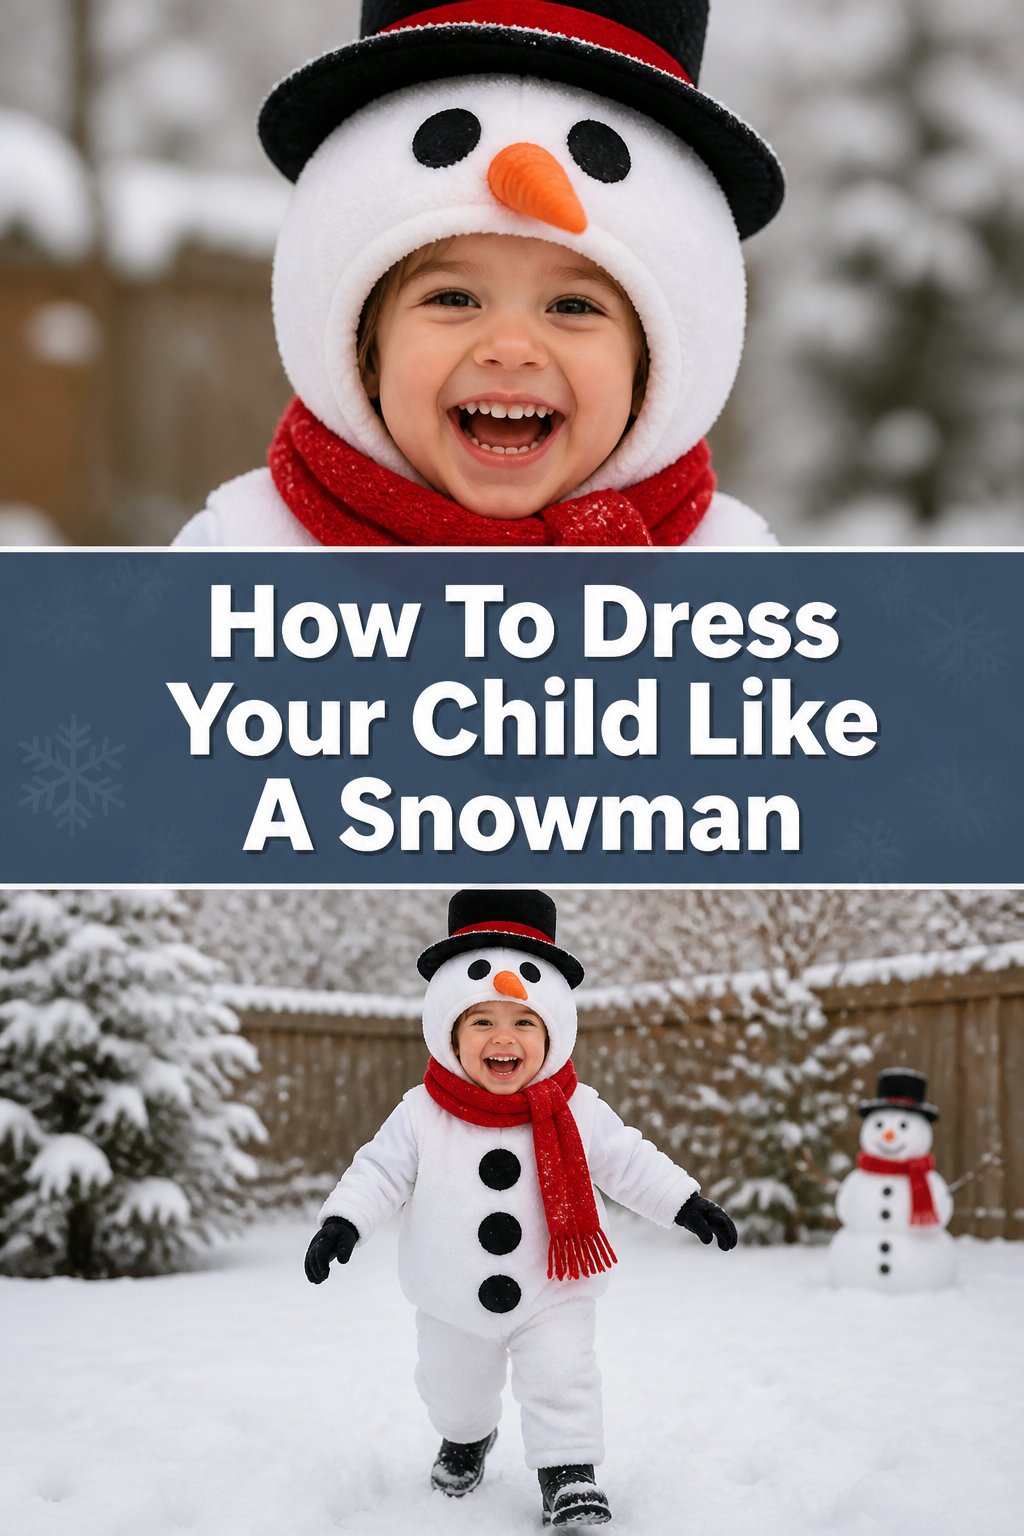
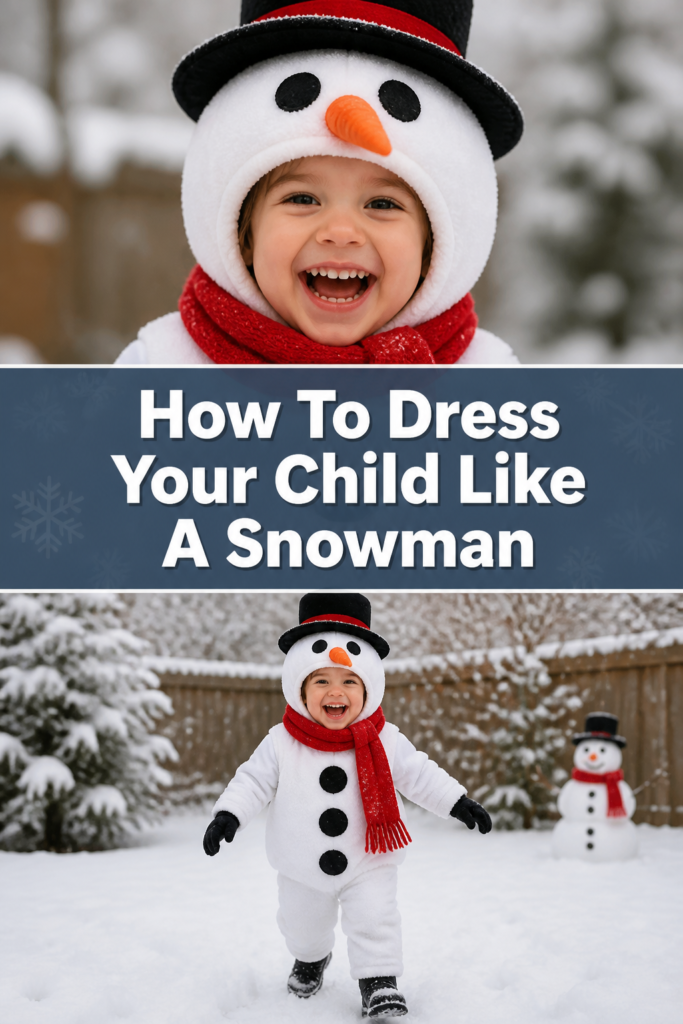
☃️ How To Dress Your Child Like A Snowman
Winter brings a special kind of magic.
There’s nothing quite like seeing your child’s eyes light up with joy. I’ve created countless costumes over the years, and a snowman is always a heartwarming hit. This guide will help you craft that perfect, cheerful winter look.
Quick Overview
Get ready to transform your little one into the cutest snowman around. This guide covers everything from the base layers to the final frosty touches. You’ll create a memorable outfit perfect for holidays or a fun winter day.
- Time needed: 1.5 – 3 hours (depending on DIY elements)
- Difficulty: Intermediate
- What you’ll need: White clothing, various craft supplies, a little creativity
Step-by-Step Instructions
Step 1: Secure Your White Base Layers
The foundation of any good snowman costume is a comfortable white base. This will be the main body of your little one’s transformation. Choose soft, breathable fabrics for their comfort.
Start with a long-sleeved white top and white pants. A white footed pajama set or a white onesie can also work beautifully, especially for younger children. Ensure the clothing is a size larger than normal if you plan to add stuffing.
Step 2: Create the Snowman Body Shape
Now it’s time to give your snowman its iconic round shape. You have a few options here, depending on the desired look and comfort level. Layering is key for warmth and shape.
You can stuff a larger white top or vest with polyester fiberfill or soft batting. Place the stuffing between two layers of white fabric, creating a puffy, rounded appearance for the torso. Ensure the stuffing is evenly distributed.
Alternatively, consider a pre-made white padded vest or jacket. This saves time and often provides a smoother silhouette. Look for items with a slightly oversized fit.
Pro Tip: For maximum comfort and mobility, avoid overstuffing. Your child still needs to move, sit, and play easily. Focus on a gentle, rounded puffiness rather than a rigid ball shape.
Step 3: Add the Coal Buttons
No snowman is complete without its signature coal buttons. These add a classic, charming detail to the costume. You can use various materials for this step.
Cut three to four circular shapes from black felt. These should be roughly 2-3 inches in diameter, depending on your child’s size. Felt is easy to work with and holds its shape well.
Attach the felt circles vertically down the front of the snowman’s “body.” You can use fabric glue for a temporary hold or stitch them on for a more secure and permanent attachment. Black pom-poms are another fun, tactile option for buttons.
Step 4: Craft the Carrot Nose
The carrot nose is one of the most recognizable features of a snowman. It adds a pop of color and personality to the white ensemble. This can be a simple DIY project.
Cut a carrot shape from orange felt or craft foam. Make it about 3-4 inches long, tapering to a point. You can also roll a piece of orange felt into a cone shape and glue the seam.
Attach the carrot nose to a white hat or directly to your child’s face (if using face paint and it’s temporary). For a hat attachment, hot glue works well. If attaching to the face, a small piece of double-sided costume tape can be used for older children, or simply draw it on with face paint.
Pro Tip: If attaching the nose directly to clothing or a hat, ensure it’s firmly secured. You don’t want the carrot to fall off during play or pictures. Consider stitching it in place for extra durability.
Step 5: Design the Cozy Scarf
A colorful scarf adds warmth and a festive touch to your snowman. This is an excellent opportunity to introduce a vibrant hue to the costume. Choose a soft, child-friendly material.
Select a knit scarf in a bright color like red, green, or blue. You can use an existing scarf or purchase a new one. Ensure it’s not too long to prevent tripping hazards.
Tie the scarf comfortably around your child’s neck. Make sure it’s snug enough to stay in place but loose enough for safety and comfort. A simple knot or loop works best.
Step 6: Accessorize with Stick Arms
The stick arms are a whimsical detail that truly brings the snowman to life. There are several safe and comfortable ways to achieve this look. Prioritize safety, especially for younger children.
Cut two “stick” shapes from brown felt or craft foam. Make them long enough to extend slightly from your child’s sides. These can have a few “branches” for realism.
Attach these stick arms to the sides of the white top or jacket, near the shoulders. Fabric glue or stitching them on are good methods. For a more dimensional look, you can use brown pipe cleaners twisted into branch shapes and sewn onto the sleeves.
Step 7: Prepare the Headwear
The headwear completes the snowman’s look and can be a fun canvas for more details. A plain white beanie or hood is the perfect starting point. You can then add embellishments.
Choose a white beanie or use the hood of your child’s white top. This forms the head of the snowman. Ensure it fits snugly but comfortably.
Consider adding small black felt circles for “coal eyes” to the beanie. You can also attach small, round rosy cheeks made from pink felt if desired. This adds to the friendly snowman expression.
Step 8: Consider Footwear
Even a snowman needs appropriate footwear, especially if they’re going to be out and about. White shoes or boots will seamlessly blend with the costume. Comfort is still key.
Dress your child in white socks or tights. Then, add white shoes, sneakers, or boots. If you’re going for a truly seamless look, white felt booties can be made or purchased to go over their regular shoes.
Ensure the footwear is practical for your child’s activities. They should be able to walk and play without slipping or discomfort.
Step 9: Final Touches and Comfort Check
Before the big reveal, perform a thorough check of the entire costume. This ensures everything is secure, comfortable, and safe for your little one. Look for any potential issues.
Check all attachments for buttons, nose, and arms. Give them a gentle tug to ensure they won’t fall off. Observe your child moving around in the costume. Can they bend, sit, and raise their arms easily?
Ensure no rough edges, loose threads, or scratchy materials are touching your child’s skin. Make any necessary adjustments for a perfect fit and happy snowman.
Common Mistakes to Avoid
Overheating Your Little Snowman
It’s easy to get carried away with layers and stuffing, but children can overheat quickly. Too many warm layers can make them uncomfortable and irritable, especially indoors. Always consider the environment.
Instead, use breathable base layers and avoid excessive stuffing. If you’re going to be inside, opt for lighter fabrics for the “stuffing” or fewer layers. You can always add a jacket over the costume if heading outdoors in cold weather.
Restricting Movement
A stiff or overly tight costume can hinder your child’s ability to play and explore. If they can’t move freely, they won’t enjoy wearing the costume for long. Comfort is paramount for happy little ones.
Choose slightly oversized clothing for the base and stuffing. Ensure the armholes and leg openings are generous. Test their range of motion before the event.
Unsafe Small Parts
Small buttons, beads, or poorly attached accessories can pose a choking hazard, especially for babies and toddlers. Their natural curiosity means everything goes into their mouths. Prioritize safety above all else.
Securely attach all costume elements. If using small items, stitch them firmly or opt for larger, non-choking alternatives like large felt circles or fabric paint. Always supervise young children in costumes.
Neglecting Comfort
A scratchy fabric, an ill-fitting hat, or an itchy scarf can quickly turn a fun costume into a miserable experience. If your child is uncomfortable, they won’t want to wear it. Pay attention to all the details.
Select soft, skin-friendly fabrics for everything that touches your child. Check for irritating tags or seams. Ensure hats and scarves fit well without being too tight or constantly slipping.
Troubleshooting
Costume Feels Too Stiff or Bulky
If your snowman costume feels rigid or makes movement difficult, it’s likely due to the stuffing or fabric choice. This can make your child uncomfortable and limit their fun. There are ways to soften it up.
Try removing some of the stuffing from the body. You can also replace polyester fiberfill with softer materials like cotton batting or even crumpled tissue paper for a lighter, more flexible feel. Ensure the outer fabrics are flexible and not too heavy.
Accessories Keep Falling Off
It’s frustrating when the carrot nose or a button repeatedly detaches, especially during an event. This often points to insufficient adhesive or attachment methods. A quick fix can prevent future issues.
Reinforce all attachments. For felt pieces, use a stronger fabric glue or consider stitching them directly to the base garment. For hat attachments, hot glue provides a firm hold. Double-check everything before dressing your child.
Child Refuses to Wear It
Sometimes, despite your best efforts, your child might resist wearing the costume. This can happen if it’s new, feels strange, or they simply aren’t in the mood. Patience and positive reinforcement are key.
Involve them in the creation process if they’re old enough. Make it a fun game. Offer a favorite treat or activity as a reward for trying it on. Sometimes, just letting them wear parts of it initially helps them adjust.
Key Takeaways
- Always prioritize your child’s comfort and safety when designing and assembling the costume.
- Layering is an effective way to achieve the snowman’s round shape while allowing for temperature control.
- DIY elements add a unique, personal touch and can be a fun family activity.
- Securely attach all small parts to prevent choking hazards, especially for younger children.
- Make the costume experience enjoyable by involving your child and ensuring freedom of movement.
- Choose soft, breathable fabrics for all layers to prevent discomfort and overheating.
Frequently Asked Questions
Is this costume suitable for babies?
Yes, with modifications. For babies, focus on a comfortable, soft white footed pajama or onesie as the base. Avoid any small, detachable parts for buttons or the nose. Instead, use black felt circles securely stitched or fabric paint for details. Ensure the scarf is tied loosely and safely, or omit it.
How can I make the costume machine washable?
To make your snowman costume machine washable, use fabrics like fleece or cotton for all components. Securely stitch all felt pieces and attachments instead of using glue. Avoid using any non-washable craft items. Remove any stuffing before washing if it’s not permanently integrated.
What if I don’t have time for DIY?
If time is short, you can still create a charming snowman. Purchase a plain white hooded jumpsuit or a white fleece pajama set. Then, buy pre-made felt shapes, stick-on felt, or use fabric markers for the buttons, eyes, and nose. A store-bought knit scarf completes the look quickly.
How do I keep my child warm in cold weather?
For cold weather, layer warm, thermal clothing underneath the white base layers. Use a fleece-lined white jumpsuit or a padded white snowsuit as the main body. Add a warm hat, gloves, and insulated boots. The scarf will also provide extra warmth around the neck.
Our Top Recommended Finds
- White Fleece Footed Pajamas: An excellent, comfortable, and warm base layer for any age.
- Assorted Felt Sheets: Perfect for cutting out buttons, noses, eyes, and stick arms with ease.
- Fabric Glue or Hot Glue Gun: Essential for quickly and securely attaching your DIY elements.
Embrace the Winter Wonderland
Dressing your child as a snowman is more than just creating a costume. It’s about crafting a memory. It’s about bringing a little piece of winter magic to life.
Imagine their delight, and the smiles they’ll bring to everyone’s faces. This guide empowers you to make that enchanting vision a reality. Start gathering your supplies today and prepare for a truly adorable transformation.