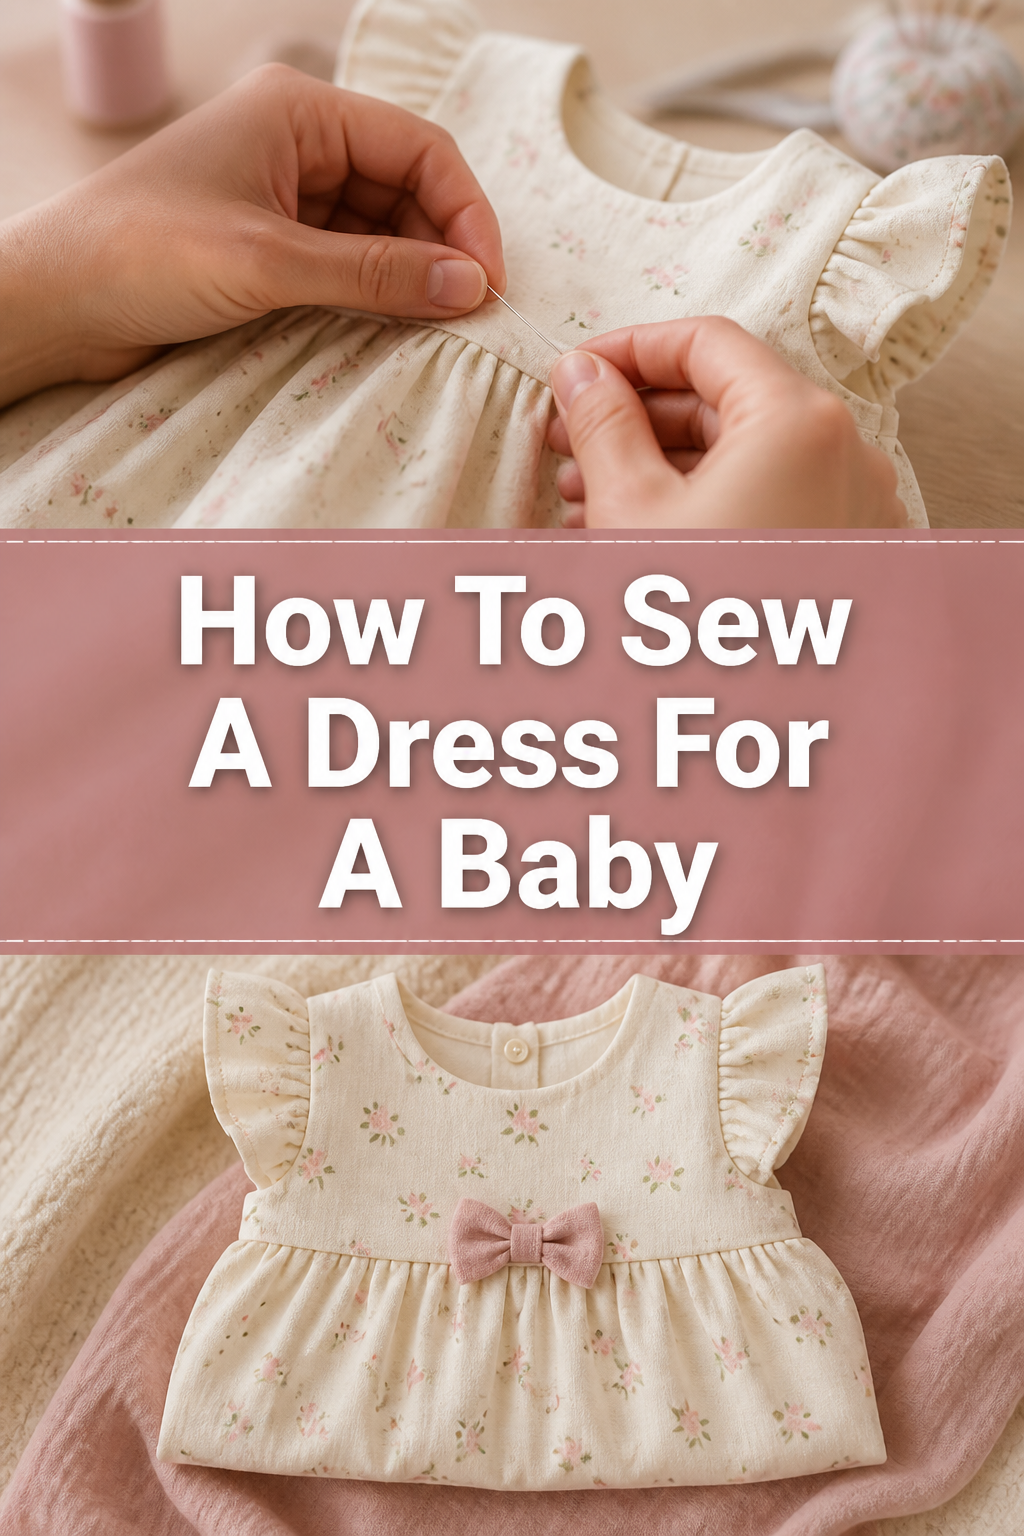
👶 How To Sew A Dress For A Baby
There’s a special warmth that comes with gifting a handmade item. Crafting a tiny dress for a baby is an incredibly rewarding project. I’ve sewn countless little garments over the years, and I’m excited to share my go-to process for creating a beautiful, comfortable baby dress.
This guide will walk you through each stitch, ensuring even beginners can create something adorable. You’ll gain confidence and a tangible, cherished item for a little one.
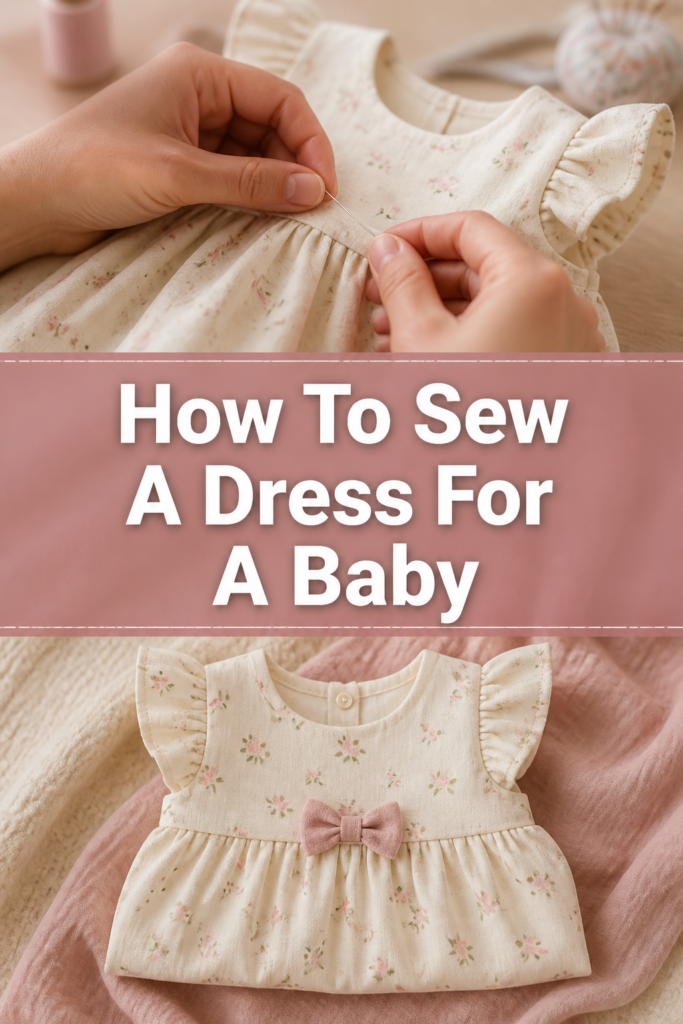
Quick Overview
This guide will empower you to create a charming, comfortable baby dress from start to finish. You’ll learn essential sewing techniques, fabric handling, and finishing touches. By the end, you’ll have a unique, handmade garment perfect for gifting or your own little one.
- Time needed: 4-6 hours (depending on experience level)
- Difficulty: Beginner
- What you’ll need: Fabric, sewing machine, thread, scissors, pins, iron, measuring tape, baby dress pattern
Step-by-Step Instructions
Step 1: Gather Your Materials and Prepare Your Fabric
Before you begin, ensure you have all necessary tools and materials at hand. A well-prepared workspace makes the entire process smoother and more enjoyable.
Choose a soft, breathable fabric like cotton, linen, or a lightweight flannel. Pre-wash and dry your fabric according to its care instructions. This prevents shrinkage after the dress is sewn and ensures the colors won’t bleed.
Iron your fabric thoroughly to remove any wrinkles. A smooth surface is crucial for accurate cutting and sewing.
Pro Tip: Always pre-wash your fabric, especially for baby clothes. Babies have sensitive skin, and pre-washing removes any manufacturing chemicals and pre-shrinks the fabric, preventing future surprises.
Step 2: Select and Prepare Your Pattern
Choose a simple baby dress pattern suitable for beginners. Look for designs with minimal pieces and straightforward construction. Many free patterns are available online, or you can purchase one from a fabric store.
Read through the entire pattern instructions before you start cutting. This helps you understand the construction process and identify any unfamiliar terms.
Cut out your pattern pieces carefully using paper scissors. Make sure to follow the size guidelines appropriate for the baby you are sewing for.
Step 3: Cut Your Fabric Pieces
Lay out your prepared fabric flat on a large surface, ensuring it is smooth and unwrinkled. Fold the fabric according to your pattern’s instructions, usually selvedge to selvedge.
Pin your paper pattern pieces onto the fabric. Place pins perpendicular to the cutting line to secure the pattern.
Cut around each pattern piece precisely using fabric scissors or a rotary cutter. Accuracy here is vital for a well-fitting dress. Label your cut pieces if needed, especially if you have similar-looking parts.
Step 4: Construct the Bodice
The bodice forms the top part of the dress. It typically consists of a front and two back pieces.
Place the front bodice piece right sides together with one of the back bodice pieces. Pin along the shoulder seam.
Stitch the shoulder seam with a 1/2 inch (1.25 cm) seam allowance, or whatever allowance your pattern specifies. Repeat for the other shoulder seam.
Press the seams open or towards the back, depending on your pattern’s instructions. Pressing is a key step that gives your garment a professional finish.
Pro Tip: Pressing seams after each stitch helps create crisp lines and a professional finish. Never skip this step; it makes a huge difference in the final look of your garment.
Step 5: Prepare the Skirt
The skirt piece is often a simple rectangle that needs gathering. This creates fullness and a classic baby dress silhouette.
Finish the side seams of your skirt piece if necessary. Some patterns use French seams for baby clothes, which encase raw edges for a neat finish.
Sew the side seams of the skirt piece, right sides together. Press the seams open.
Create two rows of basting stitches along the top edge of the skirt piece. Do not backstitch at the beginning or end. These stitches will be used for gathering.
Step 6: Attach Bodice to Skirt
Now it’s time to bring the top and bottom of the dress together. This step requires careful alignment.
Turn the bodice right side out. Keep the skirt wrong side out.
Slip the bodice inside the skirt, aligning the raw edges of the bodice bottom with the raw, gathered edge of the skirt. Ensure side seams match up.
Pin the bodice and skirt together, matching the side seams and center points. Gently pull the basting threads to gather the skirt until it fits the bodice. Distribute the gathers evenly.
Stitch the bodice and skirt together using your specified seam allowance. Remove the basting stitches after sewing.
Step 7: Finish the Neckline and Armholes
A neat finish on the neckline and armholes is crucial for comfort and appearance. This can be done with facings or bias tape.
Attach bias tape or a facing to the neckline. For bias tape, open one fold, pin it right sides together with the neckline edge, and stitch along the fold line.
Trim the seam allowance, clip curves, and understitch if using bias tape. Turn the bias tape to the inside and topstitch or hand stitch in place.
Repeat the process for the armholes, ensuring they are smooth and comfortable against a baby’s skin.
Step 8: Hem the Dress
The hem provides a clean, finished bottom edge to the dress. A neat hem adds to the overall quality of your handmade garment.
Turn up the bottom edge of the skirt by 1/4 inch (0.6 cm) towards the wrong side. Press firmly.
Turn up another 1/2 inch (1.25 cm) to 1 inch (2.5 cm), depending on your preference and pattern instructions. Press again.
Stitch the hem in place using your sewing machine. You can use a straight stitch or a decorative stitch if you prefer.
Step 9: Add Closures and Embellishments
The final touches make the dress wearable and unique. Choose closures that are safe and easy for baby clothes.
Sew snaps, buttons, or hook-and-loop tape to the back opening of the dress. If using buttons, create corresponding buttonholes. Ensure all closures are securely attached.
Add any desired embellishments, such as appliques, embroidery, or a small ribbon bow. Make sure all embellishments are securely sewn and cannot be pulled off by a curious baby.
Give the entire dress a final press to ensure all seams are flat and the fabric is crisp. Your beautiful baby dress is now complete!
Common Mistakes to Avoid
Not Pre-Washing Fabric
Skipping the pre-wash step is a common oversight that can lead to disappointment. Fabric often shrinks when first washed and dried. If you sew your dress before washing the fabric, the finished garment might become too small or distorted after its first laundering. Always pre-wash your fabric to ensure the dress maintains its size and shape.
Using Incorrect Seam Allowances
Patterns specify exact seam allowances for a reason. Deviating from these can significantly alter the garment’s fit and shape. If your seam allowance is too wide, the dress will be smaller than intended; too narrow, and it will be larger. Always double-check your pattern for the correct seam allowance and use a seam gauge or the markings on your sewing machine plate for accuracy.
Rushing the Pressing Steps
Pressing isn’t just about removing wrinkles; it’s an integral part of garment construction. Skipping pressing or doing it haphazardly results in bulky, uneven seams and a less polished look. Take your time to press each seam flat or open after stitching, using the appropriate heat for your fabric. This simple step elevates the quality of your finished dress.
Forgetting to Secure Closures Properly
For baby clothes, safety is paramount. Buttons, snaps, and other closures must be incredibly secure to prevent them from becoming choking hazards. Don’t rush this final step; sew each button or snap multiple times to ensure it won’t come loose. Consider using snaps or hook-and-loop tape for very young babies, as they are generally safer than buttons.
Troubleshooting
Fabric Puckering While Sewing
Puckering often occurs when the fabric isn’t feeding evenly through the machine or your tension settings are off. First, check your needle – a dull or incorrect needle size can cause issues. Ensure your machine’s tension is set appropriately for your fabric type; try a test swatch. Also, avoid pulling or pushing the fabric too aggressively; let the feed dogs do most of the work.
Uneven Stitches
If your stitches are inconsistent in length or appearance, several factors could be at play. Your bobbin might be wound unevenly, or there could be lint in the bobbin case. Re-thread your machine completely, both top thread and bobbin. Make sure your presser foot pressure is correct for your fabric. A quality thread also makes a significant difference.
Dress Doesn’t Fit as Expected
A common issue, especially for beginners, is a dress not fitting the intended size. Double-check that you cut the correct size from your pattern. Measure your seam allowances carefully throughout the project; even small discrepancies add up. If the dress is too small, you might be able to add decorative side panels or a wider trim. If it’s too large, taking in the side seams can usually fix it.
Key Takeaways
- Preparation is Key: Always pre-wash and iron your fabric for accurate cutting and to prevent future shrinkage.
- Precision Matters: Cut pattern pieces carefully and maintain consistent seam allowances for a well-fitting garment.
- Pressing is Essential: Don’t skip pressing seams after each step; it creates a professional, crisp finish.
- Safety First: Securely attach all closures and embellishments to prevent choking hazards for babies.
- Practice Makes Perfect: Don’t be discouraged by initial imperfections; every project builds your skills and confidence.
- Enjoy the Process: Sewing for a baby is a labor of love; cherish the creative journey and the unique item you create.
Frequently Asked Questions
What type of fabric is best for a baby dress?
Soft, breathable, and washable fabrics are ideal for baby clothes. Cotton lawn, quilting cotton, linen blends, or a lightweight flannel are excellent choices. Look for fabrics that feel gentle against the skin and are easy to care for. Avoid anything scratchy or synthetic that doesn’t breathe well.
Do I need a special sewing machine for baby clothes?
No, a standard home sewing machine is perfectly adequate for sewing baby clothes. Ensure it has basic functions like a straight stitch and a zigzag stitch. A walking foot can be helpful for gathering or working with slippery fabrics, but it’s not strictly necessary for a beginner project.
How do I choose the right size pattern for a baby?
Always refer to the pattern’s size chart, which typically corresponds to a baby’s height, weight, and sometimes age. Measure the baby if possible, or consult standard baby clothing size guides. It’s often better to make a slightly larger size; babies grow quickly, and a slightly roomy dress is more comfortable than one that’s too small.
Can I hand sew a baby dress?
While possible, hand sewing a baby dress is very time-consuming and might not be as durable as machine sewing. For a beginner, using a sewing machine is highly recommended for efficiency and stronger seams. Hand sewing is best reserved for small details or finishing touches.
Our Top Recommended Finds
- Rotary Cutter and Self-Healing Mat: These tools make cutting fabric incredibly fast and precise, especially for straight lines and larger pieces.
- Good Quality Thread: Invest in a durable, all-purpose polyester thread. It’s stronger and less prone to breaking than cheaper alternatives, ensuring your seams hold up.
- Fabric Clips: Replace pins with fabric clips for delicate fabrics or areas where pins might leave marks. They hold multiple layers securely without piercing the fabric.
Your Next Creative Adventure Awaits
You’ve just created a beautiful, handmade dress for a baby, a true testament to your skill and care. This journey is only the beginning of your sewing adventures. Each project builds your confidence and expands your creative horizons.
Consider trying different patterns, experimenting with fabrics, or adding more intricate embellishments. Perhaps a matching bonnet or a tiny pair of bloomers could be your next project. Grab your fabric and machine, and let your imagination stitch wonderful things into reality today!