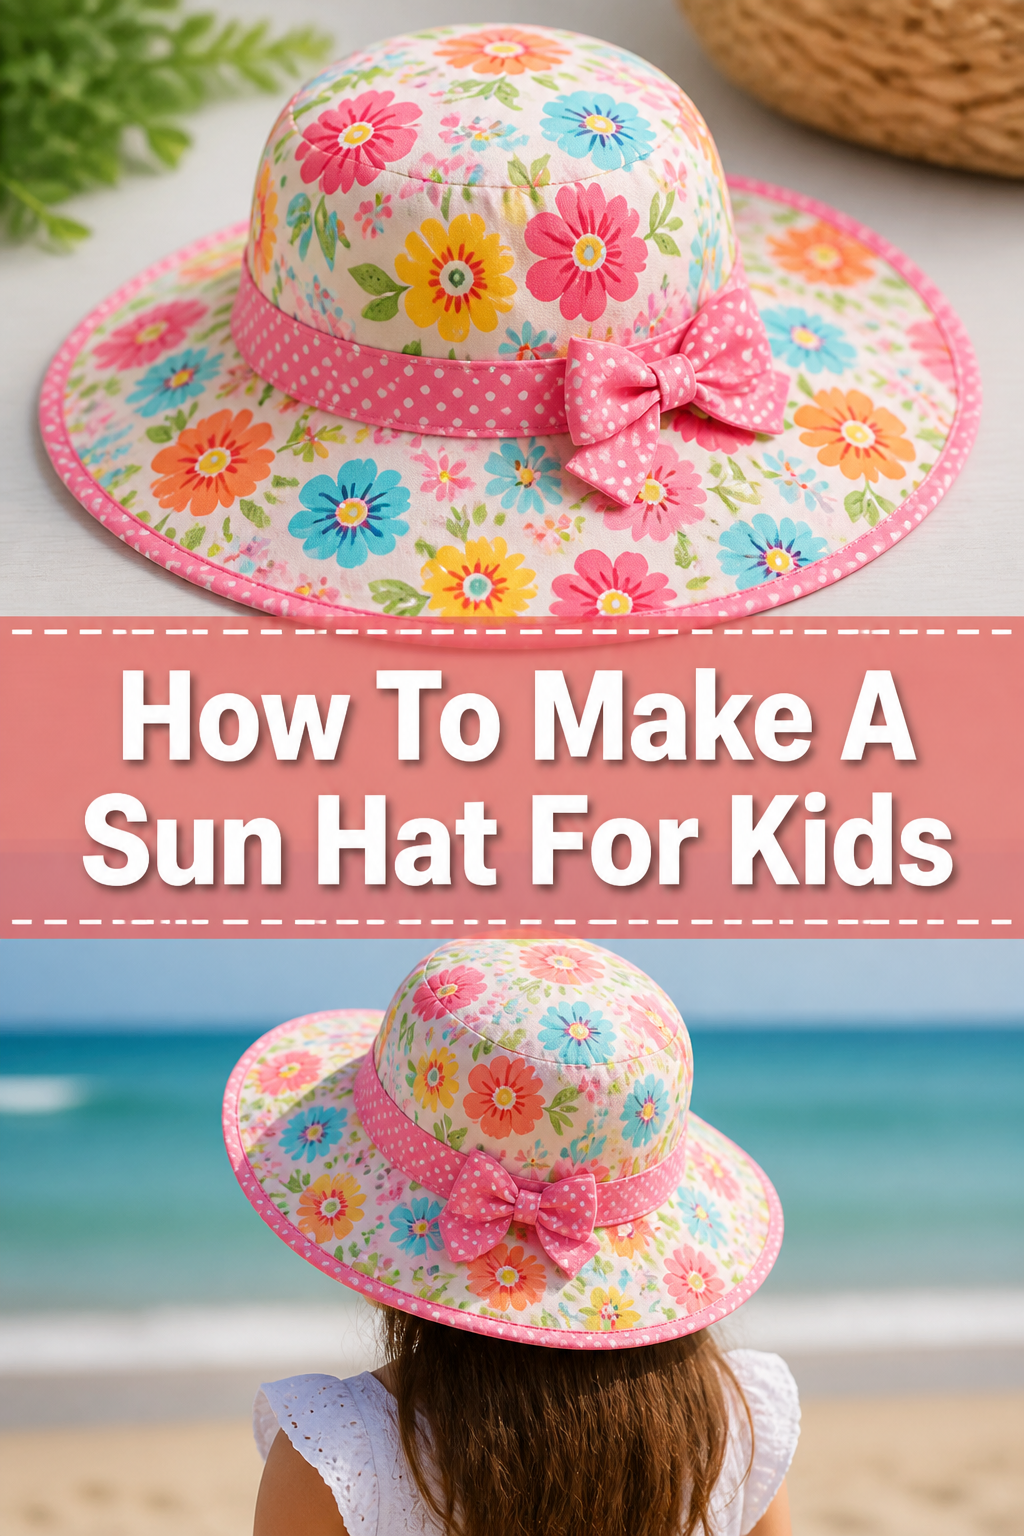
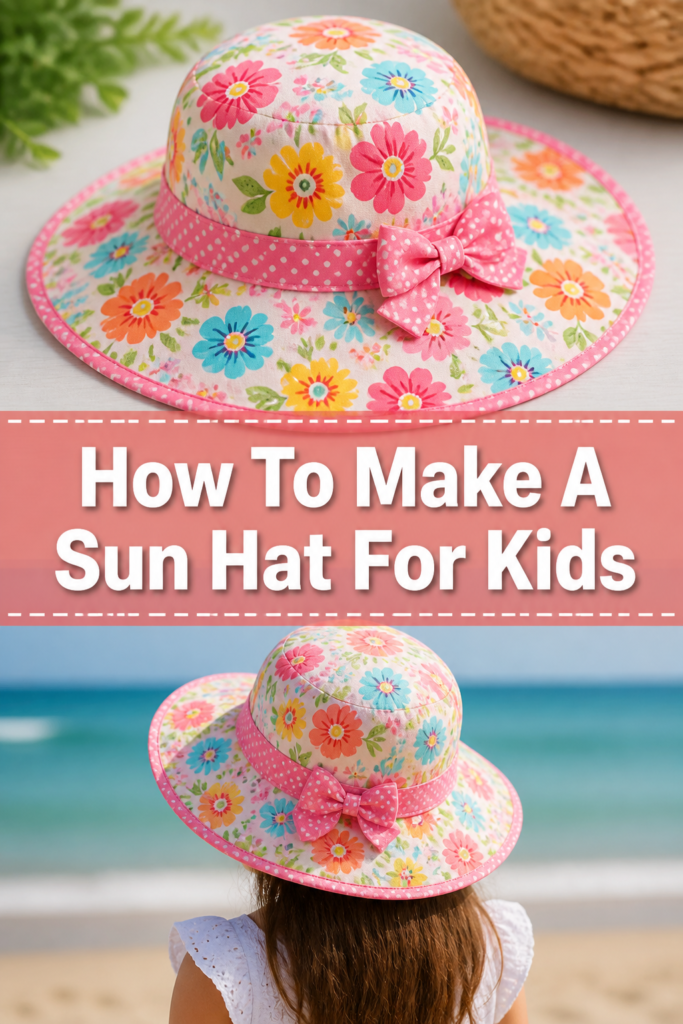
👒 How To Make A Sun Hat For Kids
Creating something special for your child is incredibly rewarding. A handmade sun hat offers both protection and a touch of unique style.
I’ve personally stitched several of these for my own little ones, watching them pick out fabrics and wear their creations with pride. This guide shares all the practical tips I’ve learned along the way.
Quick Overview
You are about to embark on a delightful project, crafting a charming and functional sun hat perfect for any child’s outdoor adventures. This guide breaks down the process into simple, manageable steps.
- Time needed: 3-5 hours (includes cutting, sewing, and pressing)
- Difficulty: Beginner
- What you’ll need: Fabric, sewing machine, basic sewing supplies, pattern
Step-by-Step Instructions
Step 1: Gather Your Materials and Prepare Your Pattern
The right materials make all the difference for a comfortable and durable hat. Choose fabrics that offer good sun protection and are soft against the skin.
For sun hats, look for tightly woven cottons like broadcloth, poplin, or quilting cotton. A lightweight denim or linen blend also works wonderfully. You will need about half a yard of main fabric and half a yard of lining fabric.
You will also need a sun hat pattern. Many free patterns are available online, or you can purchase one from a local fabric store. Print and assemble your chosen pattern according to its instructions, making sure to select the correct size for your child’s head circumference.
Pro Tip: Pre-wash and dry your fabric before cutting. This prevents any future shrinkage and ensures your hat maintains its shape after washing.
Step 2: Cut Your Fabric Pieces
Carefully lay out your pre-washed and ironed fabric. Pin the pattern pieces securely onto the fabric, following the grainline arrows on the pattern.
Cut out all the required pieces for both the main hat fabric and the lining fabric. Typically, this includes a crown piece, a side crown band, and two brim pieces (one for the upper brim, one for the under brim). Make sure your cuts are precise for a neat finish.
Transfer any pattern markings, such as notches or dots, to your fabric using tailor’s chalk or a fabric marker. These markings are crucial for accurate alignment during sewing.
Step 3: Assemble the Hat Crown
Take your main fabric side crown band piece. With right sides together, match the short ends of the band. Pin these edges together.
Stitch this seam using a 3/8-inch or 1/2-inch seam allowance, as indicated by your pattern. Press the seam open flat.
Now, take your main fabric crown circle piece. Pin the raw edge of the crown circle to one raw edge of the newly formed side crown band loop, right sides together. Distribute the fabric evenly around the curve.
Sew this seam slowly and carefully, using the same seam allowance. Clip the seam allowance curves if necessary to help it lie flat, then press the seam towards the side crown band. Repeat these steps for your lining fabric pieces.
Step 4: Construct the Hat Brim
Place your two main fabric brim pieces right sides together. Pin them securely around the outer raw edge. Make sure all edges are aligned perfectly.
Stitch around this outer edge, using your pattern’s specified seam allowance. Trim the seam allowance down to about 1/4 inch, and then clip small notches into the curved seam allowance every 1/2 inch or so. This helps the brim curve smoothly when turned right side out.
Turn the brim right side out. Use a point turner or a dull pencil to gently push out the seam, creating a neat, crisp edge. Press the brim thoroughly, ensuring the seam lies flat along the edge.
Topstitch around the outer edge of the brim, about 1/8 to 1/4 inch from the edge. This adds a decorative touch and helps the brim maintain its shape. You can add several rows of topstitching for extra stiffness and detail if desired.
Step 5: Attach the Main Hat Brim to the Crown
With the main hat crown right side out, slide the raw inner edge of the main brim onto the raw bottom edge of the crown. The crown should be inside the brim loop. Match the raw edges and align any notches or seams.
Pin the brim to the crown securely, distributing the fabric evenly around the circle. Sew this seam, using your pattern’s seam allowance.
Press this seam towards the brim. This helps to create a smooth transition between the crown and the brim.
Step 6: Attach the Lining to the Hat
Take your assembled lining hat. Place the main hat inside the lining hat, with right sides together. The main hat should be nestled inside the lining.
Align the raw bottom edges of the main hat brim and the lining hat. Pin these edges together all the way around, matching any side seams or notches. Leave a 3-4 inch opening along the back seam for turning the hat right side out.
Stitch around the entire raw edge, using the pattern’s seam allowance, remembering to backstitch at the beginning and end of your turning opening. Trim the seam allowance if it feels too bulky.
Step 7: Finish the Hat
Through the opening you left, carefully turn the entire hat right side out. Gently push out the brim and crown so the hat takes its final shape.
Use a point turner or a finger to smooth out the seam along the bottom edge where the main hat meets the lining. Press this seam thoroughly, ensuring the turning opening is neatly tucked in.
Topstitch around the entire bottom edge of the hat, about 1/8 inch from the seam. This closes the turning opening and provides a crisp, professional finish. You can add additional rows of topstitching on the brim if you skipped them earlier, or to reinforce the shape.
Give your finished sun hat one final press. It’s now ready for your child to wear and enjoy!
Common Mistakes to Avoid
Choosing the Wrong Fabric
Using stretchy knits or very thin, loosely woven fabrics will result in a floppy hat that offers little sun protection. Such fabrics often don’t hold their shape well, especially in the brim, making the hat less effective. Always opt for tightly woven cottons or linen blends for structure and sun safety.
Inaccurate Cutting
Rushing through the cutting stage or using dull scissors can lead to uneven pieces. These small inaccuracies compound during sewing, making seams difficult to align and resulting in a lopsided or ill-fitting hat. Take your time, use sharp fabric scissors, and double-check your pattern placements.
Skipping Pressing Steps
Pressing seams open or to one side after each stitching step is crucial for a professional finish. Neglecting to press can lead to bulky, puckered seams and an overall messy appearance. An iron is just as important as your sewing machine for a polished final product.
Not Notching or Clipping Curves
When sewing curved seams, failing to notch the outer curves and clip the inner curves will prevent the fabric from lying flat when turned right side out. This results in a lumpy, distorted curve, particularly noticeable on the brim. Always take the time to prepare your curved seam allowances properly.
Troubleshooting
Hat Doesn’t Fit Properly
If the hat feels too tight or too loose, the initial head measurement or pattern size might have been incorrect. Before cutting, always measure your child’s head circumference carefully and compare it to the pattern’s finished measurements. For a slightly larger fit, you can try adjusting the seam allowance by reducing it by 1/8 inch around the crown seams (if the hat is too small) or increasing it (if too large).
Brim Is Floppy and Lacks Structure
A floppy brim often indicates the fabric choice was too light or that insufficient topstitching was applied. For future hats, consider using a slightly heavier weight cotton or adding a layer of fusible interfacing to the brim pieces. For the current hat, you can add more rows of topstitching to help stiffen the brim.
Seams Are Puckered or Uneven
Puckering can be caused by pulling the fabric while sewing, incorrect tension settings on your machine, or not pressing seams properly. Ensure you let the sewing machine feed the fabric naturally. Check your machine’s tension settings if puckering persists. Always press seams flat after stitching each section to smooth out any unevenness.
Key Takeaways
- Select tightly woven cotton or linen fabrics for optimal sun protection and hat structure.
- Pre-wash and dry your fabric to prevent shrinkage and maintain the hat’s shape.
- Cut fabric pieces precisely and transfer all pattern markings for accurate assembly.
- Press seams after each stitching step to achieve a smooth, professional finish.
- Notch and clip curved seam allowances to ensure the brim and crown lie flat when turned.
- Take your time with topstitching to add durability and a polished look to your handmade hat.
Frequently Asked Questions
What kind of fabric is best for a child’s sun hat?
The best fabrics are tightly woven natural fibers like quilting cotton, broadcloth, poplin, or lightweight linen. These materials offer good sun protection, are breathable, and hold their shape well. Avoid loose weaves or stretchy knits.
Can I add interfacing to the hat?
Yes, adding a medium-weight fusible interfacing to the main fabric brim pieces is highly recommended. It provides extra stiffness and structure, preventing the brim from flopping down. You can also add it to the crown pieces for a firmer hat.
How do I determine the right size for my child?
Measure your child’s head circumference just above their ears and eyebrows. Compare this measurement to the pattern’s size chart, which usually provides finished head circumferences. If your child is between sizes, it’s often better to go up a size.
How do I care for a handmade sun hat?
Machine wash your handmade sun hat on a gentle cycle with cold water and mild detergent. Tumble dry on low or air dry to prevent shrinking and maintain its shape. Iron on a cotton setting if needed to smooth out any wrinkles.
Our Top Recommended Finds
- Good Quality Fabric Shears: Sharp scissors make all the difference for precise, frustration-free cutting.
- Fusible Interfacing: A roll of medium-weight fusible interfacing adds perfect stiffness to brims.
- Tailor’s Clapper: This wooden tool helps set pressed seams extra flat and crisp, especially on thicker fabrics.
Crafting Joy, One Stitch at a Time!
You’ve now got all the knowledge to create a wonderful, personalized sun hat for the child in your life. Imagine their delight in wearing something made with your own hands, protecting them on sunny adventures. This project is just the beginning of your crafting journey.
Perhaps your next project could be a matching drawstring bag, or even a simple pair of shorts using similar fabric. Don’t wait to start; gather your supplies and bring this practical, charming accessory to life today!