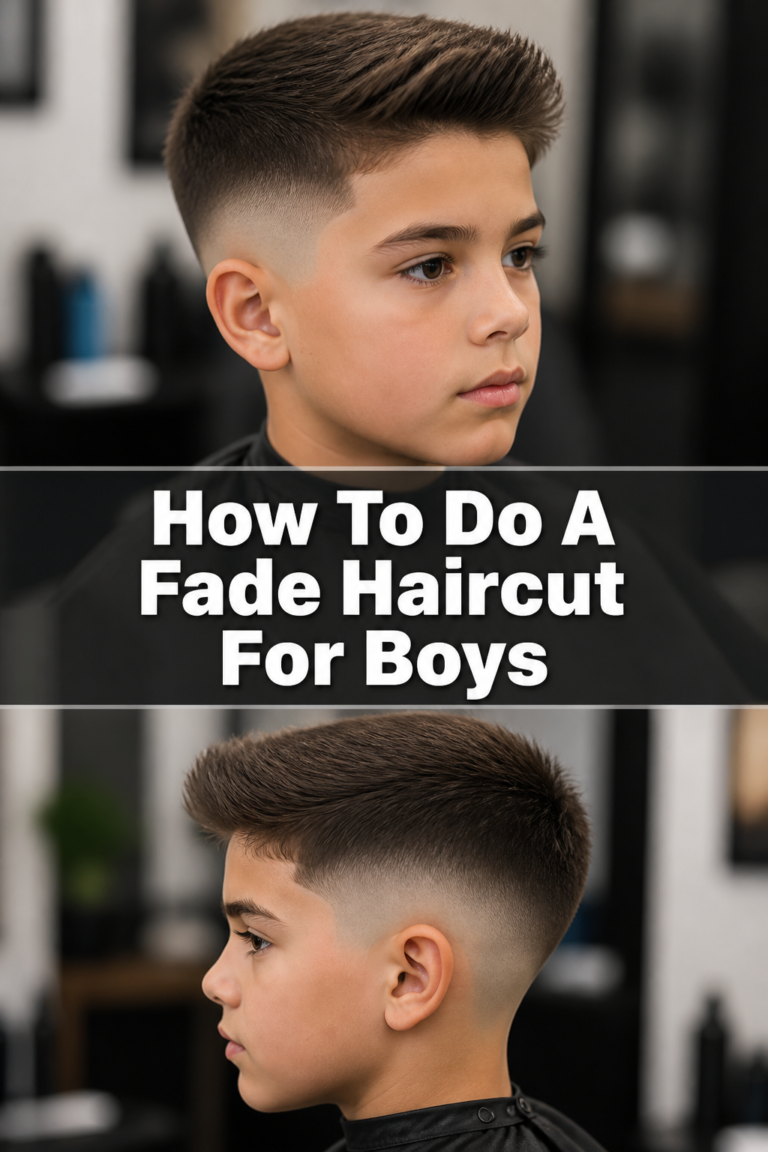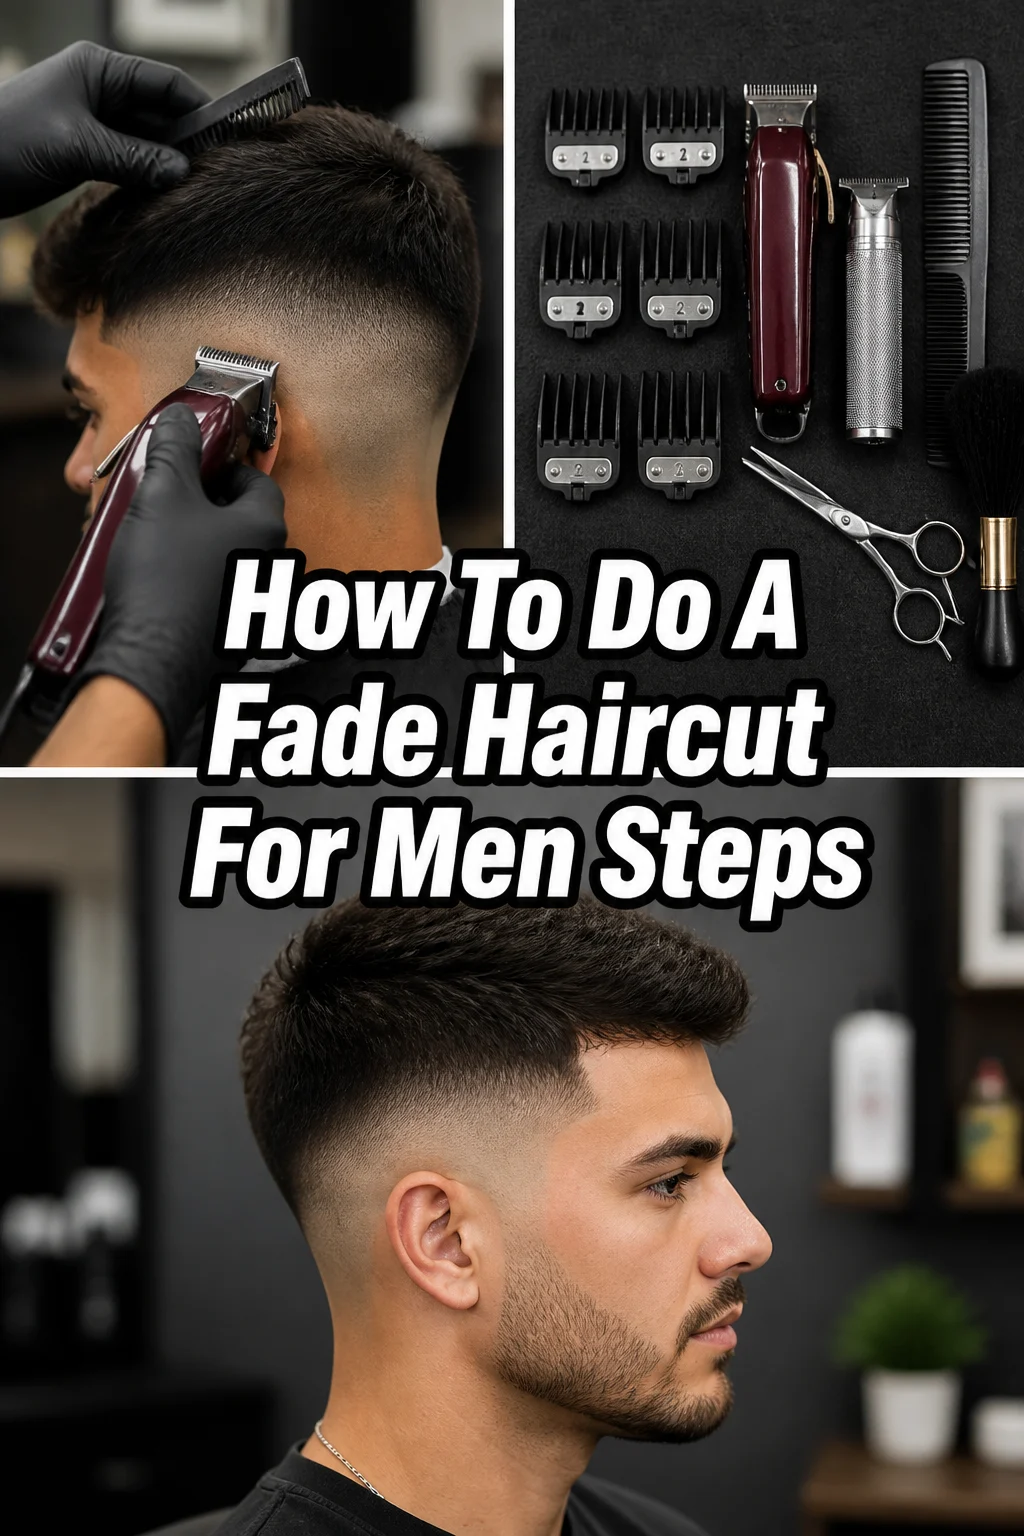
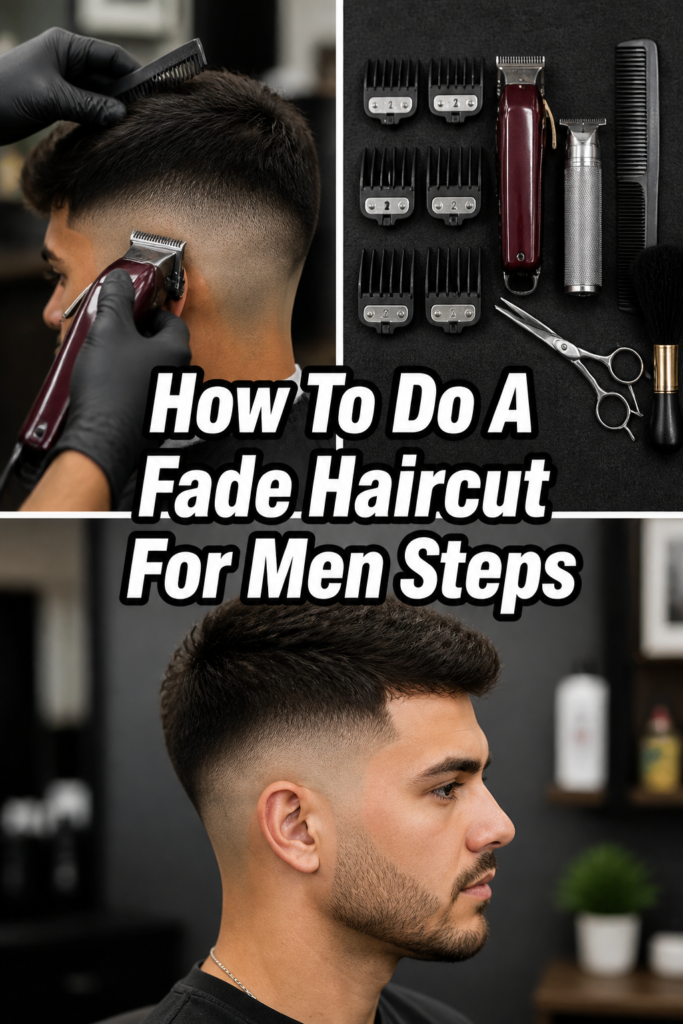
💈 How To Do A Fade Haircut For Men Steps
Mastering the fade haircut at home can seem daunting, but it’s a skill anyone can learn with practice.
I remember my first attempt, leaving a patchy mess on my brother’s head; thankfully, we’ve come a long way since then.
This guide shares years of practical experience and simple techniques to help you achieve a sharp, professional-looking fade.
Quick Overview
This guide will walk you through the essential steps to create a clean, modern fade haircut.
You’ll learn how to blend different lengths seamlessly, ensuring a smooth transition from skin to longer hair.
- Time needed: 45-90 minutes (beginner), 30-60 minutes (experienced)
- Difficulty: Intermediate
- What you’ll need: Hair clippers with guards, trimmer, spray bottle, comb, hair clips, mirror, barber cape.
Step-by-Step Instructions
Step 1: Prepare Your Canvas
Start with clean, dry hair. This ensures your clippers glide smoothly and you can see the true length of the hair.
Brush the hair downwards, following the natural growth pattern around the head. This helps identify the natural fall.
Drape a barber cape around the client’s shoulders to catch loose hair and keep them comfortable.
Pro Tip: Always have good lighting. Natural light is best, but a well-lit bathroom mirror or ring light works wonders for visibility.
Step 2: Establish Your First Guideline (Bald Line)
Attach the shortest guard to your clippers, typically a 0 or 0.5 (or use no guard for a skin fade). If doing a skin fade, use your trimmer first for a super close cut.
Decide where you want the fade to begin. This is your first guideline, often around the temple or just above the ear.
Cut a clean, horizontal line around the head, ensuring it is even on both sides. Use a gentle, consistent motion.
Remove all hair below this line. This creates your “bald” or shortest section, setting the foundation for the fade.
Step 3: Create Your Second Guideline (Shortest Blend)
Switch to the next guard up, usually a 1 or 1.5. This guard will be slightly longer than your first guideline.
Move up about half an inch to an inch from your first guideline. This distance determines how steep or gradual your fade will be.
Cut another clean, horizontal line, parallel to your first one. Ensure this line is also consistent around the head.
Continue cutting upwards until you meet this second guideline. You’re beginning to build the blend.
Step 4: Soften the First Guideline
Adjust your clipper lever to open it fully, which slightly increases the cutting length of your current guard (e.g., a 1 guard with an open lever cuts like a 1.5).
Use a flicking motion, starting at the bottom of the second guideline and flicking outwards. This helps erase the harsh line between the 0/0.5 and 1 guards.
Work in small sections, focusing on the line. Gradually close the lever as you move down to tackle any remaining dark spots.
Repeat this process until the blend between your shortest section and the next guard length appears smooth.
Pro Tip: The flicking motion is crucial for blending. Think of it as scooping the hair away from the scalp, not digging in.
Step 5: Create Your Third Guideline (Mid-Fade)
Attach the next guard up, typically a 2 or 2.5. This will be your mid-length section.
Move up another half an inch to an inch from your second guideline. Again, this dictates the fade’s progression.
Cut a third horizontal guideline, maintaining parallelism. This establishes the next stage of your fade.
Remove all hair below this line, blending into the previous section. You’re building up the length gradually.
Step 6: Blend the Second Guideline
Adjust your clipper lever again, starting with it fully open on your current guard (e.g., a 2 guard open).
Employ the same flicking motion to soften the line between the 1/1.5 and 2 guards. Focus on making the transition seamless.
Gradually close the lever as you work your way down the line. This technique helps in erasing the demarcation.
Observe the blend in a mirror from different angles to ensure consistency and smoothness.
Step 7: Create Your Fourth Guideline (Longer Blend)
Select your longest guard for the fade, often a 3 or 4. This will connect to the top length of the hair.
Cut your final guideline, extending upwards towards the crown. This section should be about one to two inches from the previous line.
Ensure this line is also parallel and consistent around the head. This sets the upper boundary of your fade.
Remove hair below this line, connecting to the mid-fade section. You are now creating the longest part of your fade.
Step 8: Blend the Third Guideline and Connect to Top
Use the lever play with your 2.5 or 3 guard to blend the line between the mid-fade and the longer fade section.
Employ the flicking motion, moving upwards and outwards to soften any remaining lines. This is where the magic of blending truly happens.
Comb the hair down frequently to check your work and identify any dark spots or uneven areas.
Transition smoothly into the longer hair on top. If the top is significantly longer, you may need to use scissor-over-comb techniques or a higher guard to connect.
Pro Tip: For a super clean blend, use a technique called “clipper-over-comb.” Use a fine-tooth comb to lift small sections of hair, then gently run the clippers over the comb to trim the tips. This is excellent for refining transitions.
Step 9: Detail and Refine
Switch to your trimmer for the edges. Clean up the neckline, around the ears, and the sideburns for a sharp finish.
Use the corner of your clippers or trimmer to clean up any stray hairs and perfect the outline of the fade.
Stand back and examine the fade from all angles. Look for any dark patches or lines that need further blending.
Address any imperfections by using the lever play with the appropriate guard, gently flicking at the specific spot until it smooths out.
Common Mistakes to Avoid
Creating Harsh Lines
Many beginners press too hard or cut too straight across when establishing guidelines. This leaves noticeable, unblended lines that are difficult to remove.
Instead, use a lighter touch and a slight flicking motion, especially when transitioning between guards. Think of “scooping” the hair rather than digging in.
Not Cleaning Hair Regularly
As you cut, hair builds up on the scalp and clippers, obscuring your view. This can lead to missed spots and uneven blending.
Continuously brush off loose hair from the head and clean your clippers with a brush. This ensures you always have a clear view of your progress.
Rushing the Blending Process
Blending is the most time-consuming part of a fade. Rushing often results in patchy or stair-stepped fades, where distinct lines are visible.
Take your time, work in small sections, and use the lever on your clippers to make micro-adjustments to the length. Patience is key to a smooth fade.
Ignoring the Mirror
Only looking at the side you are currently cutting can lead to an uneven fade from front to back and side to side. Perspective is vital.
Regularly step back and view the haircut from multiple angles in a mirror. Use a handheld mirror for the back to ensure symmetry and evenness.
Troubleshooting
Visible Lines Remaining
If you see a distinct line that won’t disappear, it means the transition between two guard lengths is too abrupt. You need an intermediate length.
Solution: Use the “half-guard” technique. Attach the guard below the line you see, then open the lever fully. This provides a slightly longer cut. Use a gentle flicking motion directly on the line until it softens. Alternatively, use clipper-over-comb for precision.
Patchy Spots or Holes
Cutting too deep or unevenly with the clippers can create unfortunate bald spots or patches that stand out.
Solution: If the patch is small, try to blend around it by using a slightly longer guard and flicking upwards from below the patch. For larger holes, the best solution is often to cut the surrounding hair shorter to match the patch, effectively starting the fade lower. Prevention is key here: always start with a longer guard and work your way down.
Uneven Fade from Side to Side
Achieving symmetry can be challenging, especially when cutting your own hair or working on someone for the first time.
Solution: Use landmarks like the top of the ear or the temple as reference points for your guidelines. Step back frequently and compare both sides in a mirror. If one side is higher, you’ll need to carefully raise the guideline on the lower side to match, blending it in as you go.
Key Takeaways
- Preparation is paramount; start with clean, dry hair and good lighting.
- Establish clear guidelines with progressively longer guards.
- Master the flicking motion and lever play for seamless blending.
- Take your time, especially during the blending and detailing phases.
- Regularly clean hair and clippers to maintain visibility.
- Use mirrors to check symmetry and identify imperfections from all angles.
Frequently Asked Questions
What’s the difference between a high, mid, and low fade?
The distinction lies in where the shortest part of the fade begins and ends. A low fade starts just above the ear and tapers quickly. A mid fade typically begins around the temples, offering a balanced look. A high fade starts much higher on the head, often around the parietal ridge, providing a more dramatic and skin-exposing taper.
Can I do a fade with just one clipper?
While technically possible if your clipper has an adjustable lever, it’s significantly harder. You’d need to be very precise with your lever adjustments for each micro-section. Having a range of guards makes the process much more straightforward and forgiving, especially for beginners.
How often should I clean my clippers?
You should brush off hair from your clipper blades after every use. For a deeper clean, remove the blade, brush out any trapped hair, and apply clipper oil to the teeth. This maintains performance and extends the life of your clippers.
What if I accidentally cut a line too high?
Don’t panic. The best approach is to carefully raise the entire fade to match the highest point of the mistake. This might mean your fade starts higher than initially planned, but it will maintain a consistent, blended look rather than having an awkward dip.
Our Top Recommended Finds
- Professional Cordless Hair Clippers: Offer freedom of movement and consistent power, essential for smooth cutting.
- Detailing Trimmer: Crucial for crisp lines around the ears, neckline, and sideburns, perfecting the fade’s outline.
- Barber Comb Set: A variety of comb sizes helps with sectioning, lifting hair for blending, and achieving precise scissor-over-comb work.
Ready to Master Your Clippers?
You now have the knowledge and steps to confidently tackle a fade haircut at home.
Remember, practice makes perfect, so don’t be discouraged if your first attempt isn’t flawless.
Keep experimenting with different fade heights and blending techniques to find what works best for you. Your next sharp haircut is just a few steps away!