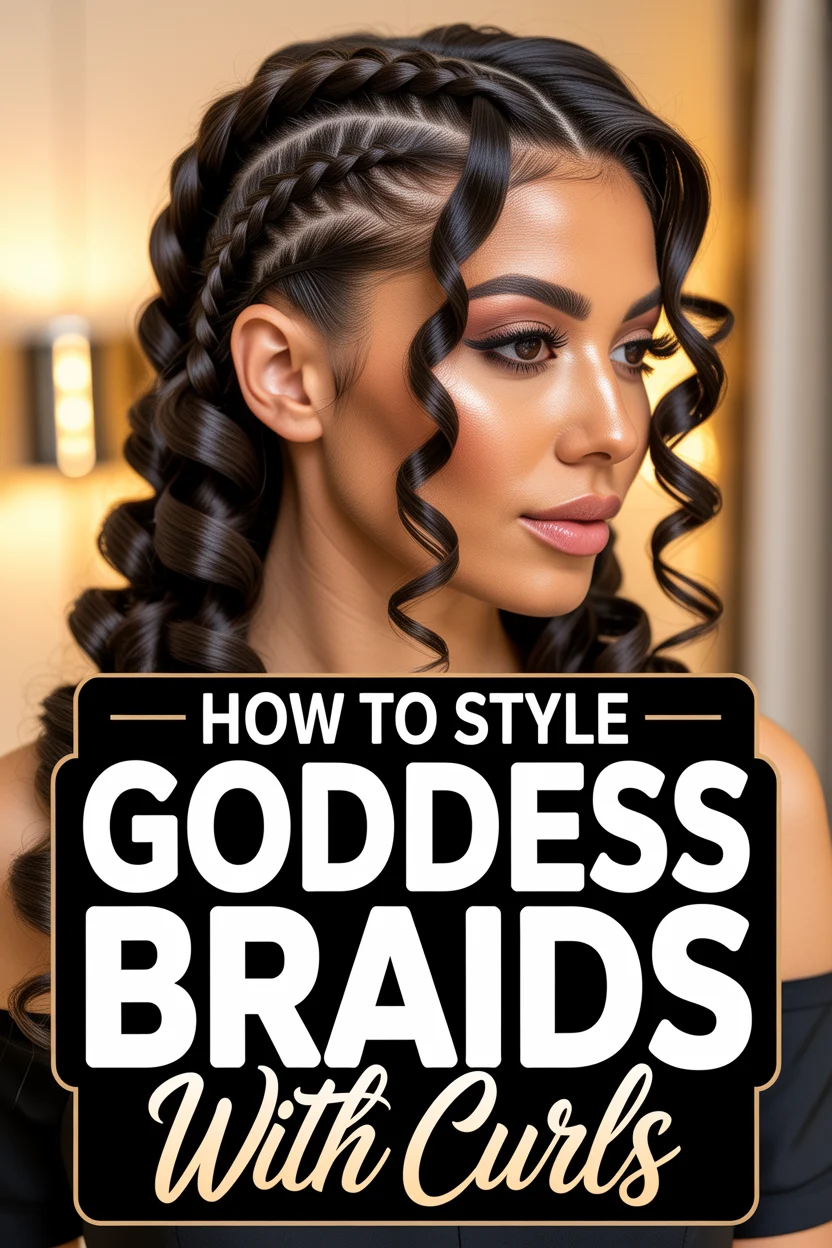
✨ How To Style Goddess Braids With Curls
Goddess braids with curls offer a stunning, versatile look that blends protective styling with elegant flair.
I’ve worn and styled variations of this look countless times, mastering the art of creating bouncy, long-lasting curls that truly make the style pop.
This guide will walk you through every step, ensuring you achieve a flawless finish.
Quick Overview
This comprehensive guide will empower you to create beautiful goddess braids adorned with flowing curls. You’ll learn the preparation, braiding techniques, curl setting, and essential finishing touches for a head-turning style.
- Time needed: 4-8 hours (depending on braid length, size, and personal speed)
- Difficulty: Intermediate
- What you’ll need: Braiding hair, curling rods, setting mousse, comb, clips, hair oil, edge control
Step-by-Step Instructions
Step 1: Prepare Your Natural Hair
Begin by thoroughly washing and conditioning your natural hair. A clean foundation is crucial for any long-lasting protective style.
Apply a deep conditioning treatment for extra moisture, then gently detangle your hair completely using a wide-tooth comb, working from ends to roots.
Pro Tip: Ensure your hair is fully dry before braiding. Braiding wet hair can lead to mildew and an uncomfortable style.
Step 2: Gather Your Styling Arsenal
Having all your tools within reach makes the styling process much smoother. Collect your braiding hair (Kanekalon or X-Pression are popular choices), a rat-tail comb for precise parting, and several hair clips.
Also, grab your chosen curling rods or flexi-rods, a generous amount of setting mousse or foam, a light hair oil, and your favorite edge control product.
Step 3: Section Your Hair Precisely
Use your rat-tail comb to create clean, crisp parts for your braids. The size and pattern of your sections will dictate the final look of your goddess braids.
Consider whether you want large, chunky braids or smaller, more intricate ones. Clip away sections you aren’t currently working on to keep them neat and out of the way.
Step 4: Install the Goddess Braids
Begin braiding your hair, incorporating the braiding hair as you go. For goddess braids with curls, you will intentionally leave out small, consistent sections of your natural hair (or the braiding hair) at various points along each braid.
These left-out sections are where your beautiful curls will later reside. Ensure the tension is firm but comfortable, not too tight on your scalp.
Pro Tip: Strategically place the loose sections. Distribute them evenly throughout your braids for a balanced curly look, or concentrate them at the ends for a waterfall effect.
Step 5: Prepare the Loose Hair for Curling
Once all your braids are installed with the designated sections left loose, it’s time to prep these strands. Apply a generous amount of setting mousse or foam to each loose section.
This product is vital for holding the curl pattern. Gently comb through each section again to ensure the mousse is evenly distributed and the hair is completely detangled.
Step 6: Set the Curls with Rods
Take one of the mousse-coated loose sections and begin wrapping it tightly around a curling rod or flexi-rod. The direction you wrap will influence the curl’s bounce.
Secure the rod firmly to prevent it from unraveling. Repeat this process for all the loose sections throughout your goddess braids.
Pro Tip: Experiment with different rod sizes. Smaller rods create tighter curls, while larger rods yield looser, wavier results, allowing you to customize your curl style.
Step 7: Allow Curls to Dry Completely
Patience is key during this step. Your curls must be absolutely bone dry before you unravel them to ensure they hold their shape.
You can air dry your hair, which may take several hours or even overnight. Alternatively, sit under a hooded dryer for 1-2 hours to speed up the drying process.
Step 8: Gently Unravel and Separate Curls
Once fully dry, carefully unclip and remove each curling rod. Do this slowly to avoid disturbing the newly formed curl pattern.
Once all rods are out, gently separate each curl with your fingers for added volume and a more natural look. Avoid pulling too hard, as this can cause frizz.
Step 9: Style and Finish Your Look
Arrange your curls to your liking, letting them cascade beautifully around your braids. Use a small amount of hair oil or shine spray to add luster to both your braids and curls.
Finally, apply edge control to smooth down your hairline for a polished finish. Use hairpins if needed to secure any stray curls or braids.
Step 10: Maintain Your Stunning Style
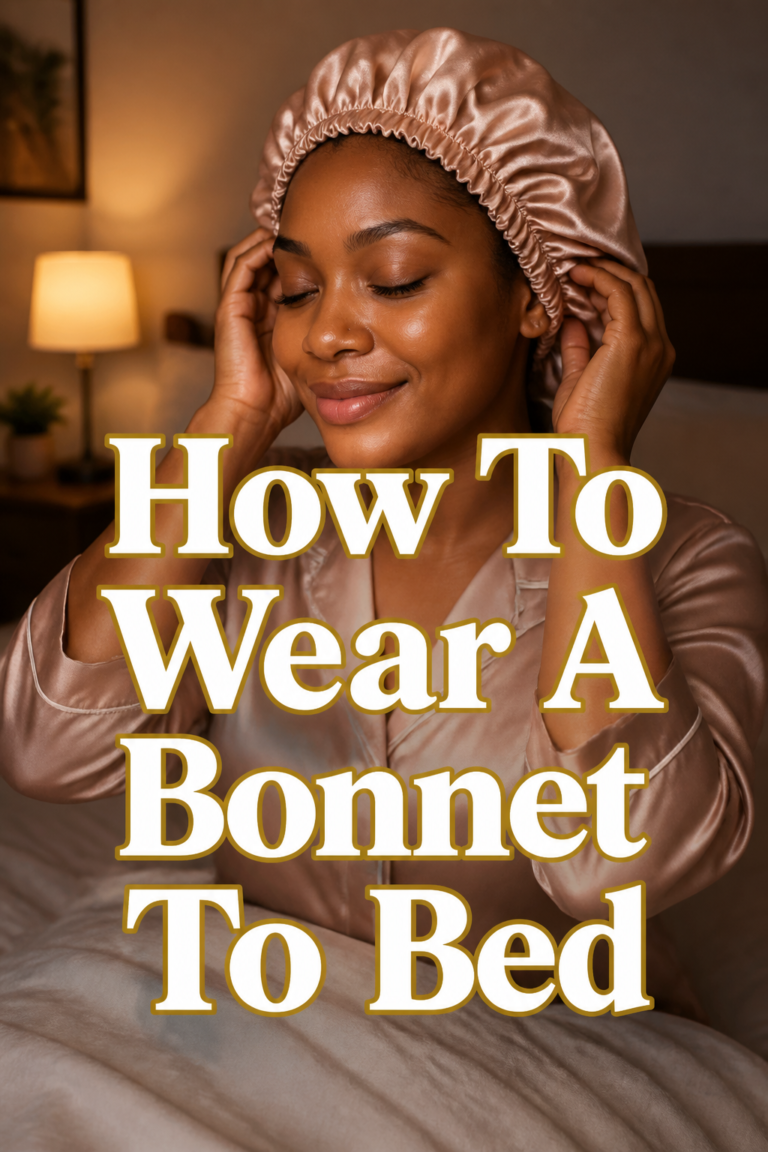
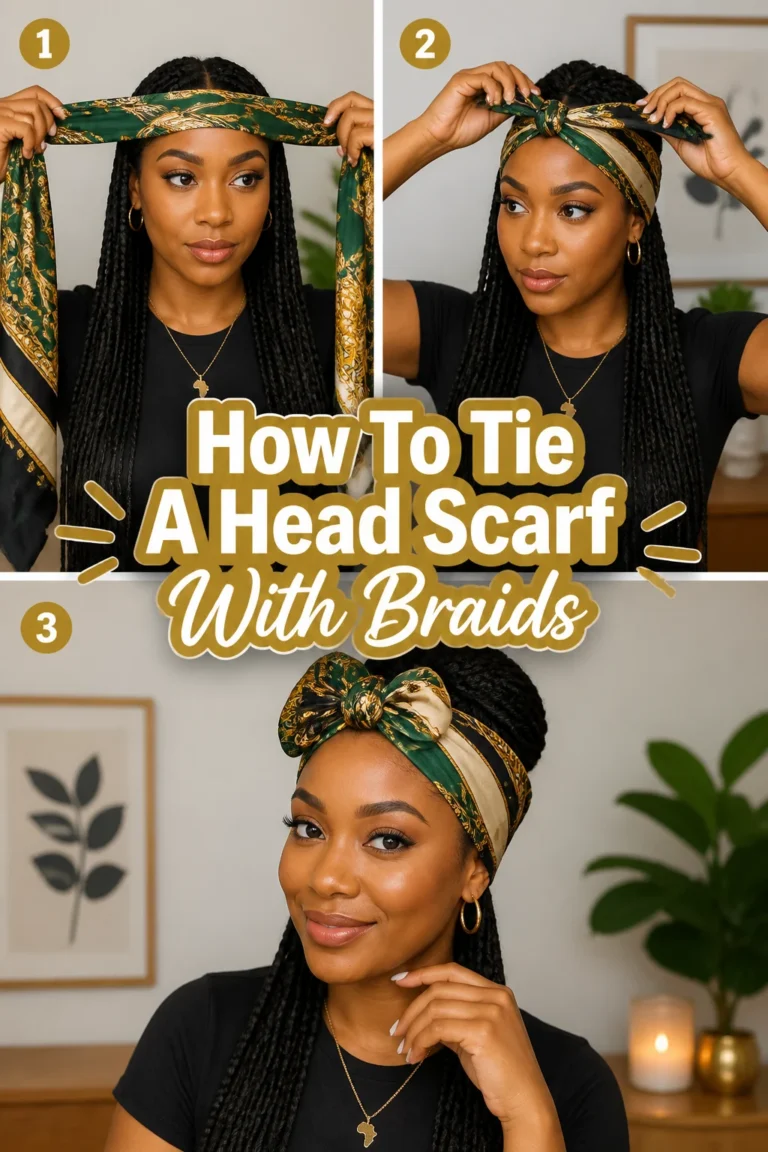
To prolong the life of your goddess braids with curls, proper nightly care is essential. Sleep with a satin bonnet or scarf to protect your braids and prevent your curls from frizzing or getting flattened.
In the mornings, you can gently refresh your curls with a light mist of water mixed with leave-in conditioner, or a touch of setting mousse if needed.
Common Mistakes to Avoid
Improper Hair Preparation
Skipping thorough washing, conditioning, and detangling can lead to a less comfortable and shorter-lasting style. Your natural hair needs to be clean, moisturized, and completely free of tangles to ensure the braids lay flat and the curls form beautifully.
Always start with a fresh, well-prepped canvas for the best results.
Leaving Out Uneven Sections for Curls
Inconsistent sizing of the loose hair sections can result in an unbalanced and less aesthetically pleasing curly look. Some curls might appear too sparse, while others are too dense.
Strive for uniform sections when braiding to ensure an even distribution of curls throughout your style.
Not Using Enough Setting Product
Under-applying mousse or foam to the loose hair sections will cause your curls to fall flat quickly. The setting product is the foundation for defining and holding the curl pattern.
Be generous when applying, ensuring each strand is thoroughly coated for maximum curl retention and bounce.
Unraveling Curls Before They’re Dry
Removing the curling rods while your hair is still damp is a surefire way to lose your curl definition and invite frizz. The moisture prevents the hair from fully setting into its new shape.
Always ensure the hair is 100% dry, whether by air drying or using a hooded dryer, before touching the rods.
Troubleshooting
Curls Falling Flat Quickly
If your curls aren’t holding, revisit your setting product application. You might need to use more mousse or a stronger hold formula.
Ensure the hair was completely dry before unraveling. Sometimes, humid environments can also contribute to curls relaxing faster, so consider using an anti-humidity spray.
Excessive Frizz Around Curls
Frizz often occurs from over-manipulation or insufficient product. When separating curls, be gentle and use a light hand.
Apply a small amount of anti-frizz serum or hair oil to your hands before separating. Also, make sure your setting mousse had good frizz-control properties.
Braids Feeling Too Tight
If your braids feel uncomfortable, the tension might be too high during installation. This can lead to scalp irritation and even hair loss over time.
Next time, ask your braider (or yourself) to ease up on the tension, especially around the hairline. You can try gently massaging your scalp with a light oil to relieve some pressure.
Key Takeaways
- Thorough hair preparation is the foundation for beautiful, long-lasting goddess braids with curls.
- Precise sectioning ensures a balanced and aesthetically pleasing distribution of both braids and curls.
- Generous application of setting mousse is crucial for defining and holding the curl pattern effectively.
- Patience during the drying process is paramount; curls must be completely dry before unraveling.
- Gentle handling during curl separation prevents frizz and maintains definition.
- Consistent nightly protection with a satin bonnet or scarf extends the life of your style.
Frequently Asked Questions
How long do goddess braids with curls typically last?
Goddess braids with curls can last anywhere from 2 to 4 weeks, depending on your hair type, maintenance routine, and how well the curls are preserved. Regular care helps extend their lifespan.
Can I use human hair for the curls instead of synthetic?
Absolutely, using human hair for the curly sections is a fantastic option. It offers a more natural look, feels softer, and can be restyled with heat tools if desired, providing greater versatility.
What’s the best way to sleep with this hairstyle?
To maintain the integrity of your braids and curls, always sleep with a large satin bonnet or scarf. This reduces friction, prevents frizz, and helps keep your curls defined and your braids neat overnight.
What if my natural hair is very short? Can I still get this style?
Yes, you can still achieve goddess braids with curls even with shorter natural hair. Your stylist will simply incorporate more braiding hair from the start, ensuring your natural hair is securely braided in.
Our Top Recommended Finds
- Setting Mousse/Foam: Essential for defining and holding your curls, ensuring they last.
- Flexi-Rods or Perm Rods: These allow you to create various curl patterns, from tight coils to bouncy waves.
- Satin Bonnet or Scarf: Crucial for protecting your hairstyle overnight, preventing frizz and maintaining freshness.
Embrace Your Inner Goddess
Now that you’re armed with this comprehensive guide, there’s nothing stopping you from creating a stunning goddess braids with curls look. This style is not just beautiful; it’s a statement of elegance and confidence.
Take these steps, experiment with different curl sizes and braid patterns, and truly make this versatile style your own.
Don’t wait—start planning your next fabulous hair transformation today!