👕 How To Tuck In A Button Up Shirt
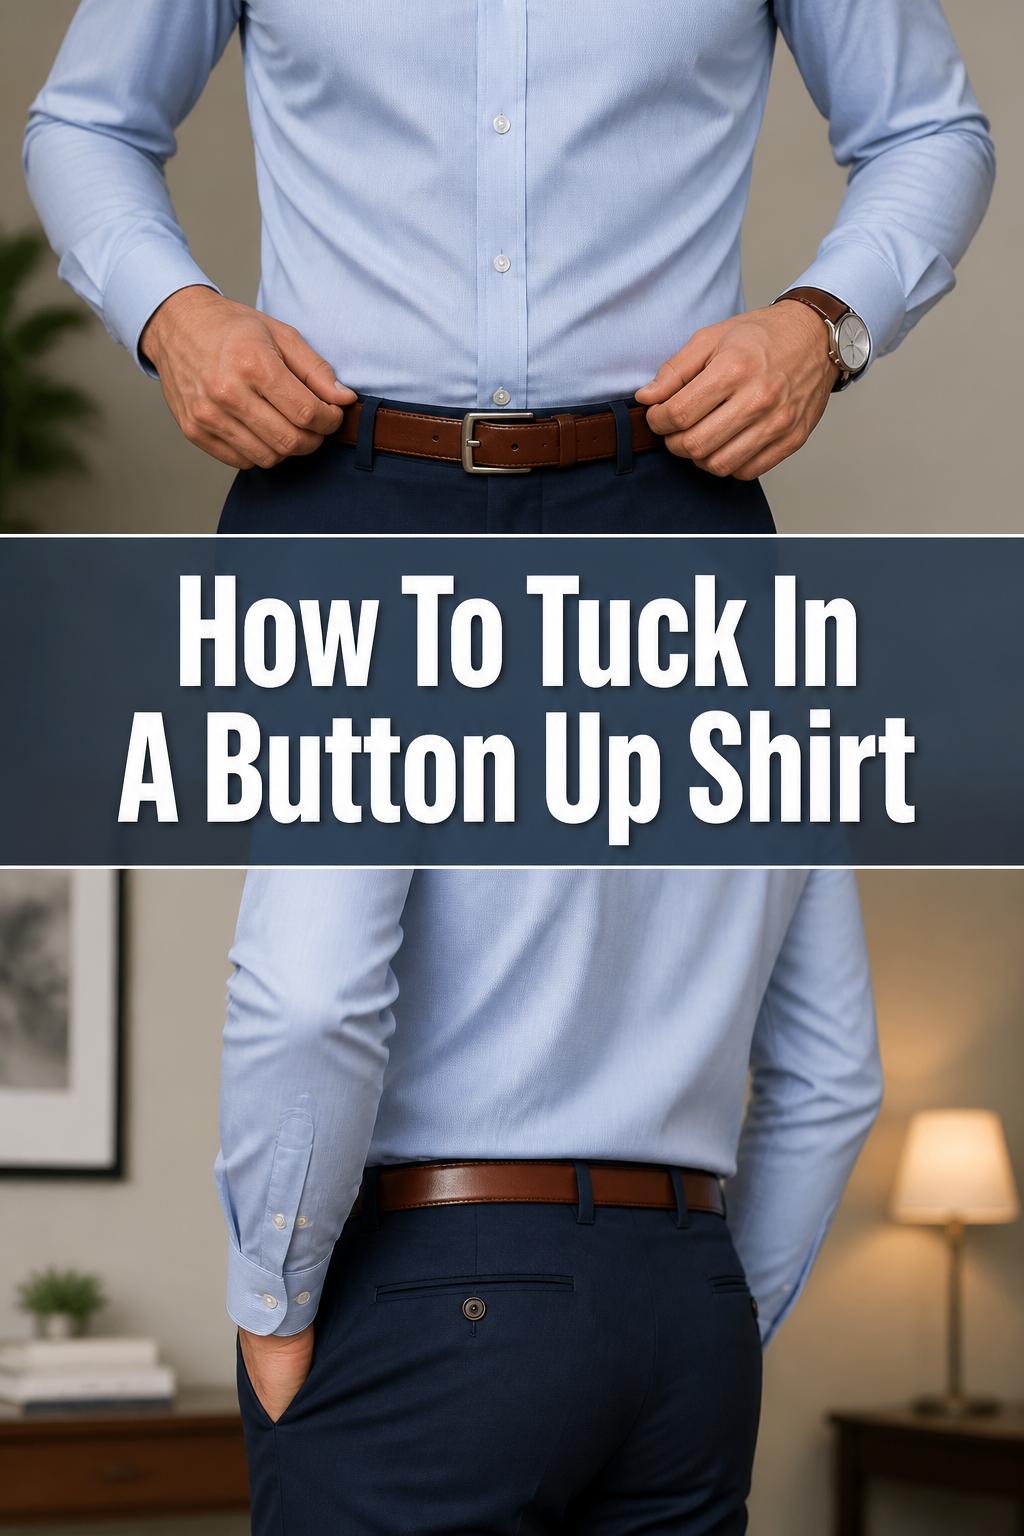
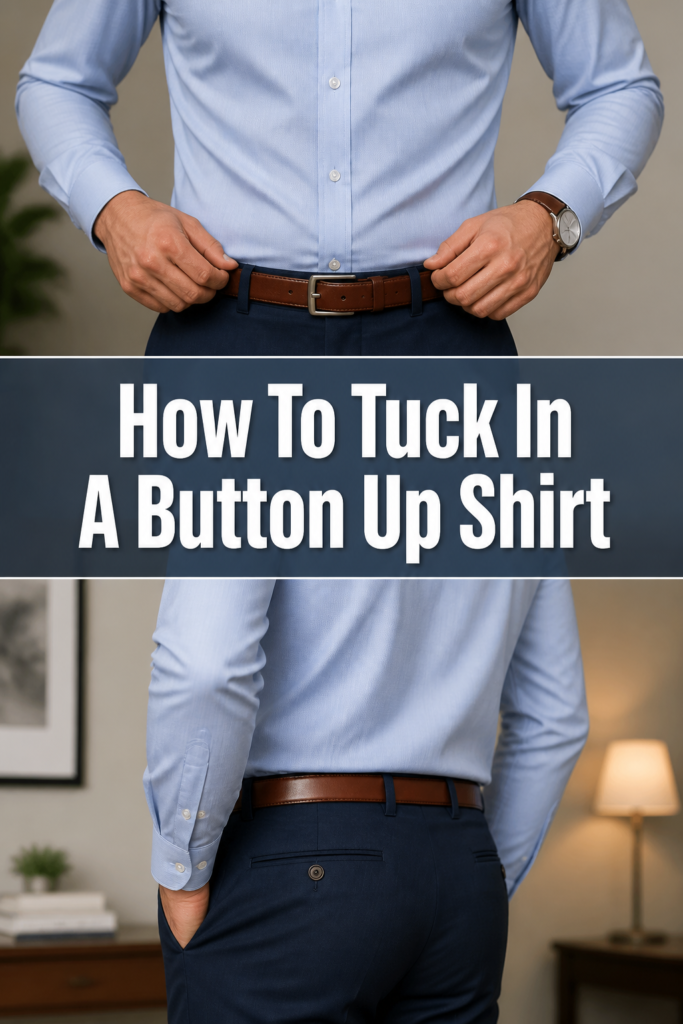
Mastering the art of tucking in a button-up shirt can transform your entire appearance. It instantly elevates your style, projecting an image of neatness and confidence. I’ve personally experienced the difference a perfectly tucked shirt makes, from job interviews to special occasions, and I’m eager to share those insights. This guide will help you achieve that crisp, polished look every time.
Quick Overview
This guide will equip you with the knowledge and techniques to flawlessly tuck in any button-up shirt.
You’ll learn different methods and how to avoid common pitfalls, ensuring a sharp look.
- Time needed: 5-10 minutes
- Difficulty: Beginner
- What you’ll need: Button-up shirt, trousers/pants, optional: undershirt, belt, shirt stays
Step-by-Step Instructions
Step 1: Choose the Right Shirt
Select a shirt that fits well, especially in the shoulders and chest. A properly fitted shirt is the foundation of a good tuck.
Consider the shirt’s length. Dress shirts are typically longer than casual shirts, designed specifically for tucking. If a shirt is too short, it will consistently come untucked.
Pro Tip: A shirt that is too baggy will create excessive bulk when tucked. A slim-fit shirt often makes for a cleaner tuck, reducing extra fabric around your waist.
Step 2: Wear an Undershirt (Optional but Recommended)
Put on a well-fitting undershirt before your button-up. This creates a smooth layer against your skin.
Choose a v-neck undershirt if you plan to leave your top button undone. This prevents the undershirt from showing.
An undershirt helps absorb sweat, protects your outer shirt from body oils, and prevents transparency. It also makes your button-up glide more smoothly when you tuck it.
Step 3: Button Up Your Shirt
Fasten all the buttons on your shirt, from bottom to top. This ensures the shirt is properly aligned before you begin tucking.
Decide if you want to leave the top button open or closed, depending on the formality of the occasion. This choice won’t affect the tucking method itself.
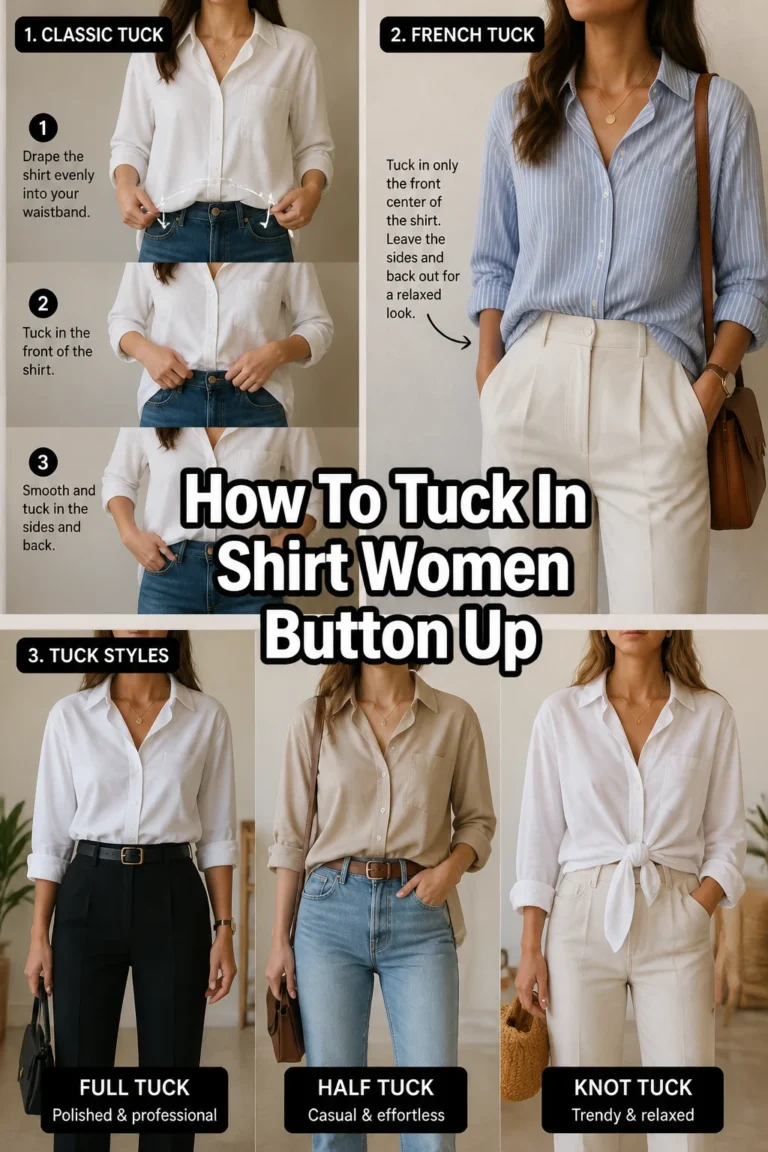
Step 4: The Basic Front Tuck
Pull the front of your shirt down firmly between your legs. Ensure it is taut and smooth against your body.
Tuck the front portion of the shirt into your trousers. Start at the center front and work your way outwards towards your hips.
This simple method is a good starting point for casual tucks or when you’re in a hurry. It forms the base for more refined techniques.
Step 5: The Military Tuck (The Professional Method)
Begin by pulling your shirt down taut around your waist. Ensure there are no wrinkles or slack in the front or back.
Pinch the excess fabric at each side seam, just below your armpits. You will create a vertical fold or “pleat” of fabric.
Fold these pleats backward towards your hips. This creates a neat, clean line along your sides, removing any bulk.
Tuck these folded “ears” of fabric into your trousers simultaneously with the rest of the shirt. This method streamlines your silhouette.
Pro Tip: The military tuck is ideal for achieving a sharp, tailored look. Practice makes perfect with this technique, as it requires a bit of coordination to get the folds just right on both sides.
Step 6: Secure with Your Trousers/Pants
Pull up your trousers or pants over the tucked shirt. Ensure the waistband is positioned correctly at your natural waist.
Fasten the button and zipper of your trousers. This secures the initial tuck and holds the shirt in place.
The waistband of your trousers acts as the primary anchor for your tucked shirt. A good fit here is crucial for preventing the shirt from riding up.
Step 7: Add a Belt
Thread your belt through the belt loops of your trousers. A belt is essential for maintaining a clean tuck throughout the day.
Fasten your belt at a comfortable tightness. It should be snug enough to hold your trousers up without digging into your waist.
A belt not only completes your outfit but also helps to further secure your shirt. It acts as an additional layer of security over the tucked fabric.
Step 8: The Final Adjustment
Stand in front of a mirror and assess your tuck from all angles. Look for any bunching, wrinkles, or unevenness.
Gently pull up on the shirt a small amount, perhaps half an inch or so, all around your waist. This creates a tiny bit of slack, allowing for comfortable movement without completely untucking.
Smooth down any remaining creases or wrinkles. This final step ensures your shirt looks neat and stays comfortable as you move throughout your day.
Common Mistakes to Avoid
The “Muffin Top” or Bulky Sides
This common issue occurs when there’s too much fabric gathered around your waist, creating an unsightly bulge. It often happens with shirts that are too loose or when only the basic front tuck is used without addressing side fabric.
To avoid this, ensure your shirt fits well, especially around the torso. Utilize the military tuck technique to neatly fold away excess fabric at the sides, creating a smooth line.
Uneven Tuck
An uneven tuck means one side of your shirt sits higher or is more wrinkled than the other. This gives a sloppy appearance, undermining the effort you put into dressing well.
Always start by pulling your shirt down evenly all around before tucking. Pay equal attention to both sides when performing the military tuck, ensuring symmetrical folds. A final mirror check is crucial for identifying and correcting any imbalance.
Shirt Popping Out
Few things are more annoying than a shirt that constantly comes untucked, especially when reaching or sitting. This usually happens if the shirt is too short, or if the tuck isn’t secure enough.
Invest in shirts designed for tucking, which tend to have a longer hem. Consider using shirt stays, which clip to your shirt and socks, to keep your shirt securely anchored all day. A well-fitting belt also provides extra security.
Too Tight/Restricting
While a neat tuck is desired, an overly tight tuck can be uncomfortable and restrict movement. It can also cause wrinkles when you sit down, as the fabric has nowhere to go.
After your initial tuck, perform the final adjustment step: gently pull up on the shirt slightly around your waist. This releases a small amount of fabric, allowing for comfort and preventing excessive strain without compromising the neatness.
Troubleshooting
Shirt Keeps Coming Untucked
If your shirt consistently rides up, first check the shirt’s length. Many casual shirts are simply not long enough to stay tucked in effectively, especially if you have a longer torso.
Consider incorporating shirt stays into your routine. These elastic straps connect your shirt to your socks, providing constant downward tension. They are highly effective for maintaining a pristine tuck.
Ensure your belt is snug, not just tight. A good belt provides an additional layer of friction and compression to keep the shirt fabric in place against your body.
Wrinkles or Bunching
Excessive wrinkles or fabric bunching after tucking often indicates either a poor-fitting shirt or an incorrect tucking technique. A shirt that is too large will inevitably create more fabric to manage.
Try wearing a slim-fit undershirt. This smooth layer can help prevent the outer shirt from sticking to your skin and creating creases. It allows the fabric to lay flatter.
Master the military tuck. This method specifically addresses excess fabric at the sides, distributing it neatly and preventing it from bunching up around your waist. Always iron or steam your shirt beforehand for the best results.
Too Much Fabric at the Sides
This problem is a common complaint, resulting in a “billowing” effect around the waist despite the shirt being tucked. It detracts from a sharp silhouette.
The primary solution here is the military tuck. By folding the excess fabric backward at the side seams, you effectively remove the bulk that causes the billowing.
Also, evaluate your shirt’s fit. If the shirt is significantly loose around your torso, even the military tuck might struggle to contain all the fabric. A more tailored or slim-fit shirt will inherently have less excess fabric to manage.
Key Takeaways
- Shirt Fit is Paramount: A well-fitting shirt, especially in length and torso width, is the foundation for a flawless tuck.
- Master the Military Tuck: This technique is crucial for eliminating side bulk and achieving a sharp, professional silhouette.
- Undershirts Offer Benefits: They provide a smooth base, absorb sweat, and protect your outer shirt, enhancing the overall tuck.
- Belts Provide Security: A snug belt not only completes your outfit but also helps anchor your tucked shirt firmly in place.
- Adjust for Comfort: Always perform a final, gentle pull around the waist to ensure comfort and prevent restriction without untucking.
- Practice Makes Perfect: Experiment with different shirts and techniques to find what works best for your body type and desired look.
Frequently Asked Questions
Should all button-up shirts be tucked in?
Not necessarily. The decision to tuck depends on the shirt’s style, length, and the formality of the occasion. Dress shirts are almost always meant to be tucked, while many casual button-ups, especially those with a straight hem, are designed to be worn untucked. If the shirt has a curved or “tailored” hem, it’s generally intended for tucking.
What’s the difference between a casual tuck and a formal tuck?
A casual tuck might involve a simpler front tuck or even a “French tuck,” where only the very front of the shirt is tucked in. It’s relaxed and less structured. A formal tuck, on the other hand, demands precision and neatness, typically employing the military tuck to ensure a smooth, wrinkle-free appearance all around, suitable for business or formal events.
Can I tuck in a short-sleeved button-up?
Yes, you can absolutely tuck in a short-sleeved button-up, especially if it’s a dressier style like a camp collar shirt or a guayabera worn for a semi-formal event. The same principles of choosing a well-fitting shirt and using the military tuck apply. Ensure the shirt isn’t too billowy when tucked, as this can look disproportionate with short sleeves.
How do shirt stays work?
Shirt stays are elastic straps that run along your leg. One end clips to the bottom hem of your shirt, and the other end clips to your socks. They create constant tension, pulling your shirt down and keeping it taut against your body. This prevents the shirt from riding up or bunching, maintaining a perfectly smooth, tucked appearance throughout the day, even with movement.
Our Top Recommended Finds
- Slim-Fit Undershirts: These provide a smooth, second-skin layer that helps your button-up lay flat and prevents chafing. Look for moisture-wicking fabrics for added comfort.
- Adjustable Shirt Stays: Essential for anyone struggling with their shirt coming untucked. Choose a comfortable, durable pair with strong clips that won’t damage your shirt or socks.
- High-Quality Leather Belt: A good belt not only completes your outfit but also acts as a vital anchor, securing your tucked shirt and preventing it from shifting throughout the day.
Master Your Look, Master Your Day
A perfectly tucked shirt is more than just a fashion statement; it’s a subtle signal of attention to detail and self-respect. You now have the techniques and insights to achieve this polished look effortlessly.
Don’t underestimate the power of a crisp, clean silhouette. It can boost your confidence in any setting, from a crucial meeting to a special dinner.
Take these steps and apply them today. Experiment with different shirts and methods to find your ideal tuck. Consider exploring other style guides to pair your perfectly tucked shirt with the right accessories or outerwear.