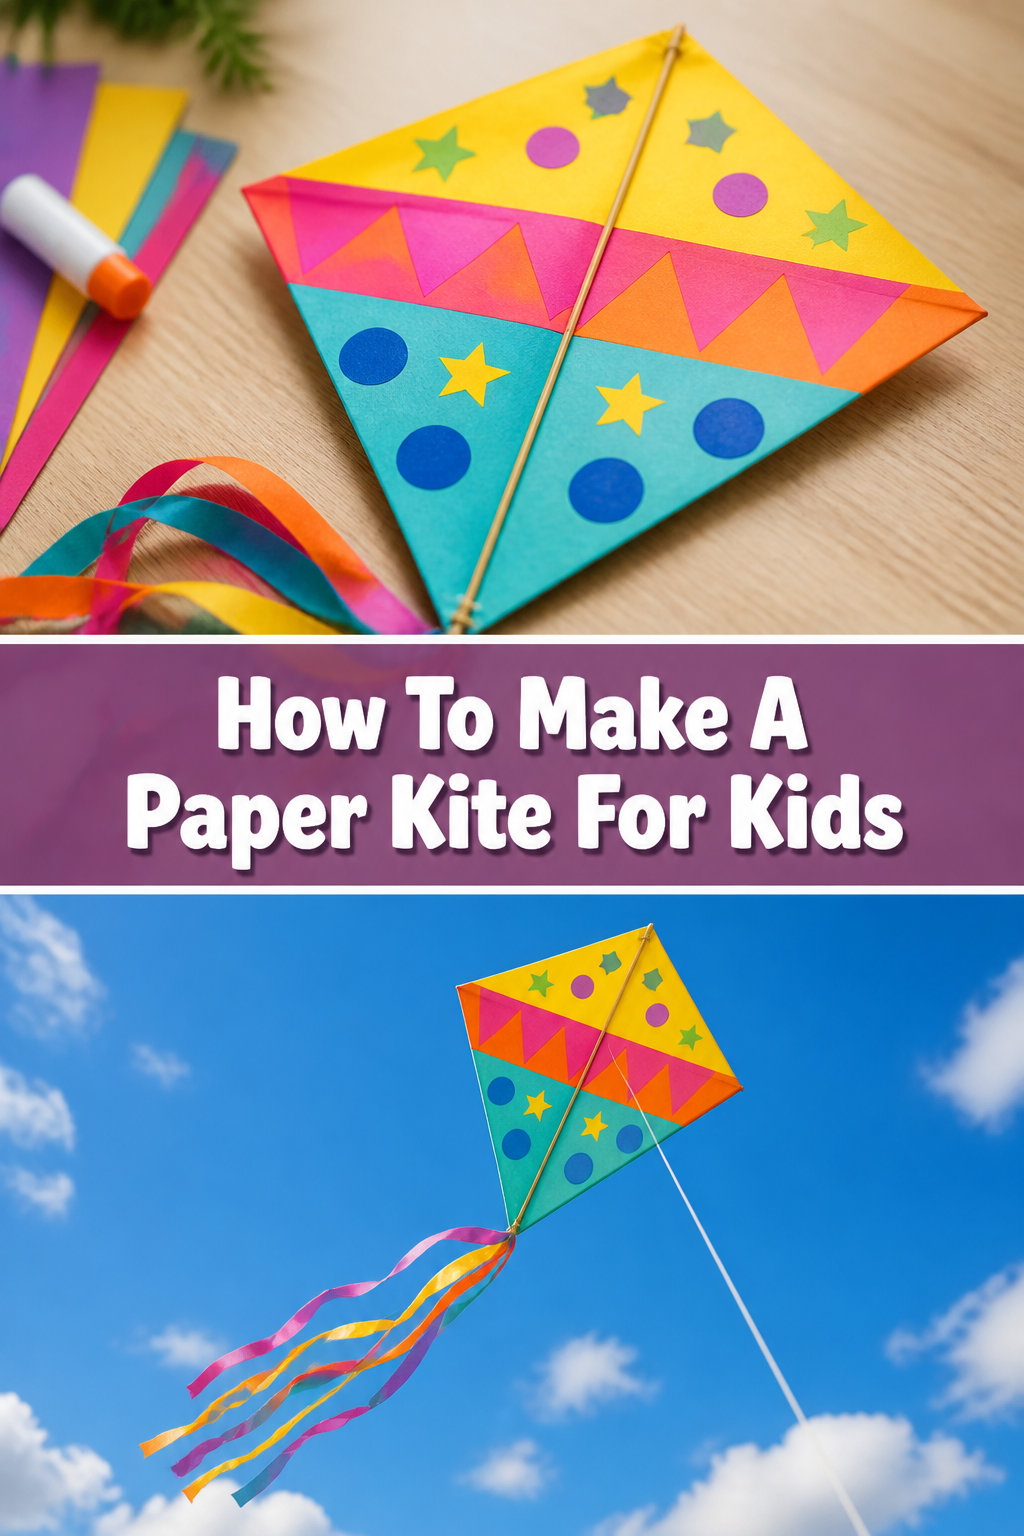
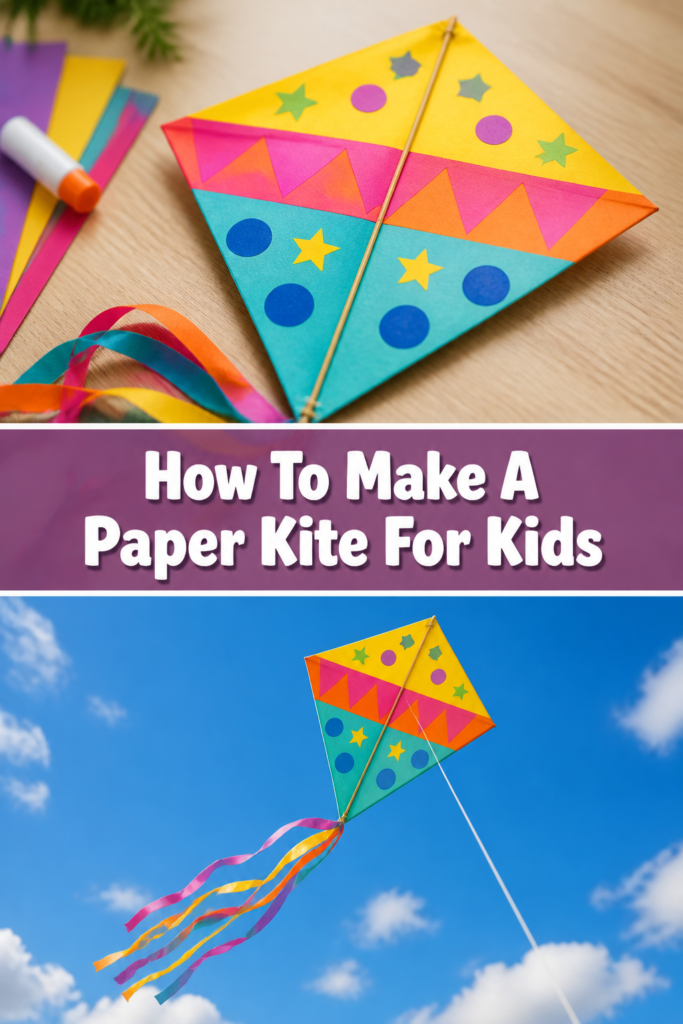
How To Make A Paper Kite For Kids
There’s a special kind of magic in watching something you’ve made yourself soar high above. Creating a paper kite is a wonderful project that combines simple crafting with the thrill of outdoor play. I remember the immense pride I felt as a child, seeing my own handmade kite dance in the wind.
This guide will walk you through every step, ensuring you and your child can experience that same joy together. You’ll soon have a beautiful, handmade kite ready for its maiden flight.
Quick Overview
Making a paper kite is a rewarding activity that culminates in a fun outdoor adventure. You’ll transform simple materials into a sky-high flyer.
- Time needed: 1-2 hours (including drying time for glue/tape)
- Difficulty: Beginner
- What you’ll need: Paper, lightweight sticks, string, scissors, tape, ruler, pencil
Step-by-Step Instructions
Step 1: Gather Your Materials
Before you begin, lay out all your supplies on a clean, flat surface. Having everything organized makes the crafting process smoother and more enjoyable. This prevents interruptions and helps keep little hands engaged.
You’ll need a large sheet of paper (construction paper, butcher paper, or even newspaper works well), two lightweight wooden or bamboo skewers, a long roll of string (kite string or strong twine), scissors, clear adhesive tape, a ruler, and a pencil.
Step 2: Prepare Your Paper Base
Carefully unfold your chosen paper and lay it flat. We are aiming for a classic diamond-shaped kite. Gently fold the paper in half lengthwise, then unfold it again.
This fold creates a central crease, which will act as the spine of your kite. It gives you a clear guideline for the next steps. A sturdy base is crucial for a stable kite.
Step 3: Create the Diamond Shape
With the paper still folded lengthwise, measure about one-quarter of the way down from the top corner along the folded edge. Make a small mark with your pencil. This will be the top point of your kite.
Next, measure about one-quarter of the way up from the bottom corner along the folded edge and make another mark. This will be the bottom point. Now, measure about one-third of the way in from the unfolded edge at the midpoint of the paper and make a mark. This marks the widest point.
Now, connect these marks with straight lines using your ruler and pencil. Draw a line from the top mark to the widest point, then from the widest point to the bottom mark.
Carefully cut along these pencil lines while the paper is still folded. When you unfold it, you should have a perfect diamond shape. This method ensures symmetry, which is vital for a kite to fly straight.
Pro Tip: For younger children, you can pre-draw the lines for them to cut. Or, simply use a pre-cut diamond shape from a template if available. Accuracy in cutting helps with flight stability.
Step 4: Attach the Vertical Spine
Take one of your lightweight wooden or bamboo skewers. This will be the main vertical spine of your kite. Lay it directly along the central crease of your diamond-shaped paper.
Ensure the skewer extends from the very top point of the diamond to the very bottom point. Use small pieces of clear tape to secure the skewer firmly in place along its entire length. Apply tape every few inches, pressing down firmly to ensure a strong bond.
This spine provides the primary structure and rigidity for your kite. Without it, the paper would simply crumple in the wind.
Step 5: Add the Horizontal Crossbar
Now, take your second skewer. This will form the horizontal crossbar of your kite. Position it across the widest part of your diamond shape, perpendicular to the vertical spine.
The horizontal skewer should be centered on the vertical spine, creating a “T” shape. Trim the skewer if it extends too far beyond the edges of the paper.
Secure this horizontal skewer in place with tape, ensuring it’s firmly attached to both the paper and the vertical skewer where they cross. Reinforce the intersection point with extra tape for added strength.
Pro Tip: Ensure the horizontal bar is perfectly straight and centered. Any tilt can cause the kite to fly unevenly or spin. Use your ruler to double-check its position.
Step 6: Reinforce the Corners and Edges
Kites experience a lot of stress from the wind, especially at their edges and corners. To prevent tears, add small pieces of tape to each of the four corners of your diamond. Fold the tape slightly over the edge for extra durability.
You can also run a thin strip of tape along the outer edges of the paper, especially where the skewers meet the paper. This reinforcement is simple but makes a big difference in the kite’s longevity. A well-reinforced kite will withstand many flights.
Step 7: Create the Bridle
The bridle is the most critical part for successful flight. It’s the system of strings that attaches your main flying line to the kite. Without a properly balanced bridle, your kite won’t fly.
Punch two small holes in the paper using a pencil or a hole punch. The first hole should be about one-third of the way down from the top point along the vertical spine. The second hole should be about two-thirds of the way down from the top point along the vertical spine. These holes should be centered directly on the spine.
Cut a piece of string about 18-24 inches long. Thread one end through the top hole and tie a secure knot on the back of the kite. Thread the other end through the bottom hole and tie another secure knot on the back. This creates a loop of string on the front of your kite.
Now, find the exact midpoint of this string loop. Tie a small knot or make a loop here. This is where your main flying line will attach. This attachment point is called the tow point.
Pro Tip: The exact position of the tow point is crucial for flight. If the kite dives, move the tow point slightly further down the bridle. If it doesn’t lift well, move it slightly up. Experimentation is key!
Step 8: Attach the Flying Line
Take your main roll of kite string. Tie one end securely to the tow point you created on the bridle. Use a strong knot, like a double overhand knot, to ensure it won’t come undone during flight.
Make sure the knot is tight and secure. You don’t want your kite to fly away on its own! Now your kite is almost ready for the skies.
Step 9: Decorate Your Kite
This is the fun part where you can let your creativity soar! Use markers, crayons, paint, or even glitter to decorate your kite. Draw patterns, add stripes, or create a unique design.
Bright colors and bold patterns not only look fantastic but also make your kite more visible in the sky. Encourage children to express themselves freely. This personal touch makes the kite truly their own.
Step 10: Add a Tail (Optional but Recommended)
While not strictly necessary for all kites, a tail greatly improves stability, especially in gusty winds. It adds drag at the bottom, helping the kite stay upright.
Cut long strips of paper, fabric scraps, or even plastic bags. They can be 1-2 inches wide and several feet long. Tie these strips together to form a single long tail.
Attach one end of the tail to the bottom point of your kite with tape. You can add decorative bows or ribbons along the tail for extra flair. A tail helps prevent the kite from spinning out of control.
Step 11: Test and Fly!
Wait for a day with a gentle, steady breeze, not too strong and not too calm. Head to an open space away from trees, buildings, and power lines. Unwind a good length of your flying line.
Have one person hold the kite up, facing the wind, while the other walks away with the string. When a gust of wind comes, gently release the kite and let the string out slowly. With a little practice and patience, your paper kite will soon be dancing in the sky!
Common Mistakes to Avoid
Using Flimsy Materials
Many people try to use very thin paper or weak sticks, thinking lighter is always better. However, a kite needs some rigidity to hold its shape against the wind. Using flimsy paper can lead to tears, and weak sticks will bend or break, causing the kite to collapse. Always opt for sturdy craft paper or cardstock and firm, lightweight skewers.
Incorrect Bridle Placement
The bridle is often overlooked, but it’s the heart of the kite’s flight. Placing the tow point too high will make the kite dive or spin wildly. Placing it too low will prevent the kite from lifting properly. Take your time with Step 7 and be prepared to adjust the tow point slightly after your first few test flights.
Insufficient Reinforcement
Kites are subject to considerable stress from the wind. Forgetting to reinforce the corners and where the frame meets the paper is a common oversight. These areas are prone to tearing, especially during launch or in stronger winds. A few extra pieces of tape at these stress points can significantly extend your kite’s lifespan.
Asymmetrical Design
A kite needs to be balanced to fly straight. If one side is heavier, or if the frame is crooked, the kite will constantly try to turn or spin. Double-check your measurements and ensure your diamond shape is symmetrical and your skewers are perfectly centered and perpendicular. Even slight imbalances can impact flight.
Troubleshooting
Kite Won’t Lift
If your kite just sits on the ground or struggles to get airborne, the problem is often related to the bridle or insufficient wind. First, check the wind conditions; a gentle, steady breeze is ideal. If the wind is good, try moving your bridle’s tow point slightly higher (closer to the top of the kite). This increases the angle at which the wind hits the kite, providing more lift.
Kite Spins or Tumbles Wildly
A kite that spins or tumbles is usually unbalanced or has an improperly set bridle. Check for symmetry in your kite’s design and ensure your frame is perfectly straight and centered. If the kite spins to one side, that side might be heavier or less rigid. Try adding a tail, which provides drag and helps stabilize the kite. Adjusting the tow point on the bridle slightly lower can also sometimes help.
Kite Dives Continuously
If your kite lifts but then immediately dives towards the ground, the tow point on your bridle might be too high. This causes the kite to be too “nose-heavy” in the air. Try moving the tow point on your bridle slightly lower (closer to the bottom of the kite). This shifts the center of pressure, allowing the kite to catch the wind more effectively without nosing over.
Key Takeaways
- Choose sturdy, lightweight materials for both the paper and the frame to ensure durability and good flight.
- Symmetry is crucial; a balanced kite will fly much more smoothly and predictably.
- The bridle is the most important part for successful flight; pay close attention to its placement and be prepared to adjust the tow point.
- Reinforce stress points like corners and where the frame meets the paper to prevent tears.
- A tail, while optional, can significantly improve stability, especially in varying wind conditions.
- Patience and experimentation are key; don’t be discouraged if your kite doesn’t fly perfectly on the first try.
Frequently Asked Questions
What kind of paper is best for making a paper kite?
Construction paper, butcher paper, or even large sheets of newspaper work well. The key is to choose paper that is sturdy enough to hold its shape but not so heavy that it prevents lift. Avoid very thin tissue paper unless you are experienced, as it tears easily.
Can I use different materials for the frame instead of wooden skewers?
Yes, you can experiment with other lightweight, rigid materials. Thin bamboo sticks, plastic straws taped together, or even stiff cardboard strips can work. Ensure they are strong enough to maintain the kite’s shape but light enough not to weigh it down excessively.
How long should the kite string be?
For a beginner’s paper kite, a string length of 50-100 feet is a good starting point. As you gain experience and your kite-making skills improve, you can try longer strings. Always ensure your string is strong and wound on a reel for easy handling.
Is it safe to fly a kite near power lines or roads?
Absolutely not. It is extremely dangerous to fly kites near power lines, roads, airports, or tall buildings. Always choose a wide, open space like a park or a field, far away from any obstructions or hazards. Safety should always be your top priority when flying kites.
Our Top Recommended Finds
- Kite String Spool: A good quality, strong nylon kite string on a sturdy spool makes launching and retrieving much easier. Look for one that’s tangle-resistant.
- Large Craft Paper Roll: A roll of butcher paper or art paper provides ample material for multiple kites and allows for larger, more impressive designs.
- Bamboo Skewers Pack: A bulk pack of bamboo skewers is inexpensive and provides plenty of lightweight, rigid material for your kite frames.
Ready for Your First Flight?
Making a paper kite is more than just a craft; it’s an adventure waiting to happen. It teaches patience, problem-solving, and the simple joy of creating something with your own hands. Imagine the smiles and cheers as your handmade creation dances against the blue sky.
So, gather your materials, follow these steps, and prepare for a truly memorable experience. Get outside, feel the breeze, and let your imagination take flight today!