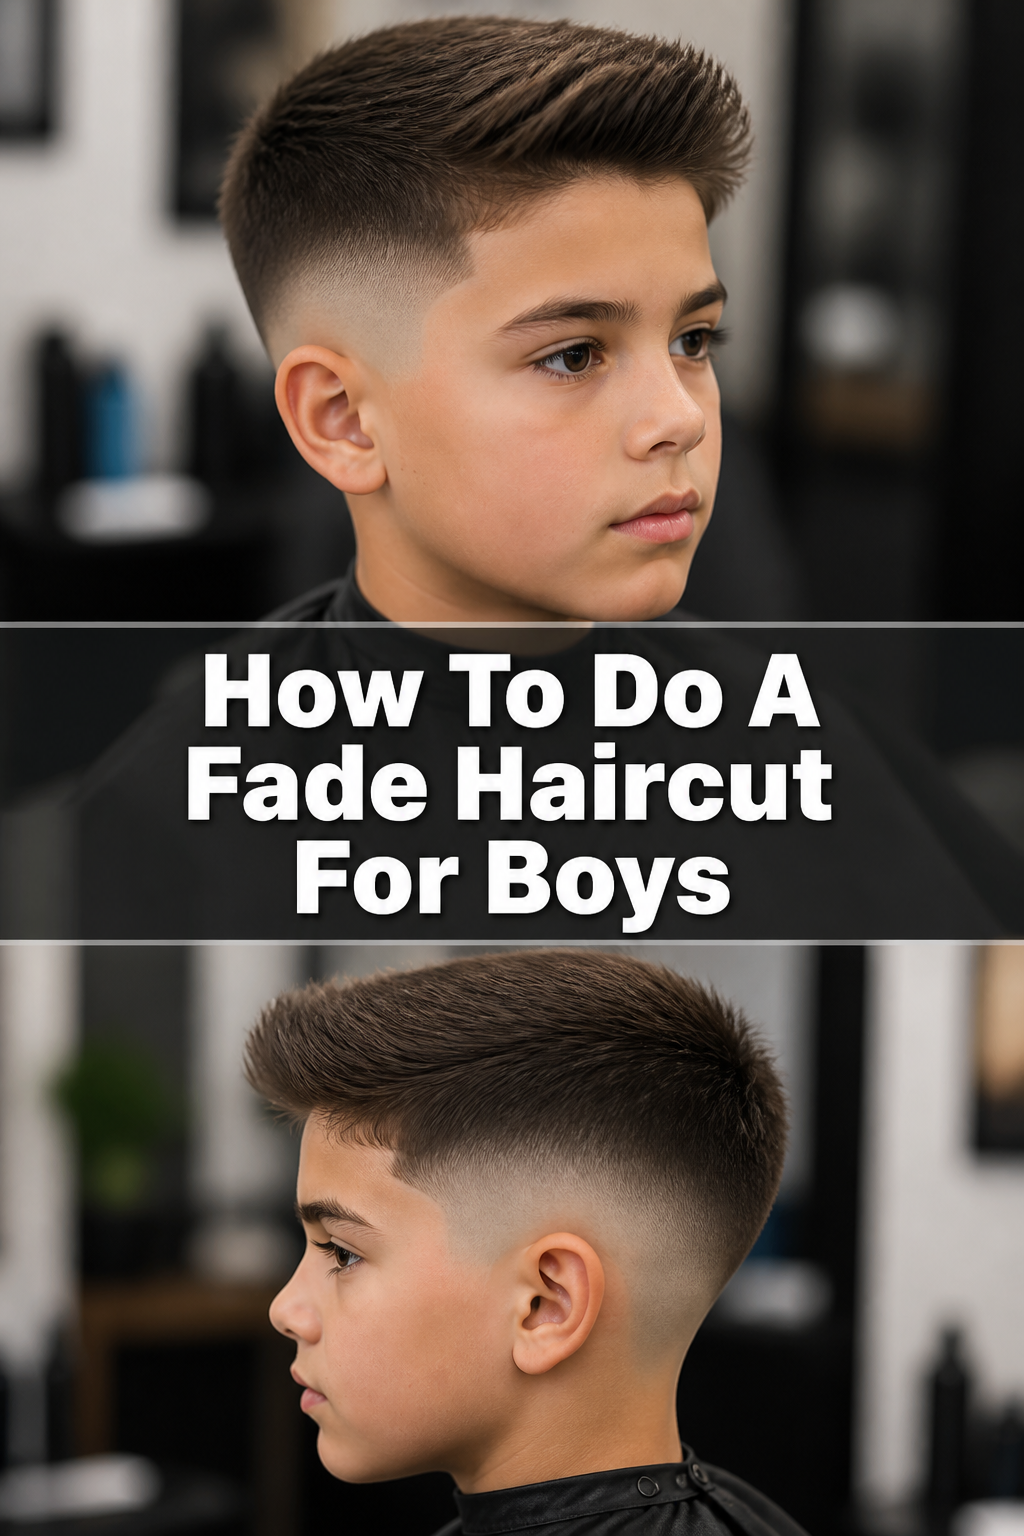
✂️ How To Do A Fade Haircut For Boys
Learning to cut your son’s hair at home can feel daunting, especially with a style like the fade. I remember the anxiety of that first buzzing sound near my boy’s ear, worried I’d mess it up completely.
But with practice and the right guidance, it becomes incredibly rewarding and a fantastic way to save money. This guide is built from countless hours of trial and error, helping you achieve a sharp, clean fade right in your own kitchen.
Quick Overview
This guide will walk you through creating a professional-looking fade haircut for boys, transforming a potentially expensive salon visit into a fun, bonding experience. You’ll learn the crucial steps from preparation to the final styling, ensuring a smooth, blended finish.
- Time needed: 45-90 minutes (allow more time for your first few attempts)
- Difficulty: Intermediate
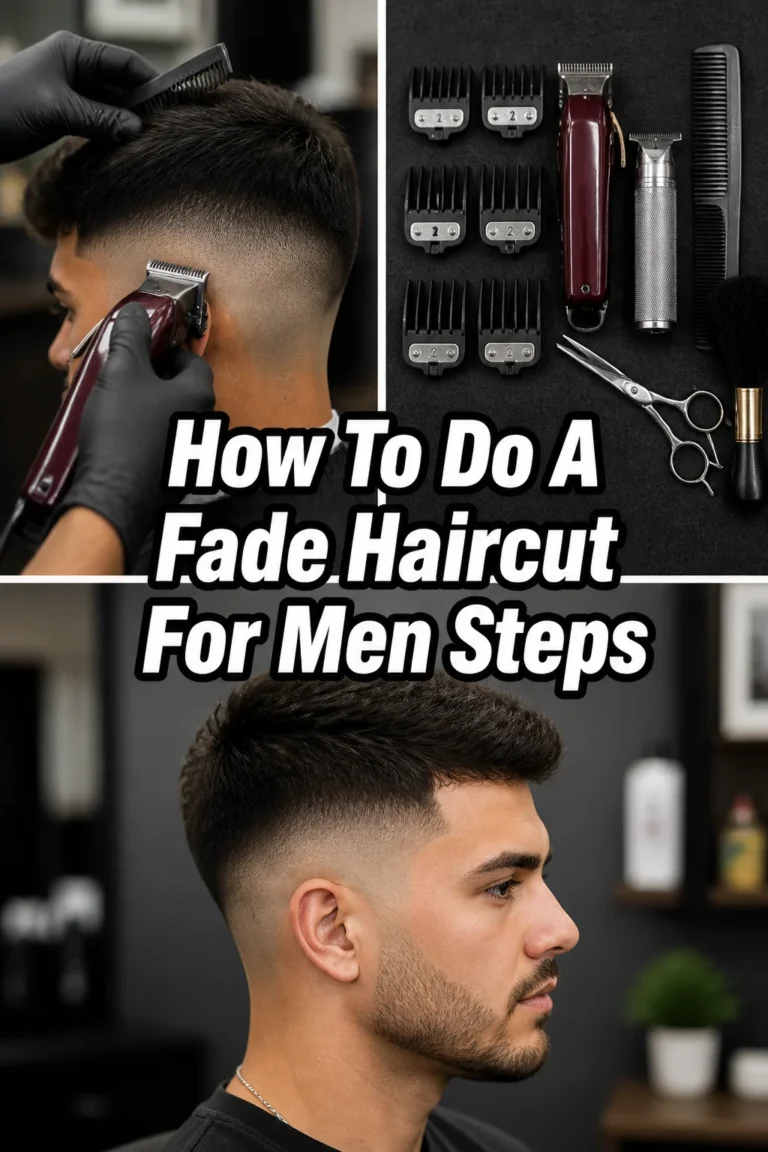
- What you’ll need: Electric clippers with various guards, a T-liner or detail trimmer, a fine-tooth comb, hair cutting scissors, a spray bottle with water, a barber cape or towel, a hand mirror, and a neck duster or brush.
Step-by-Step Instructions
Step 1: Prepare the Hair and Workspace
Gather all your tools before you begin. Lay them out neatly on a clean, flat surface within easy reach. This prevents frantic searching mid-cut.
Seat your boy comfortably in a chair, ideally one that swivels or allows you to move around easily. Drape a barber cape or an old towel around his shoulders, securing it to catch falling hair.
Comb his hair thoroughly to remove any tangles. For easier cutting, especially on the top, lightly mist the hair with water from a spray bottle if it’s thick or unruly.
Pro Tip: Ensure your clippers are fully charged or plugged in. Nothing disrupts a haircut like a dying battery. Also, clean and oil your clippers before each use for optimal performance.
Step 2: Establish the First Guideline (Bald/Skin Line)
Attach the smallest guard to your clippers, typically a 0 (no guard) or 0.5 (1/16 inch). For a skin fade, you’ll use no guard at all.
Determine where you want the fade to start. This is your lowest guideline and will dictate the overall shape of the fade. Common starting points are around the temple or slightly above the ear.
Shave a clean, crisp line around the head using your clippers with the smallest setting. This line should be consistent and level all the way around. This is your foundation.
Step 3: Start the First Guard Length Blend (e.g., 0.5/1)
Switch to the next guard size up, for example, a 0.5 (1/16 inch) or a 1 (1/8 inch). The goal is to create a seamless blend from the skin line.
Move your clippers upwards about half an inch to an inch from your initial guideline. Use an upward, C-shaped scooping motion, flicking the clippers away from the head as you reach the top of this section. This flicking motion is crucial for blending.
Work slowly and methodically around the entire head, ensuring this second guideline is also consistent. Overlap your passes slightly to avoid missing spots.
Pro Tip: The flick-out motion is the secret to a smooth fade. If you cut straight up, you’ll create a harsh line. Practice this gentle scoop and release.
Step 4: Blend Up to the Next Guard Length (e.g., 1/1.5)
Attach the next guard size, for instance, a 1 (1/8 inch) or 1.5 (3/16 inch). You’re gradually increasing the hair length as you move up the head.
Repeat the upward, C-shaped scooping motion, moving another half an inch to an inch above your previous section. The flicking motion here will soften the line created by the previous guard.
Observe the blending as you go. You should start to see the transition from shorter to longer hair becoming smoother. If a line appears, go back to the previous guard and flick at the line.
Step 5: Continue Blending with Longer Guards (e.g., 2/3)
Progress to longer guards, such as a 2 (1/4 inch) or 3 (3/8 inch). Continue to work your way up the head, section by section.
Maintain the scooping and flicking technique with each guard. The sections you create with each guard should become slightly wider as you move further up the head, blending into the longer hair on top.
Ensure that the blend is consistent around the entire head. Use a hand mirror to check the back and sides from different angles.
Step 6: Refine and Detail the Fade Line
Address any visible lines or “steps” in the fade. This is where the lever on your clippers becomes your best friend.
Adjust the clipper lever to an open position (longer cut) with a small guard (e.g., 0.5 or 1). Then, slowly close the lever in small increments (shorter cut) as you gently flick at the visible line. This “lever play” allows for micro-blending.
Use your T-liner or detail trimmer to clean up the edges around the ears and the back of the neck. Create sharp, clean lines for a polished finish.
Pro Tip: Don’t be afraid to go back and forth between guards and lever positions. Blending is a process of refinement, not a single pass. Small adjustments make a big difference.
Step 7: Cut the Top Hair
Decide on the desired length and style for the top hair. For boys, often a slightly longer, textured look is popular.
Mist the top hair with water until it’s damp, not soaking wet. Use your comb to create sections.
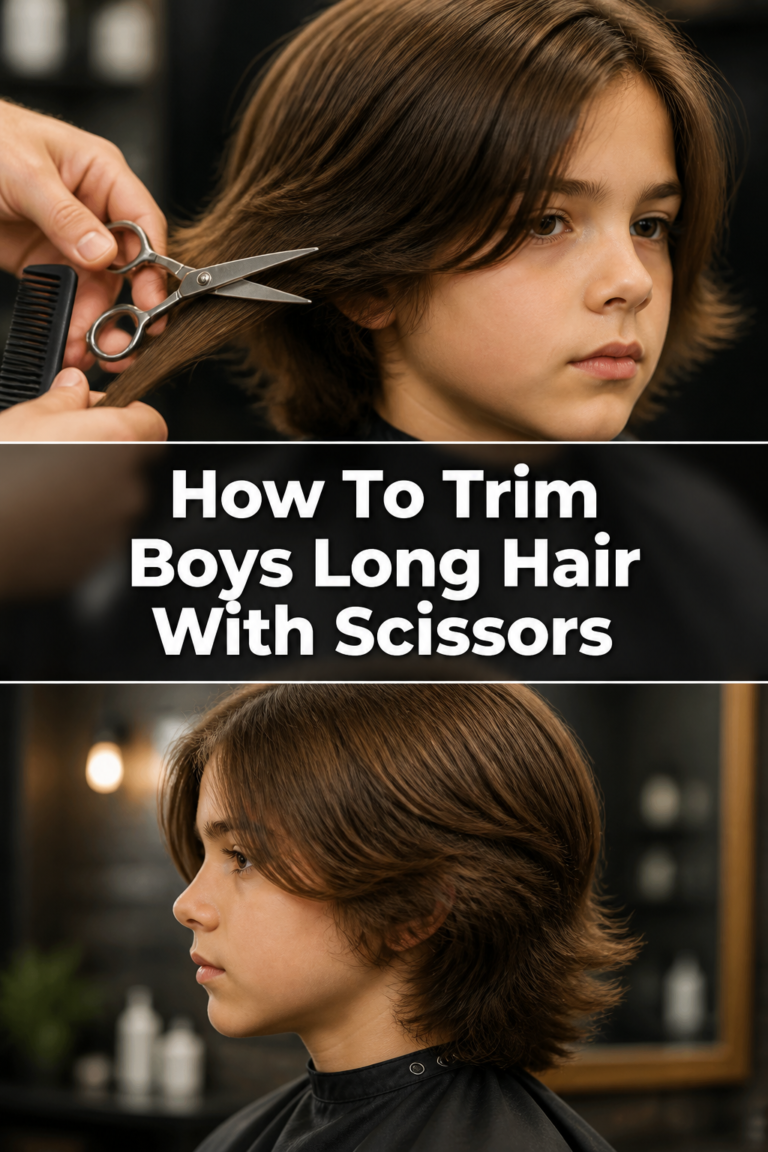
Hold a section of hair between your index and middle fingers, lifting it straight up. Use your hair cutting scissors to cut the hair to the desired length, using your fingers as a guide. Work from the front to the back, using the previously cut section as your guide for the next.
Blend the sides of the top hair into the fade. Hold the hair at an angle, using a “clipper-over-comb” or “scissor-over-comb” technique to seamlessly connect the longer top to the shorter sides.
Step 8: Clean Up and Style
Remove the cape and use a neck duster or brush to sweep away any loose hairs from his neck and shoulders. A quick shower can also help remove stray hairs.
Review the haircut from all angles. Look for any missed spots, uneven lines, or areas that need further blending. Make any final adjustments with your clippers or scissors.
Style the hair as desired using appropriate hair products. This helps to see the final look and how the fade lays.
Common Mistakes to Avoid
Creating Harsh Lines
Many beginners struggle with visible lines or “steps” in their fade, rather than a smooth transition. This usually happens when you cut straight up with a guard instead of using the crucial flick-out motion. Always scoop the clippers away from the head as you reach the top of each section to soften the edge.
Cutting Too Much Too Soon
It’s always easier to remove more hair than to put it back. Start with a longer guard than you think you need, especially when establishing your initial guidelines. You can always go shorter, but you can’t undo a cut that’s too short. Work in small increments.
Ignoring the Clipper Lever
The lever on your clippers is a powerful tool for blending. Not using it means you’re missing out on half-guard lengths, which are essential for seamless transitions. Learn to open and close the lever to create subtle variations in length, allowing for precise blending at the critical fade lines.
Poor Workspace Setup
A cluttered or poorly lit workspace can lead to missed spots and uneven cuts. Ensure you have good lighting from multiple angles and all your tools are organized and within reach. This allows you to focus solely on the haircut, reducing errors.
Troubleshooting
Patchy Spots or Uneven Areas
If you notice small patches of longer hair or uneven areas, it often means you haven’t made consistent passes with your clippers. Go back to the guard size you were using for that section. Use overlapping, methodical passes, and ensure the hair is dry and combed straight before cutting.
Harsh or Visible Lines Remaining
Stubborn lines are usually a sign of not enough blending or incorrect lever use. Revisit the area with the guard just below the line. With the clipper lever open, gently flick at the line, slowly closing the lever in small increments as you continue to flick. This technique helps to “erase” the line gradually.
Clipper Snagging or Pulling Hair
This can be uncomfortable for your boy and indicates a problem with your clippers or technique. Ensure your clippers are clean, oiled, and sharp. If they’re dull, they’ll pull. Also, avoid pressing too hard against the scalp; let the blades do the work. Comb through the hair to remove tangles before cutting.
Key Takeaways
- Preparation is Key: Gather all tools and set up a comfortable, well-lit workspace before you start.
- Master the Flick-Out: The C-shaped scooping and flicking motion is essential for creating a smooth, blended fade.
- Work in Increments: Start with longer guards and gradually work your way down, always cutting less than you think you need initially.
- Utilize the Lever: The clipper lever allows for micro-adjustments in length, crucial for erasing visible lines.
- Patience and Practice: Fades take time and refinement. Don’t rush, and know that each haircut will improve your skills.
- Clean Up Edges: Use a detail trimmer for crisp lines around the ears and neck to give a professional finish.
Frequently Asked Questions
How often should I fade my son’s hair?
The frequency depends on how quickly his hair grows and how sharp you want the fade to look. Typically, a fade will need touching up every 2-4 weeks to maintain its crispness and blend.
What’s the best way to clean my clippers after a haircut?
After each use, brush off any loose hair from the blades with the cleaning brush provided. Then, spray clipper disinfectant or cleaning solution directly onto the blades while the clippers are running. Finish by applying a few drops of clipper oil to the blades to keep them lubricated and sharp.
Can I do a fade on wet hair?
While you can trim the top section of hair when it’s damp, it’s generally recommended to do the clipper work for the fade on dry hair. Wet hair lies differently and can appear longer, leading to an uneven cut once it dries. Dry hair allows for more accurate blending.
What’s the difference between a fade and a taper?
A fade typically involves a very short or skin-level cut that gradually blends into longer hair much higher up the head, often around the temples or crown. A taper is a more subtle, gradual reduction in hair length, usually concentrated around the neckline and sideburns, leaving more length on the sides and back.
Our Top Recommended Finds
- Professional Clipper Set with Guards: A good quality set will have sharp blades and a range of guards (0.5 to 8) for versatile cutting.
- Barber Comb: Look for a comb with fine and wide teeth, designed specifically for guiding hair during clipper and scissor work.
- Neck Duster Brush: This soft brush is perfect for gently sweeping away loose hair from the neck and face, keeping your boy comfortable.
Your Son’s Best Haircut Starts Now
You now have the knowledge and step-by-step guidance to confidently tackle a fade haircut for your son. Remember, every cut is a learning opportunity, and the satisfaction of seeing a sharp, clean fade you created is immense.
Don’t be afraid to take your time, re-read steps, and adjust as needed. With a little practice, you’ll be giving professional-looking fades in no time. Why not gather your tools and give it a try this weekend?