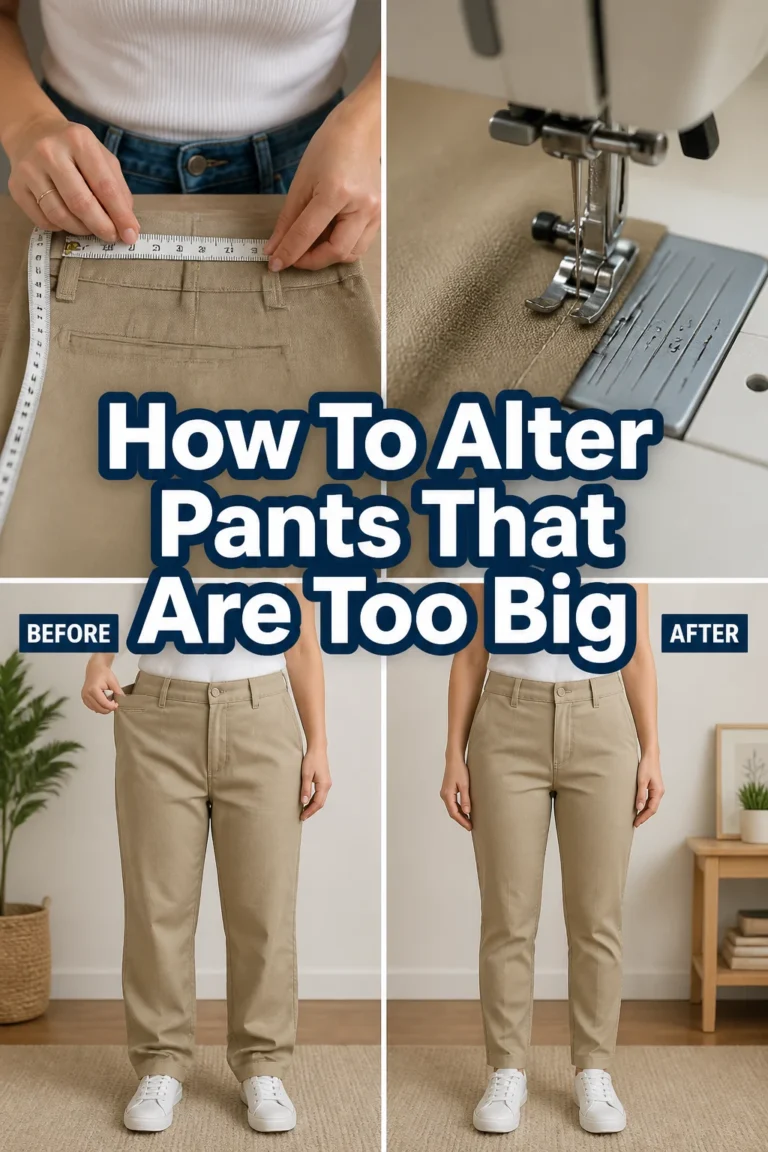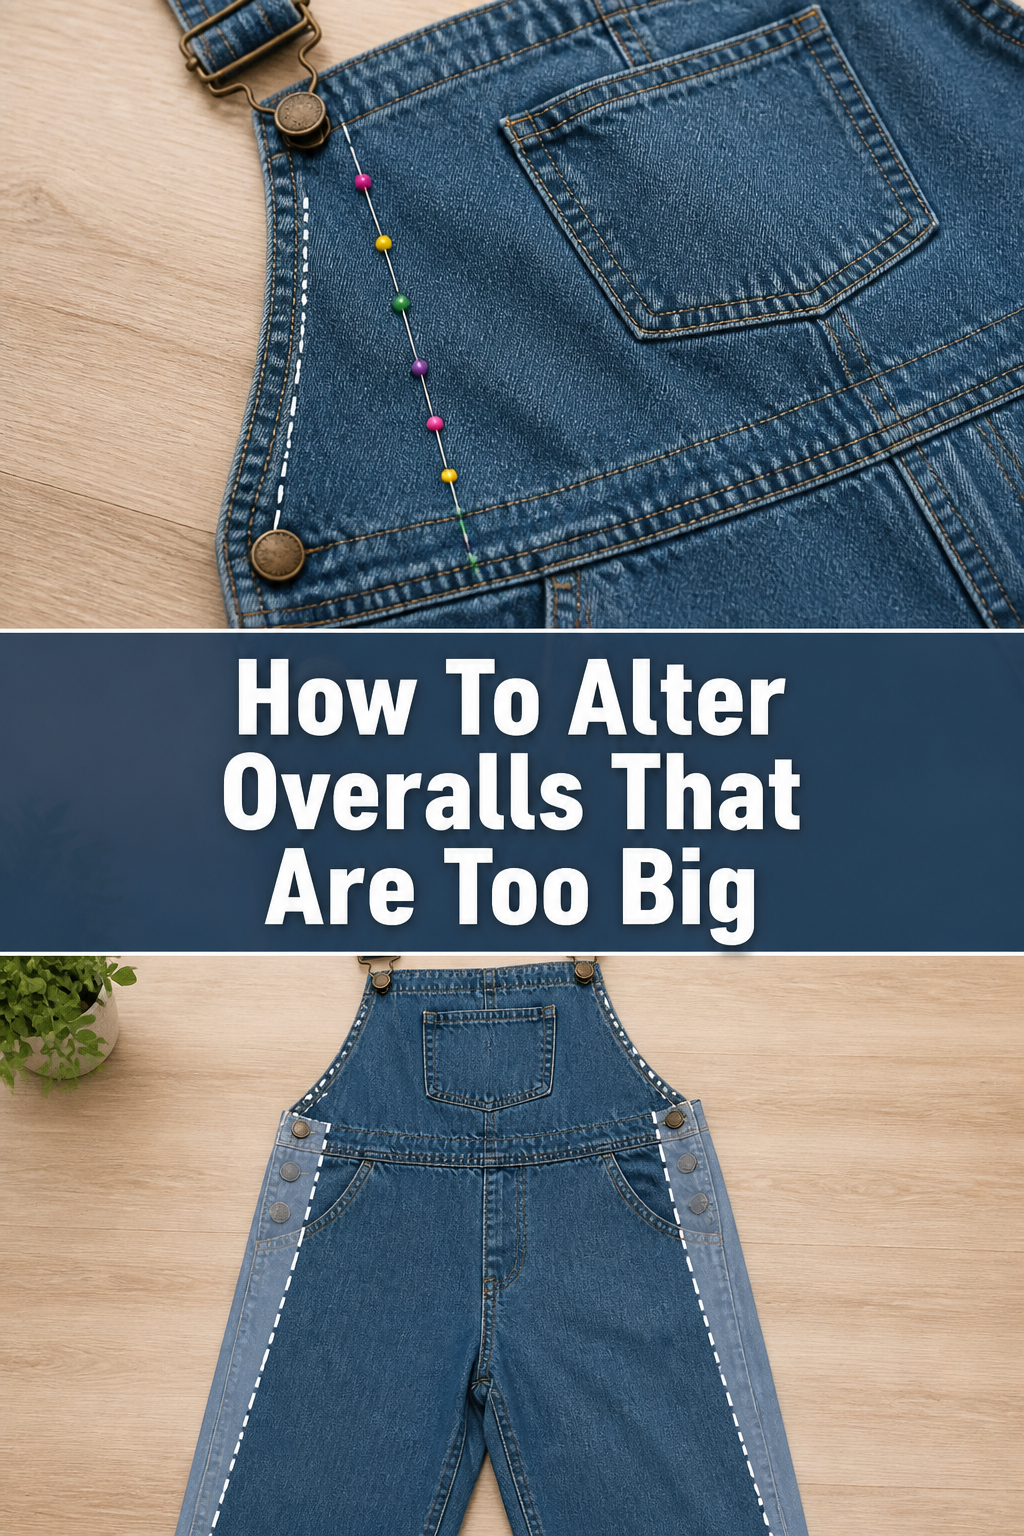
👖 How To Alter Overalls That Are Too Big
Have you ever found the perfect pair of overalls, only to discover they’re swimming on you? It’s a common dilemma, and one I’ve personally faced many times.
Instead of returning them or letting them languish in your closet, you can tailor them for a custom fit. This guide will walk you through the process, drawing from years of my own sewing adjustments.
You’ll gain the confidence to transform those baggy overalls into a stylish, perfectly fitting garment.
Quick Overview
This guide will empower you to take oversized overalls and tailor them to your unique body shape. You’ll learn how to adjust the waist, hips, legs, and even the bib for a flattering fit.
- Time needed: 2-4 hours (depending on experience and desired alterations)
- Difficulty: Intermediate (requires basic sewing machine skills)
- What you’ll need: Sewing machine, fabric shears, pins, fabric chalk or marking pen, measuring tape, seam ripper, iron, coordinating thread.
Step-by-Step Instructions
Step 1: Prepare Your Overalls and Gather Tools
Before any cutting or stitching, it’s crucial to prepare your garment. Fabric can shrink, especially denim, so a pre-wash is non-negotiable.
Wash and dry your overalls exactly as you intend to wear them post-alteration. Then, press them thoroughly to remove any wrinkles, creating a smooth surface for accurate marking.
Wash and dry your overalls to pre-shrink the fabric.
Iron the overalls flat to ensure precise marking and cutting.
Gather all your necessary sewing tools and place them within reach.
Pro Tip: Always pre-wash new fabric before sewing. This prevents unexpected shrinkage after you’ve already completed your alterations, saving you from a disappointing fit.
Step 2: Try On and Pin for Fit
This is where the magic of custom fitting begins. Put on the overalls, along with any clothing you typically wear underneath them, like a t-shirt or tank top. Stand in front of a full-length mirror.
Start by pinching the excess fabric at the side seams, working from the waist down through the hips and thighs. Pin vertically along the new desired seam line, ensuring the pins are on the outside of the garment.
Wear the overalls with typical undergarments.
Pinch excess fabric at the side seams, front, and back.
Pin vertically along the desired new fit line, being careful not to prick yourself.
Adjust the bib and straps, using pins to mark the ideal length and width.
Step 3: Mark Your New Seam Lines
Carefully take off the pinned overalls, trying not to disturb the pins. Lay them flat on a large, well-lit surface, like an ironing board or cutting mat. Using your fabric chalk or marking pen, draw a clear line along the inside of your pins.
This line represents your new stitching line. Double-check that both sides of the overalls are marked symmetrically by folding them in half and comparing the lines.
Lay the overalls flat and smooth out any wrinkles.
Draw a clear, visible line with fabric chalk directly along the inside of your pins.
Measure from the existing seam to your new chalk line at several points to ensure consistency.
Mark any desired changes to the leg width or hem length at this stage.
Pro Tip: Use a flexible ruler or French curve if you’re tapering the legs or shaping the hips. This helps create smooth, natural-looking curves rather than straight, awkward lines.
Step 4: Stitch the Side Seams
With your new seam lines clearly marked, it’s time to sew. If you’re new to altering, consider basting your new seams first. A basting stitch is a long, temporary stitch that holds the fabric in place for a test fit.
Once you’re happy with the basted fit, you can sew the permanent seam. Stitch slowly and steadily, following your chalk line precisely.
Thread your sewing machine with a matching or complementary thread color.
Sew a basting stitch along your marked side seams.
Try on the overalls with the basted seams to check the fit again.
Stitch a permanent seam, using a straight stitch, about 1/2 inch to 5/8 inch (1.25 cm to 1.5 cm) from the original seam.
Backstitch at the beginning and end of your seams to secure them.
Step 5: Adjust the Legs (Taper or Hem)
Overalls that are too big often have wide, baggy legs. You have a few options here: you can taper them for a slimmer look, or simply hem them if they’re too long. If tapering, mark a new line down the inner and outer leg seams, gradually narrowing towards the ankle.
For hemming, try on the overalls and mark the desired new length. Add an extra 1.5-2 inches (3.8-5 cm) for the hem allowance before cutting.
Decide if you want to taper the legs, hem them, or both.
Mark new taper lines on both the inner and outer leg seams, if desired.
Measure and mark the new hemline, adding seam allowance for folding.
Sew along your taper lines, then trim excess fabric, leaving a 1/2 inch (1.25 cm) seam allowance.
Fold and press your hem allowance, then stitch it into place.
Step 6: Refine the Bib and Straps
Sometimes, the bib of oversized overalls can feel too wide or too long. You can narrow the bib by taking in the side seams where it attaches to the waist. If the straps are too long, simply shorten them from the top.
You might even consider taking in the top edge of the bib slightly if it gapes. Remember to maintain the original curve or angle of the bib for a professional look.
Assess if the bib needs to be narrowed or shortened.
Pin excess fabric at the bib’s side seams or top edge.
Mark new stitching lines for the bib adjustments.
Shorten straps by detaching them from the bib, trimming, and reattaching, or by simply moving the buckle.
Stitch any new bib seams, carefully reinforcing stress points.
Step 7: Try On, Trim, and Finish
This is your final fitting. Put on the overalls and check every aspect of the fit. Do they feel comfortable? Do they look balanced? Make any minor adjustments needed.
Once you’re satisfied, carefully trim away the excess fabric from your new seam allowances, leaving about 1/2 inch (1.25 cm). Finish these raw edges with a serger or a zigzag stitch on your sewing machine. This prevents fraying and gives your alterations a professional finish.
Perform a final try-on to ensure complete satisfaction with the fit.
Trim excess fabric from all new seam allowances, leaving a consistent 1/2 inch (1.25 cm).
Finish all raw edges with a serger or zigzag stitch to prevent fraying.
Press all new seams flat with an iron for a crisp, professional appearance.
Common Mistakes to Avoid
Not Pre-Washing Fabric
Skipping the pre-wash step is a common error that can lead to disappointment. Most fabrics, especially cotton and denim, will shrink slightly during their first wash and dry cycle. If you alter your overalls before washing them, they might become too tight or pull awkwardly after their first laundry day. Always wash and dry your garment as you normally would before starting any alterations.
Rushing the Pinning and Marking Process
Precision is key in alterations. Hastily pinning or marking can result in uneven seams, a lopsided fit, or areas that are still too loose or too tight. Take your time during the try-on and marking phases. Use a good mirror, stand naturally, and have patience. Small adjustments here prevent major fixes later.
Cutting Fabric Too Soon
Never cut away excess fabric before you’ve stitched your permanent seams and performed a final test fit. It’s much easier to take in a seam that’s still basted than to add fabric back to a garment you’ve already trimmed. Always stitch, try on, confirm the fit, and then trim the excess.
Forgetting to Reinforce Stress Points
Overalls, by nature, are subjected to a lot of pulling and movement, particularly at the seams where the bib meets the pants, and at the side seams around the hips. Forgetting to backstitch at the beginning and end of your seams, or to add extra reinforcement stitches at these high-stress areas, can lead to seams coming undone prematurely. Take a moment to secure these areas properly.
Troubleshooting
Overalls Still Feel Baggy After Alterations
If your overalls still feel a bit loose, don’t despair. This often means you were a little conservative with your initial pinning. Carefully try them on again, identifying the specific areas that still need to be taken in. Use pins to mark the new, tighter lines, then remove the original stitching (if necessary) and re-sew along your newly marked lines. Remember, it’s always easier to take in more fabric than to let it out.
Seams Pucker or Look Uneven
Puckering or uneven seams can be frustrating, but they are usually fixable. This often happens if you’re pulling the fabric while sewing, or if your stitch length is too short for the fabric type. Try increasing your stitch length slightly. Ensure you’re guiding the fabric gently through the machine without stretching it. If the puckering is severe, use your seam ripper to carefully remove the stitches and re-sew slowly, perhaps using a walking foot if your fabric is thick or tricky.
Straps Keep Slipping or Are Uncomfortable
Slipping straps are a common complaint. First, check if you’ve shortened them enough. Sometimes, a simple length adjustment is all that’s needed. If they still slip, consider adding a small piece of elastic to the back of the straps, hidden under the bib or at the point where they cross. This adds a bit of stretch and can help them stay put. For discomfort, ensure the straps aren’t too narrow for your shoulders; sometimes widening them slightly can help distribute pressure.
Key Takeaways
- Pre-wash and press your overalls before starting any alterations to prevent future shrinkage.
- Pin carefully while wearing the overalls, marking precisely where you want the new fit.
- Use basting stitches for a test fit before committing to permanent seams.
- Never cut fabric until you are completely satisfied with the fit after stitching.
- Reinforce stress points with backstitching to ensure durability.
- Finish raw edges with a serger or zigzag stitch to prevent fraying and give a professional look.
Frequently Asked Questions
Can I do this without a sewing machine?
While technically possible, altering overalls by hand would be extremely time-consuming and challenging, especially for denim. Hand-sewn seams might not be as strong or durable as machine-sewn ones. For best results and efficiency, a sewing machine is highly recommended for this project.
What if the fabric is very thick denim?
Thick denim requires a heavy-duty needle (e.g., a denim needle) and strong polyester thread on your sewing machine. You might also need to adjust your machine’s tension and stitch length. Go slowly, and use a humper-jumper or a denim foot if your machine struggles over thick seams to prevent needle breakage.
How much can I realistically downsize overalls?
You can significantly downsize overalls, often by several sizes, as long as the original garment isn’t disproportionately large in one area (e.g., if the bib is huge but the waist is only slightly too big). The key is to maintain the overall silhouette and not try to force a fit that fundamentally changes the garment’s design. Focus on taking in excess fabric evenly.
Should I wash my overalls before altering them?
Absolutely, yes. This is a critical first step. Washing and drying your overalls before any alterations allows the fabric to shrink to its final size. If you alter them first, they might become too tight or distorted after their first wash, undoing all your hard work.
Our Top Recommended Finds
- Fabric Marking Pen Set: Essential for precise, temporary lines on your fabric. Look for pens with various colors and erasable ink.
- Heavy Duty Denim Needles: Crucial for sewing through thick denim without breaking needles or damaging your machine.
- Quality Seam Ripper: An indispensable tool for carefully undoing stitches when adjustments are needed.
Embrace Your Perfect Fit
Transforming oversized overalls into a garment that truly fits is incredibly rewarding. You’ve now gained the skills to not only save money but also to express your unique style with confidence. No more settling for ill-fitting clothes when a custom fit is within reach.
Don’t let those baggy overalls gather dust in your closet any longer. Pick up your tools, follow these steps, and create a piece that feels made just for you. Consider tackling other simple garment alterations next, like hemming pants or taking in a shirt. The possibilities are endless!