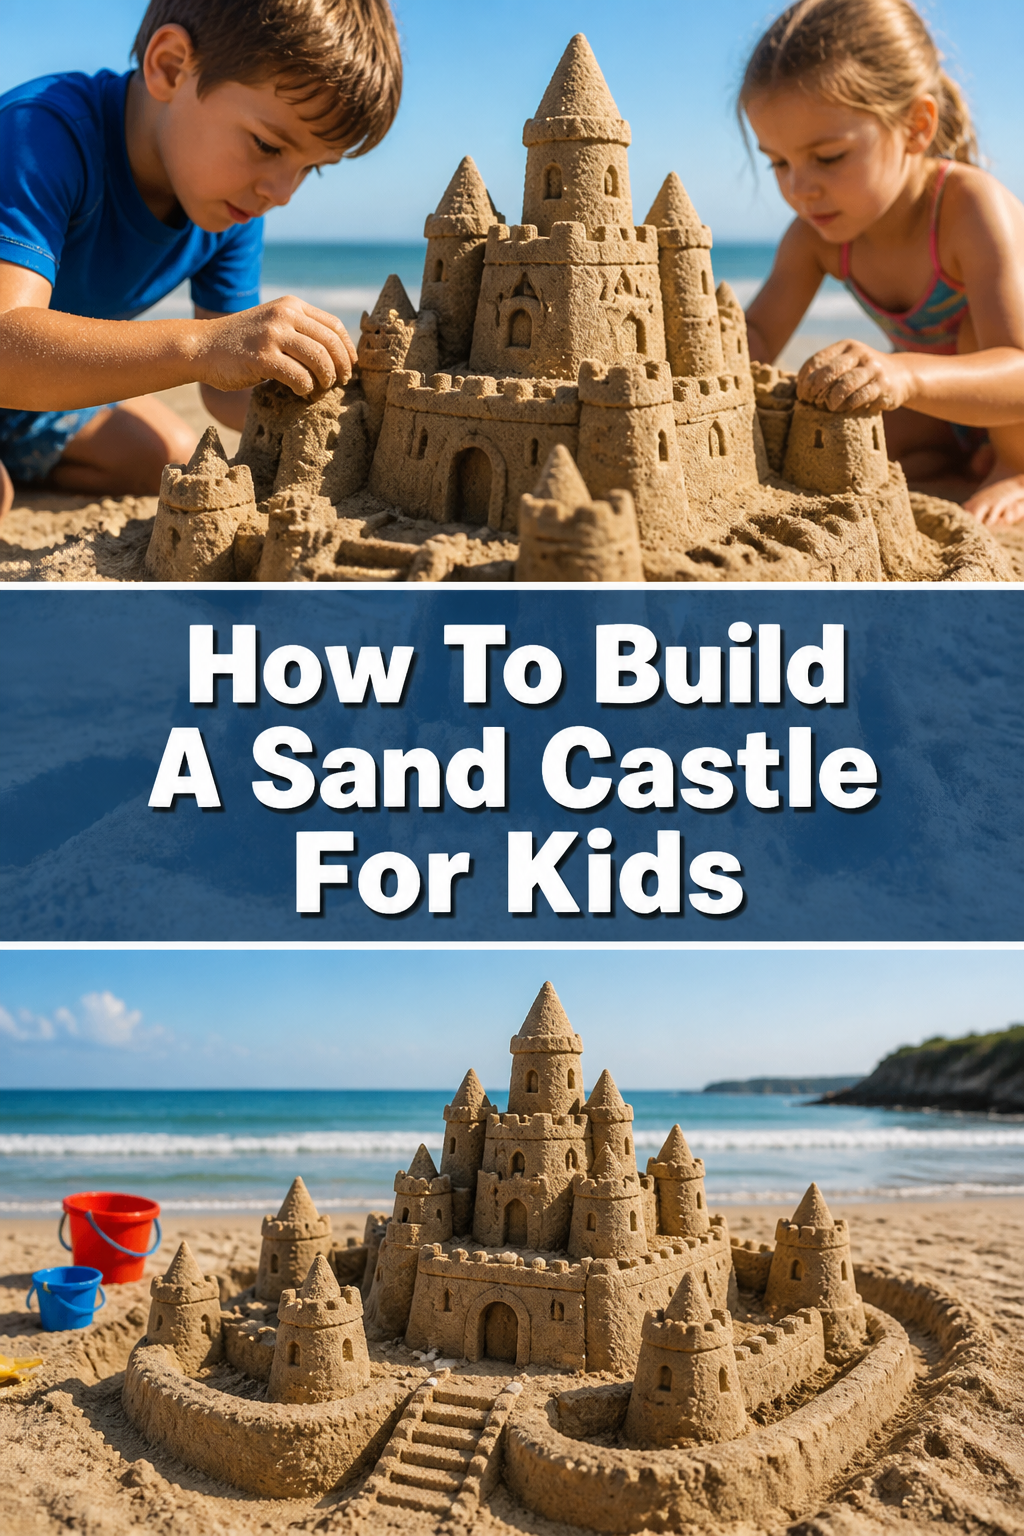
🏰 How To Build A Sand Castle For Kids
Building a sand castle is a classic beach activity. It brings so much joy and a wonderful sense of accomplishment. I still remember the thrill of seeing my first really tall tower stand proud against the waves.
This guide shares all the best tips I’ve learned over countless sunny days. We will help you and your little ones create a magnificent sandy masterpiece.
Quick Overview
Get ready to transform a patch of sand into an amazing fortress. This guide will walk you through every fun step.
- Time needed: 1-3 hours (depending on ambition!)
- Difficulty: Beginner
- What you’ll need: Buckets, shovels, water, sand, small tools, and a big imagination!
Step-by-Step Instructions
Let’s dive into the sand and start building. Follow these steps to create your incredible sand castle.
Step 1: Gather Your Tools and Crew
First, collect all your essential sand-building gear. This includes various-sized buckets, sturdy shovels, and smaller tools like plastic knives or spatulas. Don’t forget a spray bottle for fine-tuning.
Next, assemble your building team! Sandcastle building is more fun with friends or family. Make sure everyone is excited and ready to get sandy.
Step 2: Choose Your Perfect Spot
Select a prime location for your castle. Look for an area with plenty of sand that isn’t too close to the incoming tide, but also not too far from the water’s edge. You’ll need easy access to fresh seawater.
Consider the sun’s position and any potential wind. A spot with some natural shade later in the day can be a bonus for longer building sessions. Ensure there’s space for your castle to grow.
Pro Tip: Test the sand in a few spots. The best sand for building is usually found where the last tide ended, making it naturally damp and firm.
Step 3: Prepare Your Foundation
Clear your chosen area of any debris like shells or seaweed. You want a smooth, clean surface to start. A strong foundation is the secret to a tall castle.
Next, dig a shallow trench or pit where your castle will stand. This helps define the perimeter and makes it easier to keep the base stable. A wide, flat base is crucial.
Step 4: Build Your Solid Base
Fill your largest bucket with sand and then add water. You want the sand to be very wet, almost soupy, but not completely liquid. This consistency is often called “oatmeal sand.”
Dump this wet sand onto your prepared foundation. Pack it down firmly with your hands or the bottom of a bucket. Repeat this process, creating a wide, solid mound.
This initial mound will be the base for all your towers and walls. A strong, wide base prevents early collapses.
Step 5: Start Your Towers and Walls
Begin shaping your main towers. Take a smaller bucket, fill it with wet sand, and pack it down. Invert the bucket onto your base and carefully lift it off. You should have a perfect sand cylinder.
Repeat this process to create multiple towers or walls. Place them close together to form a cohesive structure. Keep the sand consistently wet for the best results.
Remember to work from the bottom up. Each new layer of sand needs a firm foundation.
Step 6: Carve and Refine Details
Once your basic shapes are in place, start carving. Use smaller tools like spatulas or plastic knives to define windows, doors, and battlements. Be gentle and patient with your carving.
Sprinkle water lightly with a spray bottle as you carve. This keeps the sand damp and prevents crumbling. Fine details require slightly drier, but still moist, sand.
Add texture to your walls by gently patting them with a flat hand. This can give them a stone-like appearance. Let your creativity guide you here.
Step 7: Connect and Expand
Build bridges and connecting walls between your towers. Use small amounts of wet sand, carefully pressed into place. You can use your hands to shape arches and ramps.
Create a moat around your castle. Dig a shallow trench around the base and fill it with seawater. This adds a classic castle feature and helps protect the base.
Continue adding new sections and expanding your castle’s footprint. Think about courtyards, inner walls, or even a drawbridge. The more intricate, the better.
Step 8: Decorate and Personalize
Enhance your castle with beach finds. Place shells along the walls, use small pebbles as decorative stones, or add seaweed as banners. Let your imagination run wild.
Fashion flags from small sticks and leaves or colorful scraps of fabric. Position them proudly atop your tallest towers. This adds a personal touch.
Consider adding a small figurine or toy as a castle guardian. This makes your sand creation truly unique. Celebrate your hard work.
Common Mistakes to Avoid
Building a sandcastle is an art, and sometimes things don’t go as planned. Knowing common pitfalls can save your masterpiece.
Using Sand That’s Too Dry
Many beginners grab sand from the top layer of the beach. This sand is often too dry and won’t hold its shape. It crumbles easily, making it impossible to build anything substantial. Always seek out moist, packed sand near the water’s edge or where the tide recently receded.
Not Enough Water (or Too Much!)
The right consistency of sand and water is key. Too little water, and your sand won’t stick together. Too much water, and your sand will be soupy and collapse. Aim for “oatmeal” consistency for packing and slightly drier, but still damp, for carving details. It’s a delicate balance that improves with practice.
Building Too Fast or Too Tall Too Soon
Patience is a virtue in sandcastle building. Trying to stack towers too quickly or making them too tall without a solid, wide base will lead to collapse. Build in layers, allowing each section to settle and firm up before adding more weight on top. A wide base is always stronger than a narrow one.
Neglecting the Foundation
The foundation is the most important part of your castle. If your base is uneven, too small, or not packed firmly, your entire structure is compromised. Always start with a wide, flat, and very firm base. This provides the stability needed for everything you build on top.
Troubleshooting
Even with the best intentions, sandcastles can face challenges. Here’s how to fix common problems.
My Castle Walls Are Collapsing
If your walls are crumbling, the sand is likely too dry or not packed tightly enough. Try gently spraying the area with water and then carefully re-packing the sand. You might need to rebuild a section, ensuring the sand has that “oatmeal” consistency. Always work with damp, well-compacted sand.
Details Are Crumbling When I Carve
When carving windows or doors, if the sand crumbles, it means it’s either too dry for carving or you’re applying too much pressure. Lightly mist the area with a spray bottle to add a tiny bit more moisture. Use a delicate touch with your carving tools, taking small amounts of sand at a time. Sometimes, slightly drier sand is better for very fine details.
My Base Isn’t Level or Is Sinking
An uneven or sinking base indicates it wasn’t packed firmly enough or was built on unstable sand. If possible, remove the top layers and re-pack the base more thoroughly. Ensure you’re building on firm, moist sand. If the problem persists, you might need to choose a new, more stable location and start your foundation from scratch.
Key Takeaways
Building an amazing sandcastle is a rewarding experience. Keep these main points in mind for your next beach adventure.
- Always use well-hydrated, “oatmeal” consistency sand for packing.
- Start with a wide, firm, and level base; it’s the most critical step.
- Build your castle from the bottom up, allowing each layer to settle.
- Use a spray bottle to keep sand damp while carving details.
- Don’t be afraid to get creative with decorations and unique features.
- Patience and teamwork make the building process more enjoyable and successful.
Frequently Asked Questions
Here are some common questions people ask about building sandcastles.
What’s the best type of sand for building?
The ideal sand is fine-grained and slightly angular, not too round. It should be found near the waterline where it’s naturally damp and compact. Avoid very coarse or very fine, powdery dry sand. The moisture helps the grains stick together.
How do I keep my sandcastle from washing away?
The best way to protect your castle is to build it far enough from the high tide line. You can also dig a moat around it to divert smaller waves. Some people build a small sand berm or wall on the ocean side as a temporary barrier, but ultimately, the ocean usually reclaims all sand creations.
Can I use natural items for decoration?
Absolutely! Shells, pebbles, driftwood, and seaweed make fantastic natural decorations. Just be mindful of local regulations about collecting items from the beach. These natural elements add character and charm to your sandy masterpiece.
How do professional sand sculptors make such intricate designs?
Professional sculptors often use specialized tools, high-pressure water to compact sand, and sometimes even a binding agent mixed with the sand for extreme stability. They also use advanced techniques like “stacking and carving” and have years of practice mastering sand consistency and structural integrity.
Our Top Recommended Finds
Having the right tools can make all the difference for your sandcastle adventure. Here are a few great items to consider.
- Sturdy Beach Bucket: A durable bucket is essential for carrying water and packing sand. Look for one with a strong handle.
- Ergonomic Shovel Set: A good set with different sizes helps with both digging and shaping. Smaller shovels are great for kids.
- Sand Sculpting Tool Kit: Kits with various small plastic tools (spatulas, knives, rakes) are perfect for carving intricate details and textures.
Your Next Great Adventure Awaits!
Now you have all the insider tips to become a sandcastle architect. The beach is calling, and a world of creative possibilities awaits. There’s nothing quite like the feeling of stepping back and admiring a sandy masterpiece you and your family have built together.
So, gather your gear, grab your crew, and head to the nearest sandy shore. Start building your dream sandcastle today! Who knows what incredible structures you’ll create?