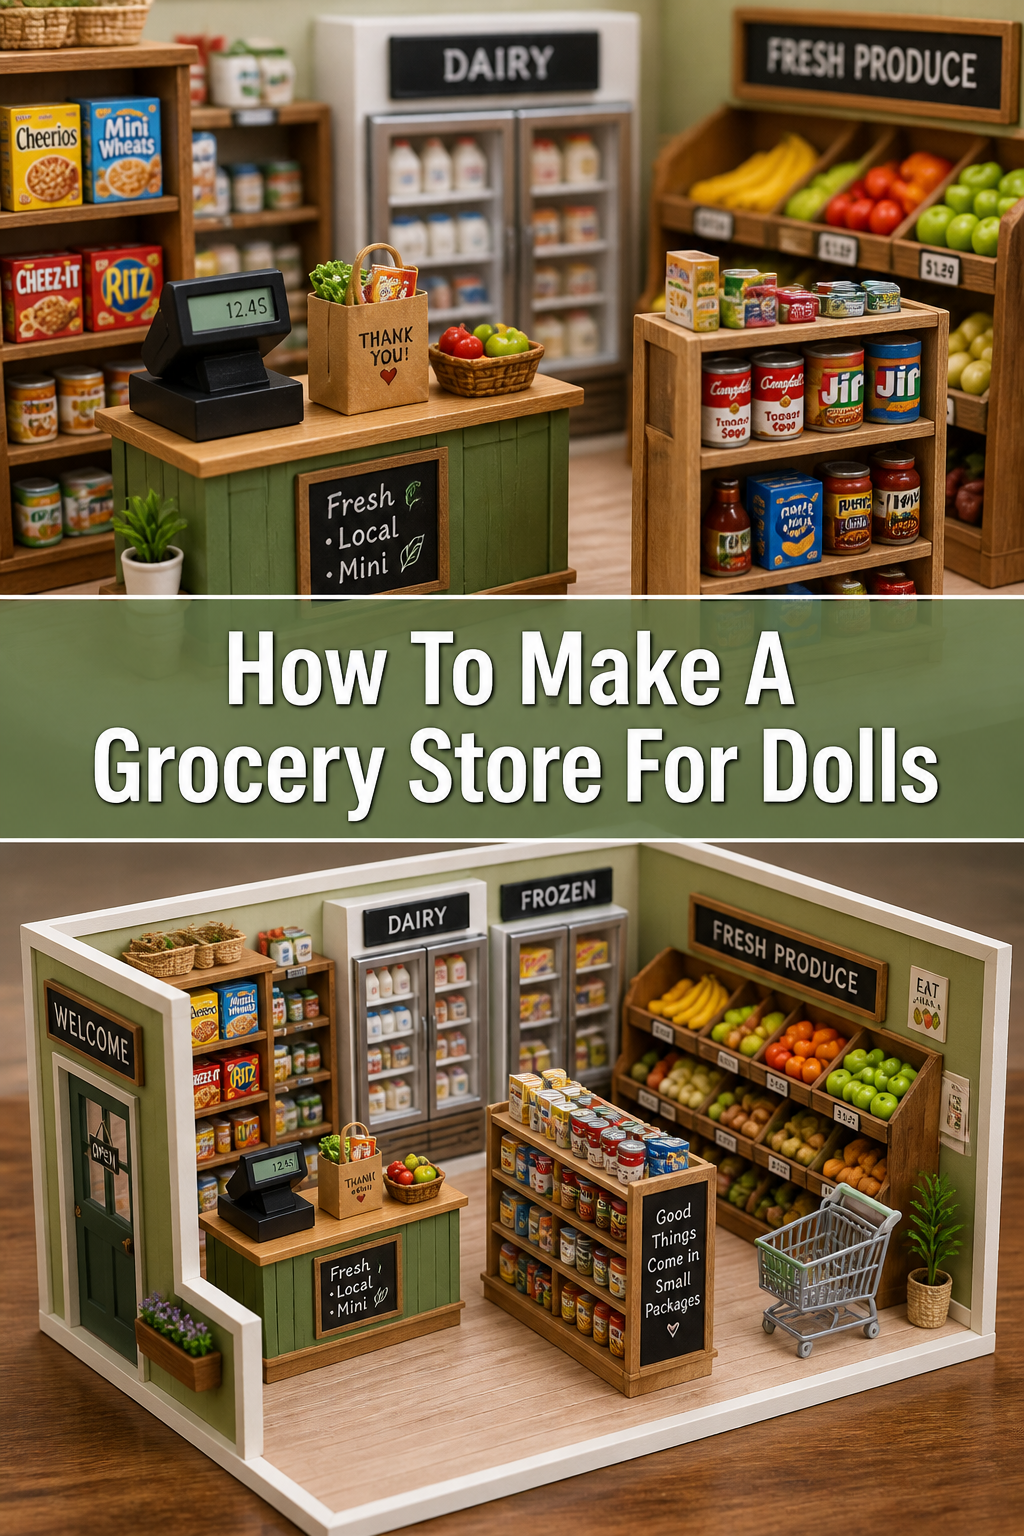
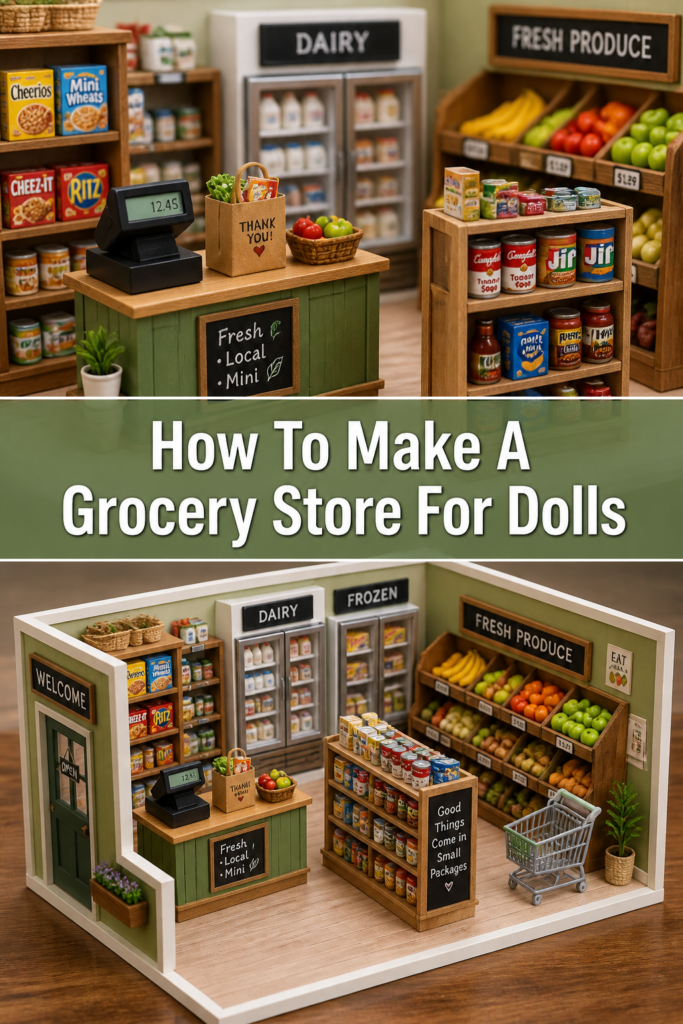
🛒 How To Make A Grocery Store For Dolls
Remember the pure joy of setting up elaborate play scenes as a child?
Creating a miniature world for your dolls is incredibly rewarding, and a grocery store adds so much imaginative play.
I’ve spent countless hours crafting tiny accessories, and I’m excited to share the best tips for building a charming doll-sized market, drawing from my own crafting adventures.
Quick Overview
Get ready to construct a delightful miniature grocery store for your dolls.
You’ll build the main structure, stock shelves, and add all the tiny details that bring it to life.
- Time needed: 2-4 hours, depending on detail.
- Difficulty: Beginner-Intermediate.
- What you’ll need: Cardboard, scissors, glue, craft paper, paint, fabric scraps, small containers, various craft supplies.
Step-by-Step Instructions
Step 1: Gather Your Materials and Plan Your Layout
Begin by collecting all your supplies.
A sturdy cardboard box will form the foundation of your store.
Think about the size and shape you want for your grocery store.
Will it be a simple stand or a multi-aisle market?
Sketch out a rough floor plan on a piece of paper.
Decide where the shelves, checkout counter, and any special sections will go.
This planning stage saves time and prevents mistakes later on.
Pro Tip: Look for a box with an opening on one side to make an instant front entrance for your store.
Step 2: Construct the Main Structure
Use your chosen cardboard box as the primary shell for your grocery store.
If you need additional walls, cut extra cardboard pieces to size and securely glue them into place.
Reinforce corners with masking tape before applying glue for added stability.
Consider adding a back wall and two side walls, leaving the front completely open for easy play and access.
This construction forms the basic room where all the miniature magic will happen.
Step 3: Build Shelves and Displays
Cut thin strips of cardboard to create your shelves.
Measure these strips carefully to ensure they fit perfectly inside your store structure.
Glue these shelves horizontally along the interior walls, making sure they are level.
You can create different shelf heights to accommodate various types of miniature products, just like a real store.
For display bins, cut small cardboard rectangles, fold them into open box shapes, and glue the edges together.
These bins are perfect for showcasing tiny fruits, vegetables, or bulk items.
Pro Tip: Use craft sticks or thin dowels for shelf supports if you want a more realistic look and extra sturdiness for heavier doll items.
Step 4: Design the Checkout Counter
Every well-equipped grocery store needs a place for transactions to occur.
Use a smaller cardboard box or several folded pieces of cardboard to create a sturdy counter.
Glue this counter securely near the front entrance of your store.
You can add a small “scanner” crafted from a tiny piece of cardboard and a glued-on button.
A miniature cash register can be fashioned from another small box, detailed with painted buttons and a tiny screen.
Step 5: Decorate and Personalize Your Store
Now comes the truly creative part: making your store look like a vibrant, welcoming market.
Paint the interior walls and shelves with appropriate colors, such as light pastels, clean white, or even a cheerful yellow.
Cover surfaces with craft paper for different textures – perhaps a wood grain pattern for the floors or a faux brick for an accent wall.
Create a distinctive store sign for the outside using a small cardboard rectangle and colorful markers.
Add tiny posters, advertisements, or even a miniature clock to the walls for extra detail.
Fabric scraps can be transformed into charming miniature floor mats or decorative awnings above display areas.
Pro Tip: Use clear plastic wrap or a cut-up plastic bag to create tiny “windows” or realistic refrigerator doors for your dairy section.
Step 6: Create Miniature Groceries
This step truly brings your doll grocery store to life with an abundance of tiny goods.
Use small beads for fruit, tiny pom-poms for vegetables, or carefully rolled-up pieces of polymer clay.
Cut out detailed pictures of real food items from old magazines, brochures, or print them online at a reduced scale.
Glue these pictures onto small cardboard squares to make realistic-looking boxes, cans, and cartons.
Tiny empty pill bottles or spice containers can be repurposed as jars of jam, pickles, or other pantry staples.
Crafting each food item is a detailed process that adds immense charm and realism to your store.
Step 7: Arrange and Stock Your Store
Carefully place all your miniature groceries on the shelves and into the display bins.
Organize items by category, just as you would find them in a real grocery store.
Place fruits and vegetables in the bins, while cereals, canned goods, and boxed items go on the shelves.
Add a tiny shopping cart, perhaps made from pipe cleaners, or a small basket for your dolls to use.
Your doll grocery store is now fully stocked and officially open for business!
Common Mistakes to Avoid
Skipping the Planning Stage
Jumping straight into cutting and gluing without a solid plan often leads to wasted materials and considerable frustration.
You might discover shelves that don’t fit, or a store layout that feels cramped and impractical for play.
Always take a few minutes to sketch out your ideas, measure your main box, and visualize the final arrangement first.
A simple drawing helps immensely in ensuring everything aligns and fits together perfectly.
Using Too Much or Too Little Glue
Applying an excessive amount of glue can saturate cardboard, causing it to warp, buckle, and weaken the entire structure.
It also creates messy, unsightly visible seams that detract from the miniature aesthetic.
Conversely, using too little glue results in flimsy constructions that easily fall apart during play.
Aim for a thin, even layer of glue that provides strong adhesion without oversaturation, and hold pieces firmly until dry.
Ignoring Scale and Proportion
It’s very easy to inadvertently make shelves too deep, counters too high, or products too large for your dolls.
This makes the store look awkward and difficult for the dolls to interact with naturally.
Always keep your dolls’ size in mind when cutting and sizing every single element of the store.
Periodically place a doll inside the structure to check if the scale feels just right and proportionate for them.
Forgetting Reinforcement
While cardboard can be surprisingly sturdy, it benefits greatly from strategic reinforcement, especially at stress points.
Joints and weight-bearing structures like shelves can sag, bend, or detach over time, particularly with active play.
Use extra strips of cardboard glued at right angles, or masking tape applied discreetly, to secure crucial connections.
This simple step ensures your doll grocery store withstands countless hours of imaginative play and stays intact.
Troubleshooting
My Shelves Are Sagging
Sagging shelves usually indicate insufficient support during construction or too much weight placed upon them.
First, remove all items from the shelf and gently detach it if possible without damaging the wall.
Re-glue it with a stronger adhesive, ensuring a generous but not excessive amount, and add small cardboard L-brackets underneath for extra support.
You can also glue a thin craft stick or skewer horizontally across the shelf’s front edge for increased rigidity and to prevent future sagging.
The Cardboard Walls Are Warping
Warping often occurs when cardboard absorbs too much moisture, typically from excess paint or glue applied too heavily.
To fix minor warping, gently press the affected area flat and place a heavy book or two on it overnight to help it regain its shape.
For more severe cases, you might need to reinforce the back of the warped wall with another layer of cardboard, glued securely across the entire surface.
Prevent this by applying thin, even coats of paint and allowing glue to dry completely between steps.
My Miniature Food Items Look Unrealistic
Achieving truly realistic tiny food can be a challenge, but it’s definitely achievable with practice and the right techniques.
Experiment with different materials like polymer clay, which allows for incredibly detailed shaping, sculpting, and baking to harden.
For printed items, ensure the images are high-resolution and scaled down correctly before printing to avoid pixelation.
Adding a clear coat of nail polish, Mod Podge, or a clear craft sealer can give them a professional, shiny, and finished look, protecting them as well.
Key Takeaways
- Planning your layout beforehand is crucial for creating a successful and functional doll grocery store.
- Always use sturdy cardboard and reinforce all joints to ensure maximum durability for long-lasting play.
- Pay close attention to scale so that all elements, from shelves to products, are perfectly sized for your dolls.
- Thoughtful decoration and personalization are what truly bring your miniature store to life and spark endless imagination.
- Crafting diverse and detailed miniature groceries is the heart of a realistic and engaging play experience.
- Take your time with gluing and drying processes to avoid warping and ensure a strong, stable construction.
Frequently Asked Questions
What’s the best type of cardboard to use?
Corrugated cardboard from shipping boxes is generally ideal for the main structure because it’s sturdy, readily available, and relatively easy to cut.
Thinner cardstock, like that from cereal boxes or craft paper, can be used effectively for shelves, smaller details, or miniature food packaging.
The key is to choose cardboard that is firm enough to hold its shape well but not so thick that it becomes difficult to cut and manipulate.
Can I use hot glue instead of craft glue?
Hot glue can certainly be faster for quick assembly, but it often creates thicker, more visible glue lines that might not be ideal for a miniature aesthetic.
Its heat can also sometimes warp thinner cardboard, causing unintended bends or buckles.
Craft glue (PVA glue) or tacky glue typically provides a stronger, cleaner, and more permanent bond for cardboard projects, though it does require more drying time.
For very small, delicate parts or quick temporary fixes, a low-temperature hot glue gun can be useful, but use it sparingly and carefully.
How can I make my doll store more durable for younger children?
To enhance durability, reinforce every single joint and edge with extra glue and masking tape during the initial construction phase.
Consider laminating any printed food items or coating them thoroughly with Mod Podge to protect them from wear, moisture, and tearing.
Opt for simpler designs with fewer very small, detachable parts to reduce potential choking hazards and prevent easy breakage.
Applying a clear acrylic sealant or varnish to all painted surfaces can also provide an additional layer of protection against damage and spills.
Where can I find ideas for miniature food?
The internet is an incredible treasure trove of miniature food ideas and resources!
Search for “dollhouse miniature food tutorials” or “DIY doll food” on platforms like Pinterest, YouTube, or dedicated crafting blogs.
You’ll discover countless free printables for tiny food packaging, along with step-by-step guides using materials like polymer clay, felt, paper, and even beads.
These resources offer endless inspiration to stock your doll grocery store with a diverse and exciting array of tiny treats.
Our Top Recommended Finds
- High-Quality Craft Glue: A strong, quick-drying PVA glue ensures your entire structure holds together firmly and neatly without excess mess.
- Precision Craft Knife Set: Essential for making clean, straight, and accurate cuts on cardboard, which helps your store look professional and well-constructed.
- Acrylic Craft Paint Set: Offers a wide range of vibrant colors perfect for decorating walls, shelves, and creating realistic, eye-catching miniature food items.
Build a World of Imagination Today
Creating a doll grocery store is so much more than just a simple craft project.
It’s a wonderful opportunity to foster creativity, develop fine motor skills, and build a lasting, engaging play environment.
Imagine the delightful stories your dolls will tell, the exciting shopping trips they’ll embark on, and the endless hours of imaginative fun they’ll have.
Don’t wait to bring this charming miniature world to life for the special dolls in your life.
Gather your supplies, embrace the joy of making, and start building your doll’s dream grocery store this very weekend!
You might even find yourself inspired to create other delightful doll accessories, like a miniature bakery or a tiny pet shop, to expand their world even further.