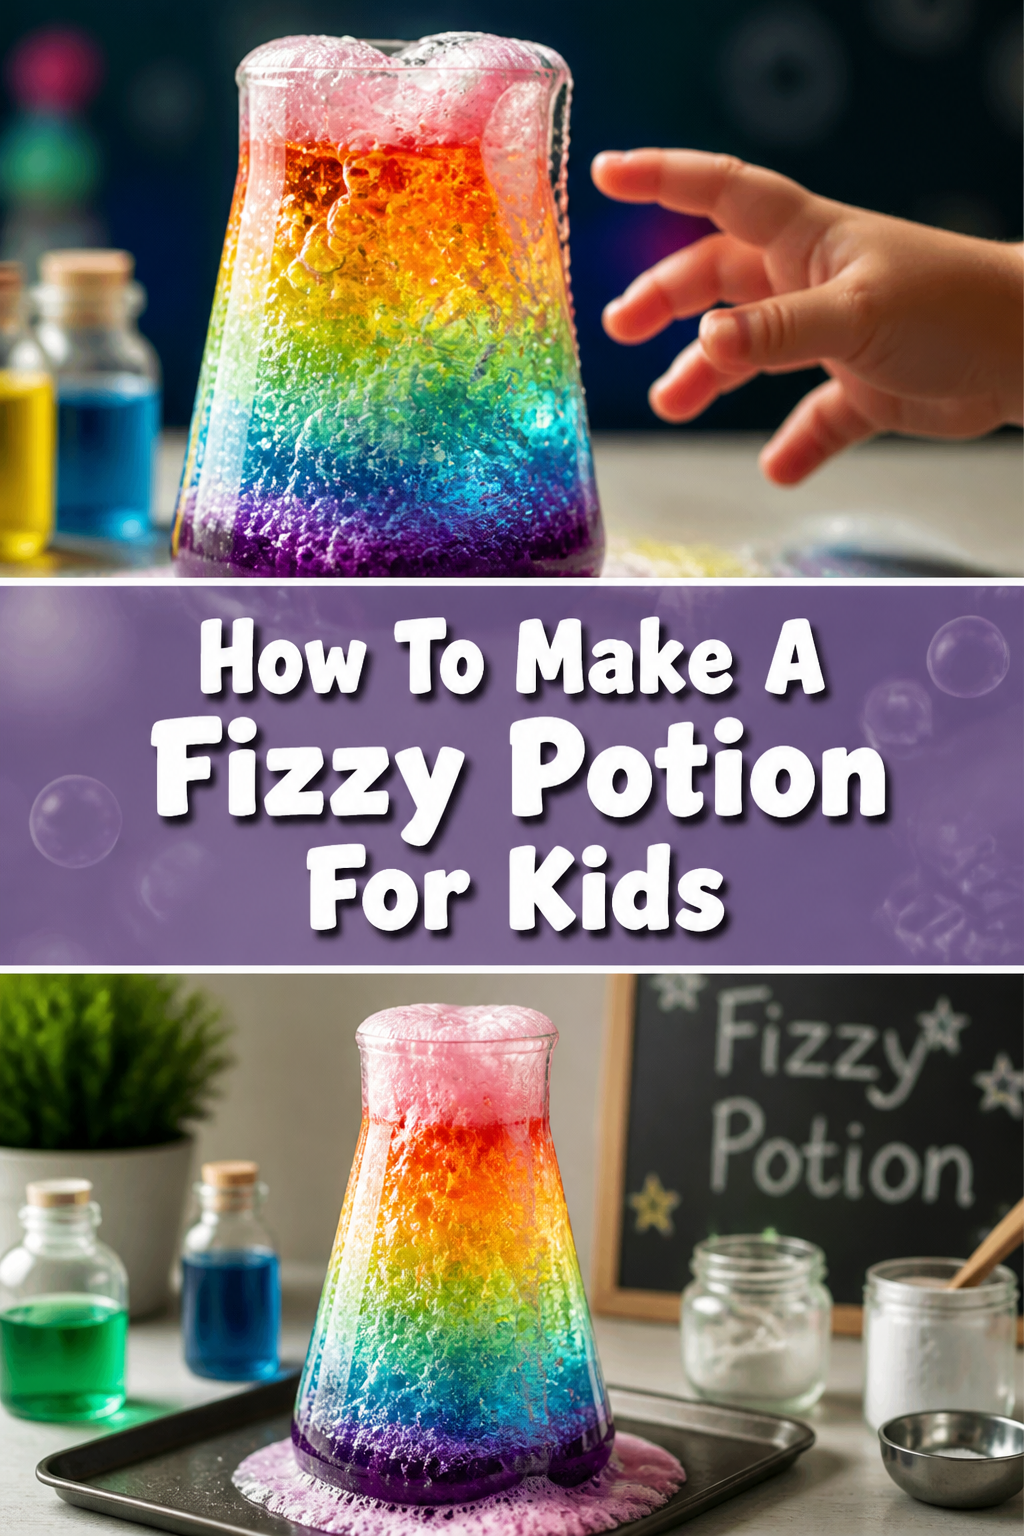
🧪 How To Make A Fizzy Potion For Kids
Have you ever seen your child’s eyes light up with pure wonder? That’s the magic we’re chasing here.
Making fizzy potions is a simple science experiment disguised as enchanting play. I’ve spent countless afternoons with little ones, watching their delight as ordinary ingredients transform into bubbling, colorful concoctions. This guide comes from those joyful, hands-on experiences, ensuring your potion-making adventure is both fun and safe.
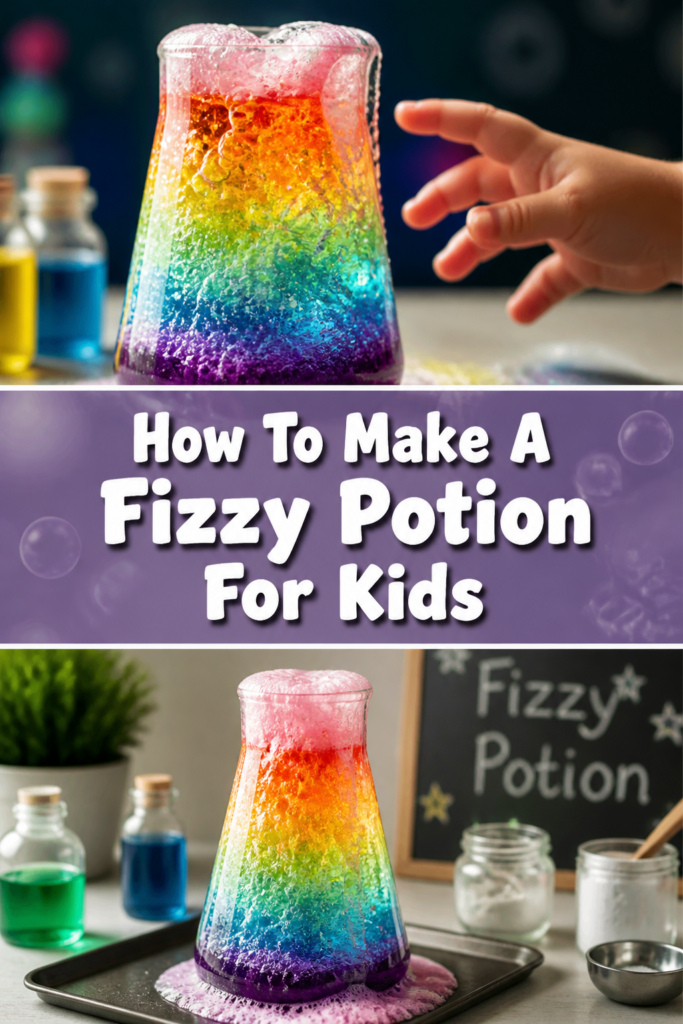
Quick Overview
Get ready to transform simple household items into a dazzling, bubbling potion that will spark your child’s imagination and introduce them to basic chemistry. This activity is wonderfully engaging and provides endless opportunities for creative play.
- Time needed: 15-30 minutes (plus unlimited play time)
- Difficulty: Beginner
- What you’ll need: Baking soda, vinegar, food coloring, glitter, small containers, spoons, and a tray.
Step-by-Step Instructions
Step 1: Gather Your Magical Ingredients
First, you need to collect all your potion-making supplies. Think of yourself as a potion master preparing their laboratory. Having everything ready makes the process smooth and enjoyable.
You will need baking soda, white vinegar, and a few drops of food coloring. Grab some glitter or small craft items for extra sparkle. Small bowls, cups, or even empty spice jars work perfectly as potion containers.
Don’t forget spoons for scooping and mixing. A large plastic tray or cookie sheet is essential to catch any spills and keep your workspace tidy.
Pro Tip: Let your child help pick out the containers. Having different shapes and sizes adds to the fun and encourages exploration. Clear containers are best for watching the fizz!
Step 2: Set Up Your Potion Station
Find a good spot to make your potions. A kitchen counter, a sturdy table, or even an outdoor picnic table works well. Lay down your plastic tray or a few layers of newspaper to protect your surface.
Arrange your empty containers on the tray. This creates individual workstations for different potion creations. Give each child their own space if multiple kids are participating.
Step 3: Add Your Potion Base
Now, let’s create the base for our fizzy magic. Carefully spoon one to two tablespoons of baking soda into each of your empty containers. The amount isn’t exact, so don’t worry too much.
This white powder is the secret ingredient for the fizz. It’s the foundation of all the bubbling fun to come. Make sure it’s spread evenly at the bottom of each container.
Step 4: Sprinkle in Sparkle and Color
This is where the potion starts to look truly magical. Add a pinch of glitter to each container of baking soda. You can use different colors of glitter for varied effects.
Next, carefully drop a few drops of food coloring into each container. Use different colors in different bowls to create a vibrant palette. The more colors, the more exciting the potions become.
The food coloring will sit on top of the baking soda and glitter. It’s already starting to look like a mystical brew!
Pro Tip: For extra sensory fun, add small natural elements like dried flower petals, tiny leaves, or even a few drops of liquid soap for more bubbles. Just make sure they are safe for kids.
Step 5: Prepare Your Magic Elixir (Vinegar)
Pour your white vinegar into a separate, easy-to-handle cup or small pitcher. This will be your “magic elixir” that activates the fizz. Make sure it’s not too full to prevent spills.
If you have a dropper or a small syringe without a needle, these are fantastic tools for controlled pouring. They also add a cool, scientific feel to the activity. Otherwise, a small spoon works just fine.
Step 6: Unleash the Fizzing Power!
It’s time for the grand finale! Slowly pour or drop the vinegar into one of your baking soda containers. Watch closely as the mixture begins to bubble and foam. The colors will swirl and mix, creating a vibrant, fizzy explosion.
Encourage your child to observe the reaction. Ask them what they see, hear, and even feel (if they carefully touch the fizz). This simple step is pure delight.
You can add more vinegar to keep the fizz going. Experiment with different amounts to see what happens. The reaction will continue as long as there’s baking soda and vinegar to react.
Step 7: Experiment and Observe
Once the initial fizz has settled, don’t stop there. Encourage your child to experiment with the remaining ingredients. Can they make a new color? What happens if they add more glitter?
They might want to mix potions from different bowls. This open-ended play is where creativity truly flourishes. It’s a wonderful opportunity for imaginative storytelling too.
Talk about why the fizz happens. Explain that baking soda is a base and vinegar is an acid. When they mix, they create carbon dioxide gas, which makes the bubbles. This is basic chemistry in action!
Step 8: Clean Up Your Potion Lab
After the potion-making adventure is complete, it’s time for cleanup. Most of the ingredients are safe to go down the drain with water. Collect all the containers and spoons.
Wipe down your tray and workspace. Involve your child in the cleanup process; it teaches responsibility and extends the learning. A quick rinse is usually all that’s needed.
The cleanup is just as important as the setup. It helps reinforce good habits and prepares the space for the next exciting activity.
Common Mistakes to Avoid
Using a Small Container for the Reaction
One common mistake is choosing a container that is too small for the potion. When vinegar and baking soda mix, they produce a gas that creates lots of foam. If the container is too small, the foam will quickly overflow.
Always opt for wider, deeper bowls or cups. This provides ample space for the fizz to rise and expand without making a huge mess. A wide mouth also makes it easier for little hands to add ingredients.
Adding Too Much Food Coloring
While vibrant colors are fun, using excessive amounts of food coloring can stain hands, clothes, and surfaces. A few drops are usually enough to achieve a beautiful, rich color in your potion.
Start with just two or three drops per container. You can always add more if you want a deeper hue. Remember, a little goes a long way, especially with concentrated liquid food dyes.
Not Protecting Your Workspace
Forgetting to put down a tray or protective covering is a frequent oversight. Even with careful pouring, spills are inevitable when kids are involved in science experiments. Vinegar can be sticky, and colored fizz can leave marks.
Always lay down a large plastic tray, an old cookie sheet, or several layers of newspaper. This simple step saves you from extensive cleanup and protects your furniture from potential stains. It turns your workspace into a contained play zone.
Rushing the Process
It’s easy to get excited and want to dump all the ingredients in at once. However, rushing through the steps can diminish the learning and the fun. Encourage slow, deliberate actions.
Let your child enjoy each stage, from gathering ingredients to adding the glitter. The anticipation and observation are key parts of the experience. Slowing down allows for more engagement and discovery.
Troubleshooting
My Potion Isn’t Fizzing
If your potion isn’t bubbling, the most likely culprit is either old baking soda or not enough vinegar. Baking soda can lose its potency over time, especially if it’s been open for a while.
Try using fresh baking soda from a newly opened box. Also, ensure you are adding enough vinegar to fully react with the baking soda. Sometimes a bigger splash of vinegar is all it takes to kickstart the reaction.
The Color Isn’t Very Vibrant
If your potion looks a bit pale, you might need more food coloring. The amount of baking soda and vinegar can dilute the color if you’ve only added a drop or two.
Add a few more drops of food coloring directly into the mixture. Stir it gently with a spoon before adding more vinegar to ensure the color disperses well. Gel food coloring can also provide a more intense hue with less product.
Too Much Overflow/Mess
A little overflow is part of the fun, but excessive mess can be frustrating. This usually happens when the container is too small or too much vinegar is added too quickly.
Ensure you are using wider, deeper containers that can accommodate a good amount of foam. Encourage your child to pour the vinegar slowly and in smaller increments. This gives them more control and allows them to observe the reaction without creating a tidal wave.
Key Takeaways
- Gather all your supplies first: A well-organized “potion lab” makes for a smoother, more enjoyable experience.
- Protect your workspace: Always use a tray or newspaper to contain spills and simplify cleanup.
- Experiment with colors and additions: Glitter, natural elements, and different food colorings enhance creativity.
- Pour vinegar slowly: This allows for controlled fizzing and better observation of the chemical reaction.
- Discuss the science: Explain the acid-base reaction between baking soda and vinegar that creates the fizz.
- Embrace the mess and creativity: Potion making is about exploration, imagination, and learning through play.
Frequently Asked Questions
Is this safe for very young children?
Yes, this activity is generally safe for young children, even toddlers, with proper supervision. Ensure they don’t ingest the ingredients. Use non-toxic food coloring and always supervise closely to prevent any accidental consumption or eye contact.
Can we use different types of vinegar?
White vinegar is recommended because it’s clear and won’t affect the color of your potions. Other vinegars, like apple cider vinegar, will also work chemically, but their natural color might alter your desired potion hues. Stick to white vinegar for the best visual results.
How can we make the fizz last longer?
The fizz will stop when either the baking soda or the vinegar runs out. To make it last longer, you can add more baking soda to the container, or continue to slowly add more vinegar. Using a dropper to add vinegar in small bursts can extend the fizzing action.
What if we don’t have food coloring?
No food coloring? No problem! Your potion will still fizz wonderfully. You can use natural alternatives like beet juice for a pink hue, turmeric for yellow, or even a tiny bit of liquid watercolor paint (if non-toxic and washable). Or simply enjoy the clear, sparkling fizz!
Our Top Recommended Finds
- Large Plastic Activity Tray: Perfect for containing all the fizz and mess, making cleanup a breeze.
- Kid-Friendly Droppers/Pipettes: These allow for precise pouring of vinegar, adding a scientific touch and great fine motor practice.
- Washable Craft Glitter Set: A multi-color glitter pack encourages endless creative combinations and washes off easily.
Unleash Your Inner Alchemist Today!
Making fizzy potions is more than just a fun activity; it’s an invitation to explore, create, and discover. It brings science to life in a way that truly captivates young minds. Every bubbling reaction is a tiny moment of magic, right there in your home.
Don’t wait for a special occasion. Gather your simple ingredients this afternoon and embark on a sparkling adventure. You’ll be amazed at the joy and wonder it brings. Who knows what incredible concoctions your little alchemist will create next!