🧁 How To Set Up A Bakery Play Area
Imagine the delightful aroma of imaginary cookies, the clatter of tiny mixing bowls, and the joyous shouts of a child creating their culinary masterpiece.
A bakery play area isn’t just a collection of toys; it’s a vibrant hub for imagination, creativity, and skill development.
Having set up countless imaginative play spaces for my own children and in early learning environments, I’ve seen firsthand how a well-designed bakery nook can spark hours of engaging, independent play.
Quick Overview
Transforming a corner of your home into a bustling bakery is a rewarding project.
This guide will walk you through creating a space where little bakers can thrive, fostering endless imaginative play.
- Time needed: 2-4 hours (depending on DIY elements)
- Difficulty: Beginner
- What you’ll need: Play kitchen, play food, baking tools, craft supplies, storage solutions
Step-by-Step Instructions
Step 1: Designate Your Bakery Zone
Select a specific area for your bakery. This could be a corner of a playroom, a section of a bedroom, or even a designated spot in a living area.
Consider the available light and how much foot traffic the area receives. A quiet corner can encourage focused play.
Pro Tip: Look for unused nooks or under-stairs spaces. These can feel extra special and cozy, like a real hidden bakery.
Step 2: Gather Core Bakery Furniture
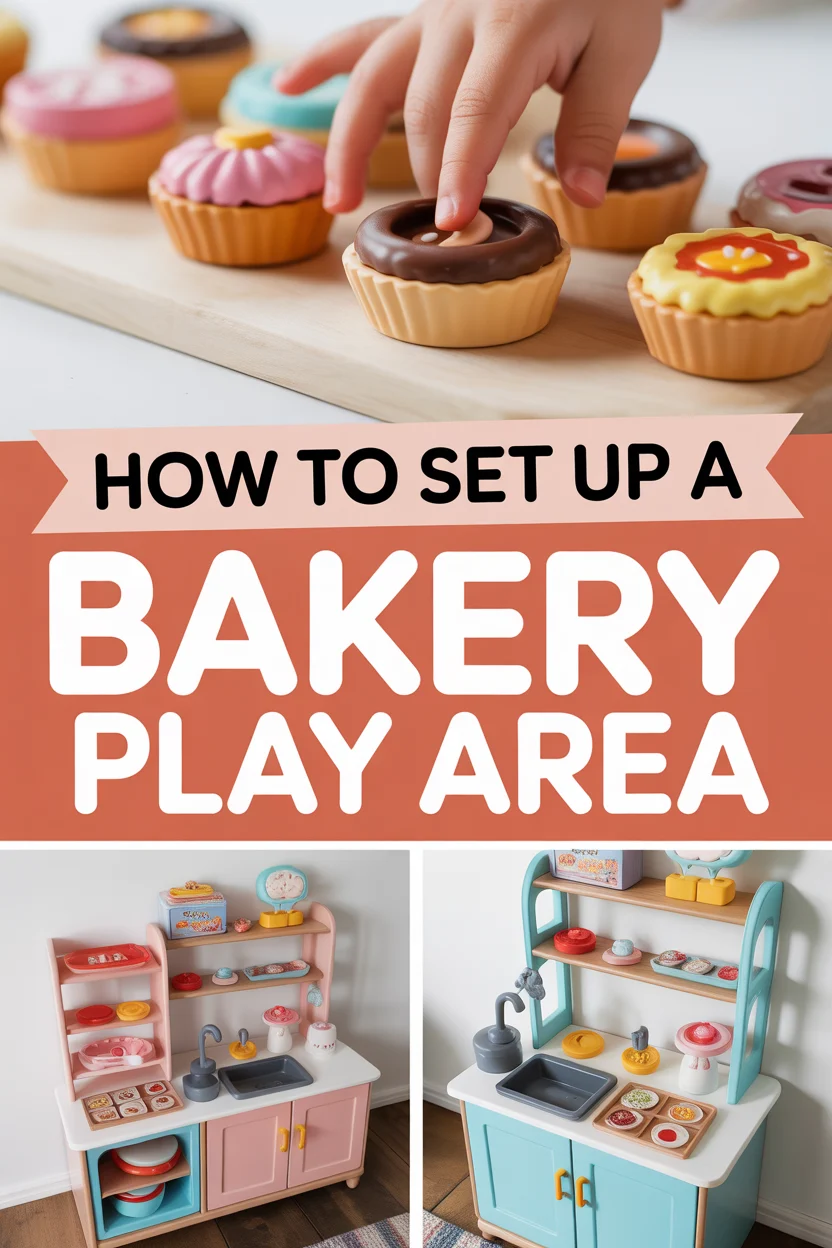
Start with a play kitchen if you have one; it’s the perfect foundation. If not, a small table or a sturdy cardboard box can serve as a counter.
Add a small shelf or cube organizer nearby to act as pantry storage or a display shelf. These pieces define the space and provide structure.
Step 3: Stock the Pantry with Play Food
Collect a variety of play food items. Think about common bakery ingredients like flour, sugar, eggs, and milk.
You can use empty, clean food containers (e.g., small spice jars, oatmeal canisters) labeled for a realistic touch. Include finished products like cakes, cookies, and bread.
Pro Tip: DIY play food is wonderful for a personal touch. Felt cookies, painted rocks as “baked goods,” or even playdough creations can be fantastic additions.
Step 4: Equip with Baking Tools and Utensils
Provide miniature baking tools. A play mixer, rolling pin, cookie cutters, and measuring spoons are essential.
Look for child-safe plastic or wooden versions. Small bowls, baking trays, and spatulas complete the set, allowing for realistic role-playing.
Step 5: Create an Inviting Display Area
Set up a counter or a small table to showcase the “baked goods.” A cake stand or a tiered tray adds a professional touch.
Use small baskets or clear containers to hold different types of treats. This display encourages children to “sell” their creations.
Step 6: Design the Bakery Menu and Signage
Make a menu board for the bakery. A small chalkboard or a laminated sheet of paper works well.
Encourage children to help draw or write the items. Create small labels for individual treats, enhancing literacy and imaginative play.
Pro Tip: Use simple pictures for younger children on the menu. Older children can practice writing prices and item names.
Step 7: Incorporate Sensory Play Elements
Introduce sensory materials for a richer experience. Playdough in various colors can be “dough” for endless shaping and baking.
Dried beans or rice in a bin can simulate flour or sprinkles. Always supervise sensory play, especially with younger children.
Step 8: Organize for Easy Cleanup
Implement clear storage solutions. Labelled bins, baskets, or drawers help children know where everything belongs.
This makes cleanup a natural part of the play routine. Easy organization helps maintain the play area and encourages independent tidying.
Step 9: Personalize and Decorate the Space
Add decorative touches to make the bakery feel special. A small banner with “Sweet Treats” or “Our Bakery” sets the mood.
Hang some child-friendly artwork or drawings of baked goods. Include a child-sized apron and chef’s hat to complete the immersive experience.
Step 10: Conduct a Thorough Safety Check
Inspect all items for safety before play begins. Ensure there are no small parts that could be choking hazards for younger children.
Check for sharp edges or splinters on wooden toys. Secure any shelves or furniture to the wall if there’s a risk of tipping.
Common Mistakes to Avoid
Overcrowding the Play Area
It’s tempting to fill the space with every toy imaginable. However, too many items can overwhelm children and make it difficult to focus their play.
Instead, curate a selection of high-quality, open-ended items. Rotate toys periodically to keep the play area fresh and engaging without adding clutter.
Ignoring Storage Solutions
A messy play area quickly becomes an unused one. If toys don’t have a designated home, cleanup becomes a daunting task for both children and adults.
Invest in clear bins, baskets, and shelves from the start. Label them with pictures or words to make putting things away intuitive for your child.
Lack of Variety in Play Items
Using the same items day after day can lead to children losing interest. Play areas thrive on novelty and opportunities for new scenarios.
Periodically introduce new ingredients, baking tools, or display items. You don’t need to buy new things; simply rotate items from storage or create DIY additions.
Forgetting Child Safety Measures
Excitement to set up can sometimes overshadow essential safety considerations. Small parts, unstable furniture, or non-toxic materials are crucial.
Always prioritize child safety. Double-check all toys for age appropriateness and potential hazards, and secure any furniture that could tip over.
Troubleshooting
Child Loses Interest in the Bakery
It’s natural for children’s interests to ebb and flow. If your child isn’t playing in the bakery area, consider a refresh.
Try introducing a new element, like a special “customer” (a puppet or stuffed animal) or a new recipe card. Sometimes, simply joining in the play for a few minutes can reignite their imagination and show them new ways to interact with the space.
Play Area Becomes Too Messy
Imaginative play can get wonderfully chaotic. If the mess is becoming overwhelming, it might be time to re-evaluate your organization system or daily routine.
Involve your child in the cleanup process, making it a game. Simplify the number of items available or designate specific times for “bakery closing” and tidying up.
Limited Space for a Dedicated Area
Not everyone has a large playroom. If space is a constraint, get creative with vertical storage and multi-purpose items.
Consider a foldable play kitchen or a rolling cart that can be tucked away. Use wall-mounted shelves or hooks to keep items off the floor. Even a small “bakery box” filled with essentials can offer great play value.
Key Takeaways
- Start Simple: Begin with core furniture and a few essential items, building up gradually.
- Encourage Creativity: Incorporate DIY elements and open-ended toys to spark imagination.
- Prioritize Organization: Use clear storage solutions to make cleanup easy and maintain the play area.
- Rotate Items: Periodically refresh the play space with new items or themes to keep children engaged.
- Ensure Safety: Always check for age-appropriate, non-toxic, and secure items to prevent hazards.
- Involve Your Child: Let them help in setting up and decorating to foster ownership and excitement.
Frequently Asked Questions
What age is a bakery play area suitable for?
A bakery play area is wonderful for a wide range of ages, typically from toddlers (around 18 months) up to early elementary school (7-8 years old). Adjust the complexity of the tools and the size of the play food to suit the child’s developmental stage and safety needs.
How can I make a bakery play area budget-friendly?
You don’t need to spend a lot. Utilize items you already have, like old pots and pans, empty food containers, and cardboard boxes for ovens or counters. DIY play food from felt, clay, or painted rocks is cost-effective and adds a unique touch. Thrift stores and dollar stores are also great resources for inexpensive props.
How often should I refresh the items in the play area?
Refreshing items every few weeks or once a month can help maintain interest. You don’t need to completely overhaul it. Simply swapping out a few play food items, introducing a new “special of the day” on the menu, or bringing out a different set of cookie cutters can make the space feel new and exciting again.
What if I don’t have much space for a dedicated area?
Even a small corner or a portable bin can work wonders. Consider a “bakery kit” in a sturdy box that can be pulled out and set up on a small table. Vertical storage with wall shelves or a multi-tiered cart can maximize limited space. Focus on quality over quantity for the items you include.
Our Top Recommended Finds
- Wooden Play Kitchen Set: Provides a durable and aesthetically pleasing base for all baking adventures.
- Assorted Play Food Set: Offers a variety of ingredients and finished products to inspire diverse culinary creations.
- Kids’ Chef Hat & Apron Set: Enhances the role-playing experience, making little bakers feel like true professionals.
Whip Up Wonderful Worlds of Play!
Creating a bakery play area is more than just arranging toys; it’s about crafting an environment where imagination can truly flourish.
Watch as your child develops social skills, problem-solving abilities, and a love for creative expression through play.
Why wait? Gather your supplies today and start baking up endless fun and learning in your very own home!