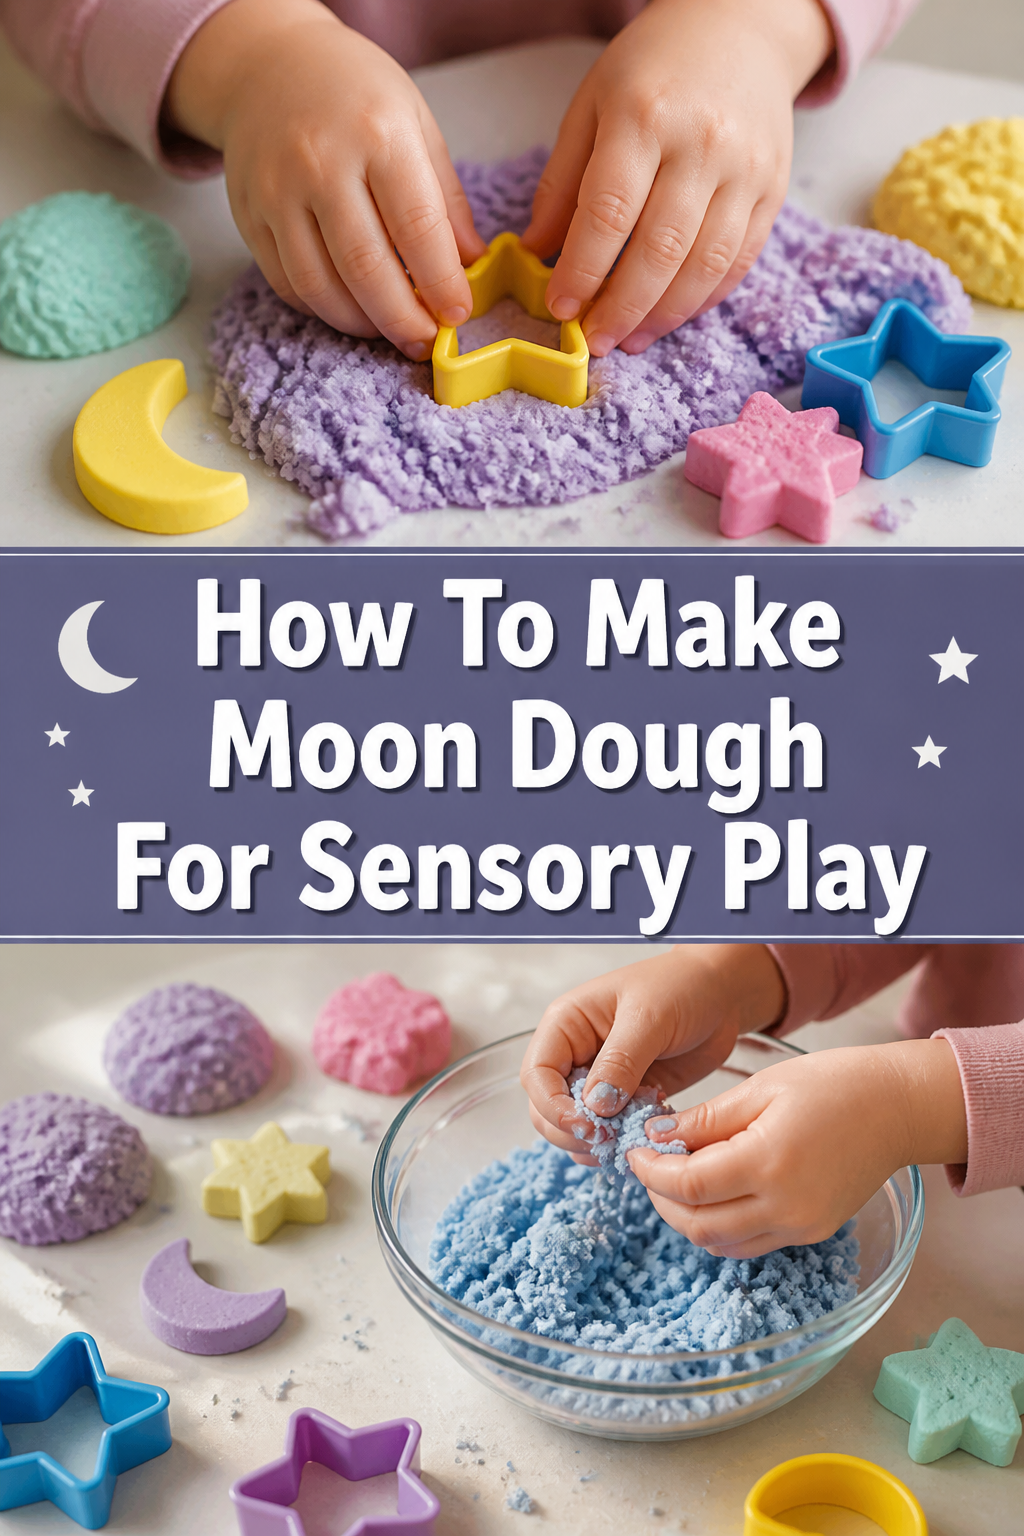
✨ How To Make Moon Dough For Sensory Play
Have you ever watched a child completely mesmerized by a new texture? That pure joy of discovery is what sensory play offers. I’ve spent countless hours creating various sensory materials for my own kids and for classrooms, and Moon Dough is always a huge hit. It’s a fantastic, simple recipe that delivers hours of captivating, calming fun.
This guide will walk you through creating your very own batch of Moon Dough, ensuring you have all the tips and tricks for success. You’ll soon understand why this particular sensory material is a favorite among parents and educators alike.

Quick Overview
Making Moon Dough is a delightfully simple process that yields an incredibly satisfying sensory experience. You’ll combine common kitchen ingredients to create a moldable, crumbly, yet cohesive material perfect for little hands. This guide covers everything from basic ingredients to advanced tips and troubleshooting.
- Time needed: 15-20 minutes (prep and mixing)
- Difficulty: Beginner
- What you’ll need: All-purpose flour, baby oil (or substitute), optional food coloring, glitter, or essential oils.
Step-by-Step Instructions
Step 1: Gather Your Ingredients and Tools
Collect all your necessary items before you begin. Having everything at hand makes the process smoother and more enjoyable.
Ensure your workspace is clean and spacious. A large, flat surface is ideal for mixing.
You will need a large mixing bowl, a measuring cup, measuring spoons, and a whisk or spoon for stirring. Gather your flour, baby oil, and any optional additions like food coloring or glitter now.
Step 2: Measure the Flour
Measure out four cups of all-purpose flour into your large mixing bowl. Accuracy here is helpful for the best texture.
Level your measuring cup carefully to ensure the correct amount. This forms the base of your Moon Dough.
Step 3: Add Optional Dry Ingredients
Incorporate any dry optional ingredients at this stage. If you’re using glitter, sprinkle it into the flour now.
Stir the glitter evenly throughout the flour using your whisk or spoon. This ensures a consistent sparkle in your finished dough.
Pro Tip: For extra visual appeal, try using fine iridescent glitter. It catches the light beautifully, enhancing the “moon” effect.
Step 4: Gradually Add Baby Oil
Begin by measuring half a cup of baby oil. Pour about half of this amount into the flour.
Stir the mixture thoroughly with your spoon or whisk. You want to distribute the oil as evenly as possible.
Continue adding the remaining baby oil a little at a time, mixing well after each addition. The goal is to reach a texture that resembles damp sand.
Observe the mixture closely. It should start clumping together when squeezed, but still be crumbly when released.
Step 5: Test the Consistency
Pick up a small handful of the mixture. Gently squeeze it in your palm.
Check if it holds its shape when you open your hand. It should form a loose ball or clump.
Release the pressure. The dough should then easily crumble apart, but still feel slightly cohesive.
Adjust the oil if needed. If it’s too dry and won’t hold shape, add a teaspoon more oil. If it’s too wet and greasy, add a tablespoon of flour.
Pro Tip: The ideal consistency is often described as “cloud dough.” It’s soft, pliable, and holds its shape without being sticky or overly oily. Trust your sense of touch here.
Step 6: Incorporate Optional Wet Ingredients (Color & Scent)
Add a few drops of liquid food coloring if desired. Gel food coloring often provides a more vibrant hue.
Knead the dough thoroughly with your hands to distribute the color evenly. This might take a few minutes.
Apply a few drops of a child-safe essential oil, like lavender or vanilla extract, for a calming scent. Mix it in well.
Wear gloves if you are using strong food coloring to prevent staining your hands. The color will eventually fade, but gloves offer immediate protection.
Step 7: Knead for Perfect Texture
Transfer the mixture from the bowl to a clean, flat surface. This allows for more effective kneading.
Knead the Moon Dough with your hands for about 5-10 minutes. This process further combines the ingredients and refines the texture.
Work the dough until it feels smooth and consistent. It should now easily hold its shape when pressed and still crumble beautifully.
Step 8: Prepare for Play and Storage
Place your freshly made Moon Dough into a sensory bin or a large tray. Add scoops, molds, and small toys for an inviting play experience.
Store any leftover Moon Dough in an airtight container or a large zip-top bag. This prevents it from drying out.
Keep it in a cool, dry place. Properly stored Moon Dough can last for several weeks, sometimes even months.
Common Mistakes to Avoid
Adding Too Much Oil Too Quickly
One of the most common pitfalls is pouring in all the oil at once. This often results in a greasy, overly wet dough that is difficult to fix. The flour can only absorb so much liquid.
Instead, always add the oil gradually, a little at a time. Mix thoroughly after each addition and test the consistency as you go. It’s much easier to add more oil than to try and compensate for too much by adding more flour.
Not Mixing Thoroughly Enough
Some people stop mixing once the ingredients look generally combined. However, insufficient mixing leaves pockets of dry flour or overly oily sections. This leads to an inconsistent and less satisfying texture.
Make sure to mix and knead the dough until it is uniform in color and texture. Take your time, especially when incorporating color, to ensure an even distribution throughout the entire batch.
Using the Wrong Type of Oil
While baby oil is traditional, some people might substitute with cooking oils like vegetable or olive oil. These oils can work, but they might leave a greasy residue on hands and could potentially go rancid over time, leading to an unpleasant smell.
Stick to baby oil for its consistent, non-greasy feel and long shelf life. If you need an alternative, liquid coconut oil or even mineral oil are good choices, as they are stable and won’t spoil.
Forgetting Proper Storage
Leaving Moon Dough exposed to the air is a sure way to shorten its lifespan. It will dry out quickly, becoming crumbly and unusable. This negates all your hard work in creating it.
Always store your Moon Dough in an airtight container or a sealed plastic bag immediately after play. This simple step preserves its soft, moldable texture for future sensory adventures.
Troubleshooting
Moon Dough is Too Crumbly and Won’t Hold Shape
If your Moon Dough feels excessively dry and falls apart easily, it likely needs more oil. The flour hasn’t absorbed enough liquid to create cohesion.
Solution: Add baby oil a very small amount at a time, perhaps half a teaspoon. Mix it thoroughly into the dough, then test the consistency again. Repeat this process until it holds a gentle shape when squeezed.
Moon Dough is Too Greasy or Oily
When the dough leaves a noticeable oily residue on hands or feels excessively wet, you’ve added too much oil. This can make it unpleasant to play with.
Solution: Gradually add more all-purpose flour, a tablespoon at a time. Knead it into the dough until the greasiness subsides and the texture becomes more balanced. It might take a few additions to reach the right consistency.
Moon Dough Dries Out Quickly After Play
If your Moon Dough loses its pliability and becomes hard or brittle after just a short time, it wasn’t stored correctly, or it was on the drier side to begin with.
Solution: Ensure you are always storing the dough in a truly airtight container or heavy-duty zip-top bag. If it’s already dry, you might be able to revive it by kneading in a small amount of baby oil, a few drops at a time, until it regains its soft texture.
Key Takeaways
- Gradual addition of oil is crucial for achieving the perfect Moon Dough consistency.
- Thorough mixing and kneading ensure a uniform texture and vibrant color.
- Baby oil is the recommended choice for its non-greasy feel and stability.
- Always test the dough’s consistency by squeezing it to ensure it holds shape.
- Proper airtight storage is essential for extending the life of your Moon Dough.
- Moon Dough offers a wonderful, calming sensory experience for all ages.
Frequently Asked Questions
How long does homemade Moon Dough last?
When stored in an airtight container in a cool, dry place, homemade Moon Dough can last for several weeks, often up to a few months. The lack of water in the recipe helps prevent mold growth, unlike traditional playdough.
Is Moon Dough safe if ingested by a child?
While made from food-grade ingredients, Moon Dough is not intended for consumption. Flour can be a choking hazard, and baby oil is not meant to be eaten. Always supervise children during sensory play to prevent ingestion.
Can I use cornstarch instead of flour?
Using cornstarch will result in a different type of sensory material, often called “cloud dough” or “oobleck” if water is added. For classic Moon Dough that holds its shape well and has a unique crumbly-yet-moldable texture, all-purpose flour is the best choice.
What if I don’t have baby oil?
You can substitute baby oil with other stable, non-food-grade oils like mineral oil. If you prefer a natural option, liquid coconut oil (fractionated coconut oil) or even a very light, unscented body oil can work. Avoid cooking oils if you want to maximize shelf life and prevent rancidity.
Our Top Recommended Finds
- Large Mixing Bowl Set: Essential for easy mixing and containing the flour. A good set often includes various sizes for different projects.
- Sensory Bin or Tray: Provides a dedicated, contained space for play, minimizing mess and encouraging exploration.
- Child-Safe Scoops and Molds: Enhances the play experience, allowing children to manipulate and shape the Moon Dough in creative ways.
Unleash Your Inner Creator and Play!
Making Moon Dough is more than just a craft; it’s an invitation to explore, create, and engage the senses. The satisfaction of transforming simple ingredients into a magical, tactile experience is truly rewarding. This guide has given you all the tools and knowledge you need to succeed.
Don’t wait to bring this wonderful sensory adventure into your home. Gather your ingredients today and watch the pure delight on faces as hands dive into the soft, crumbly, yet moldable texture of homemade Moon Dough. Consider exploring other sensory recipes next, like slime or homemade playdough, to continue the fun!