🌟 How To Make A Baggy Shirt Fitted
Do you have a favorite baggy t-shirt that just doesn’t quite fit right anymore?
Perhaps you’ve found a great vintage piece, but the silhouette feels a little too relaxed.
I’ve been there, turning oversized finds into perfectly tailored staples, and I’m excited to share how simple it can be.
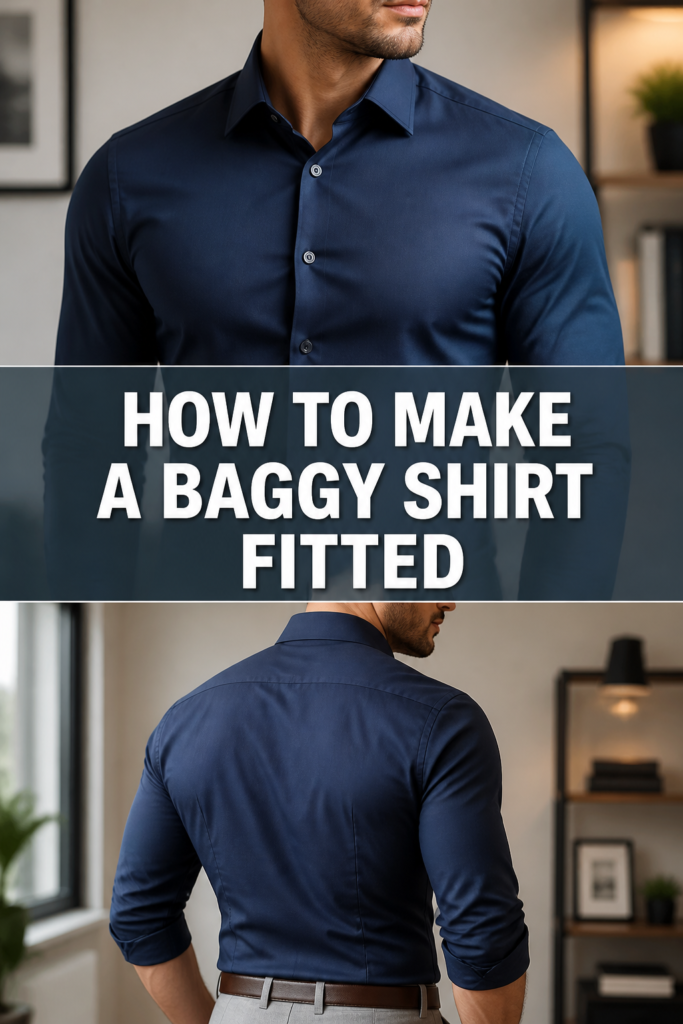
Quick Overview
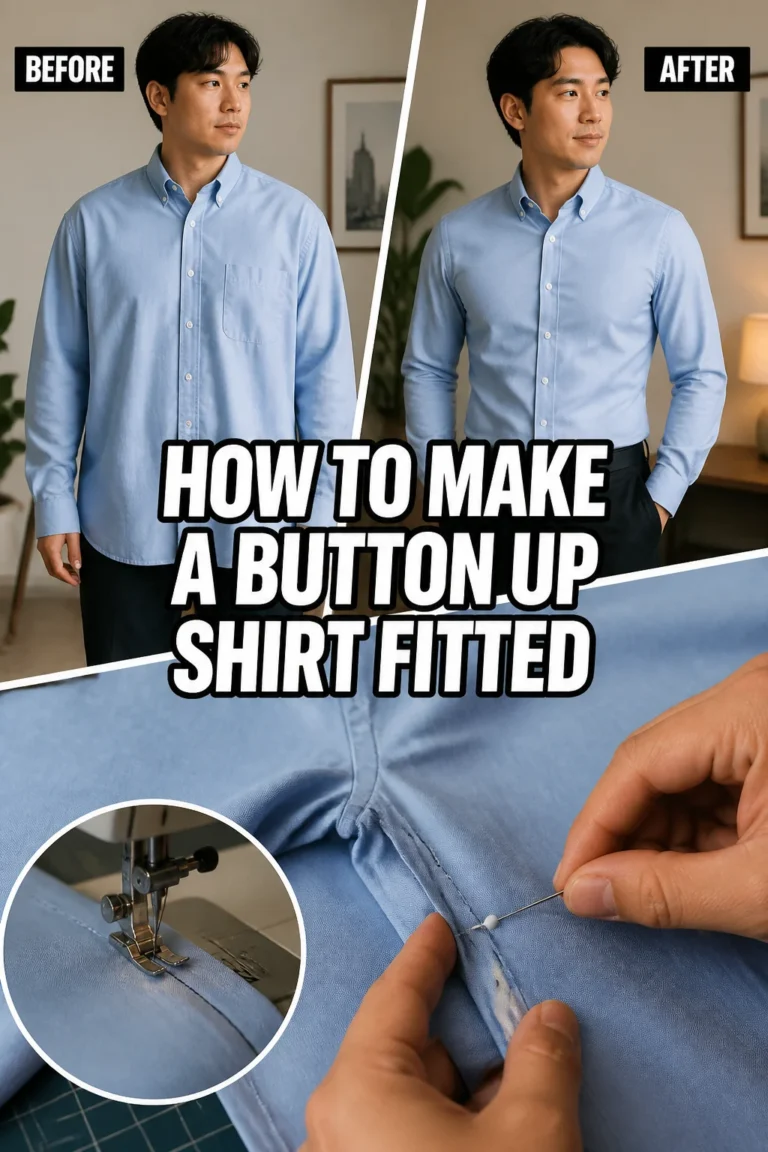
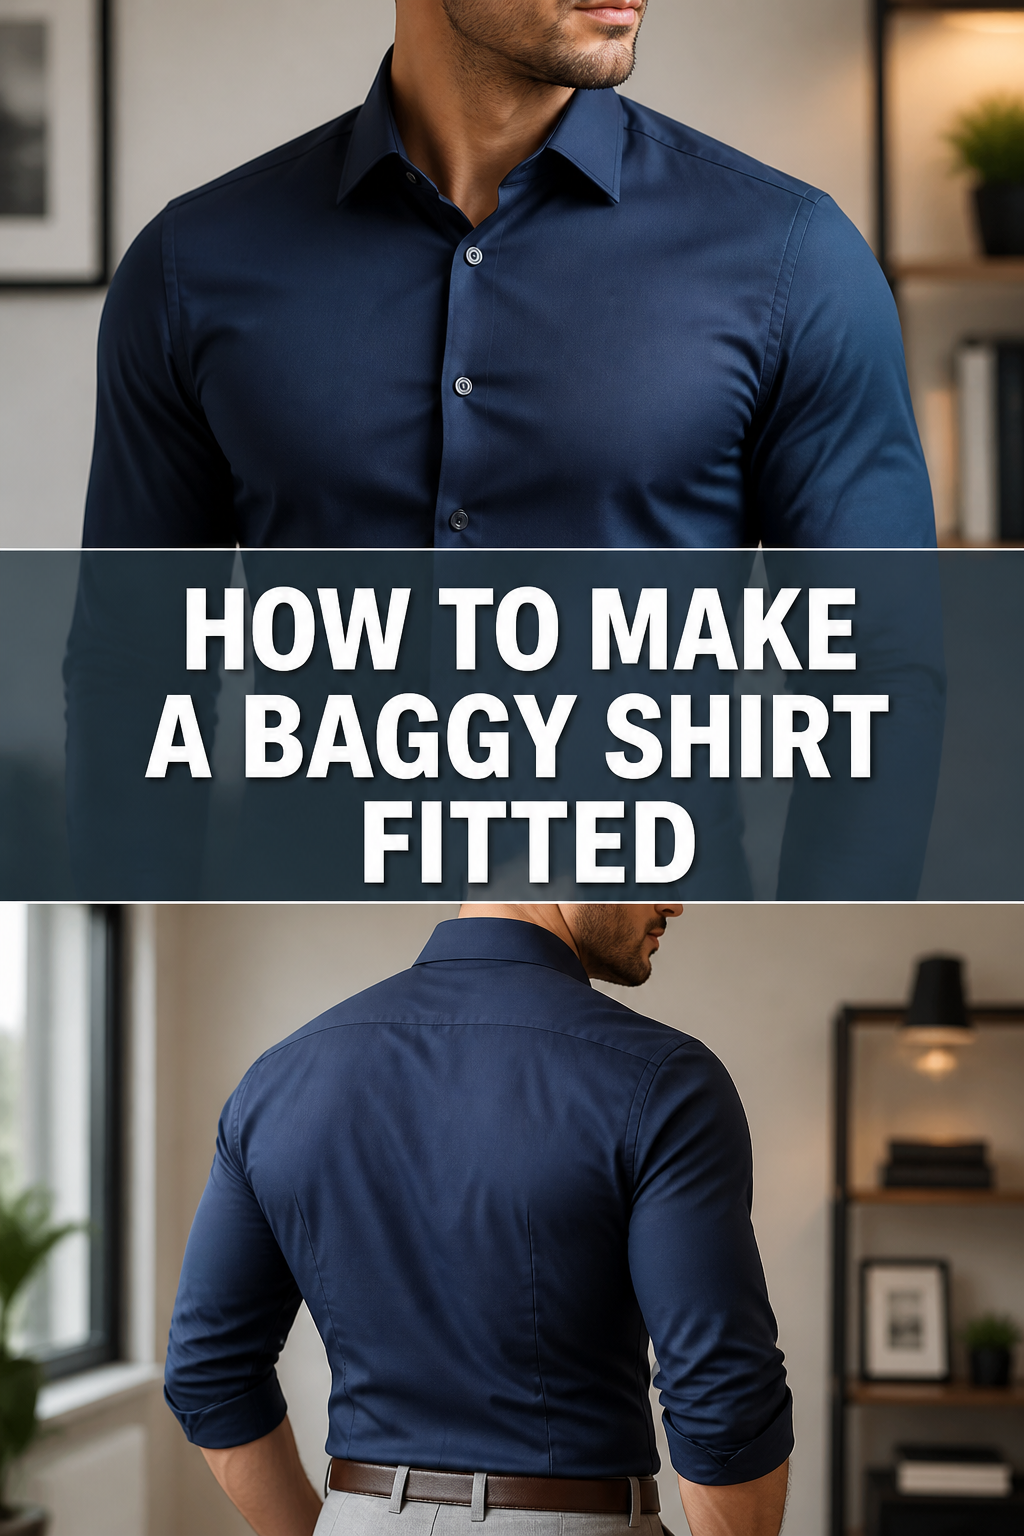
This guide will walk you through the process of transforming a loose, shapeless shirt into a garment that flatters your unique body shape.
You’ll learn how to accurately measure, mark, and sew new side seams for a custom, comfortable fit.
- Time needed: 1-3 hours (depending on sewing experience)
- Difficulty: Beginner to Intermediate
- What you’ll need: Sewing machine, pins, fabric scissors, tailor’s chalk, measuring tape, seam ripper, iron.
Step-by-Step Instructions
Step 1: Gather Your Supplies
Before you begin, make sure you have all the necessary tools within easy reach.
Having everything organized will make the entire process smoother and more enjoyable.
- Find a clear, well-lit workspace where you can comfortably lay out your shirt.
- Collect your sewing machine, a fresh needle, and thread that matches your shirt color.
- Grab sharp fabric scissors, a box of sewing pins, and a flexible measuring tape.
- Locate your tailor’s chalk or a washable fabric marker, and a seam ripper for any corrections.
- Ensure your iron and ironing board are ready for pressing seams.
Step 2: Try On and Pin for Fit
This is the most crucial step for achieving a truly custom fit.
Don’t rush this part; precision here saves time later.
- Put on the baggy shirt you wish to alter.
- Wear the undergarments you would typically wear with this type of shirt to ensure an accurate fit.
- Stand in front of a mirror, ideally a full-length one, to see your entire silhouette.
- Pinch the excess fabric along the side seams, starting from just below the armpit.
- Pull the fabric until the shirt feels comfortably snug but not tight.
- Insert pins vertically along the new desired seam line, making sure they go through both layers of fabric.
- Continue pinning down to the hem, gradually tapering the line to your natural waist or hips.
- Repeat this process on the other side of the shirt, aiming for symmetry.
- Take your time to adjust the pins until you are happy with how the shirt drapes and feels.
Pro Tip: Have a friend help you with pinning the back and ensuring evenness. If working alone, take small steps, adjusting and repinning as needed. Move around a little to check for comfort and mobility.
Step 3: Mark Your New Seam Lines
Once pinned, you need to transfer those temporary pin lines into permanent markings.
This ensures you have a clear guide for sewing.
- Carefully remove the shirt, keeping all the pins in place.
- Lay the shirt flat on a large, even surface.
- Use your tailor’s chalk or fabric marker to draw a clear line along the outside of the pins.
- Start from just below the armpit seam and follow the pinned line down to the hem.
- Draw this line on both sides of the shirt, mimicking the pinned shape.
- Remove all the pins once your lines are clearly marked.
- Flip the shirt inside out. This is the side you will be sewing on.
- Redraw your chalk lines on the inside of the shirt, ensuring they are identical to your external markings.
Step 4: Measure and Double-Check
Accuracy is key in sewing, especially when creating a fitted garment.
A quick measurement check can prevent mistakes.
- Measure the width of the shirt at various points along your new chalk lines.
- Compare these measurements to a shirt that already fits you well.
- Ensure both side seams are marked symmetrically; measure the distance from the center front or back to the chalk line on each side.
- Adjust your chalk lines if any discrepancies are found.
- Add a seam allowance of about 1/2 inch (1.25 cm) outside your chalk line. This will be your cutting line.
- Draw a second, parallel line for this seam allowance.
Pro Tip: Always err on the side of leaving a little more fabric. It’s much easier to take a shirt in further than to let it out once cut. You can always re-pin and sew a second time.
Step 5: Prepare for Sewing
Getting your sewing machine ready and preparing the fabric correctly sets you up for success.
This step prevents common sewing frustrations.
- Thread your sewing machine with a color that closely matches your shirt.
- Select a universal needle suitable for your fabric type (jersey knit for t-shirts, woven for button-downs).
- Set your machine to a straight stitch, with a stitch length of about 2.5 to 3.0.
- Test the stitch on a scrap piece of similar fabric to ensure tension is correct.
- Pin along your drawn chalk lines on the inside of the shirt.
- Place pins perpendicular to the seam line, about every inch or two.
- Ensure the fabric layers are perfectly aligned and smooth before pinning.
Step 6: Sew the New Side Seams
Now it’s time to bring your vision to life with the sewing machine.
Take your time and guide the fabric smoothly.
- Start sewing from the bottom hem of the shirt.
- Begin with a few backstitches to secure the seam.
- Slowly stitch along your marked chalk line, guiding the fabric with both hands.
- Remove pins as you approach them, never sew over pins as this can damage your needle or machine.
- Maintain a consistent seam allowance throughout the entire line.
- Continue sewing all the way up to just below the armpit seam.
- Finish with a few backstitches at the top to secure the stitching.
- Repeat this exact process for the other side seam of the shirt.
Step 7: Trim Excess Fabric
Once your new seams are sewn, you’ll have excess fabric on the inside.
Trimming this makes the shirt more comfortable and less bulky.
- Using your sharp fabric scissors, carefully cut away the excess fabric.
- Cut about 1/2 inch (1.25 cm) away from your newly sewn seam line.
- Ensure you do not accidentally cut into your stitched seam.
- Trim both side seams evenly.
Step 8: Finish the Seams
Finishing the raw edges of your seams prevents fraying and gives your shirt a professional, durable finish.
This is especially important for garments that will be washed frequently.
- Use a zigzag stitch on your sewing machine.
- Stitch along the raw edge of the trimmed seam allowance.
- Ensure the zigzag stitch catches both the fabric edge and the seam allowance.
- Alternatively, if you have a serger, use it to neatly finish the raw edges.
- Repeat for both newly sewn side seams.
Step 9: Press the Seams
Ironing your seams flat is a simple step that makes a huge difference in the final appearance of your fitted shirt.
It creates crisp lines and a polished look.
- Take your shirt to the ironing board.
- Set your iron to the appropriate temperature for your shirt’s fabric type.
- Press the newly sewn side seams open or to one side.
- Steam can help to flatten the seams effectively.
- Ensure there are no puckers or wrinkles along the seam lines.
Step 10: Final Try-On and Adjustments
The moment of truth! Try on your newly fitted shirt to admire your work.
This is your chance for any final tweaks.
- Put on the shirt and check the fit.
- Move your arms and body to ensure it’s comfortable and allows full range of motion.
- If it’s still a bit loose, you can go back and sew a second, slightly narrower seam.
- If it’s too tight, carefully use your seam ripper to remove some stitches and let out the seam slightly, then re-sew.
- Enjoy your perfectly fitted shirt!
Common Mistakes to Avoid
Cutting Too Much Fabric
One of the most common pitfalls is getting overly eager with the scissors. If you cut too much, there’s no going back, and your shirt might become unwearable.
Always remember the rule: you can always take more fabric in, but you can’t add it back. Be conservative with your initial cut, leaving a generous seam allowance.
Uneven Seam Lines
Sewing a crooked or wavy seam line will result in a shirt that looks homemade in a bad way. This often happens when rushing or not marking clearly.
Take your time marking with chalk, pin frequently, and guide the fabric slowly through your machine. Practice on scrap fabric if you’re new to straight stitching.
Not Finishing Seams
Skipping the step of finishing your raw seam edges can lead to disappointment. Unfinished seams will fray with wear and washing, eventually unraveling your hard work.
Always use a zigzag stitch or a serger to secure the raw edges. This makes your garment more durable and gives it a professional look from the inside out.
Forgetting to Press
The iron is your best friend in sewing, and neglecting it can make your project look sloppy. Unpressed seams appear bulky and untidy.
Pressing your seams flat after sewing makes them lie smoothly, giving your shirt a crisp, finished appearance that elevates the entire garment.
Troubleshooting
Shirt Still Feels Too Big
It’s common to be a little too cautious on your first attempt, resulting in a shirt that’s still looser than desired. Don’t worry, this is an easy fix.
Simply try the shirt on again, re-pin the sides for a tighter fit, and then sew a new seam just inside your original stitch line. You can then trim the excess closer to this new seam.
Seams Are Puckering or Wavy
Puckering often occurs with knit fabrics if the machine tension is off, or if the fabric is stretched while sewing. It can also happen if your stitch length is too short.
Ensure your machine tension is appropriate for the fabric. For knits, use a walking foot if you have one, or gently guide the fabric without stretching. Increase your stitch length slightly to prevent puckering.
Fabric Stretches While Sewing
Knit fabrics are prone to stretching, which can distort your seam lines and the overall fit. This is a common challenge for beginners.
Use a ballpoint or stretch needle to prevent piercing and damaging knit fibers. Reduce your presser foot pressure if possible, and use a walking foot. Guide the fabric gently without pulling or pushing.
Key Takeaways
- Accurate pinning and marking are the foundation of a successful alteration.
- Always measure twice and cut once, leaving room for adjustments.
- Sewing slowly and steadily ensures straight, even seams.
- Finishing your raw seams prevents fraying and adds durability.
- Pressing your seams is a critical step for a professional finish.
- Don’t be afraid to make small adjustments after the initial sew and try-on.
Frequently Asked Questions
Can I do this without a sewing machine?
While possible with hand sewing, it will be significantly more time-consuming and challenging to achieve strong, even seams. A sewing machine is highly recommended for durability and a professional finish.
What if my shirt is made of a stretchy fabric?
Stretchy fabrics like jersey knits require a ballpoint or stretch needle and often a walking foot to prevent stretching and skipped stitches. Use a slight zigzag stitch (e.g., 0.5 width, 2.5 length) instead of a straight stitch for seams that need to stretch with the fabric.
How do I know where to start and stop the new seam?
Start your new seam just below the existing armpit seam of the sleeve. Taper the line gradually from this point down to the hem. Avoid sewing into the sleeve itself or too high into the armpit, which could restrict movement.
Can I also shorten the sleeves or hem the shirt?
Absolutely! The principles are similar. For sleeves, try on and pin the desired length, mark, cut with seam allowance, and hem. For the bottom hem, also pin, mark, cut, and then create a new hem using a straight or twin needle stitch.
Our Top Recommended Finds
- Sharp Fabric Scissors: A dedicated pair of fabric scissors makes clean cuts and prevents fraying.
- Tailor’s Chalk or Fabric Marker: Essential for clear, temporary markings that guide your stitching.
- Seam Ripper: Your best friend for corrections; choose one with a comfortable grip.
Embrace Your Custom Style
You’ve just learned how to take a garment that didn’t quite work and make it perfectly yours.
This skill opens up a world of possibilities, from revitalizing old favorites to personalizing new purchases.
Don’t stop here; consider trying your hand at hemming pants or even creating custom patches for your newly fitted shirts.
Pick out a baggy shirt today and give it the fitted upgrade it deserves!