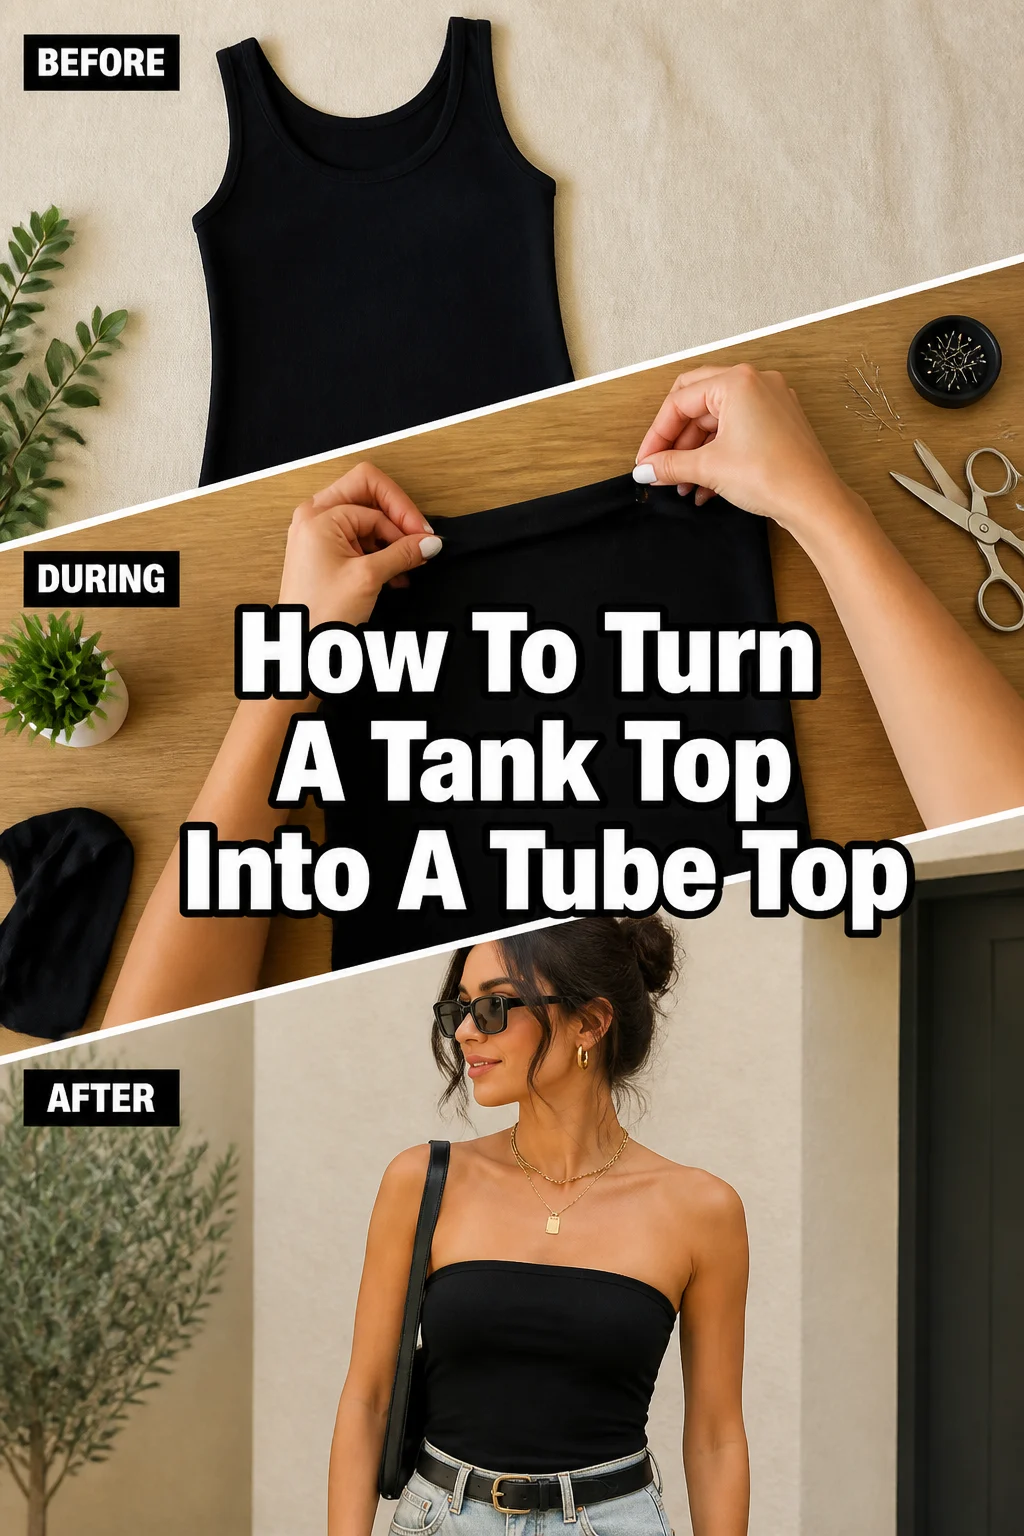
✂️ How To Turn A Tank Top Into A Tube Top
I have spent years experimenting with my wardrobe to find ways to make old clothes feel new again without spending any money.
This specific project is one of my favorites because it takes a basic, often overlooked item and turns it into a trendy summer staple.
You can trust this guide because I have made these modifications dozens of times, learning exactly where the pitfalls are so you don’t have to.
Quick Overview
In this guide, you will learn how to remove the straps from a standard tank top and create a secure, elasticated top edge.
The goal is to create a piece that stays in place comfortably while looking like it came straight from a boutique.
- Time needed: 40 to 60 minutes
- Difficulty: Beginner
- What you’ll need: A tank top, fabric scissors, sewing pins, a safety pin, 1/2 inch elastic, and a sewing machine or needle and thread.
Step-by-Step Instructions
Step 1: Choose the Right Fabric
Select a tank top that has a decent amount of stretch, preferably a cotton-spandex blend.
Pure cotton fabrics without any stretch might sag over time, which is exactly what you want to avoid with a strapless design.
Check the weight of the fabric to ensure it is thick enough to provide coverage once it is stretched across your chest.
Pro Tip: Ribbed fabrics are excellent for this project because the texture naturally helps the garment grip your skin and stay in place.
Step 2: Try It On and Mark Your Line
Put the tank top on and stand in front of a full-length mirror to see how it sits on your frame.
Decide where you want the top edge of your new tube top to rest, usually just above the bust line.
Use a piece of tailor’s chalk or a sliver of dried soap to draw a straight line across the front and back while you are wearing it.
Add about one inch above this line for your “seam allowance,” which is the extra fabric you will fold over to create the casing.
Step 3: Lay Flat and Refine the Cut Line
Remove the tank top and lay it completely flat on a hard surface like a table or a clean floor.
Smooth out any wrinkles or folds to ensure the front and back layers are perfectly aligned with each other.
Use a ruler to connect your marks and create a perfectly straight horizontal line across the entire width of the garment.
Double-check that the line is level by measuring from the bottom hem up to your mark at several different points.
Step 4: Make the Big Cut
Hold your fabric scissors firmly and cut along the upper line you just drew, removing the straps and the original neckline.
Try to use long, smooth strokes with the scissors rather than short, choppy snips to keep the edge from looking jagged.
Save the scraps of fabric you just cut off, as they can be useful for testing your sewing machine tension later on.
Pro Tip: If your fabric is very slippery, you can pin the two layers together along the cut line before you start cutting to prevent shifting.
Step 5: Create the Elastic Casing
Turn the tank top inside out so you are looking at the “wrong” side of the fabric.
Fold the top raw edge down toward the inside by about one and a quarter inches.
Ensure this fold is wide enough to fit your 1/2 inch elastic with a little bit of extra room for it to move freely.
Pin this fold in place every two inches all the way around the circumference of the top opening.
Step 6: Sew the Channel
Place the fabric under your sewing machine foot and prepare to sew a straight line near the bottom edge of your fold.
Use a zigzag stitch if your fabric is very stretchy, as this allows the thread to stretch with the fabric without snapping.
Sew all the way around the top, but stop about two inches before you reach your starting point.
Leave this two-inch gap open so you have a place to insert your elastic in the next step.
Step 7: Measure and Prep the Elastic
Wrap the elastic around your upper chest exactly where the top of the tube top will sit.
Pull it so it is snug but not uncomfortably tight, then mark the point where the ends meet.
Cut the elastic at this mark, adding an extra inch for overlapping the ends later.
Attach a large safety pin to one end of the elastic to act as a guide for threading it through the casing.
Pro Tip: Always err on the side of making the elastic slightly tighter than you think you need, as it will naturally loosen up as you wear it.
Step 8: Thread the Elastic Through
Insert the safety pin into the two-inch gap you left in the seam and begin pushing it through the channel.
Use your fingers to bunch the fabric up and slide the safety pin forward, pulling the elastic along behind it.
Hold onto the “tail” end of the elastic so it doesn’t get sucked into the channel while you are working.
Continue until the safety pin comes out the other side of the gap, then pull both ends of the elastic out slightly.
Step 9: Secure the Elastic Ends
Check the elastic to make sure it hasn’t twisted inside the channel while you were threading it through.
Overlap the two ends of the elastic by about one inch and pin them together securely.
Sew a box shape or a series of back-and-forth stitches across the overlapped elastic to lock them together.
Tug on the elastic firmly to make sure the connection is strong and won’t pull apart under tension.
Step 10: Close the Gap and Finish
Pull the top of the tube top so the elastic slides fully inside the fabric casing.
Stretch the fabric out so the gathers are distributed evenly around the entire circumference of the top.
Sew the two-inch gap closed using the same stitch pattern you used for the rest of the channel.
Trim any loose threads and turn the garment right-side out to see your finished creation.
Common Mistakes to Avoid
Cutting the Fabric Too Short
Many people forget to account for the fabric needed to fold over and create the elastic casing.
If you cut the tank top exactly where you want it to sit, the finished product will end up being over an inch shorter than you intended.
Always measure twice and leave that extra inch of “seam allowance” to ensure the fit remains exactly how you envisioned it.
Using the Wrong Stitch Type
Using a standard straight stitch on a stretchy knit fabric is a recipe for disaster.
When you pull the tube top over your head, the thread will not be able to stretch and will likely pop or break immediately.
Always use a zigzag stitch or a dedicated stretch stitch on your machine to provide the flexibility needed for the garment to function.
Choosing Weak or Thin Elastic
If you use elastic that is too thin or flimsy, the top will constantly slide down throughout the day.
A 1/2 inch or 3/4 inch braided elastic provides the necessary tension to keep the top secure against your body.
Avoid using very narrow elastic meant for lingerie, as it lacks the “grip” required for a strapless top.
Troubleshooting
The Top Edge Is Wavy or Rippled
This usually happens if you pull or stretch the fabric while you are sewing the casing.
To fix this, try to let the sewing machine feed the fabric naturally without any tension from your hands.
If it is already sewn, you can often steam the seam with an iron to help the fibers relax and flatten out.
The Elastic Is Twisting Inside the Casing
If the elastic feels lumpy or won’t lay flat, it has likely flipped over inside the fabric channel.
You can usually work it back into place by feeling the elastic through the fabric and manually untwisting it.
To prevent this in the future, you can “stitch in the ditch” at the side seams to anchor the elastic in place.
The Fabric Is Fraying at the Cut Edge
Most knit tank tops won’t fray, but some woven materials will start to fall apart at the raw edge.
If you see loose threads, you should finish the edge with a serger or a wide zigzag stitch before folding it over.
Applying a small amount of fabric sealant or “Fray Check” to the edge can also stop the unraveling process.
Key Takeaways
- Always use a tank top with at least 5% spandex for the best fit and longevity.
- Remember to add a one-inch seam allowance above your desired top line before cutting.
- A zigzag stitch is essential for maintaining the stretch of the fabric and preventing broken threads.
- Measure your elastic while it is slightly stretched to ensure the top stays up securely.
- Distribute the fabric gathers evenly around the elastic before sewing the final gap closed.
- Ironing your seams after sewing gives the garment a professional, polished look.
Frequently Asked Questions
Can I make this without a sewing machine?
Yes, you can absolutely sew the casing by hand using a backstitch, which is very strong and durable.
Just make sure your hand stitches are small and consistent to keep the elastic securely contained within the channel.
It will take a bit longer than a machine, but the result will be just as functional if you take your time.
What if my tank top is too loose to be a tube top?
If the original tank top is baggy, you will need to take in the side seams before you create the top casing.
Turn the shirt inside out, pin it to fit your body closely, and sew new side seams to remove the excess fabric.
Once the shirt fits snugly around your torso, you can proceed with the steps to remove the straps and add elastic.
Can I use this method on a t-shirt instead of a tank top?
The process is exactly the same for a t-shirt, though you will be cutting off the sleeves as well as the neckline.
Keep in mind that t-shirt fabric is often thinner than tank top fabric, so you might want to double-layer the top section for support.
Check the side seams of the t-shirt to ensure they are straight, as some shirts are tapered in ways that might look odd as a tube top.
Our Top Recommended Finds
- Gingher 8-Inch Dressmaker Shears: These high-quality scissors make cutting through knit fabrics effortless and prevent the jagged edges that dull blades cause.
- Dritz Knit Elastic (1/2 Inch): This specific type of elastic is designed not to narrow when stretched, making it perfect for waistbands and tube tops.
- Clover Magnetic Pin Caddy: Keeping your pins organized and easy to grab makes the process of pinning the casing much faster and safer.
Style Your New Signature Piece
Now that you have mastered the basic conversion, you can experiment with different lengths and fabrics.
Try making a cropped version to wear with high-waisted linen pants or a longer version to tuck into a midi skirt.
Grab another old shirt from your closet today and see how many different styles you can create with just a bit of elastic and a pair of scissors.