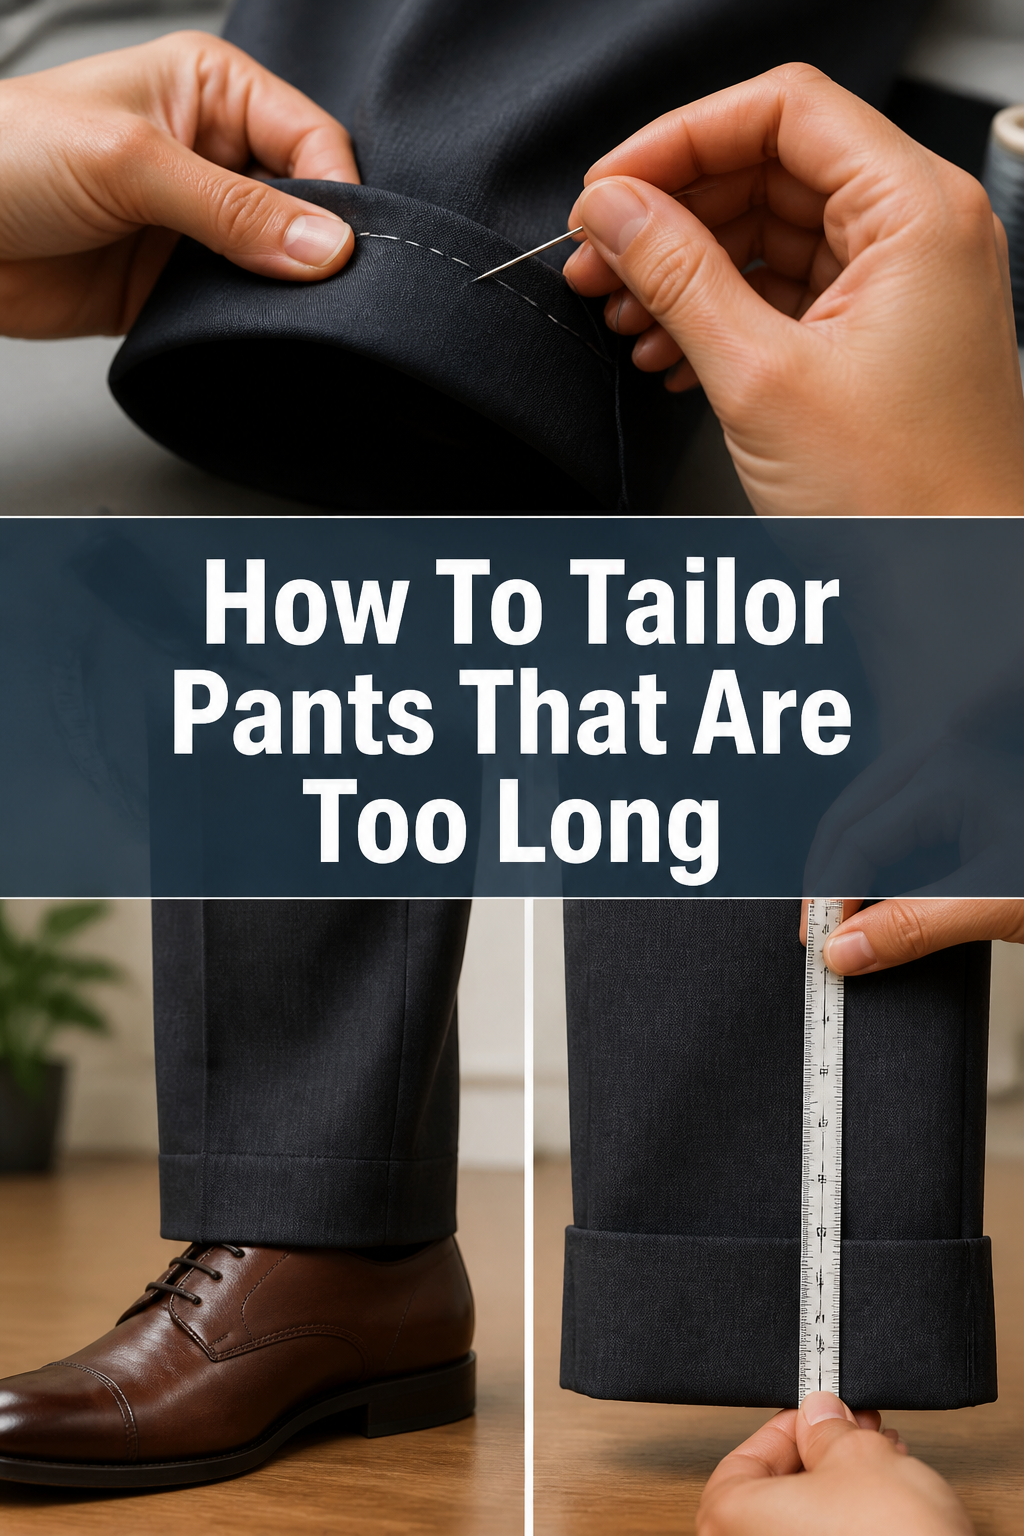
👖 How To Tailor Pants That Are Too Long
There’s nothing quite like the frustration of finding the perfect pair of pants, only to discover they drag on the floor.
I’ve been there countless times, and learning to hem my own trousers transformed my wardrobe and saved me a fortune on alterations.
This guide will equip you with the practical skills to achieve a professional-looking hem right at home.
Quick Overview
You’re about to learn how to precisely measure, mark, cut, and sew a new hem on your pants, giving them a custom fit.
- Time needed: 1-3 hours (depending on skill level and method)
- Difficulty: Beginner to Intermediate
- What you’ll need: Measuring tape, pins, fabric chalk (or a thin pencil), sharp fabric scissors, seam ripper, iron, sewing machine (or hand-sewing needle and thread)
Step-by-Step Instructions
Step 1: Gather Your Tools and Prepare Your Pants
Before you begin, make sure you have all your necessary tools within reach. Iron the pants you plan to alter; wrinkles can throw off your measurements and lead to an uneven hem.
The fabric should be smooth and ready for precise marking.
Step 2: Determine the Ideal Length
Put on the pants and the shoes you’ll most often wear with them. This is crucial for an accurate measurement.
Stand naturally in front of a full-length mirror, or better yet, ask a friend to help you.
Pro Tip: When measuring, ensure the pants hang straight without bunching. Distribute the fabric evenly around your legs.
Step 3: Mark the New Hemline
Fold the excess fabric inward until the hem rests at your desired length. For a slight break, the hem should just skim the top of your shoes.
For a no-break look, it can sit slightly higher. Use pins to secure this fold all around the leg, placing them perpendicular to the hem.
Repeat this process for the second pant leg, ensuring both are marked evenly.
Step 4: Measure and Mark the Cutting Line
Carefully take off the pants, keeping the pins in place. Lay one pant leg flat on a clean, hard surface.
Measure the distance from the pinned hemline to the original raw edge of the fabric.
This measurement tells you how much fabric you need to remove.
Now, measure 1.5 to 2 inches (3.8 to 5 cm) below your pinned hemline. This is your seam allowance for the new hem.
Use your fabric chalk or pencil to draw a clear line at this measurement, all the way around the pant leg.
Repeat for the other leg, ensuring consistency.
Step 5: Cut the Fabric
Using your sharp fabric scissors, carefully cut along the chalk line you just drew. Take your time to make a clean, straight cut.
Accuracy here prevents a crooked hem later on. Discard the excess fabric.
Step 6: Press and Pin the New Hem
Unfold the original hem allowance. Now, fold the raw edge of the fabric inward by 1/4 to 1/2 inch (0.6 to 1.25 cm) and press it with a hot iron.
This creates a neat, finished edge that won’t fray. Next, fold the hem up again along your original pinned hemline (the line you marked in Step 3).
Press this second fold firmly to create a crisp crease. Pin the hem in place, removing the original pins as you go.
Pro Tip: Pressing is vital in tailoring. It sets the fabric and makes sewing much easier and more precise. Don’t skip this step.
Step 7: Sew the Hem
You have two main options for sewing: by hand or by machine.
For a nearly invisible finish, hand-sew with a blind hem stitch. This involves picking up only a few threads from the main pant fabric and securing them to the folded hem allowance.
If using a sewing machine, select a straight stitch. Stitch close to the folded edge of the hem, about 1/8 inch (3 mm) from the top fold.
Use a thread color that matches your pants for the best result. Backstitch at the beginning and end to secure your stitches.
Step 8: Final Press
Once you’ve sewn both hems, give them one last good press with your iron. This helps to flatten the stitches and gives your newly tailored pants a professional, finished look.
Enjoy your perfectly fitting trousers!
Common Mistakes to Avoid
Measuring While Sitting Down
Measuring your pants while sitting can lead to a hem that is too short. When you sit, your legs bend, causing the fabric to rise. Always stand naturally when determining the length.
This ensures the pants will have the proper drape and length when you are standing and walking, which is how they’ll be worn most often.
Forgetting to Account for Shoes
The type of shoes you wear dramatically affects how pants hang. Hemming pants while barefoot, only to wear them with heels later, will result in a hem that is too short.
Always try on the pants with the specific shoes you intend to wear with them to achieve the correct break and length.
Cutting Too Much Too Soon
It’s always easier to remove more fabric than to add it back. If you are unsure about the exact length, cut a little longer than you think you need.
You can always make a second, smaller trim if necessary. A cautious approach prevents irreversible mistakes.
Skipping the Pressing Steps
Pressing isn’t just about removing wrinkles; it’s a critical part of fabric manipulation and setting seams. Skipping the pressing steps before and during sewing makes the fabric harder to work with and results in a less crisp, less professional finish.
Proper pressing creates sharp folds and helps stitches lay flat, leading to a much better outcome.
Troubleshooting
Uneven Hem
If your hem looks uneven after sewing, it likely stems from inaccurate marking or cutting. Carefully unpick the stitches with a seam ripper.
Lay the pants flat again and re-measure from the original desired hemline, ensuring you measure exactly the same seam allowance around the entire leg.
Re-pin, re-press, and re-sew slowly and precisely.
Hem Puckering
Puckering can occur if your stitch tension is too tight or if you’re pulling the fabric while sewing. First, check your sewing machine’s tension settings; loosen the top tension slightly if needed.
When sewing, guide the fabric gently without stretching or pulling it. Ensure your iron is hot enough to press the fabric flat before and after sewing, which helps to relax the fibers.
Thread Breaking
Frequent thread breaks can be frustrating. This often indicates a dull needle, incorrect needle size for your fabric, or improper threading of your machine.
Replace your needle with a new, sharp one appropriate for the fabric type (e.g., a denim needle for jeans). Re-thread your machine completely, ensuring the thread is seated correctly in all guides and tension discs.
Key Takeaways
- Always try on pants with the intended shoes for accurate length measurement.
- Use pins and fabric chalk for precise marking before any cuts.
- Pressing is a crucial step that ensures a professional, crisp finish.
- Measure twice, cut once to avoid irreversible mistakes.
- Match your thread color to the pant fabric for an inconspicuous hem.
- Practice makes perfect; start with an older pair of pants if you’re new to tailoring.
Frequently Asked Questions
Can I hem pants without a sewing machine?
Absolutely. Hand-sewing a hem, especially with a blind hem stitch, provides a very clean and often nearly invisible finish. It takes more time but is a perfectly viable and traditional method.
How much fabric should I leave for the hem allowance?
For most standard hems, a 1.5 to 2-inch (3.8 to 5 cm) hem allowance is ideal. This allows for a double fold, creating a durable and neat finish. For very lightweight fabrics, a slightly smaller allowance might be suitable.
What if my pants have a special hem, like a cuffed hem?
Cuffed hems require a larger hem allowance, typically around 4 inches (10 cm), to create the cuff. The process is similar, but you’ll fold and press the fabric differently to form the cuff. This guide focuses on a standard, flat hem.
How do I prevent the raw edge from fraying inside the hem?
The double-fold method described (folding 1/4 to 1/2 inch inward first) fully encloses the raw edge, preventing fraying. You can also use a serger or a zigzag stitch on your sewing machine to finish the raw edge before folding it up, especially on fabrics prone to heavy fraying.
Our Top Recommended Finds
- Good Quality Fabric Scissors: Sharp scissors are non-negotiable for clean cuts that won’t fray fabric edges prematurely.
- Assorted Sewing Machine Needles: Having various needle sizes (universal, denim, sharp) ensures you always have the right tool for different fabric weights.
- Tailor’s Ham or Seam Roll: These pressing aids help shape and press curved seams and hems, giving your garments a more professional look.
Transform Your Wardrobe with Confidence
Taking control of your wardrobe by learning basic alterations like hemming is incredibly empowering. No more ill-fitting pants or costly trips to the tailor for a simple fix.
You now possess the knowledge and steps to achieve perfectly tailored pants at home.
Don’t let another pair of too-long trousers sit unworn in your closet. Grab your tools, follow these steps, and start enjoying a wardrobe that fits you flawlessly today!