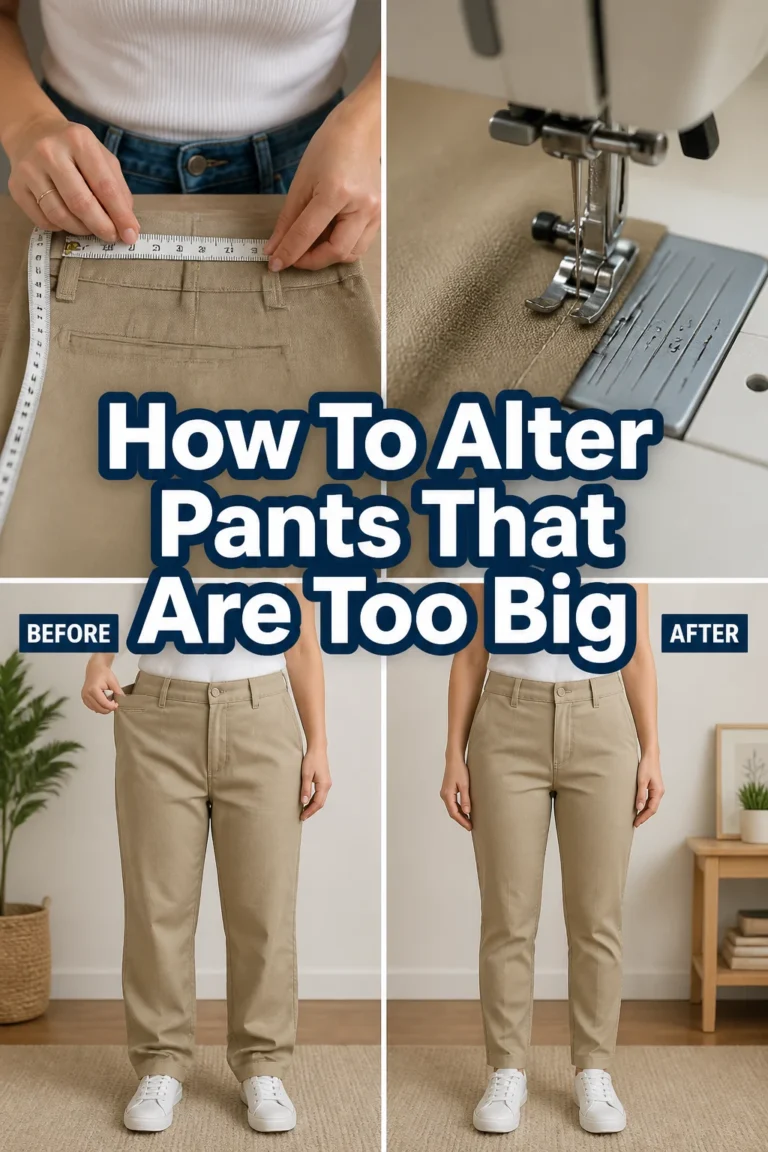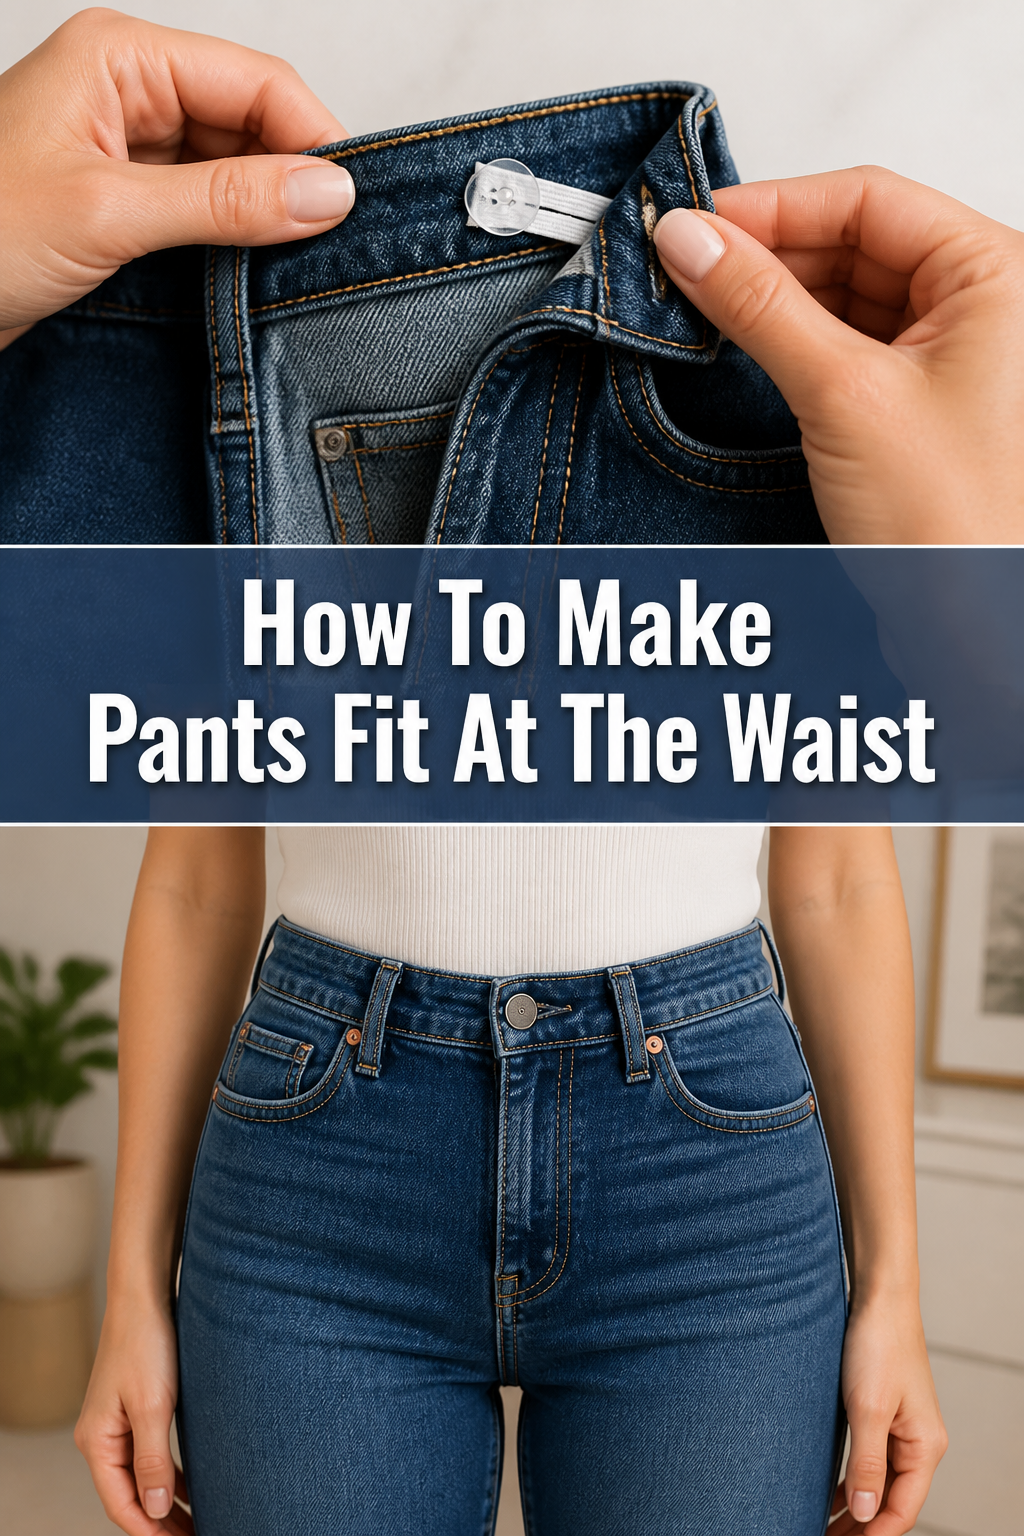
🔥 How To Make Pants Fit At The Waist
I know the frustration of finding a pair of pants you love, only for them to gape at the waist. It’s a common problem, and for years, I struggled with this exact fit issue. This guide comes from countless hours at my sewing machine, making clothes truly fit.
You don’t have to settle for ill-fitting trousers anymore. Let’s make those pants perfect for your shape.
Quick Overview
This guide will walk you through the process of taking in the waist of your pants for a custom fit. You’ll learn how to accurately measure, pin, sew, and finish your alteration, transforming a baggy waistline into one that perfectly hugs your curves.
- Time needed: 1-3 hours (depending on experience and pant construction)
- Difficulty: Beginner to Intermediate
- What you’ll need: Sewing machine, thread, pins, seam ripper, fabric scissors, measuring tape, tailor’s chalk or fabric marker, iron.
Step-by-Step Instructions
Step 1: Assess the Fit and Identify Excess Fabric
First, put on the pants inside out. This makes pinning much easier and more accurate. Wear them with the undergarments and shoes you typically pair with them.
Stand naturally and identify where the waist is too loose. Pinch the excess fabric evenly at the back or side seams until the fit feels comfortable and snug.
Step 2: Pin the Excess Fabric Accurately
While wearing the pants inside out, pinch the excess fabric at the center back seam. If there’s too much fabric to take in at just the back, you might need to adjust side seams as well.
Insert pins vertically along the fold, starting from the waistband down to where the pants fit correctly. Ensure the pins go through all layers of fabric. This forms your new seam line.
Pro Tip: For a more subtle adjustment, distribute the excess fabric evenly between the center back seam and the two side seams. This creates a smoother, less noticeable alteration.
Step 3: Mark the New Seam Line
Carefully take off the pants, keeping the pins in place. Lay them flat on a clean, well-lit surface.
Using tailor’s chalk or a fabric marker, draw a line along the inside edge of your pins. This marks your new stitching line. Gently curve this line from the waistband down to meet the original seam line, creating a smooth transition.
Step 4: Prepare for Sewing by Unpicking
Unpick the waistband stitching directly above the marked seam line. You only need to unpick enough to open up the waistband for a few inches on either side of your marked line.
Next, use your seam ripper to open the original seam from the waistband down to about 1-2 inches below your marked alteration line. This gives you room to work.
Step 5: Stitch the New Seam
Thread your sewing machine with a color that matches your pants. Use a universal needle appropriate for the fabric weight.
Begin sewing at the waistband, following your marked chalk line. Use a straight stitch and backstitch at the beginning and end to secure the seam. Gradually taper your new seam line into the original seam line for a smooth, invisible finish.
Step 6: Trim and Finish the Seam Allowance
Once sewn, try on the pants again to double-check the fit. If it’s perfect, carefully trim the excess fabric from the seam allowance, leaving about 1/2 to 5/8 inch.
Press the newly sewn seam open with an iron. Then, finish the raw edges to prevent fraying. You can use a serger, a zigzag stitch on your sewing machine, or bind the edges with bias tape.
Step 7: Reattach the Waistband
Fold the waistband back into its original position. Pin it securely over your new seam.
Stitch the waistband back down, either by hand with a slip stitch for an invisible finish or by machine along the existing topstitching line. Ensure all raw edges are enclosed.
Step 8: Press Everything for a Professional Finish
Finally, give the entire area a good press with your iron. Use steam if appropriate for your fabric type. This helps set the stitches and gives your alteration a professional, ready-to-wear look.
Common Mistakes to Avoid
Over-Tightening the Waist
One common pitfall is taking in too much fabric. While you want a snug fit, an overly tight waist will be uncomfortable, restrict movement, and can cause puckering or stress on the fabric. Always aim for comfort first. If in doubt, take in slightly less; you can always adjust further.
Not Trying on During Pinning
Pinning accurately is crucial. Trying to guess the amount to take in while the pants are off your body often leads to an inaccurate fit. Always pin the excess fabric while you are wearing the pants, inside out, to get the most precise measurement. This ensures the alteration truly matches your unique shape.
Uneven Pinning and Marking
If your pins aren’t straight or your chalk line is wobbly, your new seam will reflect that unevenness. Take your time to create a smooth, consistent line. An uneven seam can lead to a lopsided fit or an awkward bulge. Use a ruler if needed to help draw a straight, consistent line.
Ignoring Seam Allowance and Finishing
Cutting too close to your new stitch line or neglecting to finish the raw edges can lead to major problems. Without adequate seam allowance, the seam can pull apart, especially under stress. Unfinished edges will fray, weakening the seam over time. Always trim carefully and finish edges.
Troubleshooting
The Waist is Still Too Loose (or Now Too Tight)
If the waist is still not quite right after your first alteration, don’t worry. This is a common adjustment.
Carefully use your seam ripper to open the new seam. If it’s too loose, re-pin and sew a slightly deeper seam. If it’s too tight, sew a new seam slightly further out, closer to the original seam line. Always try on and re-pin before sewing again.
Bulky Seam After Alteration
A bulky seam can happen if the fabric is thick or if too much seam allowance was left.
After sewing, try trimming the seam allowance more aggressively, perhaps to 3/8 inch, and then press it open. For very thick fabrics, you can “grade” the seam allowance by trimming one layer slightly shorter than the other before pressing. This staggers the bulk.
Fabric Puckering Along the New Seam
Puckering often indicates tension issues or an incorrect stitch length.
Check your sewing machine’s tension settings; a slightly looser top tension can sometimes help. Also, ensure you’re using an appropriate needle for your fabric. A longer stitch length can also reduce puckering on some fabrics. Pressing with steam can sometimes smooth out minor puckers.
Key Takeaways
- Always try on pants inside out for accurate pinning.
- Distribute alterations across multiple seams for the smoothest finish.
- Use tailor’s chalk to mark a clear, smooth new seam line.
- Unpick only enough of the waistband and original seam to work comfortably.
- Backstitch at the beginning and end of your new seam for security.
- Trim excess fabric and finish raw edges to prevent fraying and bulk.
- Press all seams thoroughly for a professional, crisp look.
Frequently Asked Questions
Can I take in pants at the waist without a sewing machine?
Yes, you can hand-sew the alteration, but it will take more time and require careful, even stitches for durability. A strong backstitch or a small running stitch reinforced with a backstitch is recommended. The process of pinning and marking remains the same.
What if my pants have belt loops?
If you’re taking in a significant amount at the center back, you might need to remove and reattach the center back belt loop. Carefully unpick it before you start sewing your new seam, and then stitch it back into place once the alteration is complete and the waistband is reattached.
How do I know if the pants are worth altering?
Consider the fabric quality, the overall style, and how much you love the pants. If they are a good quality garment and the alteration required is relatively simple (like taking in the waist), it’s often worth the effort. For complex alterations on inexpensive items, it might be better to seek professional help or consider new pants.
What if my pants have a yoke at the back?
Pants with a yoke (a shaped piece of fabric below the waistband) require a slightly more advanced alteration. You’ll need to open the seam that joins the yoke to the main pant body, adjust the yoke, and then reattach it. It’s often easier to distribute the alteration to the side seams if possible, or consult a professional for a yoke adjustment.
Our Top Recommended Finds
- Good Quality Pins: Sharp, rust-proof pins are essential for accurate pinning without damaging fabric.
- Reliable Seam Ripper: A sharp, comfortable seam ripper will save you time and frustration when unpicking stitches.
- Tailor’s Chalk or Fabric Marker: These make clear, temporary marks that brush or wash away easily.
Transform Your Wardrobe, One Stitch at a Time
Now you have the knowledge and steps to make your pants fit perfectly at the waist. No more saggy backs or uncomfortable gaps. This skill empowers you to customize your clothing, extending the life of your favorite pieces and ensuring everything you wear looks and feels amazing.
Don’t let those perfectly good pants sit unworn in your closet. Grab your sewing kit, follow these steps, and experience the satisfaction of a perfectly tailored fit today. You might even find yourself inspired to tackle other alterations!