🎃 How To Draw Halloween Stuff For Kids Easy
Do you remember the thrill of creating something spooky and fun with just a few lines? I certainly do. I spent countless autumn afternoons as a kid, sketching ghosts and pumpkins, and those memories still bring a smile. Now, I get to share that same simple joy with my own little artists, helping them bring their Halloween visions to life on paper. This guide will make drawing easy and super fun for everyone.
Quick Overview
Get ready to transform simple shapes into amazing Halloween characters. This guide breaks down drawing into easy, manageable steps. You’ll finish with a collection of spooky, silly, and delightful Halloween drawings perfect for decorating or sharing.
- Time needed: 30-60 minutes per drawing, depending on detail and how many items you choose to create.
- Difficulty: Beginner
- What you’ll need: Paper, pencils (HB or 2B work great), a good eraser, and coloring supplies like crayons, markers, or colored pencils.
Step-by-Step Instructions
Let’s grab our pencils and start making some Halloween magic! We’ll tackle a few classic spooky friends.
Step 1: Craft a Friendly Ghost
Ghosts are a Halloween staple, and they’re surprisingly simple to draw. We’ll make ours more cute than creepy.
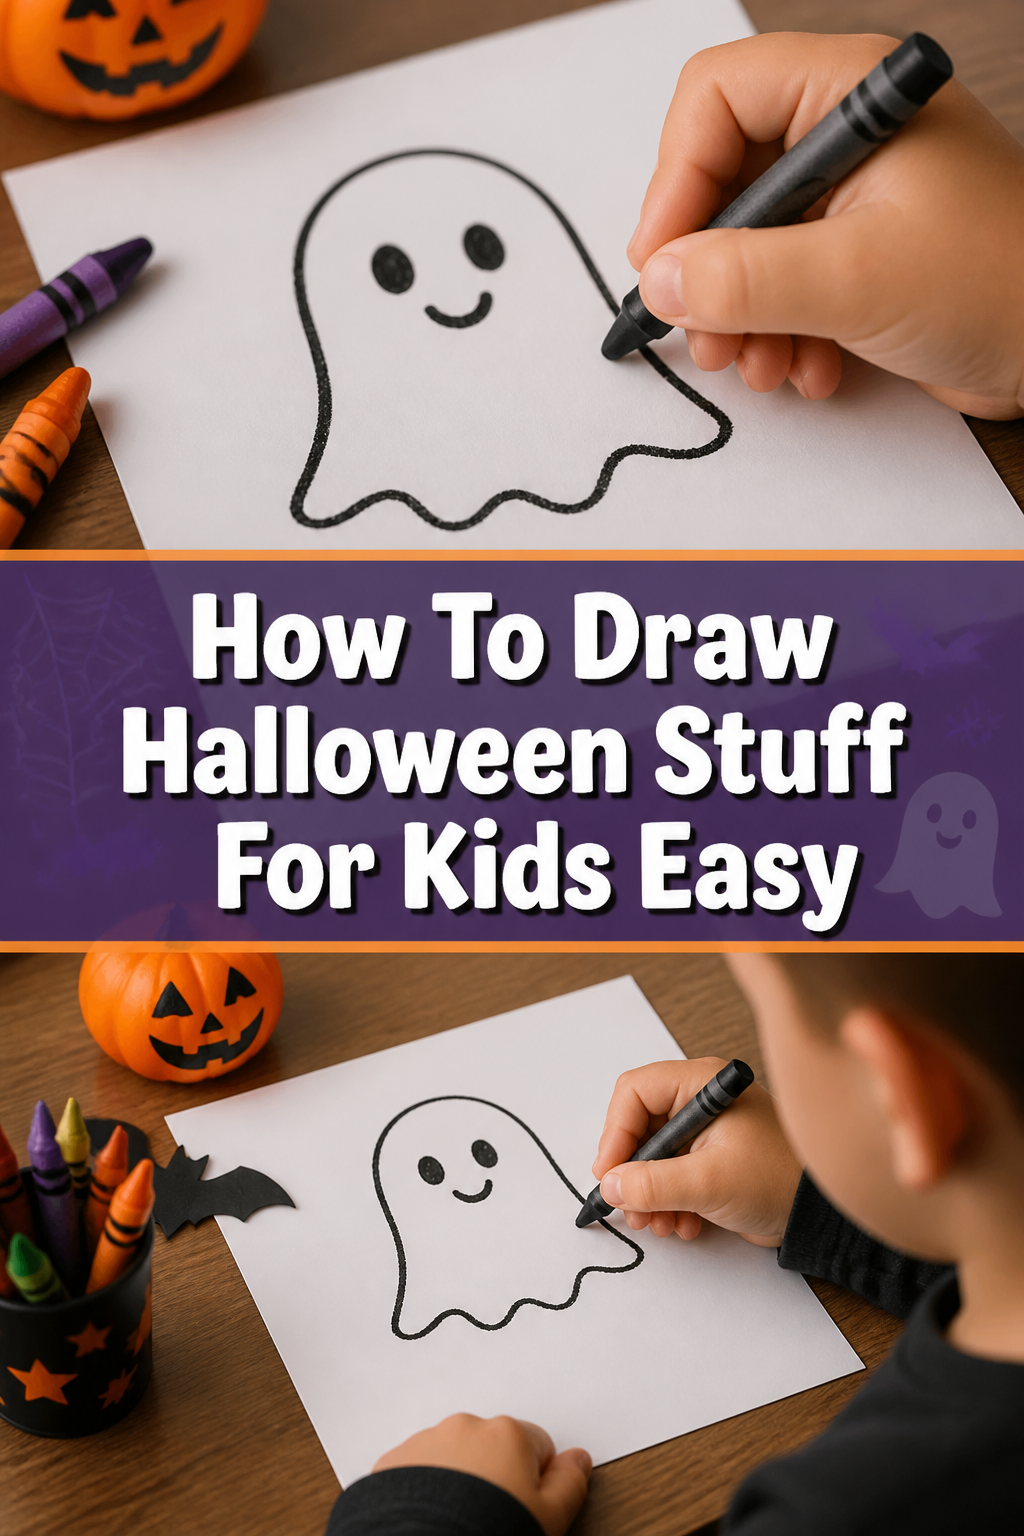
Begin by drawing a large, rounded “U” shape in the middle of your paper. This will be the ghost’s body. Make sure the bottom is wide and gentle.
Add a dome shape on top of the “U” to close it off, creating a smooth, rounded head. Think of it like an upside-down bowl sitting on the “U”.
Draw two small, simple circles for eyes near the top of the head. You can make them perfectly round or slightly oval.
Fill in the eyes with black, leaving a tiny white circle in each for a sparkle. This gives your ghost a friendly, watchful look.
Sketch a wavy line for the bottom edge of the ghost. This makes it look like it’s floating and flowing. Erase the original straight bottom of the “U” once you have your wavy line.
Pro Tip: Don’t press too hard with your pencil at first. Light lines are easier to erase if you want to make changes. You can always darken them later!
Step 2: Draw a Classic Jack-O’-Lantern
Pumpkins are iconic for Halloween, and a jack-o’-lantern is full of personality. We’ll create a happy, glowing face.
Start with a large, slightly squashed oval or circle for the pumpkin’s body. It doesn’t have to be perfectly round.
Draw a small rectangle or square shape at the top for the stem. Add a tiny curve on top of the stem to give it a little cap.
Add a few curved vertical lines down the body of the pumpkin. These lines give it that classic ribbed pumpkin look.
Create two triangles for the eyes on the upper half of the pumpkin. Make them symmetrical if you can.
Draw another triangle for the nose, placed below and between the eyes. This triangle can be a bit smaller than the eyes.
Sketch a wide, crescent-moon shape for the mouth. Then, add a few small squares or triangles inside the mouth for teeth.
Color your pumpkin bright orange, the stem green or brown, and the face openings yellow to look like they’re glowing.
Step 3: Make a Spooky Bat
Bats are a little mysterious and super cool. This one will be flying high!
Draw a small oval shape for the bat’s body in the center of your page. This will be the main part of the bat.
Add a smaller circle on top of the oval for the head. Make sure it connects smoothly to the body.
Sketch two pointy triangles on top of the head for the ears. Give them a tiny curve inside each one.
Draw two small dots for eyes on the head. You can add a tiny curve underneath for a simple smile.
Create the wings by drawing a long curved line extending from one side of the body. This line should go up, then curve down.
Add two or three smaller curved lines connecting back to the body from the main wing curve. This forms the bat’s leathery wing sections.
Repeat the wing process on the other side of the bat’s body, trying to make the wings look similar in size.
Pro Tip: Think of the bat’s wings like a stretched-out ‘M’ or ‘W’ shape connected to its body. This can help with symmetry.
Step 4: Design a Creepy-Crawly Spider
Spiders might seem tricky with all those legs, but we’ll simplify it for a cute, not scary, eight-legged friend.
Draw a medium-sized circle for the spider’s head. Place it slightly towards the top of your drawing area.
Add a larger oval shape directly beneath the head for the spider’s body. Make sure it overlaps slightly with the head.
Sketch two large circles for eyes on the head, then add two smaller circles inside each for pupils. Make them look a little surprised!
Draw a small, curved line beneath the eyes for a friendly smile. This helps make your spider less scary.
Attach four curved lines to each side of the body for the legs. Think of them bending at a knee. Two legs should go forward, and two should go backward on each side.
Add a small, pointy line at the end of each leg to create tiny feet. This gives the legs a finished look.
Color your spider black or dark brown. You can add a fun pattern like stripes or dots on its body if you like.
Step 5: Illustrate a Witch’s Hat
A witch’s hat is a super fun accessory and easy to draw with a few simple shapes.
Start by drawing a long, slightly curved line for the brim of the hat. It should look like a stretched-out oval.
Draw two diagonal lines extending upwards from the ends of the brim. These lines should angle inwards as they go up.
Connect the top of these two diagonal lines with a curved or slightly wavy line. This forms the pointy top of the hat.
Add a band around the base of the cone part of the hat, just above the brim. This can be a simple rectangle or a slightly curved strip.
Draw a small square or circle on the band for a buckle or a decorative patch.
Color the hat black, the band purple or green, and the buckle yellow or silver. You can even add some stars or moons!
Step 6: Create a Spooky Tree
Even a spooky tree can be simple and fun to draw, adding a great background element to your Halloween scenes.
Draw two parallel, slightly wavy vertical lines for the trunk of the tree. Make the bottom wider than the top.
Add a few curved lines at the base of the trunk to show roots emerging from the ground. This makes it look established.
Sketch two main branches extending upwards and outwards from the top of the trunk. Make them thick at the base and taper as they go.
Draw smaller, thinner branches sprouting from these main branches. Make them twist and turn in different directions.
Add tiny, twig-like lines at the very ends of the smaller branches. These can be pointy and bare.
Color your tree dark brown or gray. You can add a few bats flying around it or a ghost peeking from behind the trunk.
Pro Tip: For extra spookiness, make some branches look broken or jagged. You can also add a small owl perched on one.
Step 7: A Simple Candy Corn
This sweet treat is a classic Halloween symbol and very easy to draw.
Draw a tall, narrow triangle shape. This will be the basic outline of your candy corn.
Add a horizontal line about one-third of the way up from the bottom. This marks the first color section.
Draw another horizontal line about one-third of the way down from the top. This marks the second color section.
Color the bottom section bright yellow. Make sure it’s a solid, vibrant color.
Fill the middle section with bright orange. This creates the classic candy corn stripe.
Color the top section white. This completes your delicious-looking candy corn.
Common Mistakes to Avoid
Even with simple drawings, a few common pitfalls can make things tricky. Knowing them helps you create better art.
Pressing Too Hard
When you press down too hard with your pencil, it leaves deep indentations on the paper. These lines are very difficult to erase completely, leaving ghost marks even after you’ve tried to correct them. Always start with a light touch, sketching gently.
Use light strokes to build up your shapes. Once you’re happy with the form, you can go over the lines more firmly to make them stand out. This approach allows for easy adjustments and a cleaner final drawing.
Rushing the Shapes
Trying to draw perfect circles or straight lines too quickly often results in wobbly, uneven shapes. Kids especially might get impatient and rush through the initial outlines. Take your time with the basic forms.
Focus on one shape at a time. If you’re drawing a pumpkin, concentrate on making a nice, round oval before adding any details. Slow, deliberate strokes lead to much better foundational shapes.
Forgetting to Erase Guidelines
Many drawings start with simple geometric shapes as guides. Forgetting to erase these initial lines can make your final drawing look messy and unfinished. The guide lines are there to help, not to be part of the final art.
Once you’ve drawn your final, darker lines, go back with your eraser and carefully remove any visible sketch lines or overlapping guides. This cleans up your drawing and makes it look polished.
Troubleshooting
Sometimes things don’t go exactly as planned. Here are solutions to a few common drawing challenges.
My Drawing Looks Messy
If your drawing feels messy, it’s often because of too many extra lines or smudges. This can happen if you’re not using light enough initial strokes or if your eraser isn’t clean. A clean drawing starts with a clean approach.
Try using a kneaded eraser, which picks up graphite instead of rubbing it around. Always start with very light, almost invisible lines. Only darken the lines you want to keep. If you smudge, try placing a piece of scrap paper under your hand while you draw.
I Can’t Get the Shapes Right
It’s common to struggle with drawing perfect shapes. Even experienced artists use tricks! Don’t get discouraged if your circles aren’t perfectly round or your lines aren’t perfectly straight. Art is about expression, not just perfection.
Practice drawing basic shapes repeatedly on a separate scrap piece of paper. You can also try tracing existing shapes lightly before drawing them freehand. Remember, it’s okay for your drawings to have a unique, hand-drawn charm.
My Colors Don’t Look Vibrant
Sometimes, when coloring, the finished product looks dull or flat. This can happen if you’re not applying enough pressure with your coloring tools or if you’re using old, faded supplies. Vibrant colors make a drawing pop.
Ensure your crayons, markers, or colored pencils are in good condition. Apply even, firm pressure when coloring, moving in small circles or consistent strokes to fill the area completely. Layering colors can also add depth and vibrancy.
Key Takeaways
Drawing Halloween stuff for kids is all about fun, creativity, and simple steps. Keep these points in mind for a delightful drawing experience.
- Always start with light pencil lines for easy erasing and adjustments.
- Break down complex drawings into simple, basic shapes like circles, ovals, and triangles.
- Don’t aim for perfection; enjoy the process and let your unique style shine through.
- Use a variety of colors to bring your Halloween creations to life.
- Practice makes progress – the more you draw, the more confident you’ll become.
- Remember that drawing should be a relaxing and enjoyable activity for everyone.
Frequently Asked Questions
Here are some common questions parents and kids have about drawing Halloween items.
What if my child’s drawing doesn’t look like the examples?
That’s perfectly fine and actually wonderful! Every artist has their own unique style. Encourage your child to embrace their creativity and express themselves. The goal isn’t to copy perfectly, but to have fun and build confidence. Celebrate their unique interpretation.
How can I make the drawings more festive or decorative?
Once the basic drawing is done, you can add many fun details. Think about backgrounds like a starry night sky or a spooky fence. Add glitter, googly eyes, cotton balls for fluffy ghost texture, or even cut out the drawings to make a garland. Get creative with embellishments.
What age is this guide best for?
This guide is designed for young artists, generally ages 4 and up. Younger children might need more direct assistance and hand-over-hand guidance. Older kids and even adults who are beginners will find the simple steps easy to follow and enjoyable. It’s a great family activity.
How can I encourage my child to keep drawing?
Praise their effort and enthusiasm, not just the final product. Display their artwork proudly, even if it’s just on the fridge. Provide a variety of art supplies and a dedicated space for drawing. Most importantly, draw with them! Your participation is a huge motivator.
Our Top Recommended Finds
Having the right tools can make drawing even more enjoyable. Here are a few generic suggestions.
- Kids’ Sketching Pencils Set: A set with varying lead hardness (like 2B, HB, 2H) helps with light sketching and darker outlines.
- Large White Drawing Pad: Plenty of space for creativity, and the smooth surface is great for pencils and colors.
- Quality Eraser Pack: Having both a standard white plastic eraser and a kneaded eraser helps with different types of corrections without damaging the paper.
Unleash Your Inner Halloween Artist!
You now have all the tools and inspiration to create a whole gallery of spooky, silly, and sweet Halloween drawings. From friendly ghosts to grinning jack-o’-lanterns, the possibilities are endless. Don’t stop at just these examples! Try drawing a haunted house, a bubbling cauldron, or even a silly monster.
Keep exploring new shapes and ideas. Remember, every line you draw is a step in your artistic journey. Grab your supplies, pick your favorite Halloween subject, and start drawing today. Who knows what amazing creations you’ll come up with next! Happy drawing, and happy Halloween!