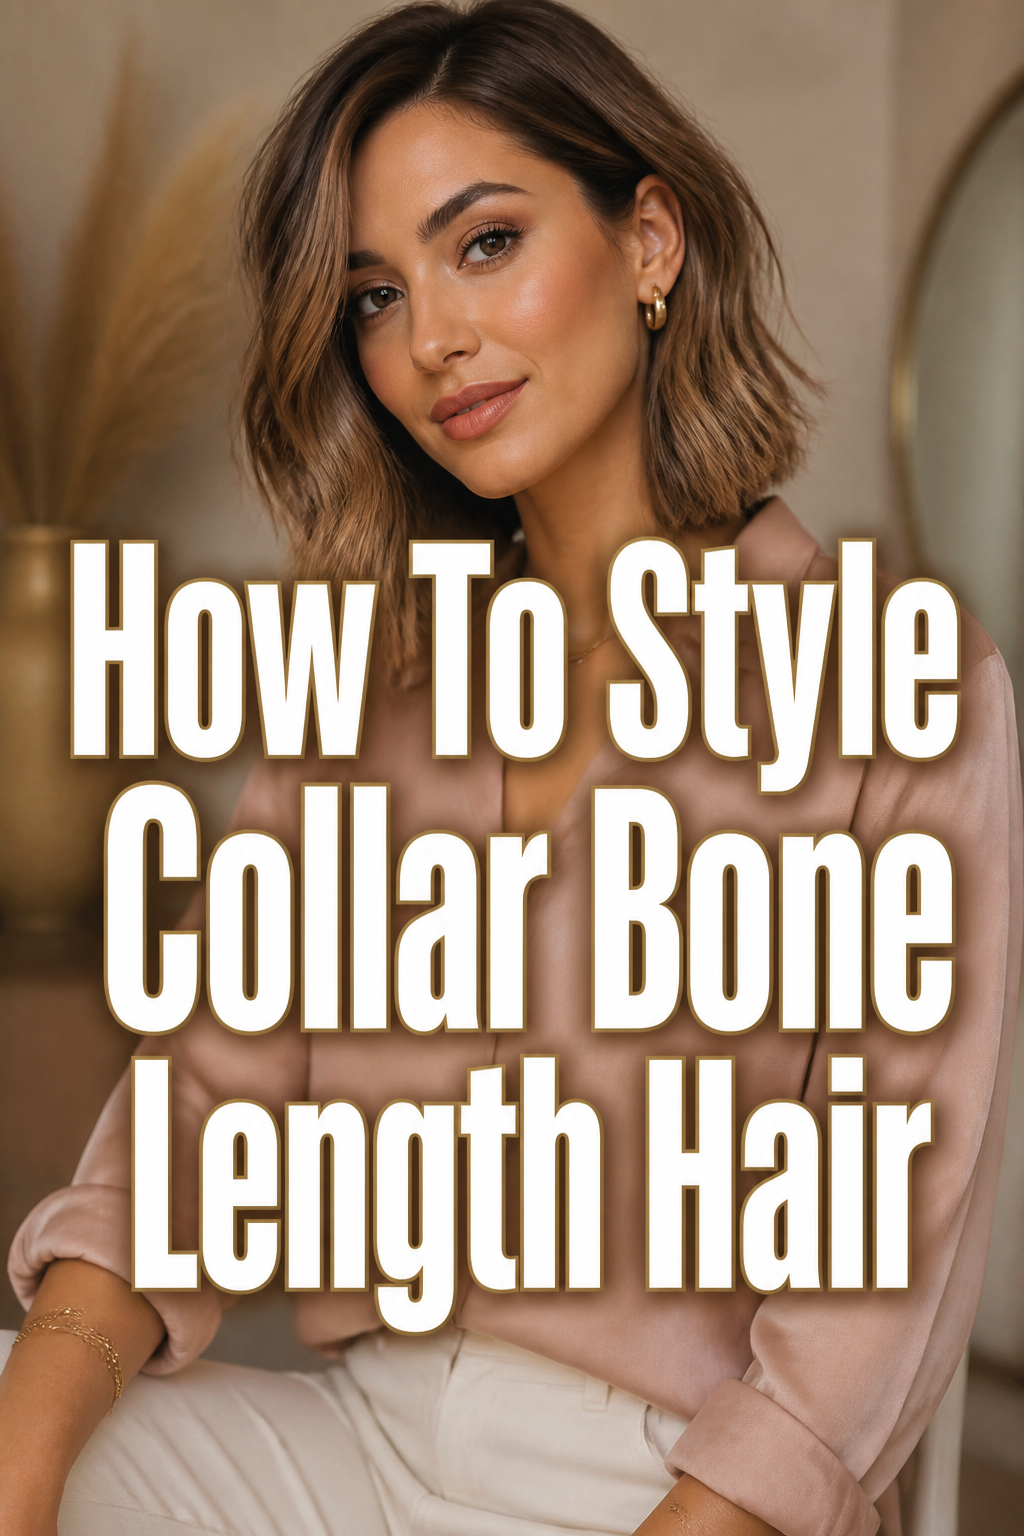
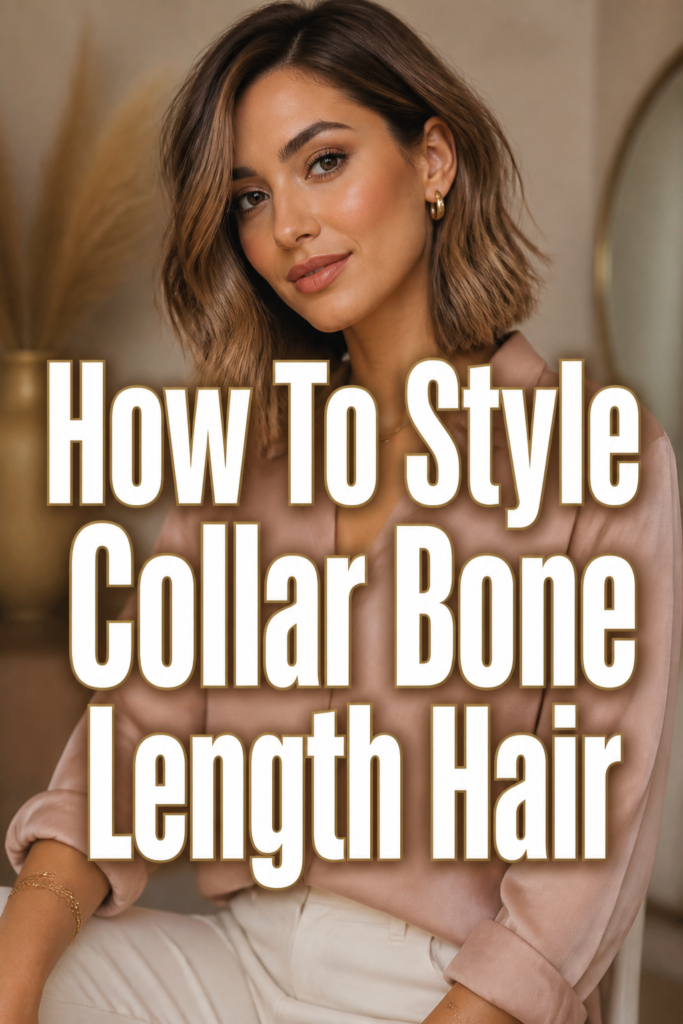
✨ How To Style Collar Bone Length Hair
Collar bone length hair is truly a sweet spot in the world of haircuts.
It’s long enough for versatility yet short enough to feel light and manageable.
Having navigated the grow-out phase from a bob and embraced this length for years, I’ve gathered countless practical tips and tricks that truly work.
Quick Overview
This guide will equip you with the knowledge to transform your collar bone length hair into a variety of stunning, effortless styles.
You’ll learn how to maximize volume, create beautiful textures, and tackle common styling challenges.
- Time needed: 15-45 minutes per style (depending on complexity and skill)
- Difficulty: Beginner to Intermediate
- What you’ll need: Heat protectant, styling products (mousse, texturizing spray, hairspray), hair dryer, round brush, curling iron or flat iron, hair ties, bobby pins, hair accessories.
Step-by-Step Instructions
Step 1: Prep Your Hair Correctly
The foundation of any great hairstyle begins in the shower.
Using the right shampoo and conditioner for your hair type is crucial for healthy, manageable strands.
- Wash your hair with a clarifying shampoo if you have product buildup, or a volumizing shampoo for fine hair.
- Condition your mid-lengths and ends, avoiding the roots to prevent flatness. Rinse thoroughly to ensure no residue remains.
- Gently towel-dry your hair, squeezing out excess water rather than rubbing vigorously, which can cause frizz and damage.
- Apply a heat protectant spray evenly throughout damp hair. This barrier is essential before using any heat tools.
- Distribute a volumizing mousse or root lifter at your roots if you desire extra lift. For texture, a sea salt spray works wonders on damp hair.
Pro Tip: For extra root lift, flip your head upside down while applying root volumizer. This helps gravity work in your favor.
Step 2: Master the Blowout for Volume and Smoothness
A good blowout can make all the difference for collar bone length hair, providing body and polish.
This length can sometimes fall flat, so focusing on volume is key.
- Rough-dry your hair until it’s about 70-80% dry. Use your fingers to lift the roots as you dry, moving the dryer around constantly.
- Section your hair. Start with the bottom layers, clipping the rest of your hair up and out of the way.
- Use a medium-sized round brush. Take a section of hair, place the brush at the roots, and pull it taut while directing the dryer’s nozzle down the hair shaft.
- Rotate the brush as you move it down the hair, creating tension and shine. For volume, lift the roots upward with the brush and direct heat there.
- Finish each section with a cool shot from your dryer to set the style and add shine. Repeat for all sections.
Pro Tip: When drying the top sections, over-direct the hair in the opposite direction from where it naturally falls to create maximum root lift.
Step 3: Create Effortless Waves
Soft waves are a classic and flattering style for collar bone length hair, adding movement and texture.
This look is perfect for both casual days and more dressed-up occasions.
- Ensure your hair is completely dry and has heat protectant applied.
- Choose your tool: a 1-inch curling iron for tighter waves or a flat iron for a more relaxed, S-bend wave.
- Section your hair. Begin with the bottom layers, taking 1-inch sections of hair.
- For curling iron waves: Wrap the hair around the barrel, leaving the ends out for a modern look. Hold for a few seconds, then release. Alternate the direction of the curl (towards and away from your face) for a natural, un-done effect.
- For flat iron waves: Clamp the iron near the root, rotate it 180 degrees, slide down an inch, then rotate 180 degrees in the opposite direction. Continue this S-motion down the hair shaft.
- Let the curls cool completely before touching them. Once cool, gently brush through with a wide-tooth comb or your fingers to loosen them into soft waves.
- Finish with a light mist of texturizing spray or hairspray for hold and added grit.
Step 4: Achieve a Sleek, Straight Look
A sleek, straight style highlights the clean lines of collar bone length hair, offering a polished and sophisticated vibe.
It’s simple yet impactful, especially with a sharp cut.
- Start with dry hair that has been prepped with heat protectant.
- Section your hair neatly. Work in small, manageable sections, no wider than the plates of your flat iron.
- Use a high-quality flat iron. The temperature should be appropriate for your hair type – lower for fine hair, higher for thick or coarse hair.
- Clamp the flat iron at the roots, making sure not to tug. Glide the iron slowly and steadily down the hair shaft in one smooth motion.
- Avoid going over the same section multiple times, as this can cause unnecessary heat damage.
- For a slightly rounded end, gently curve the flat iron inward as you reach the tips of your hair.
- Smooth any flyaways with a tiny bit of hair oil or a smoothing serum. Finish with a light hairspray if needed.
Step 5: Master Half-Up Styles
Half-up styles are fantastic for collar bone length hair, offering a polished look while keeping hair out of your face.
They are quick, chic, and versatile.
- Gather the top section of your hair, from your temples or slightly above your ears.
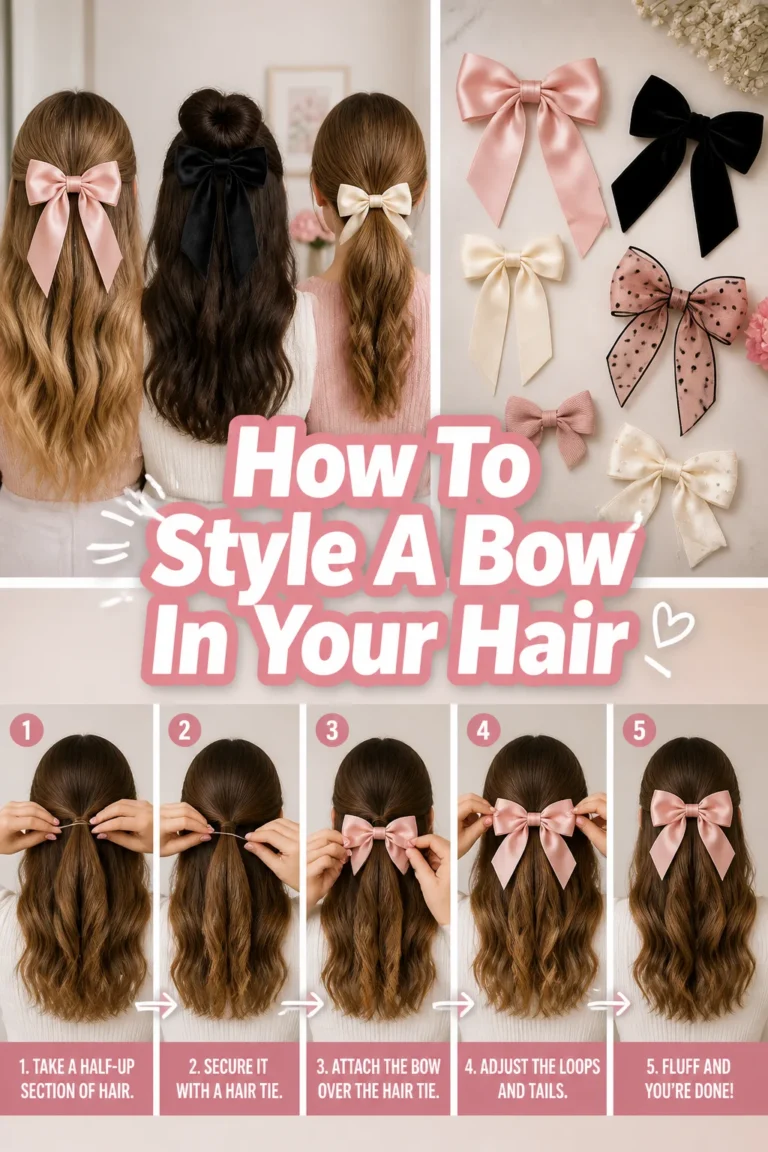
- Secure this section with a small elastic, bobby pins, or a decorative clip.
- Experiment with different variations: a simple half-up ponytail, a half-up bun, or a half-up twist.
- For a half-up bun: Twist the gathered hair into a small bun and secure with bobby pins. Pull out a few face-framing pieces for softness.
- For a half-up braid: Braid the top section of hair (a French braid or a simple three-strand braid) and secure it at the back.
- Enhance the style by adding a slight wave or curl to the loose bottom sections of your hair.
Pro Tip: For extra volume in your half-up style, gently tease the roots of the top section before gathering it.
Step 6: Try Easy Updos and Braids
Even with collar bone length hair, you can create beautiful updos and intricate braids.
These styles are perfect for keeping cool or for special occasions.
- Low Bun: Gather all your hair into a low ponytail at the nape of your neck. Twist the ponytail into a bun and secure it with an elastic and bobby pins. Pull out a few strands around your face for a softer look.
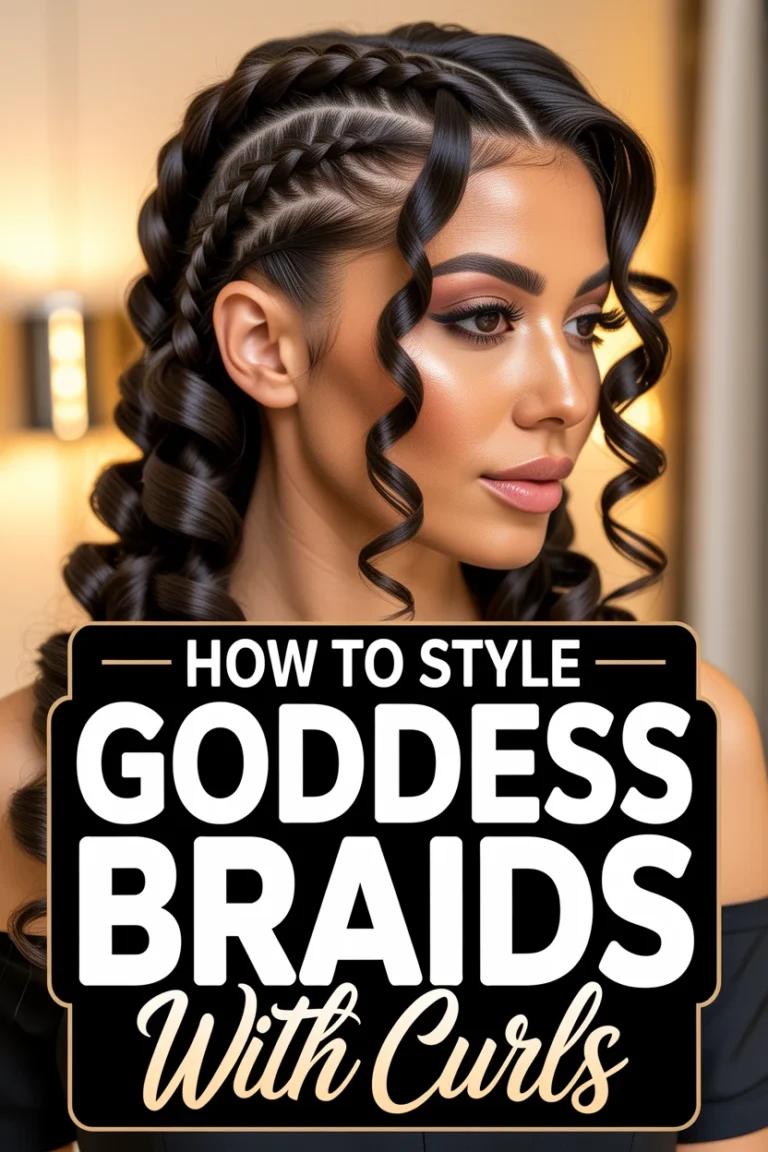
- Braided Crown: Create two small braids on either side of your head, starting near your temples. Bring them back and pin them together at the crown of your head, creating a “crown” effect.
- French Braid or Dutch Braid: These braids can be done along the scalp or as a single braid down the back. Practice is key, but they are very achievable with this length.
- Messy Bun: For a quick, casual updo, gather your hair into a high ponytail, twist it loosely, and secure it with an elastic. Gently pull at sections of the bun to create a fuller, messier look.
- Use texture spray or dry shampoo before attempting updos to give your hair more grip and hold.
Step 7: Accessorize Smartly
Hair accessories are your best friend for collar bone length hair, instantly elevating any style.
They can add a pop of color, sparkle, or simply keep your hair tidy.
- Headbands: A wide fabric headband can add a chic touch to straight or wavy hair. Skinny headbands are great for pushing back bangs or creating a sleek look.
- Hair Clips: Decorative clips, barrettes, or claw clips can hold back sections of hair, create a half-up style, or simply adorn a low bun.
- Scarves: A silk scarf can be woven into a braid, used as a headband, or tied around a ponytail for a bohemian touch.
- Bobby Pins: Beyond their functional use, decorative bobby pins with pearls or jewels can be strategically placed to add elegance.
- Experiment with different accessories to match your outfit and mood.
Common Mistakes to Avoid
Over-Processing with Heat
Many people use too much heat or go over the same sections repeatedly, leading to dry, brittle hair and split ends. This is especially damaging for collar bone length hair, which can easily look fried at the ends.
Always use a heat protectant and select the lowest effective heat setting on your tools. One smooth pass with a flat iron is better than several quick passes.
Ignoring Product Use
Skipping styling products often results in flat, frizzy, or quickly falling styles. Products are formulated to protect, add texture, hold, and shine, making a significant difference.
Invest in good quality heat protectant, volumizing mousse, texturizing spray, and a light hairspray. Use them appropriately for your desired style and hair type.
Styling Wet Hair with Heat Tools
Applying a curling iron or flat iron to damp or wet hair can literally boil the water inside your hair shaft, causing severe damage and breakage. You’ll hear a sizzling sound, which is a clear sign of trouble.
Always ensure your hair is 100% dry before using any heat styling tools other than a blow dryer. Patience in drying will save your hair’s health.
Forgetting to Clean Your Tools
Product buildup on curling irons, flat irons, and even brushes can transfer to your clean hair, making it look dull, greasy, and weigh it down. Dirty tools also don’t perform as effectively.
Regularly wipe down your heat tools with a damp cloth (when cool) and clean your brushes to remove hair and product residue. This keeps your tools effective and your hair cleaner.
Troubleshooting
My Hair Falls Flat Quickly
This is a common complaint with collar bone length hair, especially if it’s fine or lacks natural body. The weight of the hair can pull down any volume you create.
Focus on root-lifting products and techniques. Apply volumizing mousse or root lifter to damp roots and blow-dry upside down or by lifting sections directly up from the scalp with a round brush. Finish with a light-hold hairspray at the roots. Dry shampoo applied to roots can also add texture and lift on second-day hair.
My Waves Don’t Hold
If your curls or waves unravel too fast, it could be due to several factors: hair texture, lack of product, or not letting the hair cool.
Prep your hair with a texturizing spray or mousse before styling. After curling each section, pin the curl to your scalp and let it cool completely before releasing. This sets the curl. Finish with a strong-hold flexible hairspray. Sometimes, a smaller barrel curling iron can create a tighter curl that relaxes into a wave.
My Hair Gets Frizzy Easily
Frizz can be frustrating, often caused by humidity, damaged cuticles, or improper drying techniques.
Use a smoothing serum or anti-frizz cream on damp hair before drying. Blow-dry with a nozzle, pointing the airflow down the hair shaft to smooth the cuticle. Finish with a cool shot. In humid conditions, a humidity-resistant hairspray can be a lifesaver. Consider a silk pillowcase to reduce friction overnight.
Key Takeaways
- Proper hair prep with suitable products is the foundation for any successful style.
- Mastering your blow dryer for volume and smoothness is crucial for collar bone length hair.
- Embrace the versatility of this length with waves, straight styles, half-ups, and even updos.
- Always use heat protectant and avoid over-processing your hair with heat tools.
- Hair accessories can instantly elevate a simple style and add personality.
- Don’t be afraid to experiment; practice makes perfect when styling your hair.
Frequently Asked Questions
Is collar bone length hair easy to maintain?
Yes, collar bone length hair is generally considered very easy to maintain. It’s long enough to style in many ways but short enough that washing, drying, and styling don’t take an excessive amount of time. It’s also less prone to tangling than very long hair.
Can I still put my collar bone length hair in a ponytail?
Absolutely! Collar bone length hair is perfect for ponytails. You can do a sleek low ponytail, a messy mid-height pony, or even a high ponytail if your hair is just long enough to gather. Use a good hair tie and bobby pins for any shorter pieces that might escape.
What styles make collar bone length hair look thicker?
To make collar bone length hair appear thicker, focus on styles that add volume and texture. Waves, a good blowout with root lift, and blunt cuts can create the illusion of density. Avoid overly sleek, flat styles if thickness is your goal, and use volumizing products.
How often should I trim collar bone length hair?
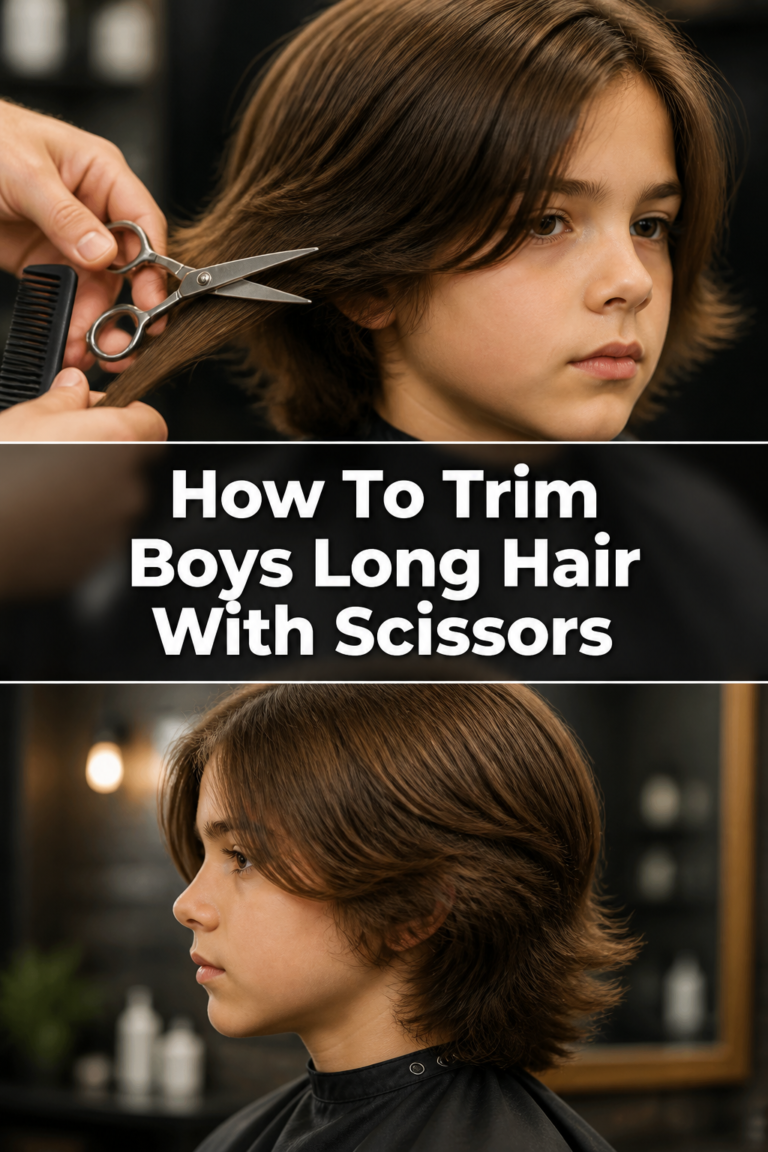
To maintain its shape and health, trimming collar bone length hair every 6-8 weeks is recommended. This helps remove split ends and keeps the style looking fresh and polished, preventing it from looking scraggly or losing its intended shape.
Our Top Recommended Finds
- Heat Protectant Spray: Essential for shielding your hair from thermal damage, preventing dryness and breakage.
- Texturizing Spray: Adds grip, volume, and that coveted “lived-in” texture, perfect for enhancing waves and creating effortless styles.
- Round Brush (Ceramic or Boar Bristle): A good round brush is key for achieving a smooth, voluminous blowout with shine and control.
Embrace Your Beautiful Length
You now have a complete toolkit to confidently style your collar bone length hair.
From sleek and sophisticated to effortlessly wavy, the possibilities are vast and exciting.
Start experimenting with these techniques today, discover what works best for your hair, and enjoy every moment of your styling journey!