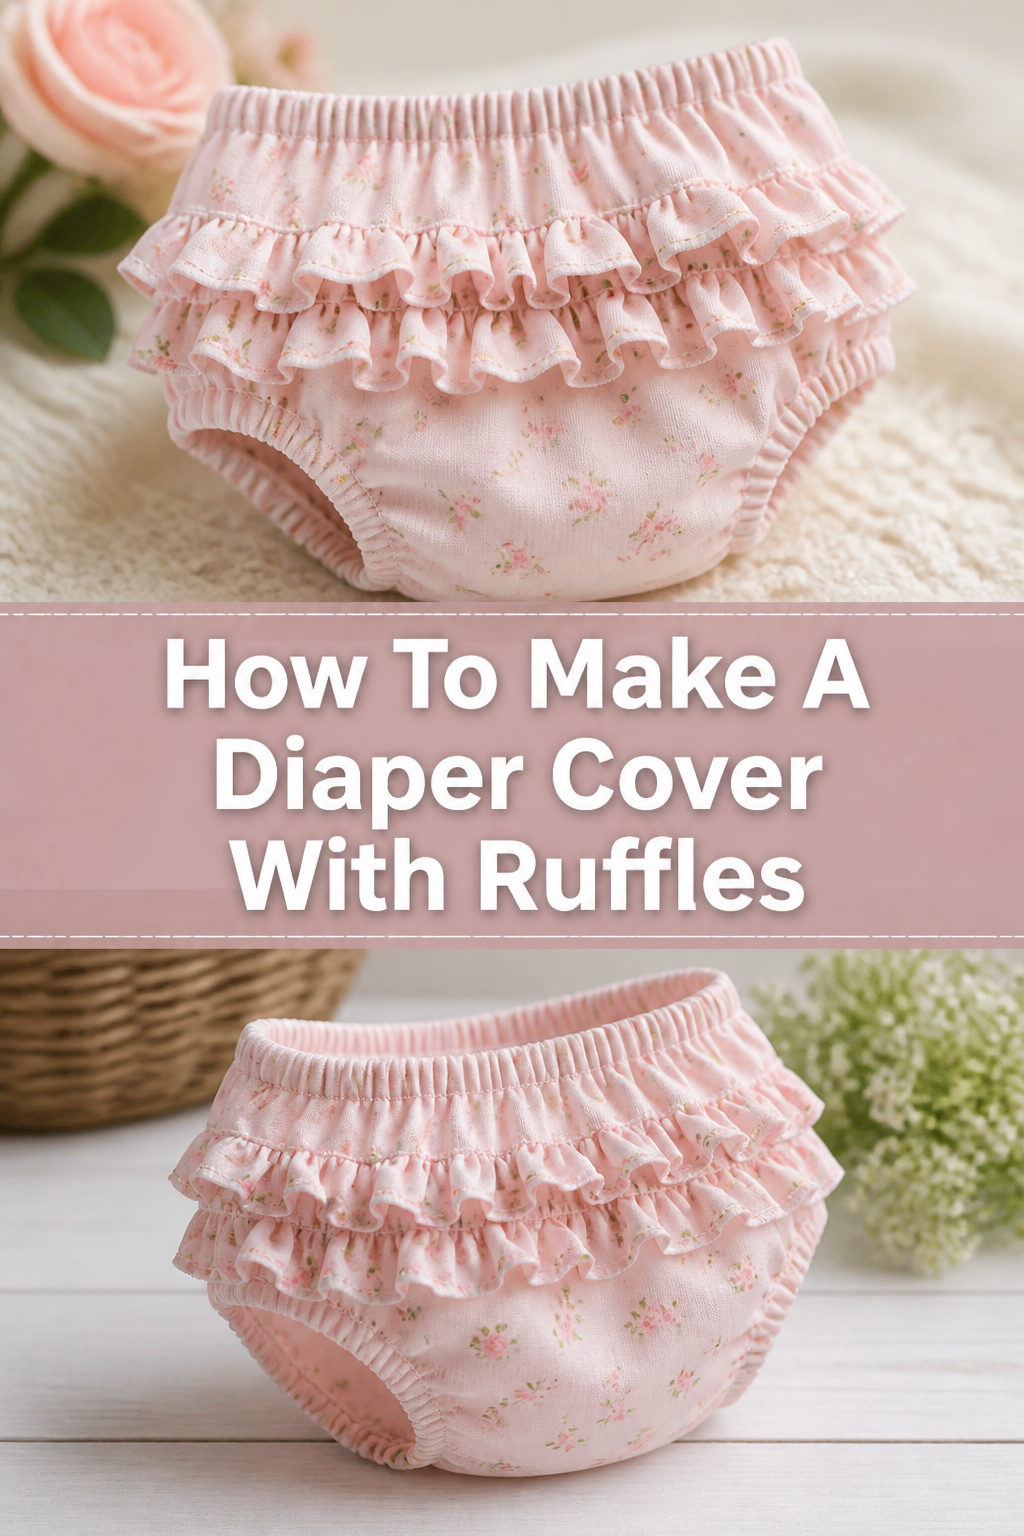
How To Make A Diaper Cover With Ruffles
My little one always looked adorable in custom outfits, especially those with a handmade touch.
Making a ruffled diaper cover was one of my favorite projects, combining practicality with undeniable cuteness.
This guide shares my tried-and-true method, ensuring you create a charming, comfortable, and durable result for your baby.
Quick Overview
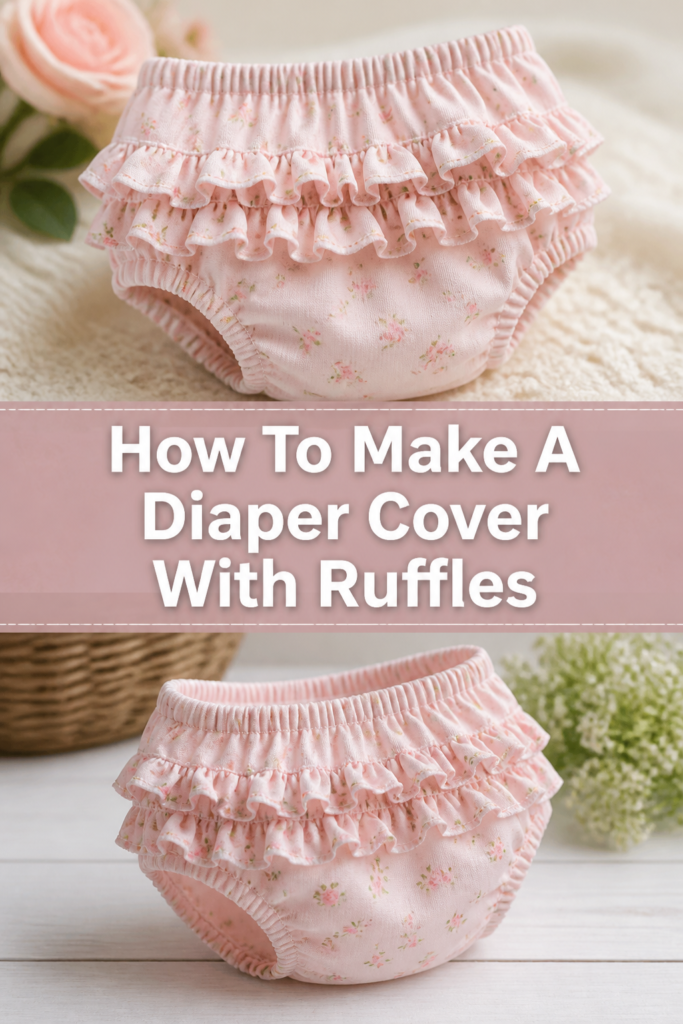
You’re about to create a custom, ruffled diaper cover that’s perfect for photoshoots, special occasions, or just everyday sweetness.
It’s a rewarding project that allows for personalization and adds a unique item to your baby’s wardrobe.
- Time needed: 2-4 hours (depending on sewing experience)
- Difficulty: Beginner-Intermediate
- What you’ll need: Fabric, elastic, thread, sewing machine, basic sewing tools, and a pattern.
Step-by-Step Instructions
Step 1: Gather Your Materials and Pattern
Before you begin, ensure you have all the necessary supplies. A well-prepared workspace makes the entire process smoother.
Choose your fabric wisely. Soft, breathable fabrics like cotton lawn, quilting cotton, or light flannel work wonderfully for the main diaper cover.
Select a contrasting or coordinating fabric for the ruffles. Lightweight fabrics like voile or broadcloth will gather nicely.
Pro Tip: Pre-wash and dry all your fabric before cutting. This prevents any future shrinkage and ensures your finished diaper cover maintains its size and shape after washing.
Gather your elastic. You’ll need 1/4-inch wide elastic for the leg openings and 3/4-inch or 1-inch wide elastic for the waistband.
Print and assemble your diaper cover pattern. Many free patterns are available online, or you can purchase one. Ensure it’s the correct size for your baby.
Prepare your sewing machine with a fresh needle and thread that matches your fabric. Have your pins, scissors, measuring tape, and iron ready.
Step 2: Cut Your Fabric Pieces
Precision in cutting is key for a well-fitting and professional-looking diaper cover.
Lay your main fabric flat and smooth it out. Pin your pattern pieces securely to the fabric, following the grainline instructions on the pattern.
Cut out the main diaper cover pieces. Most patterns will have a front and a back piece, often cut on the fold.
Measure and cut your ruffle strips. For two ruffles, you’ll need two strips of fabric. Each strip should be approximately twice the length of the back leg opening where it will be attached.
Determine the width of your ruffle strips. A good starting point is 2-3 inches wide, depending on how deep you want your ruffles to be. Remember to account for seam allowances.
Cut additional strips for any optional waist ruffles or other embellishments, following similar length and width guidelines.
Step 3: Assemble the Main Diaper Cover
Now you’ll bring the basic shape of the diaper cover together.
Place the front and back diaper cover pieces right sides together. Align the crotch seam edges carefully.
Pin along the crotch seam. Use plenty of pins to prevent shifting, especially with slippery fabrics.
Sew the crotch seam using a 1/2-inch seam allowance (or whatever your pattern specifies). Use a straight stitch.
Finish the raw edge of the crotch seam. You can use a serger, a zigzag stitch, or pinking shears to prevent fraying and give a neat finish.
Press the crotch seam open or to one side, according to your pattern’s instructions. Pressing helps create crisp, flat seams.
Step 4: Create the Ruffles
This step adds the signature charm and volume to your diaper cover.
Take one of your ruffle fabric strips. Along one long edge, hem it to create a neat finished edge.
Fold the edge under 1/4 inch, press, then fold another 1/4 inch and press again. Stitch this narrow double-fold hem in place.
Pro Tip: For a quick hem, you can use a rolled hem foot on your sewing machine if you have one, or even a zigzag stitch along the raw edge to prevent fraying.
Repeat the hemming process for all your ruffle strips. Ensure all hems are consistent for a professional look.
Gather the opposite raw long edge of each ruffle strip. Set your sewing machine to its longest stitch length and reduce the tension slightly.
Sew two parallel lines of stitching along the raw edge, about 1/4 inch apart, without backstitching. Leave long thread tails at both ends.
Pull the bobbin threads from one end of each strip. Gently slide the fabric along the threads to create even gathers. Distribute the gathers until the ruffle strip matches the length of the back leg opening where it will attach.
Secure the gathers by tying off the thread tails at the ends. This locks the ruffle length until you’re ready to sew it onto the diaper cover.
Step 5: Attach the Ruffles
Carefully place and sew your beautiful ruffles onto the diaper cover.
Lay the diaper cover flat, right side up. Identify the back leg opening areas where the ruffles will be placed.
Position the first ruffle strip along the desired placement line on the back of the diaper cover, right sides together. The raw, gathered edge of the ruffle should align with your marked line.
Pin the ruffle securely in place. Distribute the gathers evenly as you pin, ensuring there are no flat spots or overly bunched areas.
Sew the ruffle to the diaper cover using a straight stitch, stitching just inside your gathering stitches. Use a 1/2-inch seam allowance.
Repeat this process for the second ruffle, placing it either above or below the first, depending on your desired design. Ensure even spacing between ruffles.
Trim any excess ruffle fabric from the sides if necessary. Finish the raw edge where the ruffle is attached to the diaper cover using a zigzag stitch or serger.
Press the ruffles downwards, away from the seam, to help them lay flat and look neat.
Step 6: Insert the Elastic
Elastic creates the snug, comfortable fit around the legs and waist.
Prepare the leg casings. Fold the raw edge of each leg opening towards the wrong side of the fabric by 1/4 inch and press. Then, fold it again by 1/2 inch and press, creating a casing.
Stitch the casing close to the inner folded edge, leaving a small opening (about 1 inch) to insert the elastic. Backstitch at the start and end of your stitching.
Cut two pieces of 1/4-inch wide elastic for the leg openings. The length will vary by pattern, but generally, it’s about 6-8 inches for a baby diaper cover.
Attach a safety pin to one end of an elastic piece. Thread the elastic through the casing, guiding the safety pin until it emerges from the opening on the other side.
Overlap the two ends of the elastic by 1/2 inch and stitch them together securely with a zigzag stitch. Ensure the elastic is not twisted inside the casing.
Gently pull the fabric to draw the elastic fully into the casing. Stitch the opening closed with a straight stitch.
Repeat for the other leg opening.
Create the waistband casing in the same manner. Fold the top edge of the diaper cover down by 1/4 inch, press, then fold again by 1 inch (or pattern specified width) and press.
Stitch the waistband casing, leaving an opening. Insert the wider elastic (3/4-inch or 1-inch) using the safety pin method. Overlap and secure the elastic ends, then stitch the opening closed.
Step 7: Finish and Press
The final touches make all the difference in a handmade item.
Trim any loose threads from all seams and the overall diaper cover. Clean edges contribute to a professional look.
Inspect all your stitching to ensure it’s secure and even. Reinforce any areas that look weak.
Give the entire diaper cover a final press with an iron. Pay attention to the seams, ruffles, and elastic casings.
Admire your beautiful, handmade ruffled diaper cover! It’s now ready for your little one to wear.
Common Mistakes to Avoid
Incorrect Fabric Choice
Using the wrong fabric can significantly impact the comfort and drape of your diaper cover. Heavy, stiff fabrics can make the cover bulky and uncomfortable for a baby, while overly thin fabrics might lack durability.
Always choose soft, breathable, and appropriately weighted fabrics like quilting cotton, broadcloth, or lightweight flannel. For ruffles, lighter fabrics like voile or lawn gather beautifully.
Uneven Ruffle Gathering
Inconsistent gathering can result in ruffles that look lumpy or sparse in places. This detracts from the overall aesthetic of the diaper cover.
Take your time when pulling the bobbin threads to gather the fabric. Gently slide the fabric along the threads, distributing the gathers evenly across the entire length. Pin frequently to maintain evenness before sewing.
Skipping Pre-Washing Fabric
Many fabrics shrink when first washed, especially cotton. If you don’t pre-wash, your finished diaper cover might shrink after its first laundry cycle, making it too small.
Always wash and dry your fabric in the same way you intend to wash the finished garment before you cut into it. This step is crucial for maintaining the size and shape of your handmade item.
Too Tight Elastic
Elastic that is too tight around the legs or waist will be uncomfortable for the baby and can leave red marks. It can also restrict movement.
Measure the elastic against your baby’s actual leg or waist circumference, then subtract about 1-2 inches for a snug but comfortable fit. Always check your pattern’s recommended elastic lengths and adjust as needed.
Troubleshooting
Ruffles Don’t Lay Flat
Sometimes, ruffles can stand up stiffly or appear bulky rather than gracefully flowing. This often happens if the fabric is too stiff or if the gathering stitches are too close to the edge.
Ensure your ruffle fabric is lightweight and drapes well. After sewing the ruffles on, press them downwards firmly with an iron. You can also understitch the seam allowance to the main diaper cover fabric to encourage the ruffles to lay flat.
Diaper Cover Gaps at Legs
If the leg openings seem too loose or gape open, allowing the diaper to show, the elastic might be too long or not adequately tensioned.
Carefully unpick a small section of the elastic casing and try shortening the elastic by another 1/2 to 1 inch. Re-stitch the elastic ends and close the casing. Double-check your elastic measurements for future projects.
Stitching Appears Messy or Skipped
Uneven stitches, skipped stitches, or tangled thread can be frustrating and make your project look less professional. This is often a machine tension issue or an incorrect needle choice.
First, re-thread your sewing machine completely, both the top thread and the bobbin. Ensure your needle is new and appropriate for your fabric type (e.g., universal needle for cotton). Adjust your machine’s tension dial one setting at a time, testing on a scrap of fabric until the stitches look balanced.
Key Takeaways
- Fabric choice is crucial for comfort, durability, and the overall look of your ruffled diaper cover.
- Accurate pattern cutting and precise measurements are essential for a well-fitting garment.
- Take your time with gathering the ruffles to ensure they are even and visually appealing.
- Proper elastic insertion creates a comfortable, secure fit without being too tight.
- Always pre-wash your fabrics to prevent shrinkage and maintain the garment’s size.
- Pressing seams throughout the construction process leads to a much neater and more professional finish.
Frequently Asked Questions
What kind of fabric is best for the main diaper cover?
For the main diaper cover, soft, breathable fabrics like quilting cotton, broadcloth, cotton lawn, or lightweight flannel are excellent choices. These fabrics are comfortable against a baby’s skin and easy to work with.
Can I make this without a sewing machine?
While possible to hand-sew, it will be significantly more time-consuming and challenging to achieve strong, even seams and gathers. A sewing machine is highly recommended for this project to ensure durability and a professional finish.
How do I adjust the size for different babies?
Most patterns come in various sizes. If you need to adjust slightly, you can grade between sizes or modify the elastic length. For more significant size changes, it’s best to use a pattern specifically designed for that size.
How do I care for the finished diaper cover?
To care for your handmade diaper cover, machine wash it in cold water with similar colors. Tumble dry on low or hang to dry to preserve the fabric and elastic. Avoid harsh bleaches or high heat, which can damage the elastic and fabric.
Our Top Recommended Finds
- Soft Organic Cotton Fabric: Gentle on baby’s skin, excellent for breathability and comfort.
- High-Quality Braided Elastic: Offers durable stretch and maintains its shape well through washes.
- Rotary Cutter and Self-Healing Mat: Makes cutting fabric precise and incredibly fast, especially for straight lines and ruffles.
Your Ruffled Creation Awaits!
You’ve now learned all the steps to create a beautiful, custom ruffled diaper cover. Imagine the joy of seeing your little one in something you made with love.
This project is not just about sewing; it’s about adding a personal touch to your baby’s wardrobe and creating cherished memories.
Why not start today? Gather your materials, choose your favorite fabrics, and begin stitching this adorable accessory. You might even find yourself inspired to make matching tops or headbands!