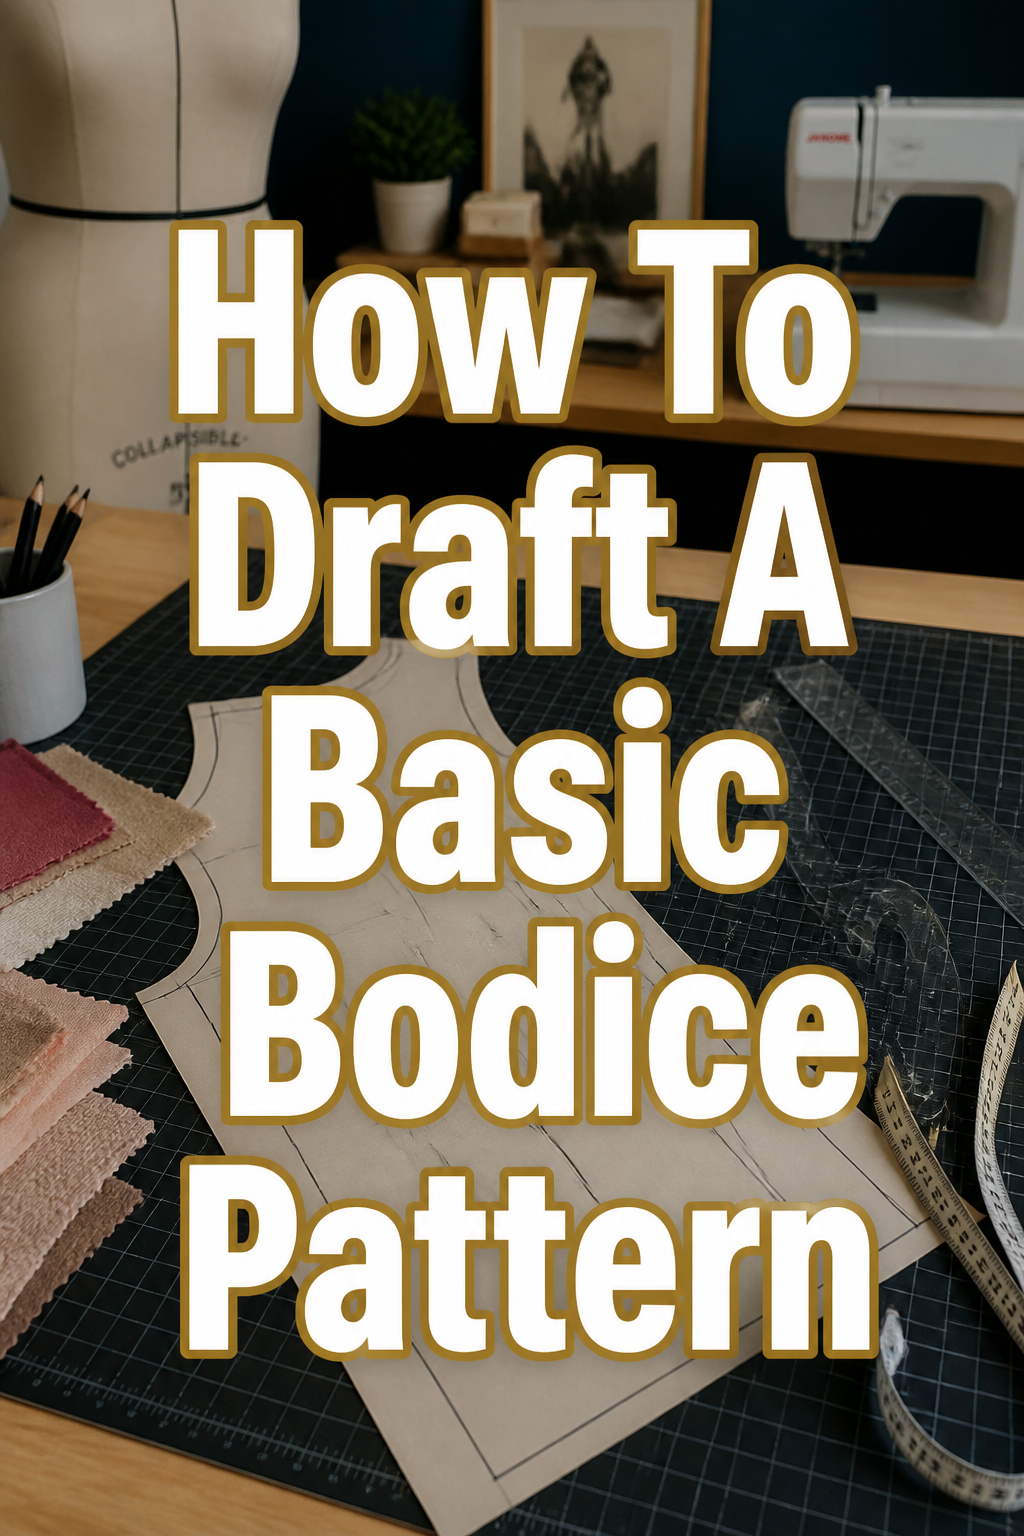
📏 How To Draft A Basic Bodice Pattern
Learning to draft your own patterns feels like unlocking a secret code in sewing.
I remember the first time I created a bodice block from scratch; it was incredibly empowering.
This guide will walk you through each precise step, building your confidence as you go.
Quick Overview
You’re about to create a foundational bodice pattern, tailored to your unique body measurements. This basic block is the starting point for countless garment designs, from simple tops to elaborate dresses.
- Time needed: 2-4 hours (depending on experience and focus)
- Difficulty: Beginner
- What you’ll need: Large paper (pattern paper or craft paper), ruler (long and L-square if possible), measuring tape, pencil, eraser, French curve (optional but helpful), scissors.
Step-by-Step Instructions
Step 1: Gather Your Tools and Take Accurate Measurements
Before you draw a single line, ensure you have all your materials ready. A well-organized workspace makes a big difference in accuracy.
Measure your body with precision. You’ll need your full bust, waist, high bust, shoulder width, back width, front chest width, bust point to bust point, shoulder to waist (front and back), shoulder to bust point, and armhole depth.
Have someone assist you for the most accurate readings, especially for back measurements. Wear close-fitting undergarments, not bulky clothes.
Pro Tip: Write down all your measurements clearly on a separate sheet of paper. Double-check them to avoid errors later in the drafting process.
Step 2: Prepare Your Pattern Paper
Lay out your large pattern paper on a flat, sturdy surface. You’ll be drafting both the front and back bodice pieces side-by-side, sharing a common vertical line.
Draw a straight vertical line down the center of your paper. This will be your Center Front (CF) and Center Back (CB) line for now.
Draw a horizontal line perpendicular to the top of the vertical line. This is your high shoulder or neck point guideline. Leave plenty of space above it.
Step 3: Plot Key Horizontal Guidelines
These horizontal lines form the framework of your bodice. Accuracy here is paramount for a good fit.
Mark your Armhole Depth line. Measure down from the high shoulder line along the CF/CB line by your armhole depth measurement (typically shoulder to armpit, plus ease).
Plot your Bust Line. Measure down from the high shoulder line to your full bust point. This line will be parallel to the armhole depth line.
Draw your Waist Line. Measure down from the high shoulder line to your natural waist. This line is also parallel to the others.
Add a Hip Line (optional for a basic bodice, but useful for longer tops). Measure down from the waist line to your desired hip level.
Pro Tip: Use an L-square ruler if you have one to ensure all horizontal lines are perfectly perpendicular to the center vertical line. This prevents skewed patterns.
Step 4: Establish Vertical Widths for Front and Back
Now you’ll define the width of your bodice pieces. Remember to divide circumference measurements by two, as you’re drafting half of the front and half of the back.
Mark the Front Width. From the CF line, measure out half of your front chest width along the armhole depth line. Mark this point.
Mark the Back Width. From the CB line, measure out half of your back width along the armhole depth line. Mark this point.
Plot the Bust/Chest Circumference. From the CF line, measure out one-quarter of your full bust measurement (plus ease) along the bust line. Do the same from the CB line for the back.
Define the Waist Circumference. From the CF line, measure out one-quarter of your waist measurement (plus ease) along the waist line. Repeat for the back from the CB line.
Step 5: Draft the Necklines
The neckline shapes the top of your bodice. These are typically gentle curves.
For the Front Neckline: From the high shoulder point on the CF line, measure horizontally out 1/6th of your neck circumference (minus a small amount for comfort). Measure vertically down about 3-4 inches (or your desired depth).
Connect these two points with a smooth curve using a French curve or freehand. This forms your front neckline.
For the Back Neckline: From the high shoulder point on the CB line, measure horizontally out the same 1/6th neck circumference. Measure vertically down about 3/4 to 1 inch.
Draw a gentle curve connecting these points for the back neckline.
Step 6: Shape the Shoulders
The shoulder seam defines how the garment sits across your upper body.
Mark the Shoulder Slope. From the high shoulder point on the CF line, measure out your shoulder width. Then, measure down from the high shoulder line by about 1.5 to 2 inches (this is a standard shoulder slope).
Draw a straight line connecting the neckline point to this new shoulder point. This is your front shoulder seam.
Repeat for the back shoulder. The back shoulder slope is often slightly less steep, perhaps 1 to 1.5 inches down from the high shoulder line at the shoulder width point.
Step 7: Draw the Armholes
The armhole needs to be smooth and comfortable. This is where a French curve comes in handy.
For the Front Armhole: Start from the end of your front shoulder seam. Curve down through your front chest width point on the armhole depth line.
Continue the curve to meet the bust line at the side seam point (the outer edge of your bust measurement).
For the Back Armhole: Begin at the end of your back shoulder seam. Curve down through your back width point on the armhole depth line.
Finish the curve to meet the bust line at the side seam point for the back.
Pro Tip: Don’t try to make the armhole perfect on the first try. Use light pencil lines and refine the curve until it looks smooth and balanced. The curve should not be too deep or too shallow.
Step 8: Construct the Side Seams
The side seam connects the armhole to the waist, and potentially to the hip.
Connect the side seam point at the bust line to the waist line measurement point. For a basic block, this can be a straight line.
For a more fitted block, you might slightly curve inwards at the waist. Extend this line down to the hip line if you included it.
Remember that the front and back side seams should match in length.
Step 9: Add Darts for Shaping
Darts are essential for fitting a flat piece of fabric to the curves of the human body, especially for the bust and waist.
Draft the Bust Dart (Front Bodice): Locate your bust point (Apex). From the side seam, midway between the armhole and waist, draw a line towards the bust point.
Measure the difference between your full bust and high bust. This difference helps determine dart width. Divide this difference in half.
Mark half of this dart width on either side of your initial dart line, about 1/2 to 3/4 inch away from the bust point (to avoid a pointy bust). Connect these marks back to the side seam.
Draft Waist Darts (Front and Back): For the front, find the center point between your bust points on the waist line. Draw a line up towards the bust point (stopping about 1 inch short).
For the back, find the midpoint of your waist line. Draw a line straight up to the armhole depth line. Determine the dart width by subtracting your actual waist measurement from your pattern’s waist width (after accounting for bust dart intake).
Distribute this excess evenly for your waist darts (usually two in the front, two in the back for a full pattern, so half of the total excess for each half pattern piece). Mark the dart legs evenly on either side of your center dart lines.
Step 10: Refine Lines and Add Seam Allowances
Smooth out any jagged or uneven lines. A good pattern has graceful, flowing curves.
Use your French curve or freehand to ensure all lines are clean. Erase any extra pencil marks.
Add seam allowances. For a basic block, 1/2 inch (1.25 cm) is common on all edges except the center front/back (which are usually placed on the fold or have a specific closure allowance).
Draw a parallel line outside your main pattern lines for these allowances. Be consistent.
Step 11: Cut Your Pattern Pieces
Carefully cut out your drafted front and back bodice pattern pieces along the seam allowance lines.
Label each piece clearly: “Front Bodice,” “Back Bodice,” “Grainline,” “Cut 1 on Fold” (if applicable), and any other relevant notes like dart locations.
You now have a basic bodice block! This is a powerful tool for your future sewing projects.
Common Mistakes to Avoid
Inaccurate Body Measurements
Using incorrect measurements is the most common pitfall. Even a quarter-inch difference can lead to a noticeable fit issue.
Always double-check your measurements. Ask for help when measuring difficult areas like your back or armhole depth.
Ignoring Ease
A pattern drafted to exact body measurements will be too tight to move in. Ease is the extra room added for comfort and movement.
Remember to add a standard amount of ease (e.g., 2-4 inches for bust, 1-2 inches for waist) to your circumference measurements before drafting.
Uneven Seam Allowances
Inconsistent seam allowances can throw off your garment’s dimensions when you sew it together. This leads to pieces not matching up.
Use a ruler and be meticulous when adding seam allowances. Consistency is key for accurate construction.
Skipping Darts or Improper Dart Placement
Darts are crucial for fitting a flat fabric to the body’s curves. Without them, your bodice will look boxy and ill-fitting.
Ensure your bust dart points correctly towards your bust apex (but stops short), and your waist darts align with natural body curves.
Troubleshooting
Bodice Feels Too Tight or Too Loose
This often points to an issue with ease or initial measurements. If too tight, you likely didn’t add enough ease or your initial body measurements were too small.
If too loose, you might have added too much ease. Review your measurements and ease calculations. Adjust the pattern by adding or subtracting from the side seams and center lines.
Armhole Gapes or Digs In
A gaping armhole means it’s too large, or the shoulder slope is incorrect. A digging armhole is too small or too deep.
Check your armhole depth measurement and the curve shape. You might need to raise or lower the armhole curve, or adjust the shoulder seam angle.
Shoulder Seam Slips Off or Doesn’t Sit Right
This is usually related to the shoulder width or the shoulder slope. If it slips off, the shoulder is too wide or the slope is too flat.
If it feels constricted, the shoulder is too narrow or the slope is too steep. Adjust the shoulder seam length and angle on your pattern.
Key Takeaways
- Accurate body measurements are the foundation of a well-fitting pattern.
- Ease is necessary for comfort and movement; don’t skip it.
- Darts are essential for shaping the fabric to the body’s curves.
- Patience and precision in drafting lead to better results.
- A basic bodice block is a versatile tool for many design variations.
- Always refine your lines and add consistent seam allowances.
Frequently Asked Questions
What is a “bodice block” exactly?
A bodice block, also known as a sloper, is a basic, fitted pattern that matches your body measurements with minimal wearing ease. It’s a foundation from which you can design and create various styles of tops, dresses, and jackets.
Can I use this pattern for knit fabrics?
This guide drafts a pattern suitable for woven fabrics. Knit fabrics require less ease due to their stretch. For knits, you would typically reduce the ease or draft a specific knit block.
How do I adjust this pattern for different styles?
Once you have your basic block, you can “slash and spread” to add fullness for gathers or pleats, rotate darts for different design lines, or add design elements like collars and sleeves. It’s your personal design template.
Why do I need both front and back measurements?
The human body is not symmetrical. The front and back have different curves and widths, especially across the chest, shoulders, and back. Drafting separate pieces ensures a balanced and comfortable fit for both sides.
Our Top Recommended Finds
- Pattern Paper Roll: A large roll gives you ample space for multiple projects and corrections, often with grid lines for easier drafting.
- L-Square Ruler: Indispensable for creating perfectly perpendicular lines, ensuring your pattern pieces are true and square.
- French Curve Set: A set of these curved rulers helps you draw smooth, professional-looking necklines, armholes, and hip curves.
Your Journey to Custom Garments Begins Now
You’ve just taken a significant step towards creating perfectly fitting, custom garments. Drafting your own bodice pattern is an incredibly rewarding skill.
Don’t stop here. Practice makes perfect, and each pattern you draft will deepen your understanding of garment construction and fit.
Consider drafting a basic sleeve block next, or experiment with simple design changes to your new bodice. The possibilities are truly endless!