👟 How To Get Rid Of Yellow Shoe Soles
There’s nothing quite like the crisp look of fresh white sneakers.
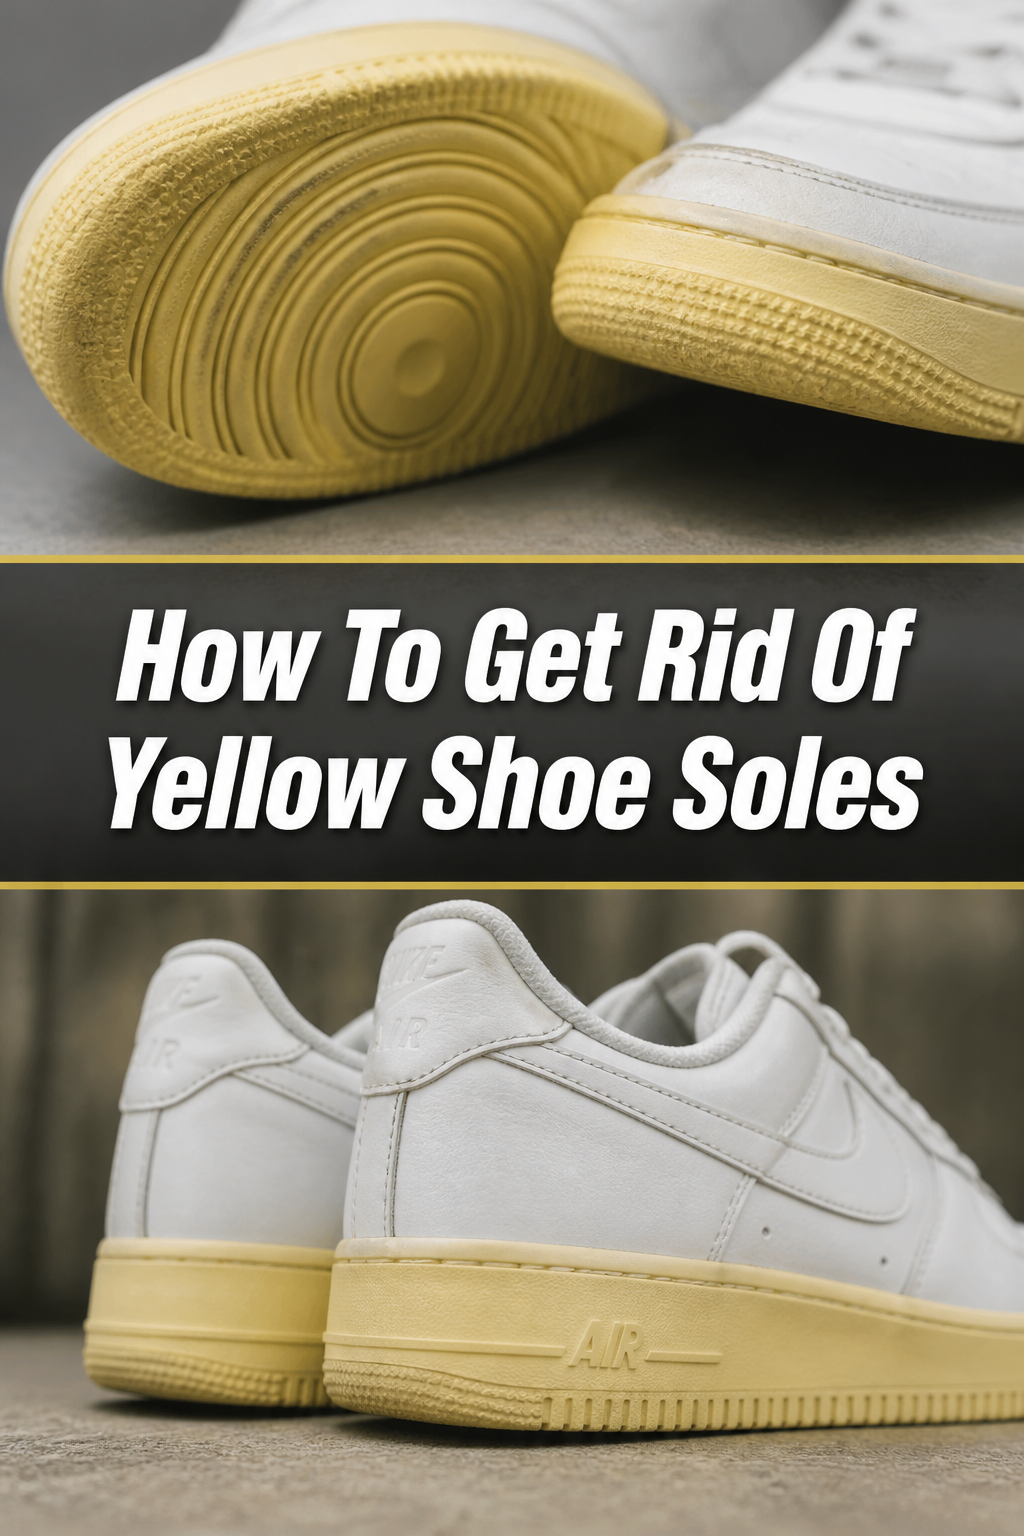
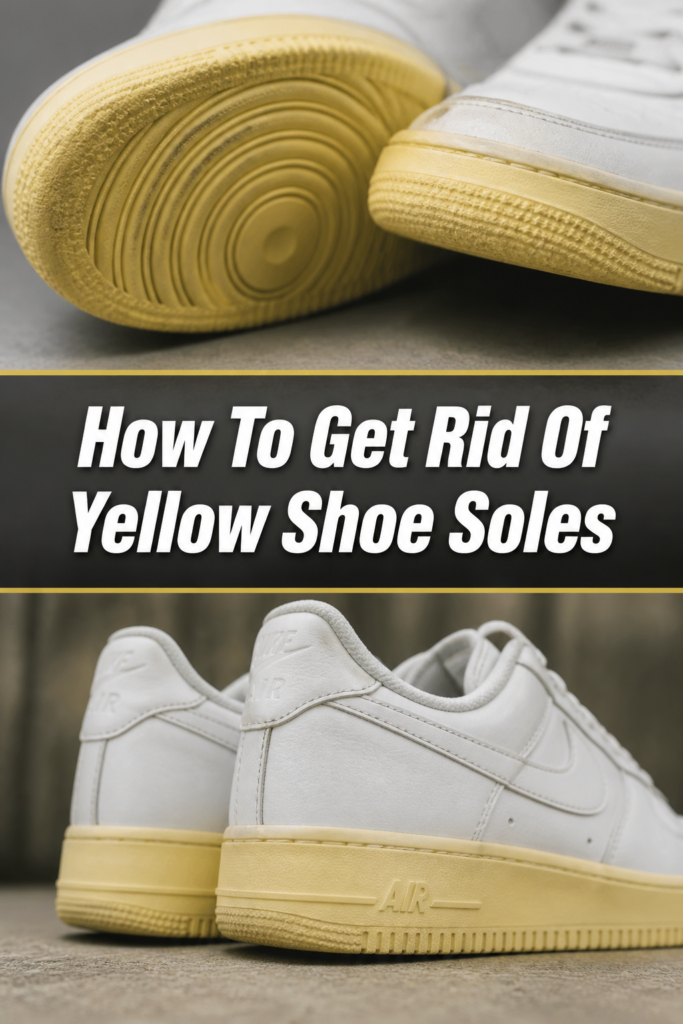
But then, that familiar yellow tint creeps onto the soles, making your favorite pair look worn and dull.
I’ve been there, thinking a yellowed sole meant the end for my beloved trainers, until I discovered the powerful techniques shared in this guide.
Quick Overview
This guide will walk you through transforming those unsightly yellowed shoe soles back to their original bright white. You’ll learn the most effective methods and how to prevent future discoloration.
- Time needed: 1-3 hours of active work, plus 4-12 hours of sun exposure (spread over a day or two).
- Difficulty: Intermediate
- What you’ll need: Hydrogen peroxide cream, plastic wrap, a brush, tape, and basic cleaning supplies.
Step-by-Step Instructions
Step 1: Gather Your Supplies
Before you begin, ensure you have everything within reach. Having your tools ready prevents interruptions and makes the process smoother.
A well-prepared workspace helps you focus on the task at hand.
- Find a clean, well-ventilated area to work.
- Collect your hydrogen peroxide cream (often labeled as “sole whitener” or “de-yellowing cream”).
- Grab a stiff-bristled brush (an old toothbrush works well) and a microfibre cloth.
- Prepare painter’s tape or masking tape, plastic wrap, and rubber gloves.
- Have some dish soap or a dedicated shoe cleaner on hand.
Pro Tip: Hydrogen peroxide cream is typically found at beauty supply stores (look for hair bleaching cream, 40 Volume/12% strength) or online. Make sure it’s a cream, not a liquid, for easier application and safety.
Step 2: Clean the Soles Thoroughly
Starting with a clean surface is crucial for the whitening cream to work effectively. Any dirt or grime will act as a barrier.
This initial cleaning also helps identify areas that need extra attention.
- Remove any loose dirt or debris from the soles with a dry brush.
- Mix a few drops of dish soap with warm water, or use your preferred shoe cleaner.
- Scrub the yellowed soles vigorously with the stiff-bristled brush, paying attention to grooves and textures.
- Rinse the soles thoroughly with clean water to remove all soap residue.
- Allow the soles to air dry completely before moving on to the next step. Moisture can dilute the whitening agent.
Step 3: Protect the Shoe’s Upper
The whitening cream is powerful and can damage or discolor other materials on your shoe, especially fabric or leather uppers. Taping off ensures precise application.
This step protects the rest of your shoe from accidental contact with the strong chemicals.
- Apply painter’s tape or masking tape precisely along the seam where the sole meets the shoe’s upper.
- Press the tape down firmly to create a tight seal, leaving no gaps.
- Double-check that all sensitive areas of the shoe are covered and protected.
- Ensure the tape adheres well, especially around curves and edges.
Step 4: Apply the Whitening Cream
Now it’s time to apply the main agent that will reverse the yellowing. Even application is key for consistent results.
Always wear gloves during this step to protect your skin from the hydrogen peroxide.
- Put on your rubber gloves to protect your hands.
- Scoop a generous amount of the hydrogen peroxide cream onto the stiff brush.
- Spread the cream evenly and thickly over all yellowed areas of the sole.
- Work the cream into any textured parts or grooves, ensuring full coverage.
- Avoid getting the cream on the taped-off upper sections of the shoe.
Pro Tip: Don’t skimp on the cream. A thick, opaque layer ensures maximum contact and effectiveness, allowing the chemicals to penetrate and react properly.
Step 5: Activate with Sunlight
Ultraviolet (UV) light from the sun is essential for activating the hydrogen peroxide and initiating the whitening process. This step is critical for success.
Without UV exposure, the cream won’t be nearly as effective at breaking down the yellowing.
- Wrap the cream-covered soles tightly with plastic wrap. This prevents the cream from drying out and enhances the chemical reaction.
- Place the shoes in direct sunlight. A sunny windowsill or an outdoor spot on a clear day works perfectly.
- Ensure the soles are facing upwards, directly exposed to the sun’s rays.
- Leave the shoes in the sun for 4-6 hours. If it’s a very hot day, you might reduce this time slightly.
Step 6: Monitor and Reapply
The whitening process may require more than one session, especially for heavily yellowed soles. Patience and observation are important.
Checking progress allows you to reapply as needed for optimal results.
- Check the soles every few hours to monitor their progress. You should start seeing a noticeable difference.
- If the cream appears to be drying out or the yellowing persists, remove the plastic wrap.
- Reapply another thick layer of the hydrogen peroxide cream, ensuring full coverage once again.
- Re-wrap the soles with fresh plastic wrap.
- Place them back in direct sunlight for another 4-6 hours.
Step 7: Rinse and Dry
Once you are satisfied with the sole’s whiteness, it’s time to clean off the chemical treatment. Thorough rinsing is important to remove all residue.
This step reveals the final result and prepares the shoes for wear or storage.
- Remove the plastic wrap and the painter’s tape from the shoes.
- Rinse the soles under cool, running water.
- Use the stiff-bristled brush to gently scrub away any remaining cream residue.
- Wipe the soles clean with a damp microfibre cloth.
- Allow the shoes to air dry completely in a shaded, well-ventilated area. Avoid direct sunlight at this stage.
Step 8: Inspect and Repeat
Sometimes, one treatment isn’t quite enough to achieve perfection. A thorough inspection helps you decide if further action is needed.
Don’t hesitate to repeat the process for stubborn yellowing.
- Carefully examine the soles from all angles once they are fully dry.
- Look for any remaining yellow spots or unevenly whitened areas.
- If you’re not completely satisfied with the result, repeat the entire process starting from Step 3 (Protect the Shoe’s Upper).
- Continue repeating treatments until you achieve your desired level of whiteness.
Step 9: Protect for the Future
Prevention is always better than cure. Taking steps to protect your newly whitened soles will extend their fresh look.
Proper care reduces the frequency of needing to de-yellow your shoes.
- Apply a sole protector spray designed to prevent yellowing and repel dirt. These sprays create a barrier against oxidation.
- Store your shoes in a cool, dark place away from direct sunlight. UV exposure, even indirect, can contribute to yellowing over time.
- Clean your soles regularly after each wear with a mild soap and water solution to prevent dirt and grime from building up and setting in.
- Consider using shoe trees to maintain their shape and airflow when storing.
Common Mistakes to Avoid
Using Bleach
Many people assume bleach is the answer for whitening, but it’s a common mistake for shoe soles. Bleach is highly corrosive and can actually degrade the rubber and foam materials of your soles.
It can make the soles brittle, crack, and paradoxically, sometimes even turn them more yellow or leave an uneven, patchy finish. Stick to hydrogen peroxide-based creams which are formulated for this specific purpose.
Applying Unevenly
Rushing the application of the whitening cream or applying it too thinly can lead to inconsistent results. You might end up with bright white spots next to still-yellow areas, creating a splotchy appearance.
Take your time to apply a thick, opaque, and even layer across the entire yellowed surface. This ensures the chemical reaction occurs uniformly, giving you a smooth, consistent white finish.
Leaving Soles in Sun Too Long
While UV light is crucial for activating the hydrogen peroxide, excessive or prolonged exposure, especially on very hot days, can potentially damage the sole material. It can make the rubber brittle or cause other parts of the shoe to fade.
Monitor your shoes closely during sun exposure. Aim for 4-6 hour sessions and reapply if needed, rather than leaving them out all day or overnight. If the sun is intense, consider shorter, more frequent sessions.
Not Protecting the Upper
Forgetting to tape off the shoe’s upper is a common oversight that can lead to permanent damage. The whitening cream is strong and can discolor or even bleach fabric, leather, or synthetic materials on the shoe’s body.
Always use painter’s tape to create a precise barrier between the sole and the upper. This small step saves you from irreversible stains or damage to the rest of your shoe.
Troubleshooting
Soles Are Still Yellow After One Treatment
It’s common for heavily yellowed soles to require more than one treatment. The discoloration often penetrates deeply into the material, meaning a single application might only address the surface.
Don’t be discouraged. Simply repeat the entire whitening process, starting from protecting the upper with tape. Multiple sessions, spread over a few days, are often necessary to achieve truly bright results.
Cream Dried Out During Sun Exposure
If the whitening cream dries out, it loses its effectiveness because the chemical reaction requires moisture. This often happens on very hot or windy days, or if the plastic wrap isn’t sealed tightly.
Remove the plastic wrap, reapply a fresh, thick layer of cream, and re-wrap the sole tightly. Ensure the plastic wrap creates an airtight seal to lock in moisture and allow the peroxide to work properly.
Uneven Whitening / Streaks
Uneven whitening or streaks usually indicates that the cream was not applied uniformly, or that some areas received more sun exposure than others. It could also mean the initial cleaning wasn’t thorough in certain spots.
Clean the soles again to remove any remaining residue. Then, reapply the whitening cream, paying extra attention to even coverage. Ensure the shoes are positioned so all parts of the sole receive equal direct sunlight during activation.
Key Takeaways
- Hydrogen peroxide cream (40 Volume) is the most effective solution for yellowed soles.
- Thorough cleaning and taping off the shoe’s upper are critical preparation steps.
- Direct sunlight (UV exposure) activates the whitening cream, so don’t skip this.
- Multiple treatments might be necessary for deeply yellowed soles; be patient.
- Always wear gloves to protect your skin from the whitening cream.
- Prevent future yellowing by cleaning regularly and storing shoes out of direct sunlight.
Frequently Asked Questions
Can I use regular hair developer instead of specific sole whitener?
Yes, regular hair developer that contains 40 Volume (12%) hydrogen peroxide cream is essentially the same product often rebranded as sole whitener. It works just as effectively for de-yellowing shoe soles. Just ensure it’s a cream consistency for easy application.
How long will the whitening last?
The duration of the whitening depends on several factors, including how often you wear the shoes, how you store them, and exposure to UV light. With proper care and storage away from direct sunlight, the whitening can last for several months or even a year before needing a touch-up.
Can this method damage my shoes?
When done correctly, this method is generally safe for rubber and foam soles. However, improper application, leaving the cream on too long, or excessive sun exposure can potentially cause the sole material to become brittle over time. Always follow the instructions carefully and protect the shoe’s upper.
What if I don’t have direct sunlight?
Direct sunlight is the most effective activator. If you don’t have consistent direct sunlight, you can try using a UV lamp, such as a nail curing lamp, as an alternative. Position the lamp close to the wrapped soles and ensure even exposure. This might require longer activation times.
Our Top Recommended Finds
- 40 Volume Cream Developer: This high-strength hydrogen peroxide cream is the hero product for serious sole whitening. It’s readily available and highly effective.
- Painter’s Tape: A good quality painter’s tape is essential for protecting the shoe’s upper. Look for one that offers clean lines and good adhesion without leaving residue.
- Stiff-Bristled Brush: An old toothbrush or a dedicated detailing brush helps you apply the cream evenly and scrub away grime effectively.
Embrace the Brilliance
Seeing your favorite sneakers restored to their former glory is incredibly satisfying. You’ve now mastered the art of reversing yellowed soles, adding years of life and style back to your footwear collection.
Don’t let yellowing diminish the appeal of your shoes. Take action today and bring that crisp, clean look back to your soles.
Consider exploring advanced shoe care techniques or diving into material-specific cleaning guides to keep all your footwear in pristine condition.