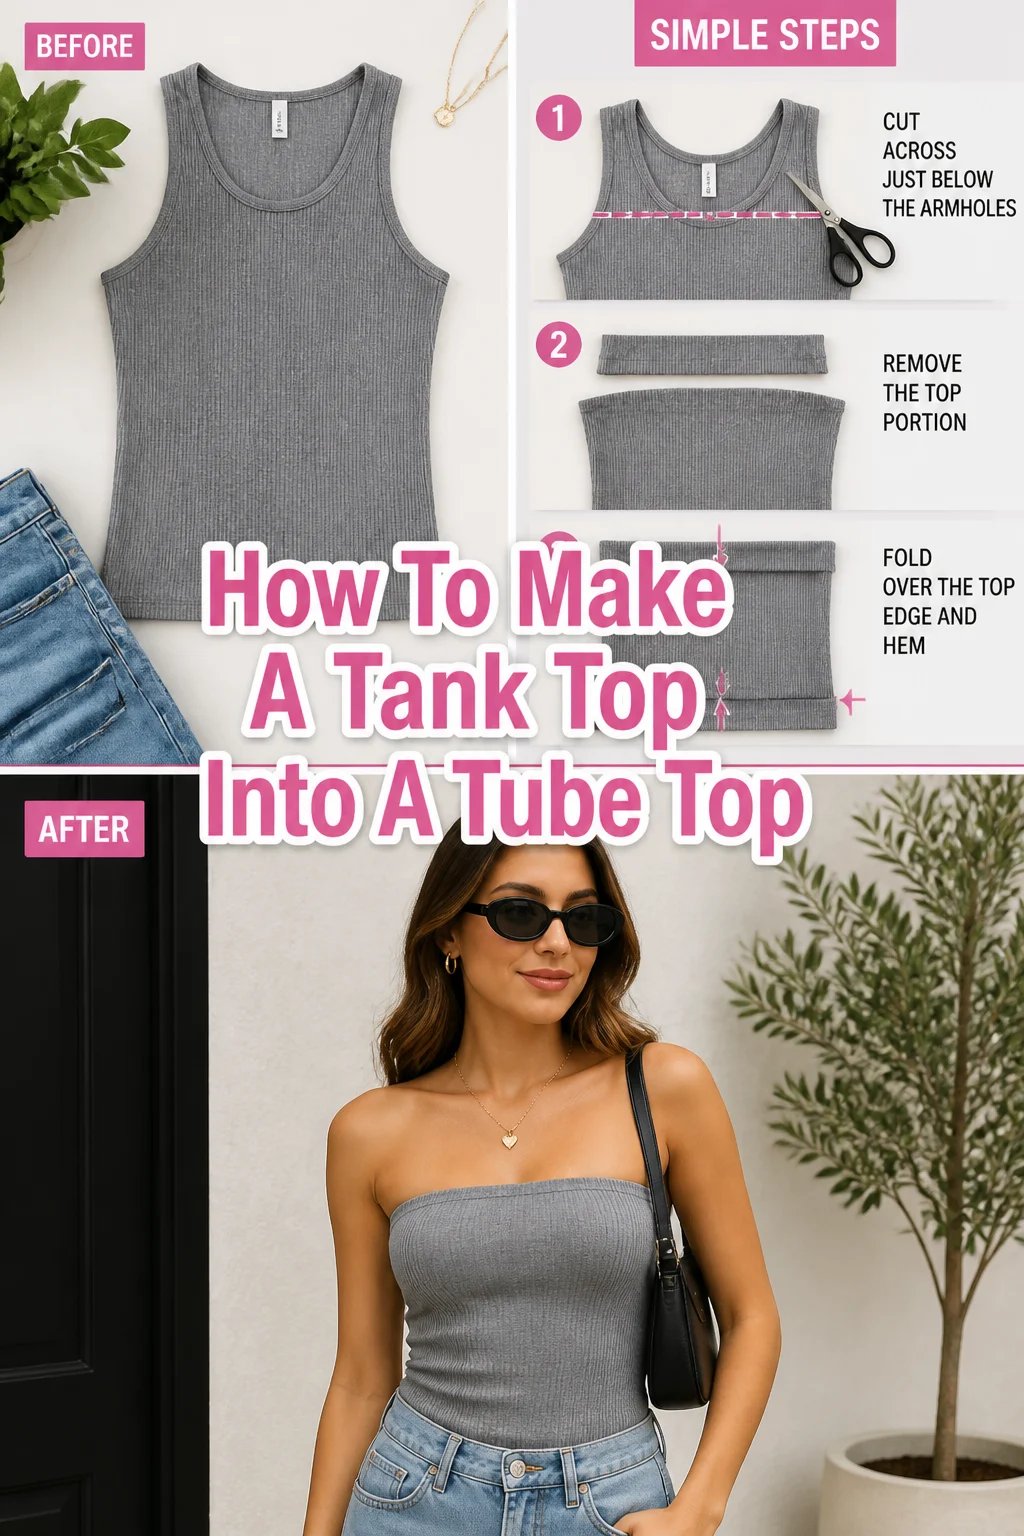
How To Make A Tank Top Into A Tube Top
✂️ How To Make A Tank Top Into A Tube Top
Transforming a simple tank top into a stylish tube top is a fantastic way to refresh your wardrobe without spending a fortune.
I’ve personally upcycled countless garments, and this particular project is one of my favorites for its simplicity and impactful results.
This guide will walk you through every easy step, ensuring you achieve a perfectly fitted and fashionable new piece.
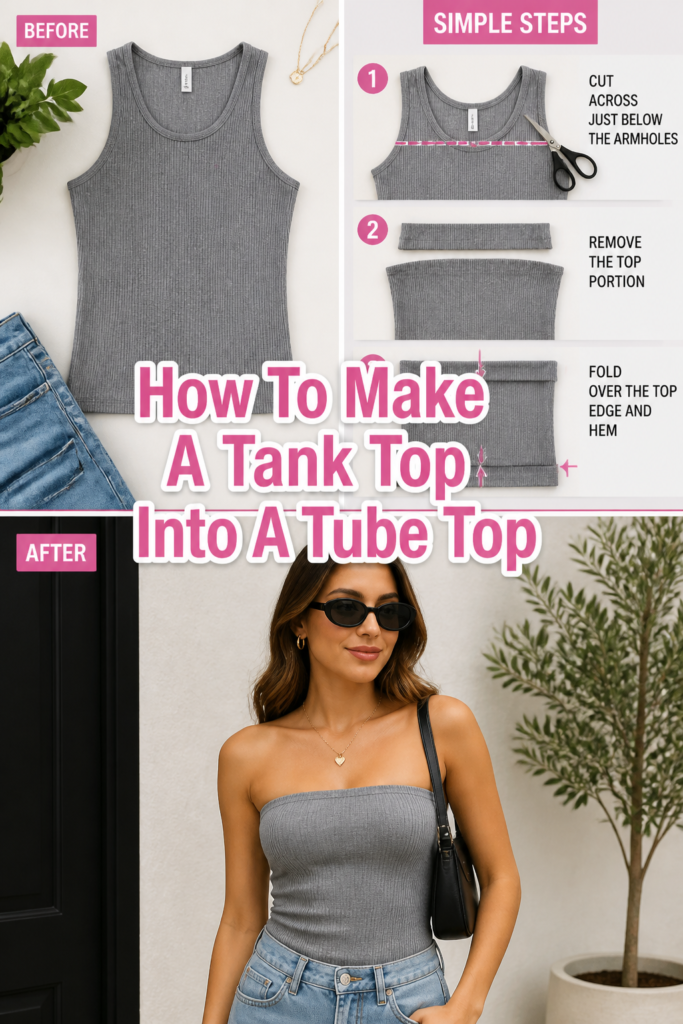
Quick Overview
You are about to create a custom-fitted tube top from an existing tank top, perfect for warm weather or layering.
This project is ideal for anyone looking to add a unique, handmade touch to their style.
- Time needed: 45-75 minutes (including optional elastic insertion)
- Difficulty: Beginner
- What you’ll need: A tank top, fabric scissors, measuring tape, sewing machine (or needle and thread), pins, elastic (optional, but recommended), fabric marker or chalk.
Step-by-Step Instructions
Step 1: Gather Your Supplies
Collect all the necessary tools and materials before you begin. Having everything at hand streamlines the entire process, preventing interruptions.
Ensure your chosen tank top is clean and pressed. This makes measuring and cutting much more accurate.
Step 2: Prepare Your Tank Top
Lay your tank top flat on a clean, hard surface. Smooth out any wrinkles or creases, ensuring the fabric is completely even.
Consider the fit you desire for your tube top. A snug fit will require less fabric, while a looser style might need more of the original tank top length.
Step 3: Determine Your Cut Line
Try on the tank top and decide where you want the top edge of your tube top to sit. This is usually just above your bust or at your armpit level.
Mark this spot with a fabric marker or pin while wearing the tank top. Take it off carefully to avoid shifting the mark.
Measure from the bottom hem of the tank top up to your marked line. Record this measurement; it’s the desired length of your new tube top.
Pro Tip: Add 1 to 1.5 inches (2.5 to 4 cm) to your desired length. This extra fabric accounts for the new top hem you’ll create, ensuring your tube top doesn’t end up too short.
Step 4: Cut the Tank Top
Place the tank top flat again, ensuring both front and back layers are perfectly aligned.
Use your measuring tape to transfer your adjusted length measurement (desired length + hem allowance) from the bottom hem upwards, marking several points across the width of the tank top.
Connect these marks with a straight line using your fabric marker or chalk. This line will be your cutting guide.
Carefully cut along this marked line with sharp fabric scissors. Cut through both layers of fabric simultaneously for a clean, even edge.
Step 5: Prepare the New Top Hem
With the tank top now a raw-edged tube, turn the raw edge down towards the inside of the garment by about 0.5 inches (1.25 cm).
Press this fold flat with an iron. This initial fold creates a neat edge and makes the next step easier.
Fold the edge down again, this time by another 0.5 to 1 inch (1.25 to 2.5 cm), creating a double-folded hem. The exact width depends on whether you plan to insert elastic.
Pin this double fold securely all the way around the top edge. Ensure your pins are perpendicular to the fabric edge, making them easy to remove as you sew.
Pro Tip: If you plan to insert elastic, make sure your hem allowance is wide enough to accommodate the elastic comfortably. A 1-inch (2.5 cm) hem is usually sufficient for standard elastic widths. Leave a small 1-inch (2.5 cm) opening unpinned in the hem for elastic insertion.
Step 6: Sew the Hem
Stitch along the inner edge of your folded hem, close to the raw edge of the fabric (which is now enclosed within the fold).
Use a straight stitch on your sewing machine. If sewing by hand, use a neat running stitch or backstitch.
Sew all the way around the top edge. Remember to backstitch at the beginning and end of your seam to secure the stitches.
If you’re adding elastic, stop sewing a few inches before you complete the circle, leaving a gap as planned in the previous step.
Step 7: Insert Elastic (Optional but Recommended)
If you opted to add elastic, measure a piece of elastic that is slightly smaller than your bust measurement. This ensures a snug fit.
Attach a safety pin to one end of the elastic. Thread the elastic through the channel you created in the hem, using the safety pin to guide it.
Carefully pull the elastic all the way through until it emerges from the other side of the opening.
Overlap the two ends of the elastic by about 0.5 inches (1.25 cm) and sew them together securely. Use a zig-zag stitch if using a machine, or strong hand stitches.
Allow the elastic to retract fully into the hem channel. Then, sew the remaining opening in the hem closed with a straight stitch.
Pro Tip: Gently stretch the fabric as you sew the final opening to prevent puckering. This helps the elastic distribute evenly.
Step 8: Finish and Try On
Trim any loose threads from your newly sewn hem. Give the tube top a final press with an iron to set the stitches and smooth out the fabric.
Try on your new tube top! Check the fit and comfort. Make any minor adjustments if necessary, such as tightening the elastic if it feels too loose.
Your tank top has now been successfully transformed into a chic and wearable tube top, ready for its debut.
Common Mistakes to Avoid
Cutting Too Short
Many people get excited and cut their tank top shorter than intended. This often happens by forgetting to account for the hem allowance.
Always add an extra 1 to 1.5 inches (2.5 to 4 cm) to your desired finished length before making the cut. It’s easier to trim more off than to add fabric back on.
Uneven Hem
A wobbly or uneven hem can detract from the professional look of your tube top. This usually occurs if the fabric isn’t laid flat or marked precisely.
Take your time when marking the cut line and folding the hem. Use an iron to press folds sharply, and pin meticulously to ensure everything stays in place before sewing.
Skipping Elastic
While optional, skipping elastic can result in a tube top that constantly slides down. This is especially true for tank tops made from stretchier fabrics.
Elastic provides crucial support and helps the tube top stay securely in place. It’s a small extra step that makes a huge difference in wearability.
Rushing the Process
Impatience can lead to mistakes like crooked seams, skipped stitches, or an ill-fitting garment. Crafting projects benefit from a calm and methodical approach.
Dedicate enough time to each step, from measuring to sewing. Enjoy the process, and you’ll be much happier with the final result.
Troubleshooting
Tube Top Keeps Sliding Down
If your tube top doesn’t stay up, the most likely culprit is a lack of elastic or elastic that isn’t snug enough.
Carefully unpick a small section of your hem, insert a new, slightly shorter piece of elastic, or tighten the existing one. Ensure the elastic measurement is slightly less than your bust circumference for a secure fit.
Hem Looks Puffy or Bumpy
A bulky hem often results from not pressing the fabric flat enough before sewing, or using a very thick fabric. It can also happen if the elastic isn’t evenly distributed.
Go back and press the hem firmly with an iron, using steam if available. If elastic is the issue, gently tug and adjust the fabric around the elastic to smooth it out. Consider a narrower hem next time for very thick fabrics.
Stitches Are Uneven or Skipped
Uneven stitches can be caused by pulling the fabric too hard while sewing, using the wrong needle size, or incorrect tension settings on your machine.
Always let your sewing machine feed the fabric naturally. Check your needle to ensure it’s sharp and appropriate for your fabric type. Adjust your machine’s tension if necessary, practicing on a scrap piece first.
Key Takeaways
- Always add hem allowance to your desired length before cutting the tank top.
- Pressing your fabric folds with an iron creates crisp, professional-looking hems.
- Elastic is highly recommended for tube tops to ensure they stay securely in place.
- Measure your elastic to be slightly smaller than your bust for optimal fit.
- Take your time with each step, especially measuring and pinning, to avoid common mistakes.
- This DIY project is a beginner-friendly way to customize your wardrobe.
Frequently Asked Questions
Can I make a tube top from any tank top?
Most tank tops will work for this project, especially those made from stretchier knit fabrics. Thicker, less stretchy fabrics might be harder to work with and may not drape as well.
Do I need a sewing machine for this?
While a sewing machine makes the process quicker and provides stronger stitches, you can absolutely hand sew this project. Just ensure your hand stitches are neat and secure, like a backstitch, for durability.
How do I prevent the tube top from fraying?
The double-fold hem technique described in this guide is designed to enclose the raw edge, preventing fraying. If your fabric is particularly prone to fraying, you can also use a serger or a zig-zag stitch on the raw edge before folding the hem.
What if my tube top is too loose after I’ve sewn it?
If your tube top is too loose, especially around the bust, you can take in the side seams slightly. Alternatively, if you’ve inserted elastic, you can carefully open a small section of the hem, pull out the elastic, shorten it, and re-sew the ends.
Our Top Recommended Finds
- Sharp Fabric Scissors: A good pair of fabric-only scissors (like Fiskars or Gingher) makes clean cuts and prevents fabric snagging.
- Retractable Measuring Tape: Essential for accurate body and fabric measurements, and easy to store.
- All-Purpose Polyester Thread: Strong and durable, suitable for most fabrics, ensuring your stitches last.
Ready to Reinvent Your Wardrobe?
You now possess all the knowledge and steps to transform a basic tank top into a stylish tube top.
This simple alteration opens up a world of creative possibilities for your existing clothes.
Why not explore other easy DIY clothing projects, like turning a t-shirt into a crop top or adding decorative elements to old jeans?
Grab that forgotten tank top today and give it a brand new life. Your personalized style awaits!