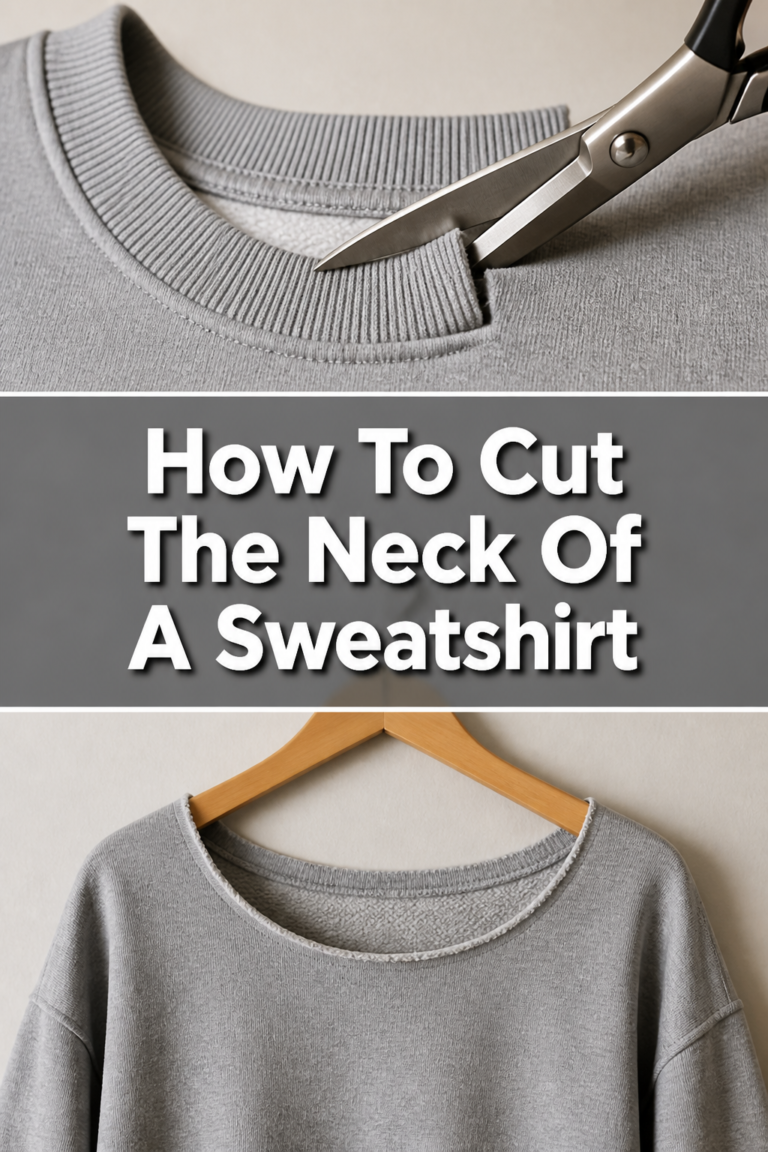
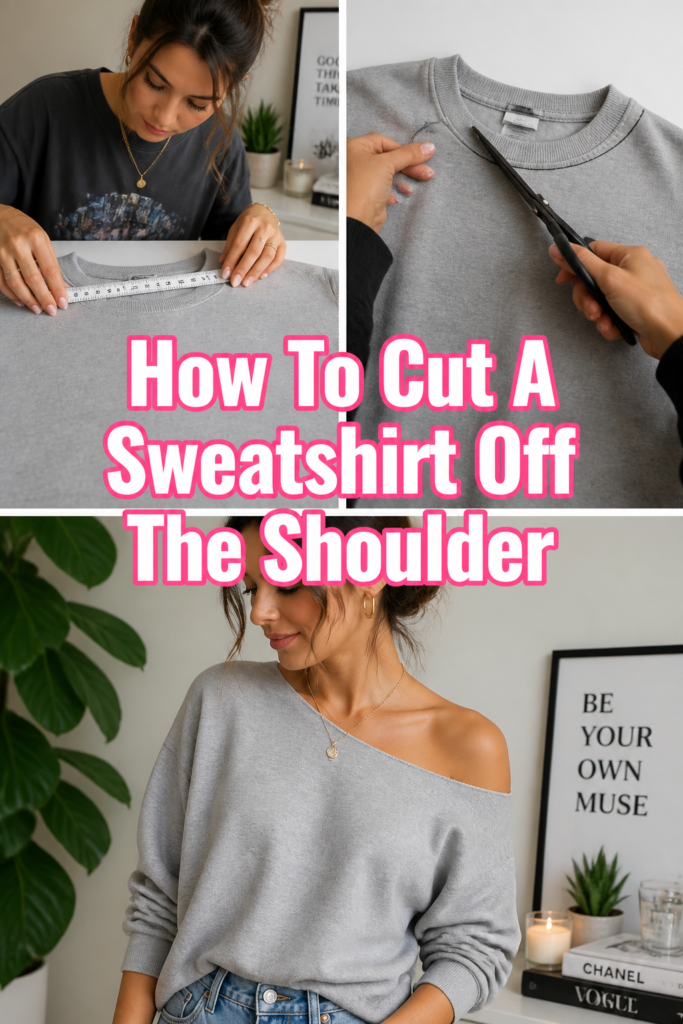
✂️ How To Cut A Sweatshirt Off The Shoulder
I remember the first time I tried cutting a sweatshirt to make it off-the-shoulder. It was an absolute disaster, uneven and completely frayed.
After some trial and error, I perfected the technique for a comfortable, stylish look. Trust me, I’ve ruined enough good hoodies to know what works and what doesn’t.
This guide shares all my learned tricks, helping you create your perfect off-the-shoulder sweatshirt with ease and confidence.
Quick Overview
Transforming an ordinary sweatshirt into a chic, off-the-shoulder top is simpler than you think. You’ll soon have a versatile piece perfect for any casual outing.
This project is a fantastic way to refresh old clothing and express your personal style. Get ready to customize your wardrobe.
- Time needed: 30-60 minutes (depending on desired finish)
- Difficulty: Beginner
- What you’ll need: A sweatshirt, sharp fabric scissors, fabric chalk or marker, a ruler or measuring tape, safety pins (optional), a sewing machine (optional for finishing).
Step-by-Step Instructions
Step 1: Choose Your Sweatshirt Wisely
Select a sweatshirt that fits well in the body, but perhaps has a slightly looser neckline already. A larger size can also work, giving you more fabric to play with.
Consider the fabric blend; cotton or cotton-poly blends are ideal as they cut cleanly and fray minimally. Avoid very thin or delicate knits, which might unravel too much.
Step 2: Gather Your Tools
Lay out all your necessary supplies before you begin. Having everything within reach makes the process smooth and enjoyable.
Ensure your fabric scissors are sharp; dull scissors will pull and fray the fabric, making a clean cut difficult. A good ruler helps with precise marking.
Step 3: Try It On & Mark Your Cut
Put on the sweatshirt and stand in front of a mirror. Decide exactly how far down you want the neckline to sit on your shoulder.
Use your fabric chalk or marker to draw a small dot on one shoulder where you want the cut to begin. Then, draw another dot on the opposite shoulder.
Pro Tip: Don’t mark too low initially. You can always cut more fabric off, but you can’t put it back on. Start higher than you think you need.
Step 4: Lay Flat & Smooth
Take off the sweatshirt and lay it flat on a clean, hard surface. Smooth out all wrinkles, ensuring the front and back layers are perfectly aligned.
Make sure the existing neckline is flat and centered. This step is crucial for achieving an even cut across both sides.
Step 5: Draw Your Cutting Line
Connect the two dots you marked earlier with your fabric chalk. Draw a gentle, wide curve from one shoulder dot, dipping slightly in the front and back, to the other shoulder dot.
This curve should pass just below the existing neckline seam. Aim for a symmetrical arc that will create a flattering off-the-shoulder look.
Step 6: Make the Initial Cut
Carefully cut along the chalk line you just drew. Use long, steady strokes with your sharp fabric scissors for the cleanest edge.
Cut through both the front and back layers of the sweatshirt simultaneously. This ensures the two sides remain perfectly matched.
Step 7: Refine the Neckline
Try on the sweatshirt again. Assess the new neckline. Does it sit comfortably? Is it wide enough, or too wide?
If it’s too snug, you can gently trim a little more fabric, extending the curve slightly. Remember to make small adjustments, trying it on after each trim.
Step 8: Consider the Finish
Decide how you want to finish the raw edge. Leaving it raw gives a casual, distressed look that will fray slightly over time.
For a cleaner finish, you can fold the raw edge under by about half an inch and secure it with a zig-zag stitch on a sewing machine. This prevents excessive fraying.
Pro Tip: If you’re going for a raw edge, gently stretch the fabric around the new neckline. This will encourage it to curl slightly, softening the cut edge.
Step 9: Add Personal Touches
Embrace your creativity. You can further distress the edges with a seam ripper or sandpaper for a more worn-in look.
Consider adding patches, embroidery, or fabric paint to personalize your new top. Make it uniquely yours.
Common Mistakes to Avoid
Cutting Too Much Too Soon
Many people get excited and cut a large section of fabric off right away. This is a common pitfall because you cannot reattach fabric once it’s cut. Always start with a conservative cut. You can always trim more, but you can’t add it back.
Uneven Cuts
A wobbly or uneven cut will result in a lopsided neckline that looks unprofessional. Ensure your sweatshirt is perfectly flat and your chalk line is smooth and symmetrical before you begin cutting. Take your time and use long, confident scissor strokes.
Ignoring Fabric Stretch
Different fabrics stretch differently. A very stretchy knit will drape much wider than a less stretchy one, even with the same cut. Always consider how the fabric will behave when worn off the shoulder, and adjust your initial markings accordingly. Test the stretch before cutting.
Not Trying It On First
Skipping the crucial step of trying on the sweatshirt and marking it while wearing it often leads to a poor fit. The neckline might be too high, too low, or simply not flattering. Always mark your desired cut while the sweatshirt is on your body.
Troubleshooting
Neckline is Too Wide/Falls Off
If your newly cut neckline is too wide and keeps slipping down past your shoulder, don’t despair. You can gather the fabric slightly at the back of the neck and secure it with a few stitches, creating a small “cinch.” Another option is to thread a piece of elastic through the new hem to gather it more snugly.
Edges Fraying Excessively
For raw edges that are fraying more than desired, a simple solution is to apply a small amount of fabric glue or fray check along the cut edge. This will seal the fibers and prevent further unraveling. Alternatively, you can always go back and sew a simple zig-zag stitch around the edge.
Looks Unfinished
If the raw edge doesn’t look as neat as you hoped, or you prefer a more polished appearance, you can easily create a hem. Fold the raw edge under by about 0.5 to 1 inch, press it flat, and then sew it down with a sewing machine using a zig-zag or stretch stitch. This provides a clean, professional finish.
Key Takeaways
- Always choose a sweatshirt with the right fabric and fit for the best results.
- Mark your cut while wearing the sweatshirt to ensure a flattering and comfortable fit.
- Use sharp fabric scissors and make long, smooth cuts for a clean edge.
- Start with a conservative cut; you can always remove more fabric later.
- Consider your desired finish: raw for casual, hemmed for polished.
- Don’t be afraid to personalize your creation with additional embellishments.
Frequently Asked Questions
Can I do this with any sweatshirt?
Most sweatshirts made from cotton or cotton blends are suitable. Avoid very delicate knits or stiff fabrics that won’t drape well. The stretchier the fabric, the softer the drape will be.
How do I prevent fraying?
For a raw edge, minimal fraying is part of the look. To control it, you can apply fray check liquid or fabric glue along the cut edge. For complete prevention, sew a small hem using a zig-zag stitch on a sewing machine.
What if I mess up?
If the cut isn’t perfect, small imperfections often add to the handmade charm. For major issues like a too-wide neckline, consider adding elastic or gathering the fabric. Sometimes, a “mistake” can lead to a unique design element.
Can I make it adjustable?
Yes, you can! After cutting, create a small channel by folding and sewing a hem. Thread a drawstring or elastic through this channel. This allows you to adjust how much the sweatshirt sits off the shoulder.
Our Top Recommended Finds
- Fiskars Fabric Scissors: These are incredibly sharp and make clean cuts through various fabrics, reducing fraying. A good pair of scissors is a crucial investment.
- Dritz Fabric Marking Pen: This pen creates clear lines that disappear with water or air, ensuring your markings are temporary and precise. It’s perfect for accurate cutting guides.
- Aleene’s Fabric Fusion Permanent Fabric Adhesive: Ideal for securing hems or preventing fraying without sewing. It’s a quick and easy way to finish edges or fix small issues.
Your Style, Reimagined
You now have all the tools and knowledge to transform an ordinary sweatshirt into a fashion statement. This simple DIY project offers endless possibilities for personal expression.
Don’t let another plain sweatshirt sit unworn in your closet. Grab your scissors and start creating something truly unique today.
Embrace your creativity and enjoy the satisfaction of wearing something you’ve made yourself. You’ll love the fresh, comfortable style.