⭐ How To Cut Blouse Step By Step
I remember the thrill and slight trepidation of cutting my very first blouse pattern. It felt like a significant step in my sewing journey. This guide distills years of experience into clear, manageable steps.
You can trust this advice to help you achieve beautifully cut fabric pieces, setting you up for a successful sewing project.
Quick Overview
Cutting a blouse pattern accurately is foundational to a well-fitting garment. This guide breaks down the process, making it accessible for anyone ready to create. You’ll learn how to prepare your fabric, lay out your pattern, and cut with precision.
- Time needed: 2-4 hours (for beginners, including prep and careful cutting)
- Difficulty: Intermediate
- What you’ll need: Fabric, blouse pattern, fabric shears, pins, measuring tape, tailor’s chalk or fabric marker, large flat surface.
Step-by-Step Instructions
Step 1: Gather Your Tools and Workspace
Before you begin, ensure you have all your necessary tools within reach. A clear, large, flat surface is crucial for accurate cutting. This could be a dining table, a cleared floor space, or a dedicated cutting mat.
Clear your workspace of any clutter. Lay out a clean sheet or mat if working on a floor to protect your fabric.
Step 2: Prepare Your Fabric
Fabric preparation is a critical, often overlooked step. Most fabrics shrink when washed for the first time. Pre-washing and drying your fabric as you would the finished garment prevents future shrinkage and distortion.
Wash and dry your fabric according to its care instructions. Press the fabric thoroughly to remove any wrinkles or creases. This ensures it lies perfectly flat for cutting.
Pro Tip: Always pre-wash your fabric, especially if it’s a natural fiber like cotton or linen. This step prevents your finished blouse from shrinking unexpectedly after its first wash.
Step 3: Lay Out the Pattern Pieces
Unfold your pattern pieces and identify all the components for your blouse. Refer to the pattern’s layout guide, usually found on the instruction sheet. This guide shows how to arrange pieces efficiently on your specific fabric width.
Fold your fabric correctly, usually selvage to selvage or crosswise, ensuring the grainline is straight. Align the fabric folds and selvages carefully.
Step 4: Pin the Pattern Securely
Place the pattern pieces onto your prepared fabric according to the layout guide. Pay close attention to the grainline arrow on each pattern piece. This arrow must be parallel to the fabric’s selvage or fold.
Measure from each end of the grainline arrow to the selvage or fold to ensure perfect parallelism. Pin the pattern pieces securely to the fabric. Use plenty of pins, placing them perpendicular to the cutting line, every 1-2 inches, especially on curves and corners.
Step 5: Mark Your Cutting Lines
Sometimes, patterns are printed with multiple sizes. Identify your chosen size line on each pattern piece. If you need to make adjustments for fit, now is the time to mark those changes.
Use tailor’s chalk or a fabric marker to trace around the outer cutting lines of your pattern pieces. This provides a clear guide for your shears. For very slippery fabrics, you might want to mark inside the cutting line slightly to avoid distortion.
Pro Tip: For precise cutting, use a sharp fabric marker that makes a fine line. Avoid thick chalk lines that can lead to inaccuracies.
Step 6: Execute the Cut
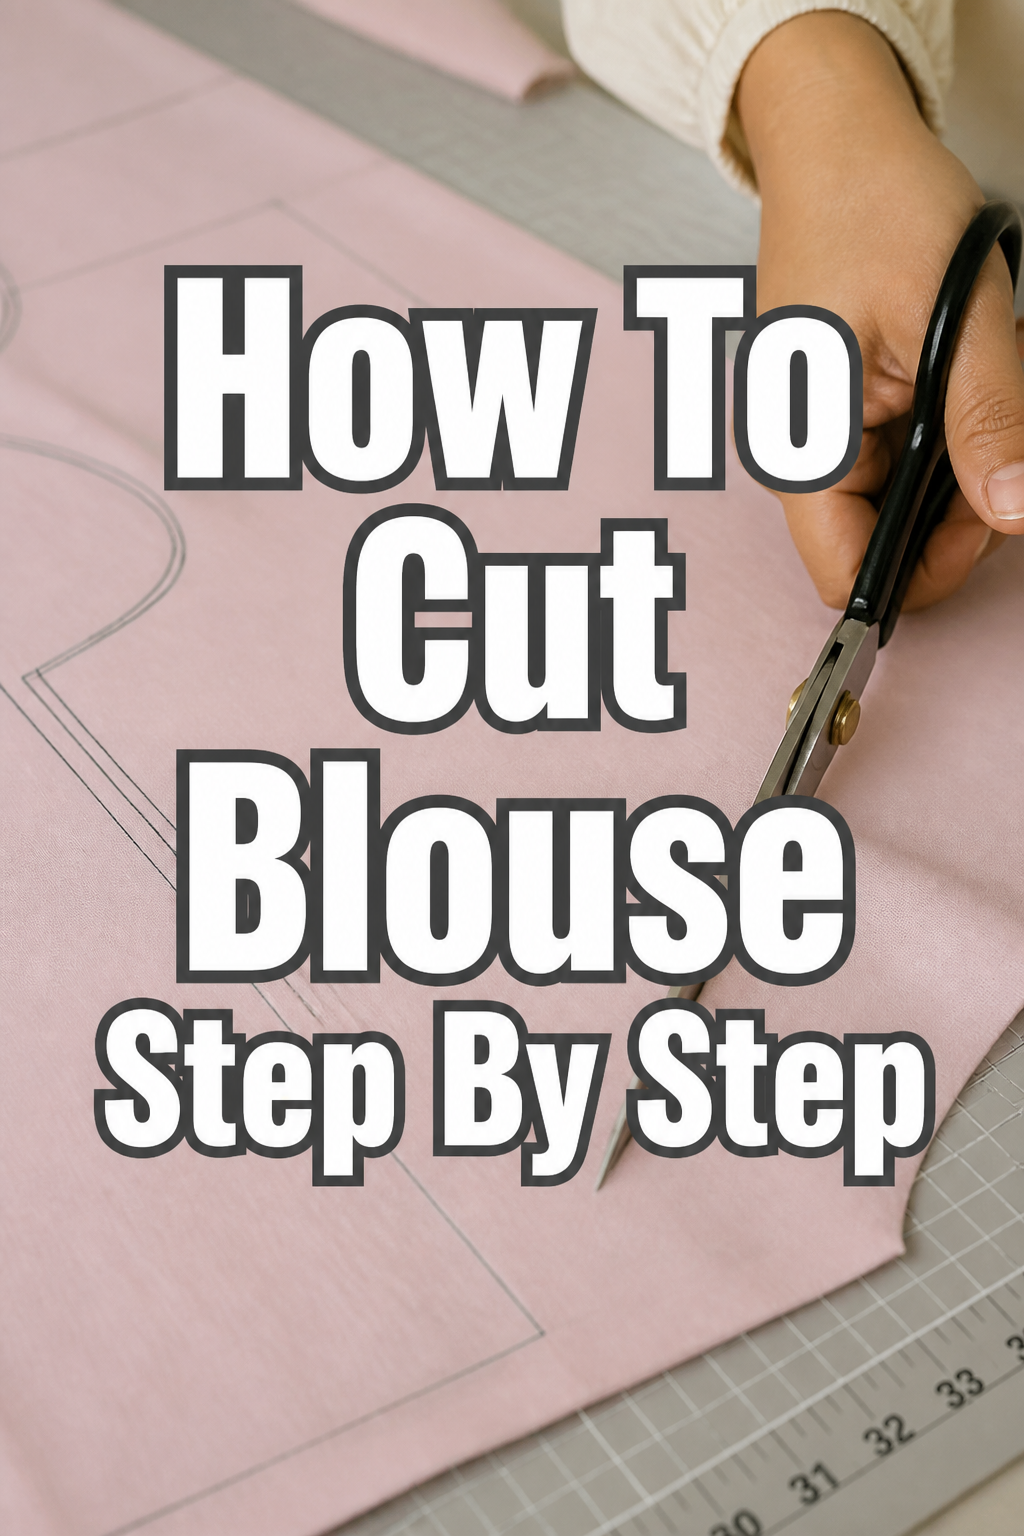
With your fabric and pattern securely pinned and marked, you’re ready to cut. Use sharp fabric shears, specifically designed for fabric. Cut along the marked lines smoothly and steadily.
Avoid lifting the fabric as you cut; keep it flat on your surface. Use long, even strokes with your shears, especially on straight edges. For curves, use shorter, more controlled snips.
Step 7: Transfer Markings and Notches
Once your pieces are cut, there are often important markings to transfer. These include darts, button placements, pocket placements, and notches. Notches are small triangles or lines on the pattern edges that help align pieces during sewing.
Snip small triangles or V-shapes outward at each notch location on the fabric edge. Use tailor’s chalk, a tracing wheel, or pins to transfer dart lines and other internal markings. Mark the wrong side of the fabric clearly.
Step 8: Organize Your Cut Pieces
After all pieces are cut and marked, carefully unpin them from the pattern paper. Stack the corresponding fabric pieces together. For example, stack the front bodice pieces together, then the back, then sleeves.
Label each stack if necessary, especially for complex patterns with many similar-looking pieces. Store your cut pieces flat or gently folded until you’re ready to sew. This prevents creasing or distorting your perfectly cut fabric.
Common Mistakes to Avoid
Cutting with Dull Scissors
Using dull scissors is a common pitfall that leads to frayed edges and inaccurate cuts. Dull blades chew through fabric rather than slicing cleanly, making it difficult to follow your lines precisely. Always use sharp fabric shears, kept solely for fabric. Sharpen them regularly or invest in a new pair when needed.
Not Pre-Washing Fabric
Skipping the pre-wash step can result in a finished blouse that shrinks after its first wash. This means your carefully sewn garment might no longer fit. Always wash and dry your fabric using the same method you’d use for the finished garment before cutting. This pre-shrinks the fabric, ensuring your blouse retains its size.
Rushing the Pinning Process
Inadequate pinning causes fabric to shift and buckle during cutting, leading to distorted pieces. Skimping on pins, especially on curves, is a recipe for uneven edges. Take your time to pin thoroughly, placing pins perpendicular to the cutting line and frequently. This keeps the pattern and fabric perfectly aligned.
Ignoring Grainlines
The grainline on a pattern piece is crucial for how a garment hangs and drapes. Cutting off-grain can lead to a twisted, ill-fitting blouse that won’t sit right. Always measure carefully from the grainline arrow to the fabric selvage or fold to ensure perfect parallelism before pinning and cutting.
Troubleshooting
Fabric Shifting During Cutting
If your fabric slides around despite pinning, it might be due to a slippery material or insufficient pins. Try placing a non-slip mat or a piece of thin batting under your fabric. Increase the number of pins, especially along long straight edges and curves. For very challenging fabrics, consider using pattern weights in addition to pins.
Pattern Pieces Don’t Line Up
When fabric pieces don’t align perfectly after cutting, the issue often stems from inaccurate grainline placement or uneven pinning. Re-check your grainline measurements before cutting. Ensure your fabric is lying perfectly flat, without any wrinkles or puckers, and that it’s evenly pinned throughout. Sometimes, a slight re-trim might be needed if the discrepancy is small.
Notches are Missing or Unclear
Missing or unclear notches can make assembling your blouse confusing. If you forgot to snip them, refer back to your paper pattern and carefully mark them onto your cut fabric pieces using a fabric marker. For future projects, ensure you make clear, small snips or use tailor’s chalk to mark them immediately after cutting each piece.
Key Takeaways
- Always pre-wash and press your fabric to prevent shrinkage and ensure smooth cutting.
- Lay out pattern pieces carefully, paying close attention to grainlines and fabric folds.
- Pin pattern pieces securely and generously to prevent fabric shifting during cutting.
- Use sharp fabric shears and cut with long, smooth strokes for clean, precise edges.
- Transfer all notches and internal markings accurately from the pattern to the fabric.
- Organize and label your cut pieces immediately to maintain order for sewing.
Frequently Asked Questions
Can I use regular scissors?
No, it’s highly recommended to use fabric shears specifically designed for cutting fabric. Regular scissors used for paper or other materials can be dull or have nicks that will snag and damage your fabric, leading to inaccurate and frayed cuts. Keep your fabric shears dedicated to fabric only.
What if my fabric is slippery?
Slippery fabrics like satin or silk require extra care. Use many more pins than usual, placing them closer together. You can also try laying the fabric on a non-slip surface like an old sheet, a flannel blanket, or a cutting mat designed for slippery materials. Using a rotary cutter can also be more effective than shears for these fabrics.
How do I know which size to cut?
Always refer to the pattern envelope’s sizing chart. This chart typically uses body measurements (bust, waist, hip) to determine your size, not ready-to-wear clothing sizes. Measure yourself accurately and choose the pattern size that best matches your measurements, focusing on your bust measurement for blouses.
Should I add seam allowance?
Most commercial patterns include seam allowance in their cutting lines, but always double-check the pattern instructions. If the pattern states “seam allowance included,” cut directly on the lines. If it specifies “seam allowance not included,” you’ll need to add the specified amount (e.g., 5/8 inch or 1.5 cm) beyond the pattern edge before cutting.
Our Top Recommended Finds
- Kai 5210 8-inch Dressmaking Shears: These professional-grade shears offer exceptional sharpness and precision, making cutting fabric a smooth, effortless experience.
- Fiskars Rotary Cutter 45mm: Ideal for cutting long, straight lines and curves quickly and accurately, especially useful for slippery fabrics when paired with a cutting mat.
- Clover Chaco Liner Pen Style: This fine-point tailor’s chalk pen creates crisp, clear lines that are easy to see and brush away cleanly, perfect for marking pattern details.
Your Blouse Project Starts Now
You now have the knowledge and confidence to approach your next blouse cutting project with precision. Each step you take, from preparing your fabric to making that final snip, brings you closer to a beautifully handmade garment. Don’t be afraid to take your time and enjoy the process.
Ready to see your fabric transform? Gather your tools and begin cutting your perfect blouse today!