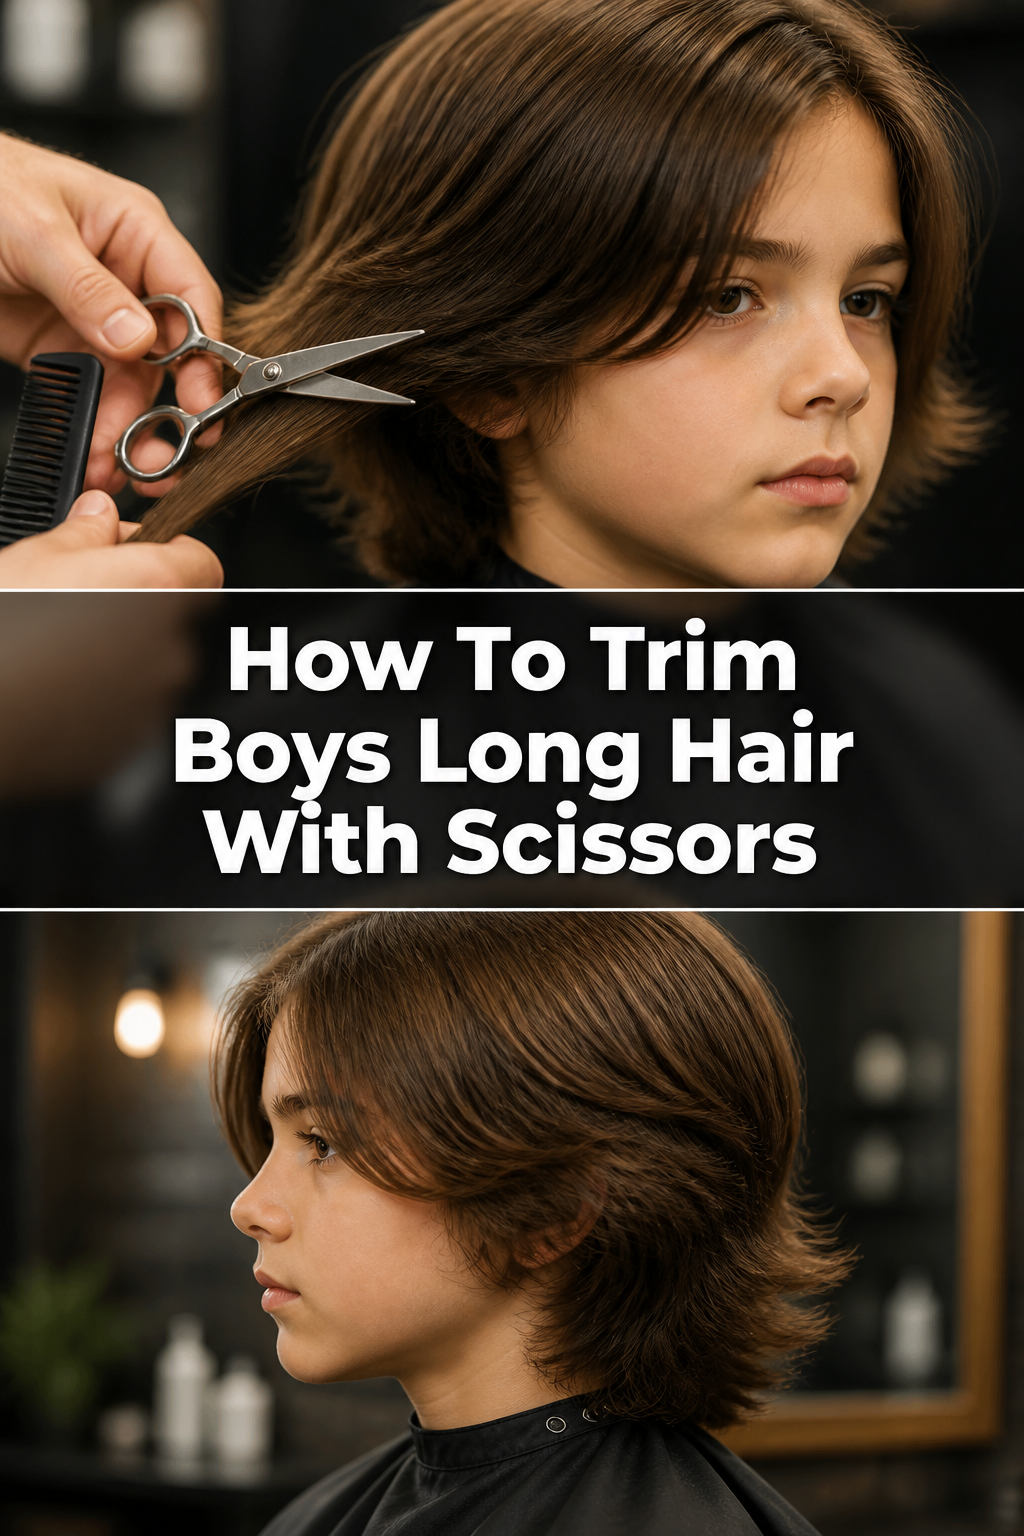
🌟 How To Trim Boys Long Hair With Scissors
Giving your child a haircut at home can feel daunting, especially when they have longer hair.
But with the right approach and a bit of patience, you can achieve salon-worthy results right in your kitchen.
I’ve navigated countless home haircuts for my own boys, learning what truly works for a neat, comfortable trim.
Quick Overview
This guide will walk you through everything needed to confidently trim your boy’s long hair with scissors, ensuring a great look without the hassle or cost of a professional salon.
- Time needed: 45-90 minutes (including prep and styling)
- Difficulty: Beginner to Intermediate
- What you’ll need: Hair scissors, comb, spray bottle, clips, towel, cape, mirror
Step-by-Step Instructions
Step 1: Gather Your Tools and Prepare the Space
Collect all necessary items before you begin. Having everything at hand prevents interruptions and keeps your child settled.
Set up your cutting station in a well-lit area, preferably near a mirror. A bathroom or kitchen works well for easy cleanup.
Drape a towel or haircutting cape around your child’s shoulders. This catches stray hairs and keeps them comfortable.
Pro Tip: Invest in a good pair of sharp hair-cutting scissors. Dull kitchen scissors will only damage hair and make the process harder.
Step 2: Prepare the Hair
Wash your son’s hair thoroughly with shampoo and conditioner. Clean hair is easier to cut and provides a more accurate result.
Towel-dry the hair until it’s damp, not dripping wet. Hair shrinks as it dries, so cutting it slightly damp helps account for this change.
Comb through all tangles gently. Ensure the hair is completely smooth and free of knots before you start cutting.
Step 3: Section the Hair
Divide the hair into manageable sections. This is crucial for control and achieving an even trim.
Create a horizontal part from ear to ear, across the crown of the head. Clip the top section out of the way.
Make vertical parts on each side, separating the sideburn area from the back. Use clips to secure these sections.
Pro Tip: Use a fine-tooth comb for precise sectioning. Clear sections make it much easier to see where you’re cutting.
Step 4: Trim the Sides
Begin with one of the side sections. Release a small, vertical subsection of hair from the bottom, near the ear.
Comb this subsection straight down. Use your fingers to hold the hair firmly, with your knuckles against the head, and pull it taut.
Decide on the desired length. Cut straight across, just below your fingers, removing only a small amount at a time.
Continue working your way up the side, taking small vertical subsections. Use the previously cut hair as a guide for length.
Repeat the process on the other side, ensuring both sides are symmetrical.
Step 5: Cut the Back
Release a small, horizontal section of hair from the bottom of the back, at the nape of the neck.
Comb this hair straight down. Hold it between your fingers, pulling it taut, and cut to the desired length.
Move upwards, taking horizontal subsections. Use the hair from the previous section as your guide to maintain consistent length.
Blend the back into the sides. Gently angle your scissors where the side and back sections meet to create a seamless transition.
Pro Tip: Always cut less than you think you need. You can always take more off, but you can’t put it back on.
Step 6: Trim the Top Section
Unclip the top section of hair. This is often the longest part and requires careful blending.
Take a small, vertical section from the very front of the top, near the hairline. Comb it straight up.
Hold the hair between your fingers, pulling it straight up, and cut to the desired length. This will be your guide for the top.
Work your way backwards, taking small vertical sections. Bring each new section up to meet your guide section and cut to match the length.
Blend the top into the sides and back. Comb small sections of hair where the top meets the other sections and use point cutting (snip into the ends vertically) to soften the line.
Step 7: Refine and Blend
Check for any uneven spots by combing all the hair down and looking in the mirror. Adjust as needed.
Use a technique called “point cutting” to soften blunt lines and add texture. Hold the scissors vertically and snip into the ends of the hair.
Review the overall shape. Walk around your child, looking from different angles to ensure symmetry and a natural flow.
Step 8: Final Checks and Clean Up
Dry your son’s hair completely. Hair can look different when dry, so this is an important final check.
Comb the dry hair into its usual style. Look for any areas that appear too long or out of place now that it’s dry.
Make any minor adjustments with dry hair. Remember, small snips are key here.
Brush off any loose hairs and admire your work. A quick shower helps remove all the tiny clippings.
Common Mistakes to Avoid
Cutting Too Much at Once
Many beginners try to cut large sections of hair at once, leading to uneven lengths and choppy results. This approach makes it impossible to correct mistakes easily. Instead, always take small, thin sections of hair and trim incrementally, focusing on precision.
Using Dull Scissors
Kitchen scissors or craft scissors are not designed for hair. They can bend, push, and fray the hair strands, leading to split ends and an unhealthy look. Always use sharp, dedicated hair-cutting scissors for a clean, precise cut that protects the hair’s integrity.
Cutting Dry Hair for Initial Length
Hair shrinks as it dries, so cutting hair when it’s completely dry can lead to cutting it shorter than intended. It’s best to cut hair when it’s damp, allowing for a more accurate assessment of the final length once it dries. Dry cuts are best reserved for final touch-ups.
Forgetting to Section Hair
Skipping the sectioning step leads to a chaotic and uncontrolled cutting process. Without clear sections, it’s difficult to maintain evenness and blend different areas of the head. Always take the time to properly section and clip hair to ensure a structured and symmetrical trim.
Troubleshooting
Uneven Lengths
If you notice uneven lengths after drying the hair, don’t panic. Dampen the hair again slightly in the problem area. Re-section the hair carefully and take very small, precise snips to even out the length. Use a comb as a guide to ensure a straight line.
Choppy Lines
Blunt, harsh lines often appear if you cut straight across too aggressively. To fix this, try point cutting. Hold the scissors vertically or at a slight angle and snip into the ends of the hair. This softens the lines and creates a more natural, blended look.
Hair Doesn’t Blend Well
Poor blending between sections, especially where the top meets the sides, can make a haircut look amateurish. To improve blending, take small diagonal sections of hair where the two lengths meet. Use a slight angle with your scissors, or try point cutting to create a softer transition. Comb through frequently to check your progress.
Key Takeaways
- Always use sharp, dedicated hair-cutting scissors for the best results and to prevent damage.
- Properly sectioning the hair is the most important step for control and achieving an even cut.
- Start by cutting hair when it’s damp, as it provides a more accurate length assessment.
- Take small snips; you can always remove more hair, but you cannot put it back.
- Use a guide (previously cut hair) for each new section to maintain consistent length.
- Blending is essential for a natural, professional-looking haircut, especially between different sections.
- Perform final checks on dry hair, as its appearance can change significantly once dry.
Frequently Asked Questions
How often should I trim long hair?
For boys with long hair, a trim every 6-10 weeks is usually sufficient to maintain shape and remove split ends. The exact frequency depends on how fast their hair grows and the desired style.
Can I use clippers for long hair?
While clippers are excellent for shorter styles and fades, they are generally not ideal for maintaining long hair. Scissors allow for more precision, layering, and blending, which are crucial for longer styles. Clippers can be used for cleaning up the nape of the neck or sideburns, but use scissors for the main length.
What if my child won’t sit still?
Distraction is key! Try setting up a favorite movie or show on a tablet, offering a special snack, or engaging them in conversation. Keep the cutting sessions short and take breaks if needed. A positive, calm attitude from you also helps.
Should I cut the hair wet or dry?
For the initial shaping and length removal, cutting damp hair is generally recommended. This provides more control and a better sense of the final length. However, always do a final check and make small adjustments on dry hair, as hair behaves differently when dry.
Our Top Recommended Finds
- Professional Hair Cutting Scissors: A sharp, ergonomic pair makes all the difference for clean cuts and comfortable handling.
- Hairdressing Cape or Salon Apron: Keeps hair off clothes and makes cleanup much easier for both you and your child.
- Sectioning Clips: Essential for isolating hair sections, allowing for precise and controlled trimming.
Embrace the Home Haircut Journey
Trimming your boy’s long hair at home is more than just a chore; it’s an opportunity to connect and save a trip to the salon.
With these steps, you now have the confidence and knowledge to tackle the task.
Gather your tools today and create a comfortable, stylish look your child will love.