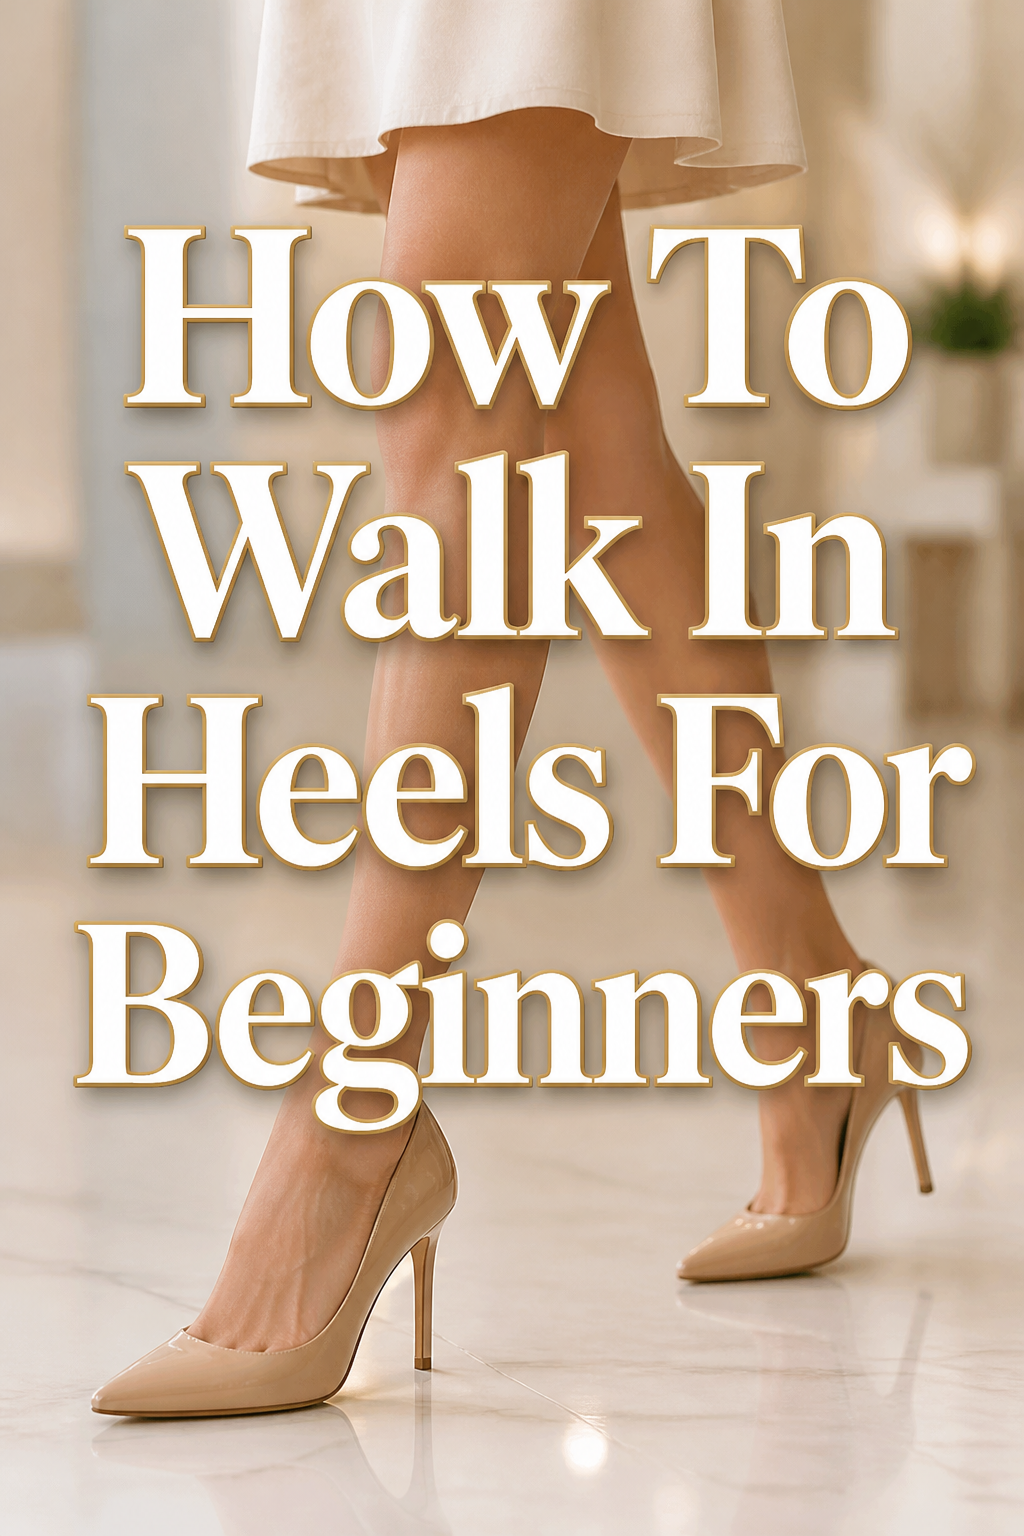
👠 How To Walk In Heels For Beginners
Learning to walk gracefully in heels might seem daunting at first. I remember my own wobbly first steps, feeling like a newborn giraffe trying to find its balance. But with a little patience and the right guidance, anyone can master this empowering skill.
This guide is designed to break down the process, turning intimidation into confidence. You’ll soon be striding with poise and comfort, ready to conquer any occasion.
Quick Overview
This comprehensive guide will equip you with the essential techniques and insider tips to confidently walk in heels. We’ll cover everything from choosing the right pair to mastering different terrains.
- Time needed: 1-2 hours for initial practice, ongoing practice for mastery.
- Difficulty: Beginner
- What you’ll need: Comfortable low heels (block or wedge suggested), non-slip socks, full-length mirror, open space.
Step-by-Step Instructions
Step 1: Choose Your Starter Heels Wisely
Begin your journey with heels that offer maximum stability and comfort. A block heel or a wedge is ideal for beginners, as they provide a larger surface area for balance. Aim for a heel height of no more than 2-3 inches.
Ensure the shoes fit perfectly, neither too tight nor too loose. Your toes shouldn’t be squished, and your heel shouldn’t slip out with each step.
Step 2: Master the Art of Posture
Good posture is the cornerstone of elegant heel walking. Stand tall, imagining a string pulling you upwards from the crown of your head. Roll your shoulders back and down, keeping them relaxed.
Engage your core slightly, tucking your pelvis gently forward. This alignment helps distribute your weight evenly and prevents strain on your back.
Pro Tip: Practice your posture in front of a full-length mirror without shoes first. This helps you identify and correct any imbalances before adding heels.
Step 3: Practice Your Stance and Balance
Before taking a single step, get comfortable just standing in your heels. Shift your weight from one foot to the other. Notice how your balance point changes.
Stand still for a few minutes, focusing on maintaining your upright posture. This builds foundational stability.
Step 4: Learn the Heel-to-Toe Roll
This is the most crucial technique for walking in heels. When you step forward, lead with your heel, then smoothly roll your foot forward through the arch to your toes. The ball of your foot and toes should touch the ground last.
Push off with your toes as you transfer your weight to the next foot. This creates a fluid, natural gait rather than a clunky flat-footed step.
Step 5: Shorten Your Stride
Walking in heels naturally shortens your stride compared to flats. Resist the urge to take long, exaggerated steps. Instead, take smaller, more deliberate steps.
This shorter stride helps maintain balance and gives you more control over each movement. It also looks more graceful.
Step 6: Walk in a Straight Line
Imagine walking on an invisible tightrope or a straight line drawn on the floor. Place one foot directly in front of the other, keeping your feet close to this imaginary line. This creates the subtle hip sway often associated with walking in heels.
Avoid splaying your feet out to the sides. This can look awkward and make you feel less stable.
Step 7: Keep Your Knees Slightly Bent
As you walk, maintain a very slight bend in your knees. Avoid locking them straight. This subtle flex acts as a shock absorber, making your gait smoother and more comfortable.
It also gives you better control and prevents a stiff, unnatural appearance. Think of it as a continuous, gentle spring in your step.
Step 8: Look Up and Forward
It’s tempting to look down at your feet when you’re learning, but this throws off your balance and posture. Keep your gaze straight ahead, about 10-15 feet in front of you. This helps maintain your head-to-toe alignment.
Confidence truly comes from looking forward, not down. Trust your feet to do their job.
Step 9: Practice on Different Surfaces
Once you feel comfortable on a flat, even surface like carpet or wood, gradually introduce different textures. Try walking on tile, then a slightly uneven rug, and eventually pavement. Each surface presents a unique challenge.
Start with shorter distances on new surfaces and build up your confidence. This prepares you for real-world situations.
Step 10: Master Stairs and Curbs
Stairs require a slightly different approach. When ascending, place the ball of your foot on the step, using the railing for support if needed. Descending, place your entire foot firmly on each step, one at a time.
For curbs, approach them slowly. Step up with the ball of your foot first, then bring the rest of your foot up. When stepping down, lead with your toes, feeling for the ground before lowering your heel.
Common Mistakes to Avoid
Wearing the Wrong Size or Type of Heel
Many beginners jump straight into stilettos or heels that are too high. This often leads to discomfort, instability, and a wobbly walk. Always start with a lower, thicker heel for stability.
Ill-fitting shoes can cause blisters, bunions, and general foot pain, making the experience miserable. Prioritize comfort and fit above all else.
Stomping or Walking Flat-Footed
A common beginner mistake is to walk as if you’re in flats, landing your entire foot at once. This creates a loud, clunky sound and an awkward gait. It also puts undue stress on your knees and back.
Remember the heel-to-toe roll. This smooth transition is key to a graceful and quiet walk.
Slouching or Hunching Over
When feeling unstable, it’s natural to hunch forward or look down. This compromises your balance even further and makes you look less confident. Poor posture also strains your back and neck.
Always strive to maintain that tall, upright posture. Your core and gaze should be forward, not down.
Rushing Your Walk
Trying to walk too quickly before you’ve mastered the technique is a recipe for disaster. It increases your chances of tripping or losing balance. A fast pace also makes your walk appear rushed and less elegant.
Take your time with each step. Focus on precision and control rather than speed.
Troubleshooting
Ankle Wobbles and Instability
If your ankles feel shaky, it’s often due to insufficient core engagement or choosing heels that are too high or thin for your current skill level. Your core muscles are crucial for overall stability.
Practice standing still and shifting your weight slowly from side to side. Try heels with an ankle strap for added support, or switch to a block heel until your ankle strength improves.
Foot Pain and Discomfort
Persistent foot pain usually indicates poor shoe fit or inadequate cushioning. Heels put pressure on the ball of your foot, so proper support is vital.
Invest in gel inserts or ball-of-foot cushions. Ensure your shoes aren’t too narrow or too short. Take regular breaks and stretch your feet after practice sessions.
Blisters and Rubbing
Blisters are typically caused by friction from shoes that don’t fit well. Areas like the back of the heel or the sides of the toes are common trouble spots.
Wear thin, moisture-wicking socks during practice, even with open-toed shoes if possible (try foot liners). Apply anti-blister balm or moleskin to sensitive areas before putting on your shoes.
Key Takeaways
- Always start with low, stable heels like wedges or block heels.
- Prioritize excellent posture, standing tall with a engaged core.
- Master the heel-to-toe roll for a smooth, graceful gait.
- Take shorter, deliberate steps to maintain balance and control.
- Practice regularly on various surfaces to build confidence and adaptability.
- Listen to your body; discomfort is a sign to adjust your shoes or technique.
Frequently Asked Questions
What’s the best heel height for a beginner?
For beginners, a heel height of 2 to 3 inches is ideal. This provides a noticeable lift without being overly challenging to balance in. As you gain confidence, you can gradually increase the height.
Should I wear socks with heels when practicing?
Wearing thin socks or foot liners can be very helpful during practice. They reduce friction, preventing blisters, and can also help with minor fit adjustments. Once you’re comfortable, you can transition to wearing heels without them.
How do I walk on slippery surfaces in heels?
On slippery surfaces, take even shorter steps and focus on placing your entire foot down with each step, rather than just the heel. Look for shoes with textured soles or consider adding non-slip pads to the bottom of your heels for extra grip.
Can I drive in heels?
It’s generally not recommended to drive in heels, especially high or thin ones. They can interfere with your ability to properly feel and operate the pedals. It’s safer to keep a pair of flats in your car and change shoes before driving.
Our Top Recommended Finds
- Gel Ball-of-Foot Cushions: These small pads fit inside your shoe to relieve pressure on the forefoot, making high heels much more comfortable.
- Moleskin or Blister Prevention Tape: An essential for beginners, this protects sensitive areas from rubbing and prevents blisters before they even start.
- Adjustable Shoe Stretchers: If your shoes are a little snug, a stretcher can help gently widen them for a more comfortable fit, reducing pressure points.
Embrace Your Confident Strut
Walking in heels is a skill that empowers you, adding a touch of elegance and confidence to your presence. Don’t get discouraged by initial wobbles; every expert started exactly where you are now. Each practice session brings you closer to mastering that poised, confident strut.
Keep practicing, be patient with yourself, and remember to enjoy the process. Soon, you’ll be gliding effortlessly, turning every sidewalk into your personal runway. Why not pick up your favorite pair of beginner-friendly heels today and start your journey towards heel mastery?